
Bathroom labels for jars are a genius and essential way to keep your bathroom organized, especially in small spaces. They help you quickly identify contents, prevent waste, and create a neat, clutter-free environment. This guide shows you how to make and use them effectively.
Tired of rummaging through drawers and cabinets, trying to find that specific cotton swab or hair tie? Does your bathroom space feel a little chaotic, with small items scattered around? You’re not alone! Many of us struggle to keep our bathrooms tidy, especially when space is limited. But don’t worry, there’s a simple, effective solution that can transform your bathroom from cluttered to calm. We’re talking about using smart, stylish labels on your jars. These little labels are more than just decorative; they are functional titans that bring order to the smallest of spaces. Get ready to discover how easy it is to label your way to a beautifully organized bathroom!
Why Bathroom Labels for Jars Are a Game-Changer

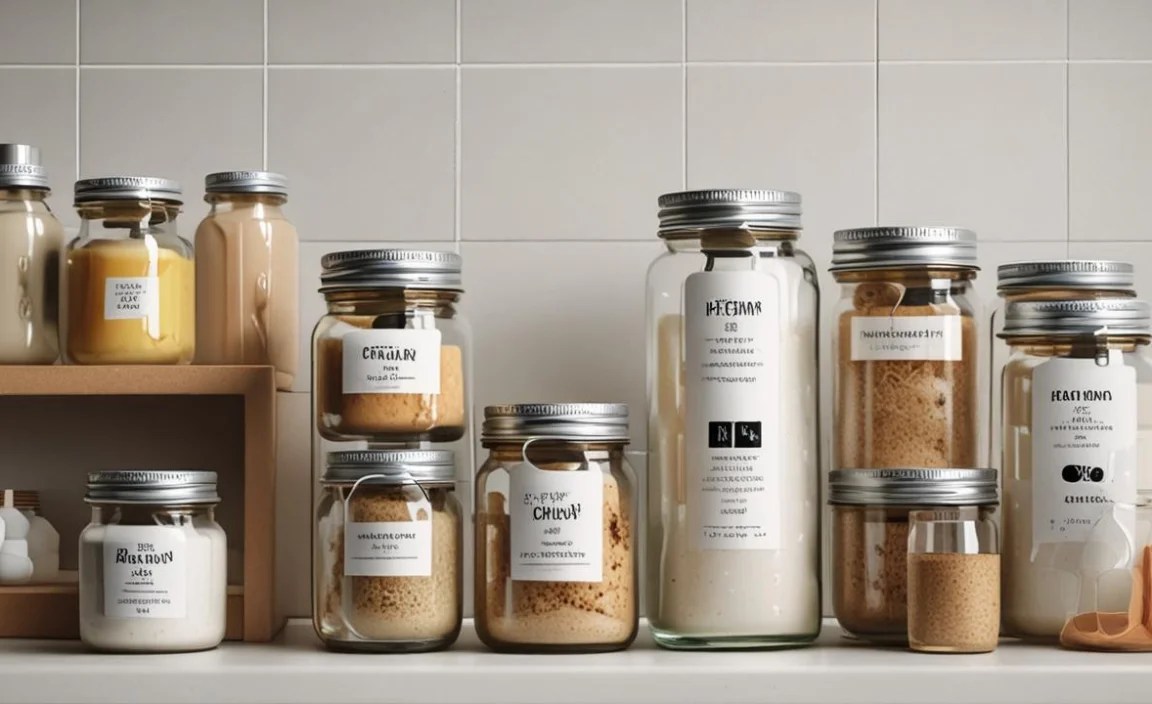
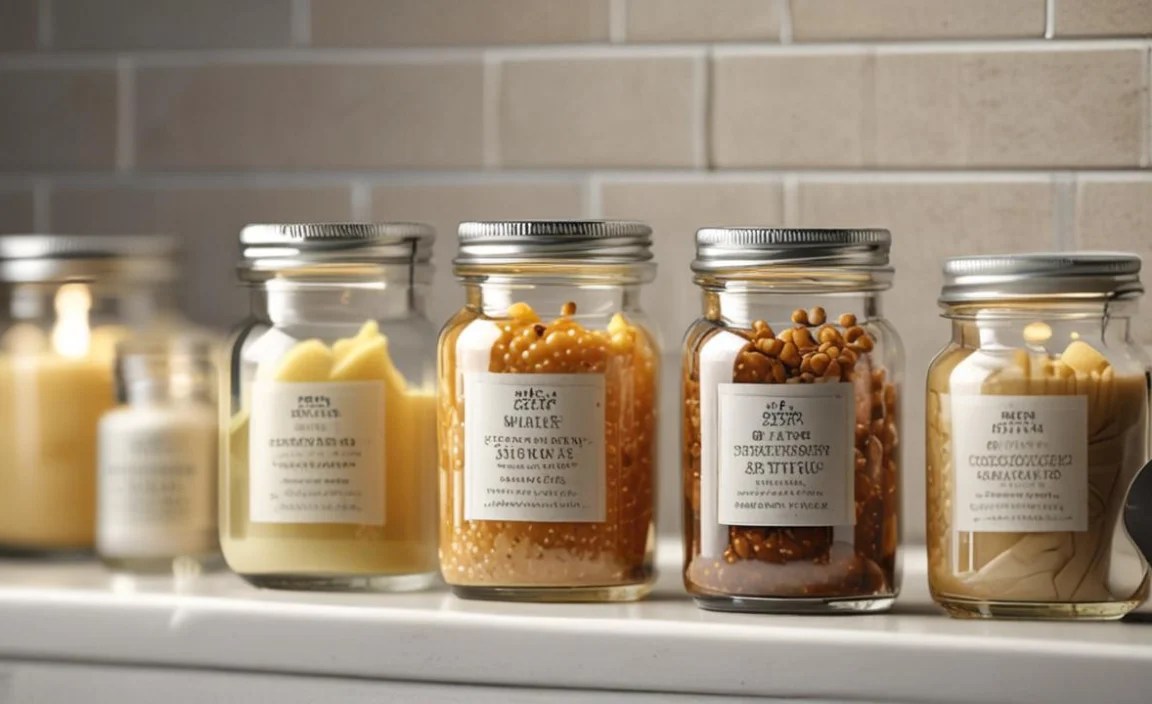
In a bathroom, especially a smaller one, every inch counts. Jars offer a fantastic way to store a multitude of small items like cotton balls, Q-tips, hair ties, bath salts, and even medication. However, without clear identification, these jars can quickly become confusing jumbles. This is where bathroom labels for jars come in, acting as your tiny organizational superheroes.
Here’s why they are so essential:
- Effortless Identification: No more guessing games! Labels tell you exactly what’s inside each jar at a glance. This saves time and frustration, especially when you’re in a hurry.
- Reduces Waste: When you can easily see what you have, you’re less likely to buy duplicates or let items expire or go unused at the back of a drawer.
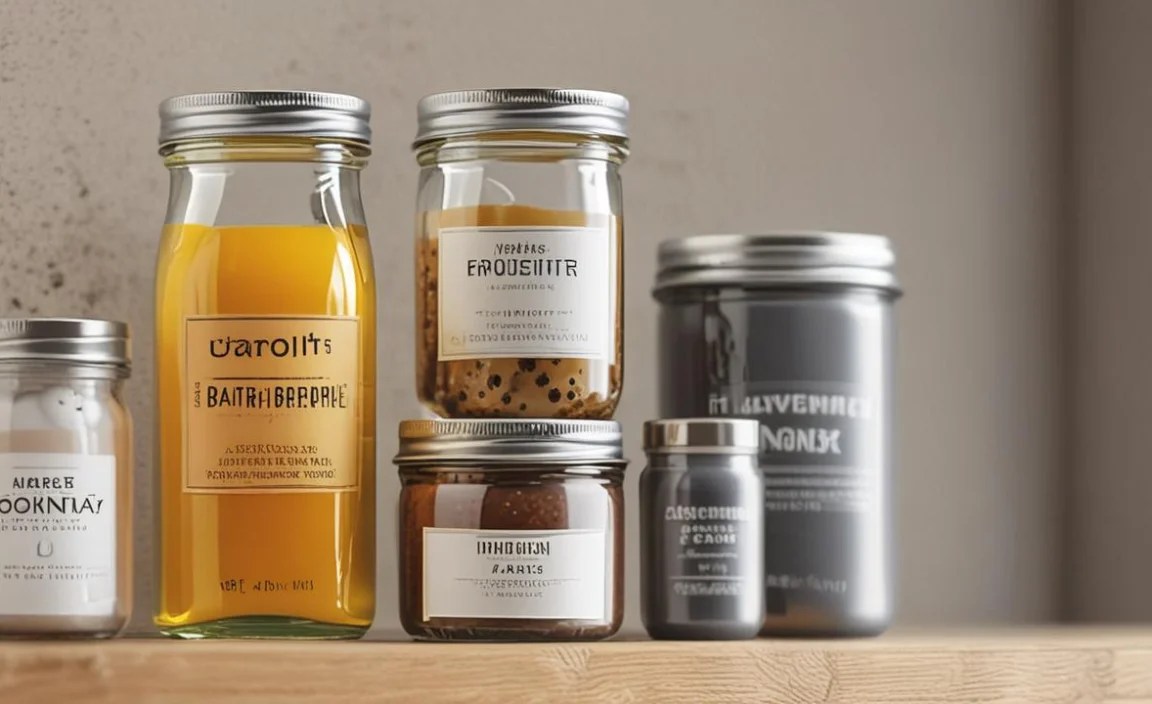
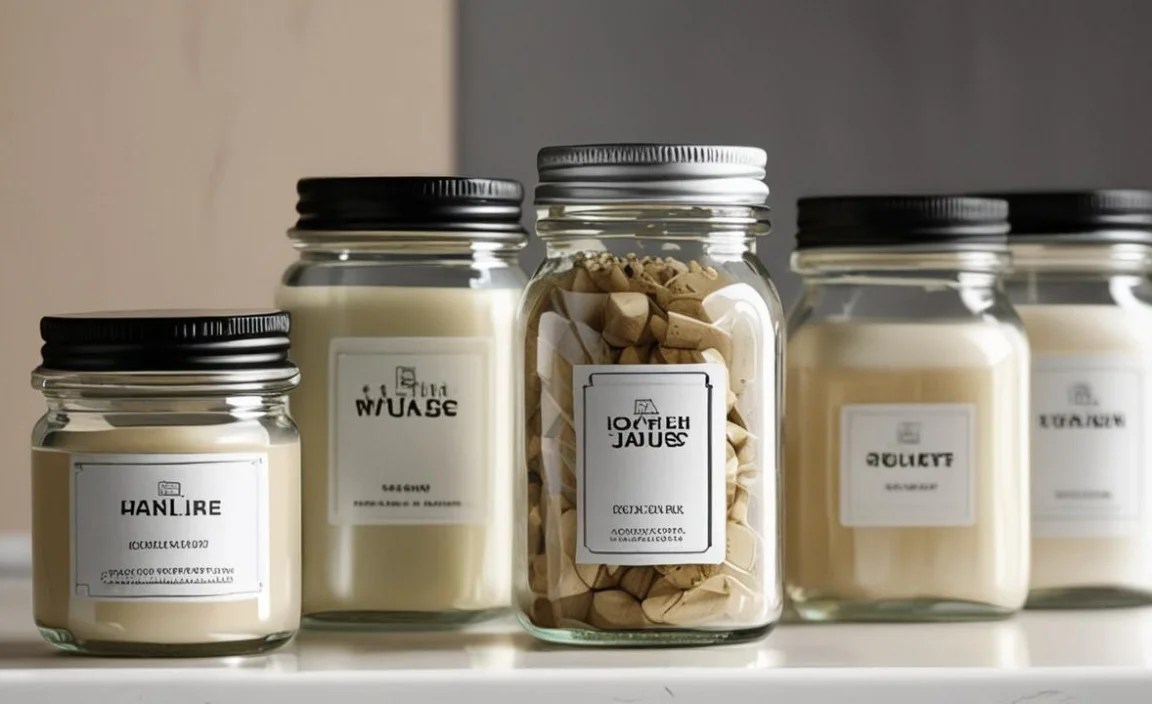
- Aesthetic Appeal: Uniformly labeled jars create a polished and sophisticated look, making your bathroom feel more like a spa or a high-end hotel.
- Space Optimization: By using clear jars and labeling them, you can often consolidate items and make better use of vertical space by stacking or arranging them attractively.
- Hygiene and Protection: Jars with lids protect your items from moisture, dust, and other contaminants. Labels ensure you don’t accidentally mix up contents.
- Beginner-Friendly Organization: This is one of the easiest DIY organization projects you can undertake, requiring minimal tools and skills.
Imagine opening your medicine cabinet or linen closet and seeing neatly arranged jars, each with a clear, legible label. It’s a small change that makes a huge difference in the daily functionality and calm of your bathroom. For those seeking bathroom labels for jars for small spaces, this method is particularly effective, consolidating items and freeing up precious counter and drawer real estate.
Choosing the Right Jars for Your Bathroom
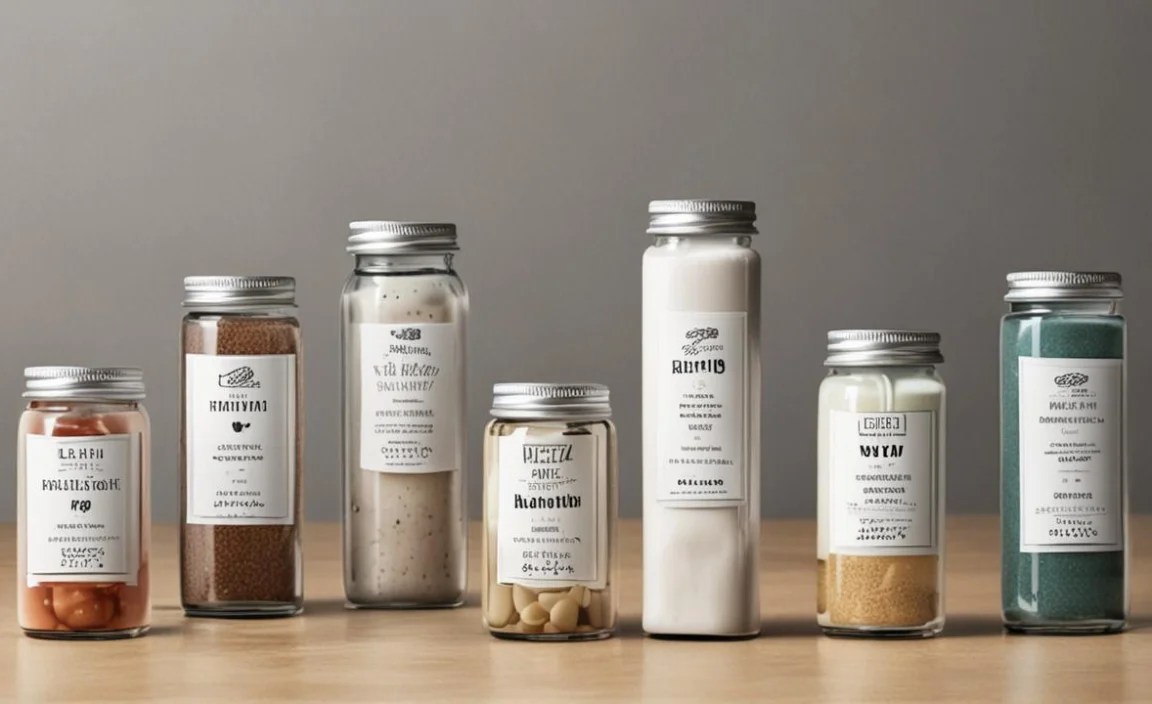
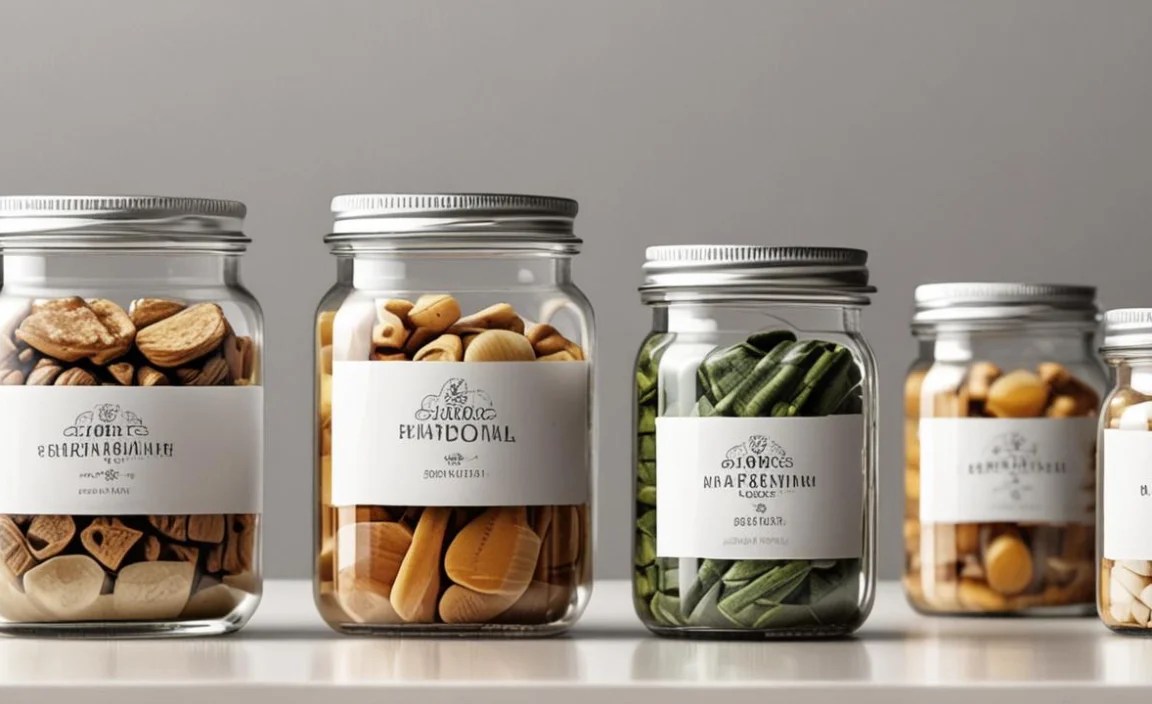
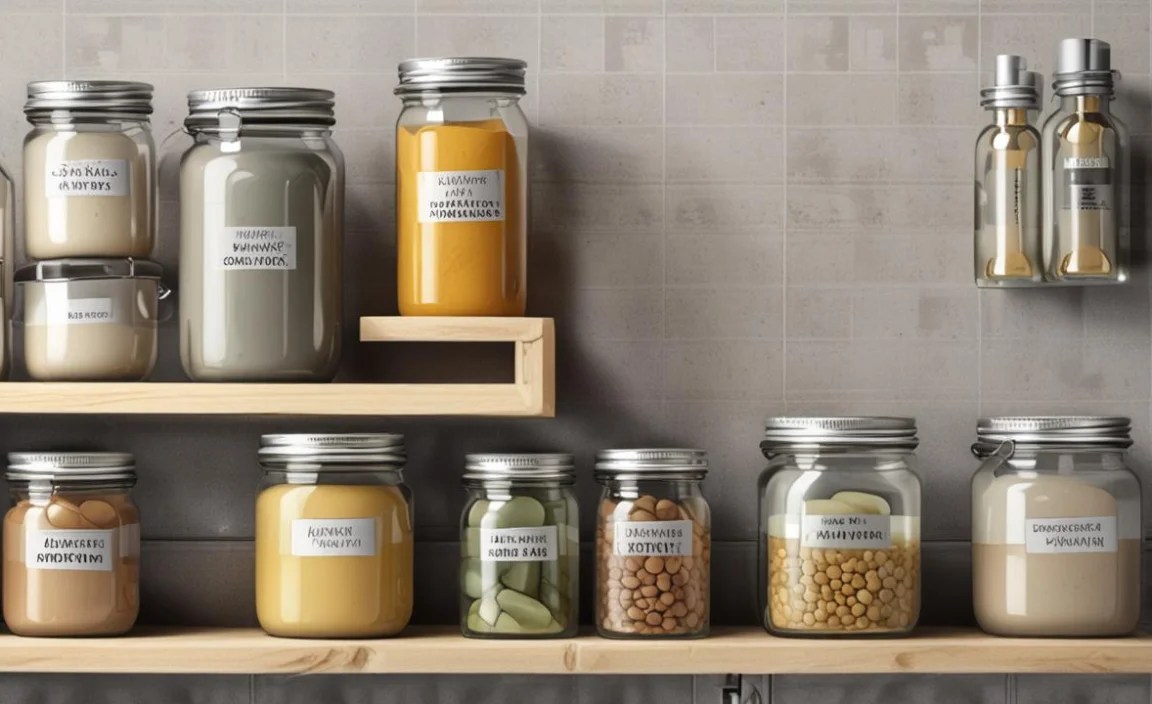
Before you start labeling, selecting the right jars is key. The best jars for bathroom organization are typically clear, allowing you to see the contents (even if they aren’t perfectly neat). This transparency also helps in identifying items quickly. Consider the following types:
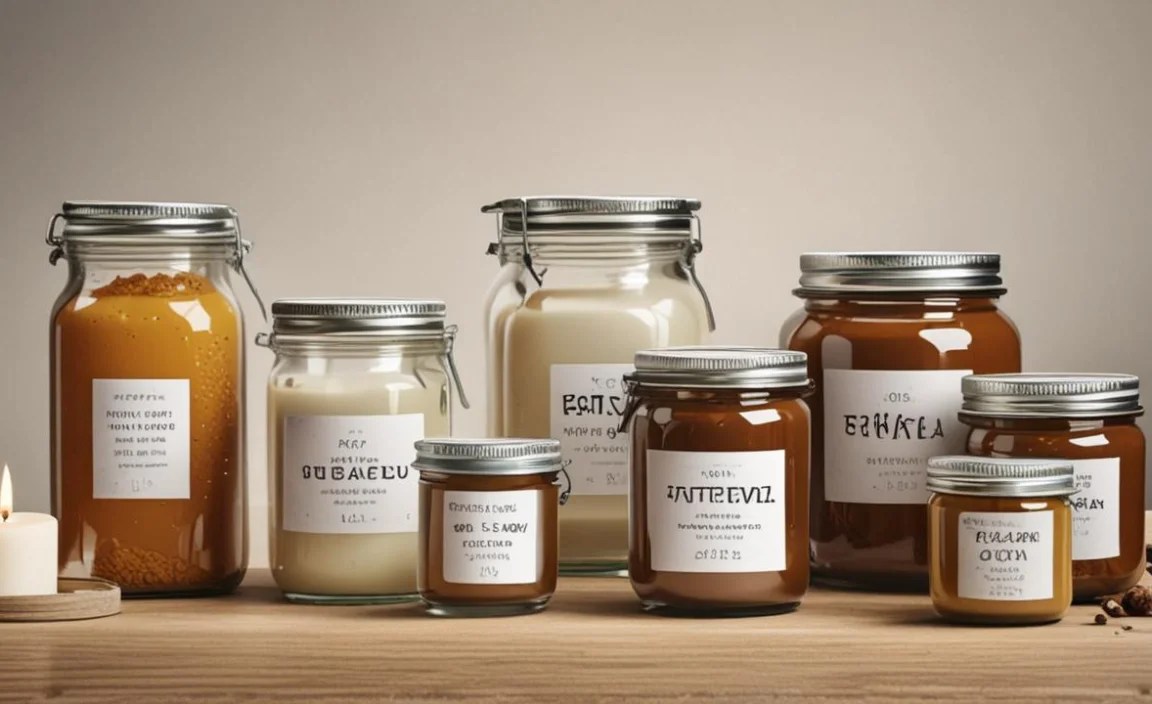
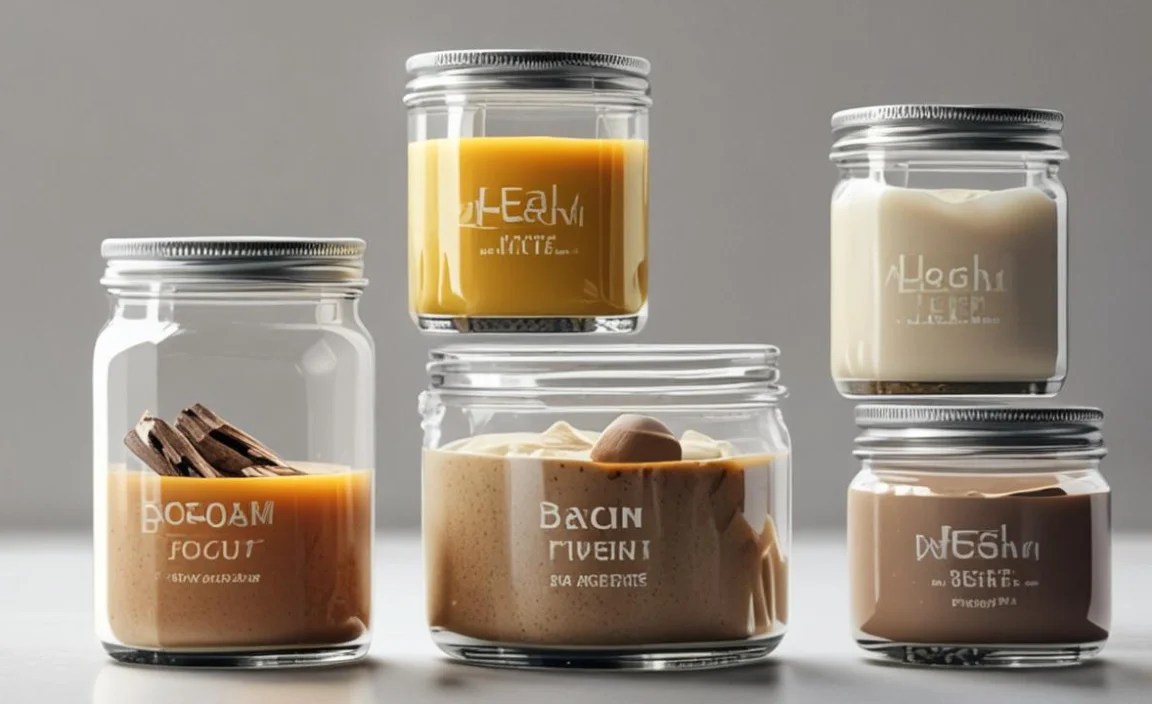
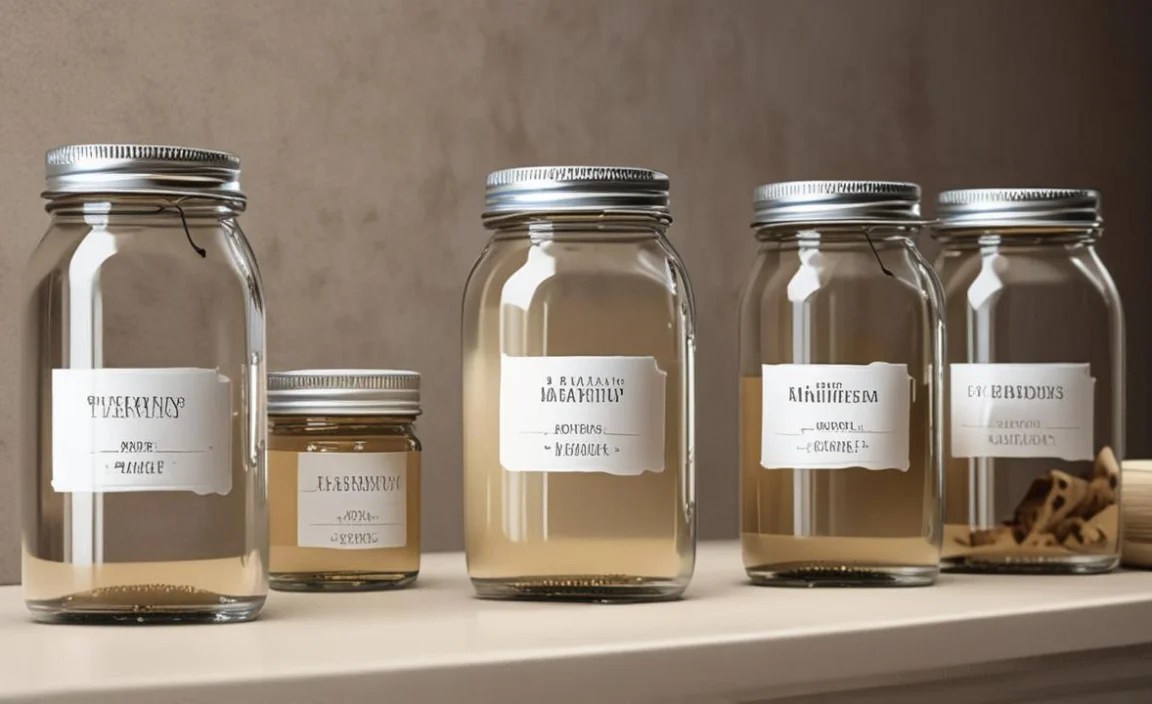
- Glass Jars: These are a popular choice due to their durability, ease of cleaning, and elegant appearance. Mason jars, repurposed jam jars, or dedicated glass apothecary jars all work wonderfully. They are also non-porous, which is great for hygiene.
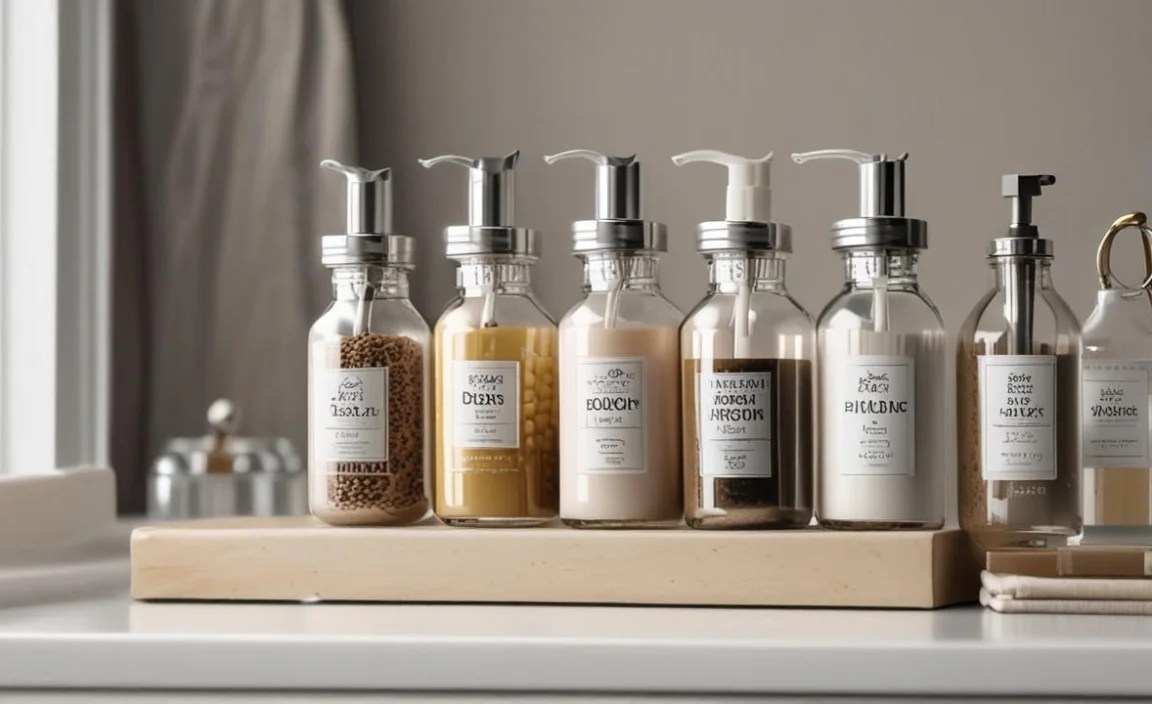
- Clear Plastic Jars: Lighter and less prone to breaking than glass, plastic jars are a practical option, especially if you have children or a busy household where items might get knocked over. Look for BPA-free options for storing personal care items.
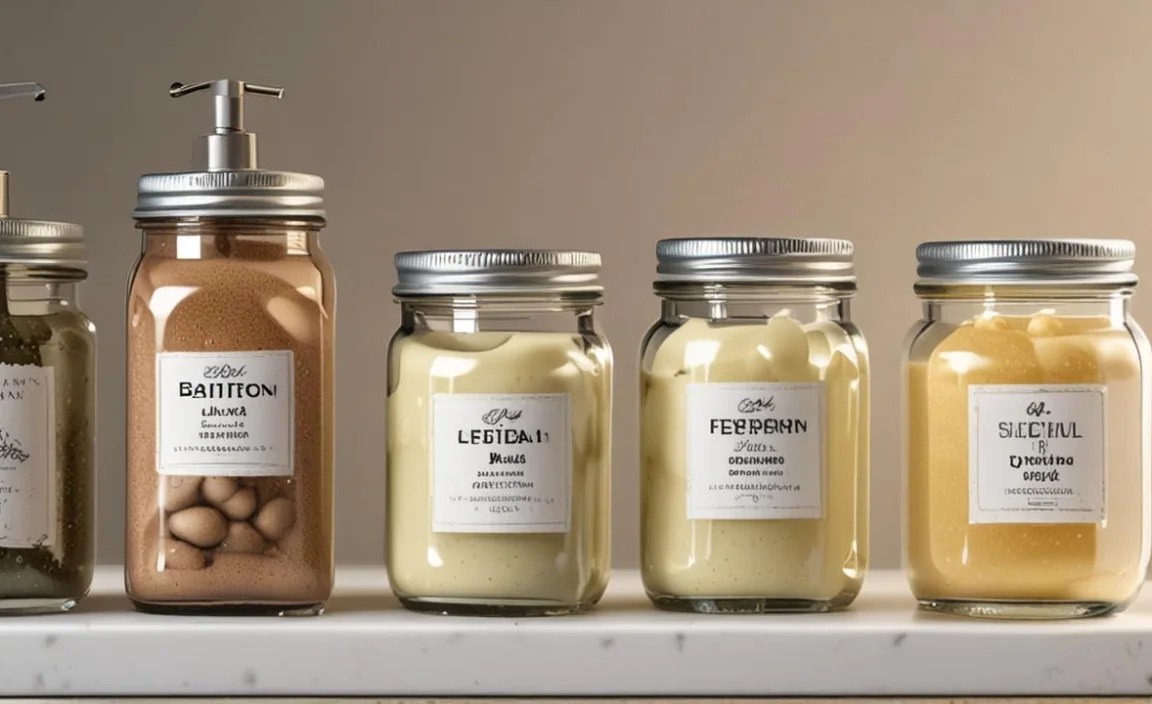
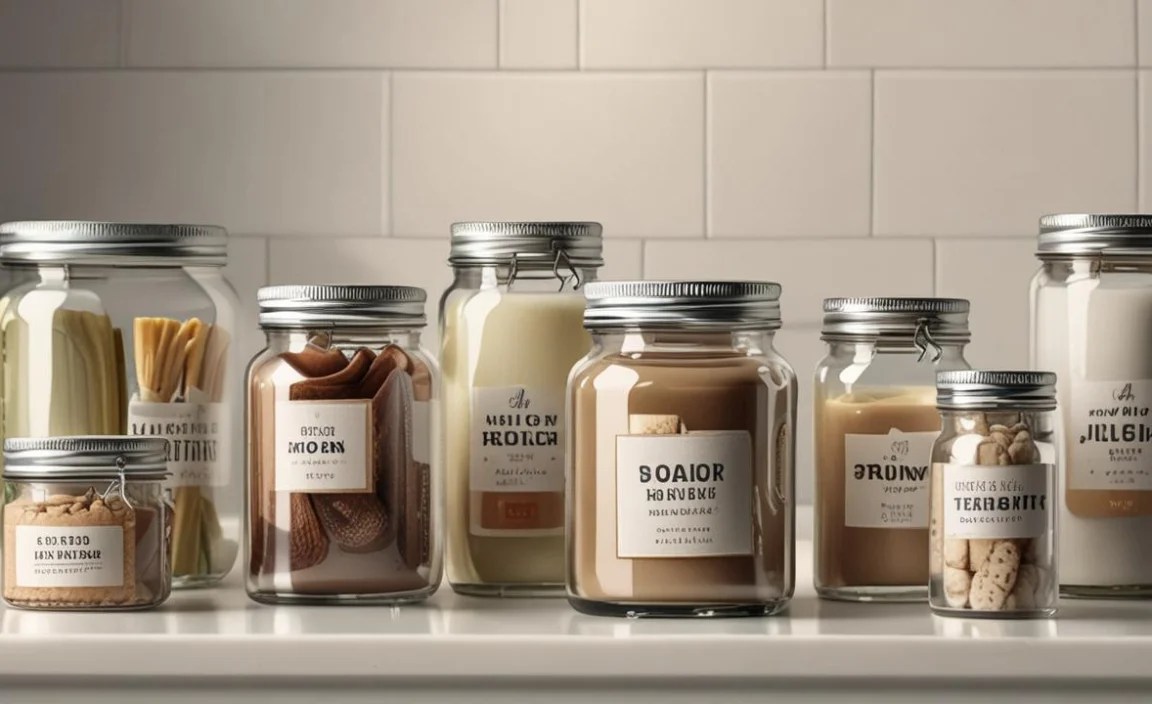
- Apothecary Jars: These are often glass and come with stylish lids, adding a touch of vintage charm. They are perfect for displaying items like decorative soaps, cotton balls, or bath salts.
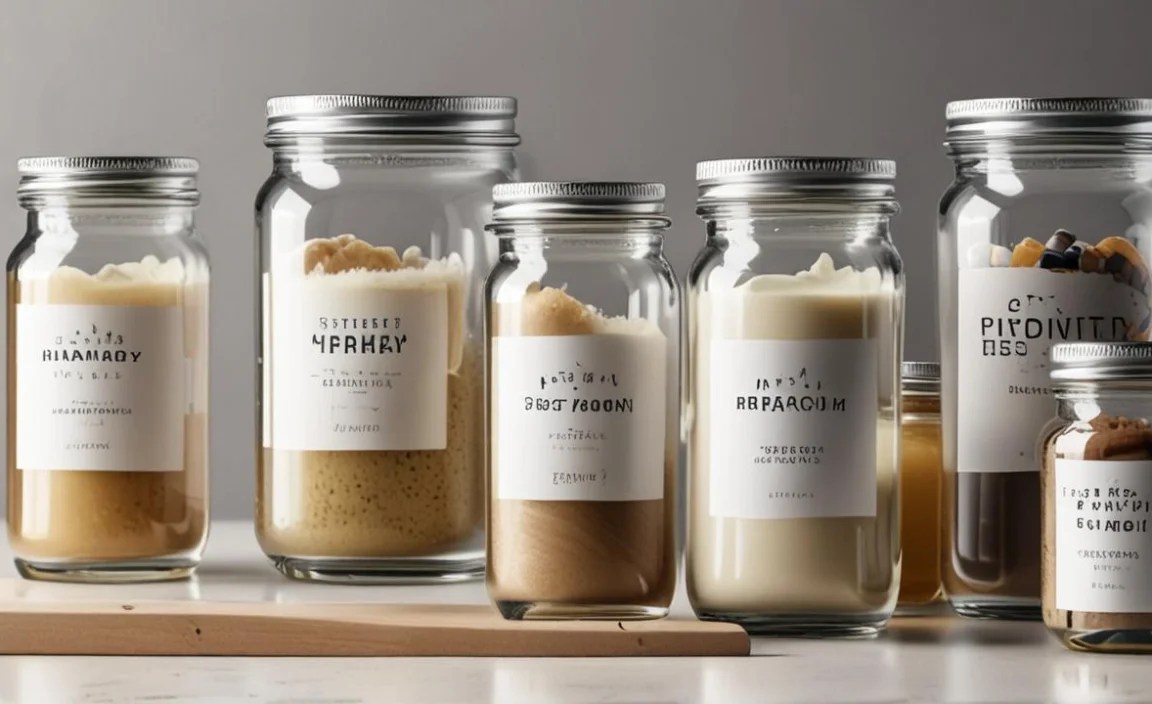
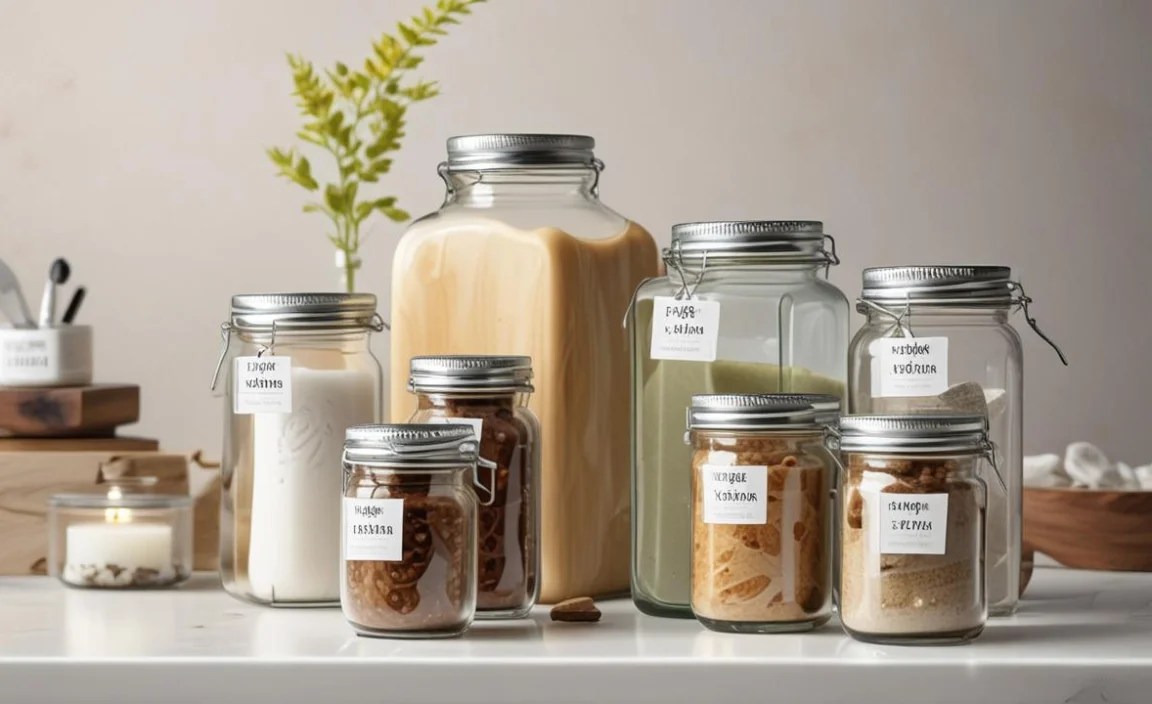
When choosing sizes, think about what you’ll be storing. Small jars are ideal for cotton swabs or hairpins, while larger ones can hold bath bombs, larger cotton rounds, or even travel-sized toiletries. Consistency in jar style can also contribute to a cohesive look.
Selecting Your Bathroom Jar Labels: Materials and Styles
The beauty of bathroom labels is the sheer variety of options available. Your choice will depend on your personal style, the durability you need, and how you plan to apply them. Here are some popular choices:
DIY Labeling Methods
For the hands-on enthusiast, creating your own labels is a rewarding and cost-effective approach.
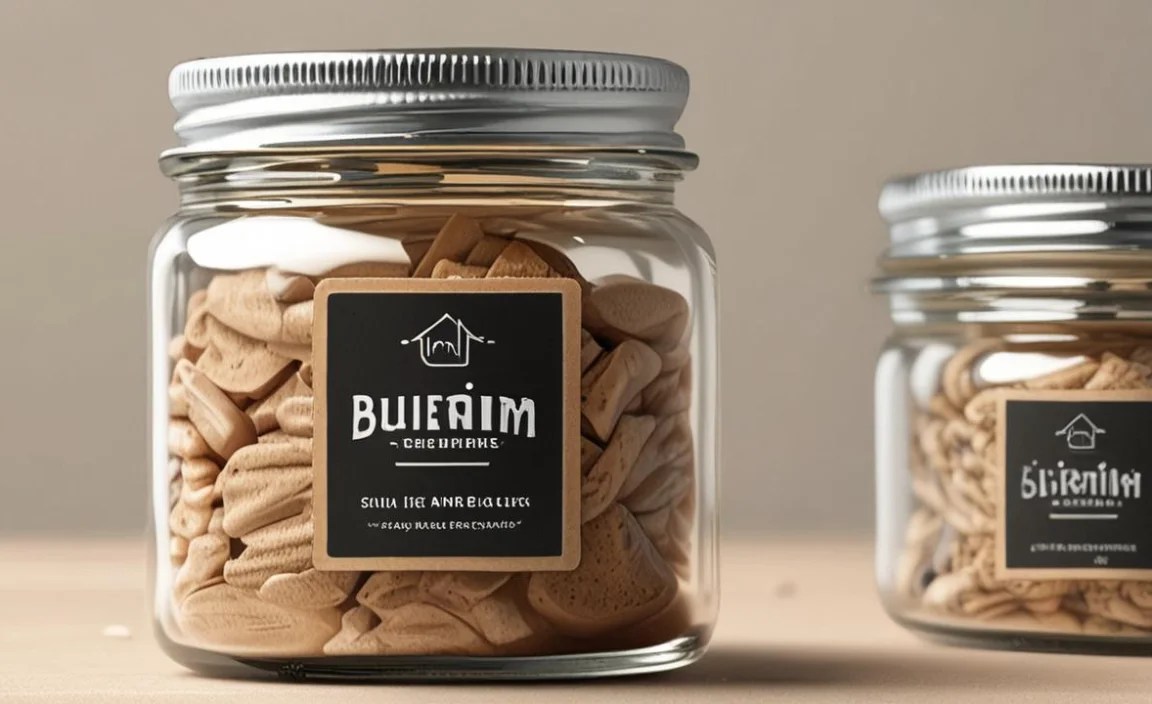
- Chalkboard Labels: These sticky labels can be applied to any jar. You can write on them with chalk markers (which are less messy than traditional chalk) and wipe them clean to change the contents if needed. They offer a rustic, customizable look.
- Kraft Paper Labels: Print or handwrite your labels on kraft paper for a natural, earthy feel. You can cut them to size and adhere them with double-sided tape or a glue stick.
- Waterproof Vinyl Stickers: These are fantastic for bathrooms as they can withstand humidity and splashes. You can often print these yourself using a Cricut or similar machine, or purchase pre-cut ones online.
- Hand-Painted or Stamped Labels: For a truly unique touch, you can hand-paint or stamp directly onto glass jars or onto separate tags that you attach.
Pre-Made Label Options

If you prefer convenience, there are many ready-to-use labels available:
- Adhesive Labels: These come in rolls or sheets, often pre-printed with common bathroom items or blank for you to fill in. Look for water-resistant or waterproof options specifically designed for kitchens and bathrooms. Companies like My Nametags offer examples of highly durable, waterproof labeling solutions that are perfect for humid environments.
- Label Makers: A label maker is a brilliant investment for any home organizer. They produce durable, easy-to-read labels with a professional finish. Many models offer various fonts and styles.
- Tags and Twine: Small hang tags, perhaps made of cardstock or wood, can be tied around the neck of jars with twine or ribbon. This is a charming, non-permanent option.
Key Considerations for Bathroom Labels:
No matter your chosen method, keep these points in mind:
- Durability: Bathrooms are humid. Choose labels that can withstand moisture without peeling, smudging, or fading. Waterproof vinyl or laminated labels are excellent choices.
- Adhesion: Ensure your labels will stick securely to the jar surface, whether it’s glass or plastic. Some surfaces might require a specific type of adhesive or a degreaser to ensure good contact.
- Readability: The font or handwriting should be clear and large enough to read easily, even from a slight distance. Contrasting colors can help significantly.
- Style Consistency: To achieve a cohesive look, try to stick to one style or color palette for your labels throughout the bathroom.
Step-by-Step Guide: Creating and Applying Your Bathroom Jar Labels
Let’s get down to business! Here’s a simple, beginner-friendly guide to creating and applying your bathroom jar labels. We’ll focus on a popular and versatile method using waterproof vinyl stickers – a great solution for bathroom humidity.
Materials You’ll Need:
- Clean, dry glass or plastic jars
- Your chosen labels (e.g., waterproof vinyl stickers, label maker tape, chalkboard stickers)
- Scissors or a craft knife (if cutting labels from a sheet)
- A small level (optional, for precise placement)
- Rubbing alcohol or glass cleaner (for preparing jar surfaces)
- A soft cloth or paper towel
- The items you plan to store in your jars
Step 1: Clean Your Jars Thoroughly
Before applying any label, ensure your jars are spotless. Any dust, oil, or residue will prevent the label from adhering properly and can cause it to peel prematurely. Wash your jars with soap and water, then rinse and dry them completely. For an extra secure application, wipe down the area where the label will go with rubbing alcohol and a clean cloth. Let it dry fully.
Step 2: Prepare Your Labels
For pre-cut stickers: Simply peel the label from its backing. If you have a design or specific orientation, make sure you know how you want it to appear.
Step 3: Plan Your Label Placement
Decide where you want the label to go on each jar. Typically, placing it at the front, centered, is most effective. Consider how the jar will be positioned on the shelf or in the cabinet. If you want them perfectly straight, use a small level to guide your placement before sticking.
Step 4: Apply the Labels with Care
This is where you bring your organization to life!
Step 5: Write or Print Your Label Content
Once the label is securely on the jar, it’s time for the content.
Here’s a great resource for tips on creating professional-looking labels with machines like Cricut: Cricut’s guide to using vinyl offers insights applicable to many DIY labeling projects.
Step 6: Fill Your Jars and Organize
Now for the satisfying part! Sort your bathroom items and place them into their newly labeled jars. Arrange the jars on your shelves, in drawers, or on countertops. Step back and admire your work!
Practical Applications: What to Label in Your Bathroom?
The beauty of labeled jars is their versatility. Here are some common and highly effective uses for organizing your bathroom space:
| Item to Store | Recommended Jar Type | Label Example | Notes |
|---|---|---|---|
| Cotton Balls | Clear Glass or Plastic Jar with Lid | COTTON BALLS | Keeps them clean and easy to grab. |
| Cotton Swabs (Q-tips) | Small Clear Glass or Plastic Jar with Lid | Q-TIPS | Prevents them from scattering. |
| Hair Ties/Bobby Pins | Small Jar or decorative container | HAIR TIES / BOBBY PINS | No more searching for a matching tie! |
| Bath Salts/Epsom Salts | Apothecary Jar or larger Glass Jar | BATH SALTS | Adds a spa-like feel. Ensure lid is airtight. |
| Loofahs/Sponges | Open-top decorative basket or large jar | LOOFAHS | Allows for air circulation. |
| Medications (e.g., pain relievers, antacids) | Opaque or opaque-lidded jars (for stability) | PAIN RELIEF / ANTACIDS | Crucial for easy identification and safety. Keep out of reach of children. For dosage information, consider a small separate note or label ON the jar listing specifics. |
| First Aid Supplies (bandages, antiseptic wipes) | Opaque jars or a dedicated first-aid jar | FIRST AID | Quick access during emergencies. |
| Travel-Sized Toiletries | Small jars or clear cosmetic bags within a larger jar | TRAVEL SHAMPOO / TRAVEL CONDITIONER | Organizes your vacation essentials. |
| Soap Bars | Decorative jar (ensure good airflow) | SOAP BARS | Keeps bars dry and presentable. |
| Dental Floss Picks | Small jar | FLOSS PICKS | Keeps them tidy and accessible. |
Tips for Specific Small Spaces:
When space is at a premium, think vertically and utilize every corner.
- Cabinet Shelves: Stack or line up labeled jars. Use clear acrylic risers to create multiple levels within a single shelf, maximizing vertical space.
- Countertops: Opt for smaller jars that don’t take up too much surface area. A tray can corral several small labeled jars, keeping the countertop neat.
- Drawer Organizers: Place smaller labeled jars inside drawers. This keeps items contained and prevents them from rolling around.
Remember, the goal is to create a system that works for YOU. Don’t be afraid to experiment with different jar types, label styles, and arrangements until you find what brings you the most satisfaction and organization.
Maintaining Your Organized Bathroom
Once you’ve achieved bathroom bliss with your labeled jars, the key is to maintain it. Regular upkeep will prevent clutter from creeping back in:
- Regular Decluttering: Make it a habit to sort through your jars every few months. Discard expired items, consolidate nearly empty containers, and reorganize anything that’s become messy.
- Immediate Re-labeling: If a label peels off or becomes illegible, replace it promptly. Don’t let unlabeled jars linger.
- Wipe Down Jars: Periodically, especially if you’re using glass jars, give them a quick wipe down with a damp cloth to remove soap scum or water spots.
- Resist Over-Purchasing: With clear organization, you’ll see what you have. Use this visibility to avoid buying items you don’t need.
- Involve the Household: If you live with others, explain your system and encourage them to use it. Consistency is key to long-term success.
A well-organized bathroom isn’t just about appearances; it contributes to a calmer, more efficient start and end to your day. Taking a few hours to implement this labeling system can pay dividends in daily convenience.
Frequently Asked Questions (FAQ)
Here are some common questions beginner DIY organizers have about using bathroom labels for jars:
Q1: Are waterproof labels really necessary for bathroom jars?

Yes, very much so! Bathrooms are inherently humid environments due to showers and baths. Standard paper labels will quickly absorb moisture, leading to peeling, tearing, smudging, or ink running. Waterproof or water-resistant labels are designed to withstand these conditions, ensuring your labels stay readable and intact for a long time.
Q2: How do I remove old labels from jars?
For most glass jars, you can soak them in warm, soapy water for about 30 minutes to an hour. Most labels will then peel off easily. For stubborn adhesive residue, you can use goo-remover products, cooking oil (like olive or canola oil), or even a bit of rubbing alcohol. Gently scrape with a plastic scraper or an old credit card. For plastic jars, be careful not to scratch the surface.
Q3: What’s the best way to label dark or opaque jars?

If your jars aren’t clear, you’ll need labels that stand out. Consider using bold, contrasting colors for your labels (e.g., white text on a black label, or black text on a white label). Alternatively, you could adhere a small piece of lighter
