
Quick Summary: Maximize your bathroom’s potential with space-saving items featuring built-in holders. These smart solutions declutter your countertops and walls, keeping essentials organized and accessible. From shower caddies to wall-mounted organizers, discover practical ways to transform even the smallest bathroom into a functional oasis.
Is your bathroom feeling a bit cramped? You’re not alone! Small bathrooms are a common challenge, and keeping them tidy can feel like an uphill battle. Cluttered countertops and overflowing shelves can make even the most relaxing space feel stressful. But don’t worry, there’s a simple and effective way to reclaim your bathroom’s square footage. We’ll show you how to use clever, space-saving bathroom items that come with their own handy holders. These aren’t just organizational tools; they’re your ticket to a more serene and functional bathroom. Let’s dive into how to make your bathroom work smarter, not harder!
Why Space-Saving Bathroom Items With Holders Are a Game Changer
In today’s homes, especially apartments or older houses, bathrooms often aren’t blessed with vast amounts of space. This scarcity of room can quickly lead to clutter. Piles of toiletries on the sink, toothbrushes scattered, and towels that never seem to have a proper place can make your sanctuary feel anything but. This is where space-saving bathroom items with integrated holders shine. They are designed with efficiency and organization in mind, transforming awkward corners and underutilized wall space into functional storage zones.
Think about your daily routine. Where do you keep your shampoo and conditioner? What about your toothbrush and toothpaste? Traditionally, these items might sit on the edge of the tub or a crowded vanity. But when you opt for items with built-in holders – like a shower caddy that hangs from your showerhead or a wall-mounted toothbrush holder – you instantly free up valuable surface area. This means less cleaning around clutter and more room to actually move. These solutions are brilliant for small bathrooms, RVs, dorm rooms, or any situation where space is at a premium.
The key benefit is dual-purpose utility. These items don’t just store something; they store something while performing another function or taking up minimal space themselves. A wall-mounted toilet paper holder with a shelf, for instance, provides a place for your toilet paper roll and a small surface for your phone or a decorative item, all without touching your floor or vanity.
Types of Space-Saving Bathroom Items With Holders
The market is brimming with ingenious solutions to help you get the most out of your bathroom. From the shower to the vanity and even the toilet area, there’s a holder-equipped organizer for almost every need. Let’s break down some of the most popular and effective options.
Shower and Bathtub Organizers
The shower is often ground zero for bathroom clutter. Without proper organization, bottles can easily multiply and spill, creating a slippery mess. Items with holders are essential here.
- Corner Shelves/Caddies: These units are designed to fit snugly into the corner of your shower or bathtub. Many are tension-rod supported, meaning they can be installed without drilling. They provide multiple tiers for shampoo, conditioner, body wash, and soap, keeping them neatly stacked and off the tub edge. Some even include small hooks for razors or loofahs.
- Hanging Shower Caddies: The classic hanging shower caddy slips over your showerhead or curtain rod. Look for multi-compartment versions that offer dedicated spaces for bottles, soap dishes, and even smaller items like facial cleansers. Materials range from plastic and wire mesh to more decorative options like bamboo.
- Wall-Mounted Shower Dispensers: These are fantastic for eliminating multiple bottles. They attach to your shower wall (often with strong adhesive or screws) and have clear chambers for liquids like shampoo, conditioner, and body wash. A simple pump action dispenses the product, keeping your shower clutter-free and making cleaning a breeze.
- Suction Cup Shelves and Holders: While not always the most permanent solution, suction cup organizers can be very useful for small items. Think toothbrush holders, razor holders, or small baskets for soap. They can be repositioned easily, making them great for renters.
Pro Tip: When choosing shower organizers, consider the materials. Stainless steel or rust-resistant aluminum are excellent choices for longevity and preventing unsightly rust marks. If you have a lot of large bottles, ensure the compartments are deep and wide enough.
Vanity and Countertop Organizers
The bathroom vanity is prime real estate that can quickly become an eyesore if not managed. Organizers with holders are crucial for keeping daily essentials within easy reach but neatly stored.
- Rotating Makeup Organizers: These often feature multiple tiers and compartments, with slots and holders designed to keep brushes upright, lipsticks in place, and creams neatly separated. Their rotating base allows you to access items from any angle without taking up extra horizontal space.
- Toothbrush Holders with Compartments: Beyond just holding toothbrushes, many now include separate sections for toothpaste, razors, or even small jars for cotton swabs. Some are wall-mounted to free up counter space entirely.
- Tiered Drawer Organizers: While not always a “holder” in the strictest sense, these multi-level inserts for your vanity drawers are brilliant for maximizing vertical space. They keep small items like hair ties, bobby pins, and medication sorted and visible, preventing the dreaded “junk drawer” effect.
- Wall-Mounted Shelves with Hooks: Install a sleek shelf above your sink or toilet and use its integrated hooks for towels, robes, or even small storage baskets. This moves items off the counter and onto the wall.
- Jewelry and Accessory Trays with Holders: Small, discreet trays with designated spots for rings, earrings, and other daily-wear jewelry can prevent them from getting lost or tarnished on a wet counter.
Toilet Area Organizers
Don’t forget the space around your toilet! It’s often overlooked but can be efficiently utilized.
- Toilet Paper Holders with Shelves or Cabinets: These are a lifesaver for extra rolls. Many units are designed to fit snugly beside the toilet, offering a discrete storage solution. Some have small shelves on top for air fresheners or small decor items, while others are enclosed cabinets to keep spare rolls dust-free.
- Narrow Rolling Carts: These slim carts are designed to slide into the narrow gap between your toilet and the wall or vanity. They often have multiple shelves and can hold toilet paper, cleaning supplies, extra toiletries, and more.
- Over-the-Toilet Storage Units: These are essentially shelving units that span over the back of the toilet. They provide significant storage without taking up any additional floor space. Look for models with shelves, cabinets, or even towel bars integrated.
- Wall-Mounted Baskets or Caddies: Install these on the wall near the toilet for storing cleaning brushes, extra soap, or small personal care items.
Key Features to Look For
When shopping for space-saving bathroom items with holders, certain features can make a big difference in their practicality and longevity. Here’s what to keep in mind:
- Material Durability: Bathrooms are humid environments. Opt for materials that are rust-resistant and easy to clean, such as stainless steel, treated aluminum, high-quality plastic, or sealed bamboo.
- Installation Method: Consider how the item will be installed. Do you want to drill holes (permanent and secure)? Or do you prefer adhesive backs, suction cups, or tension rods (removable and often renter-friendly)?
- Size and Capacity: Measure your space carefully and consider how much you need to store. A large family will need a different capacity than a single person. Ensure the compartments are deep and wide enough for your typical items.
- Ease of Cleaning: Look for designs that don’t have too many nooks and crannies where mold and mildew can hide. Removable parts that can be easily wiped down are a plus.
- Aesthetic Appeal: While functionality is key, you also want items that complement your bathroom decor. Many modern designs are sleek and understated, blending seamlessly with most styles.
How to Choose the Right Space-Saving Items for Your Bathroom

Selecting the perfect space-saving bathroom items involves a little planning. It’s not just about buying the first cool-looking organizer you see; it’s about understanding your specific needs and your bathroom’s layout.
Step 1: Audit Your Current Clutter
Before you buy anything, take stock of what’s currently making your bathroom feel cluttered. Walk through your bathroom and identify the problem areas: Are there too many bottles on the shower ledge? Is your vanity covered in makeup and toiletries? Are spare toilet rolls overflowing from the cabinet?
- List the items you use daily.
- List the items you use less frequently but need to store.
- Note down where these items are currently stored (or not stored!).
Step 2: Measure Your Space
This is a crucial step that many overlook. Grab a tape measure and accurately record the dimensions of the areas where you plan to place your new organizers.
- Measure the width, depth, and height of available wall space.
- Measure the dimensions of your shower corners.
- Measure the space next to your toilet.
- Measure the internal dimensions of your vanity drawers or cabinets.
Step 3: Prioritize Your Needs
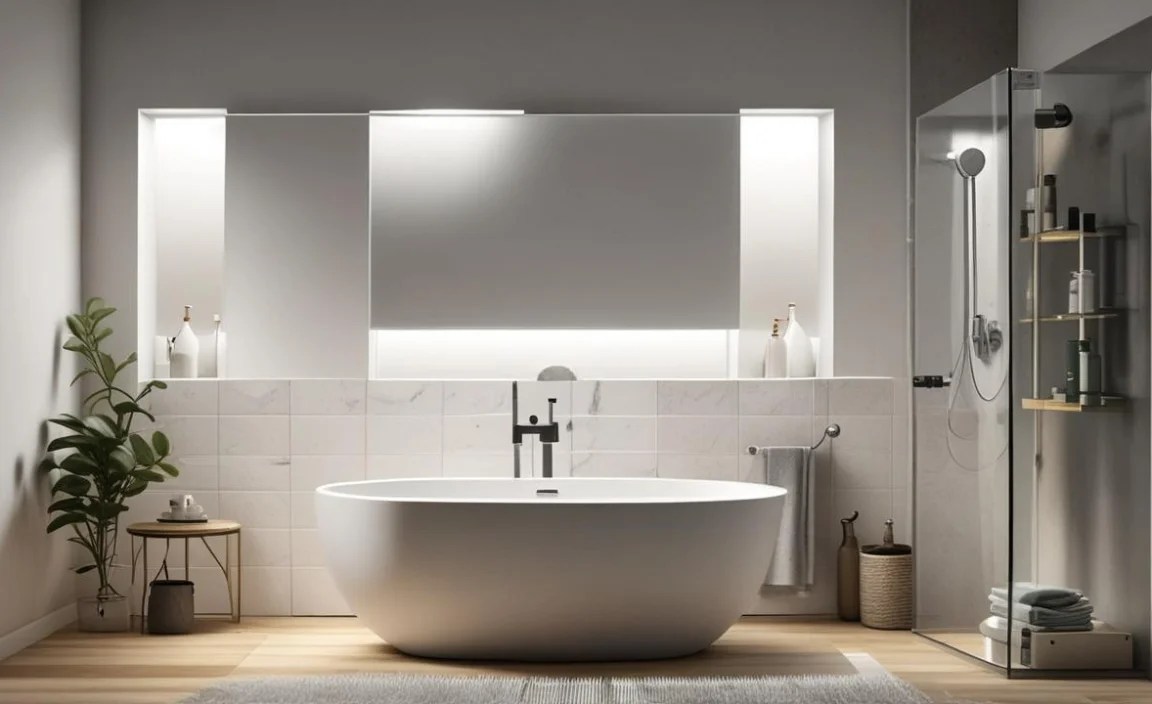
Based on your clutter audit and measurements, decide which areas need the most attention. It’s usually best to tackle the most problematic areas first.
For example, if your shower is a disaster zone, prioritize a shower caddy or dispenser. If your vanity is a mess, focus on countertop or drawer organizers.
Step 4: Consider Installation Requirements
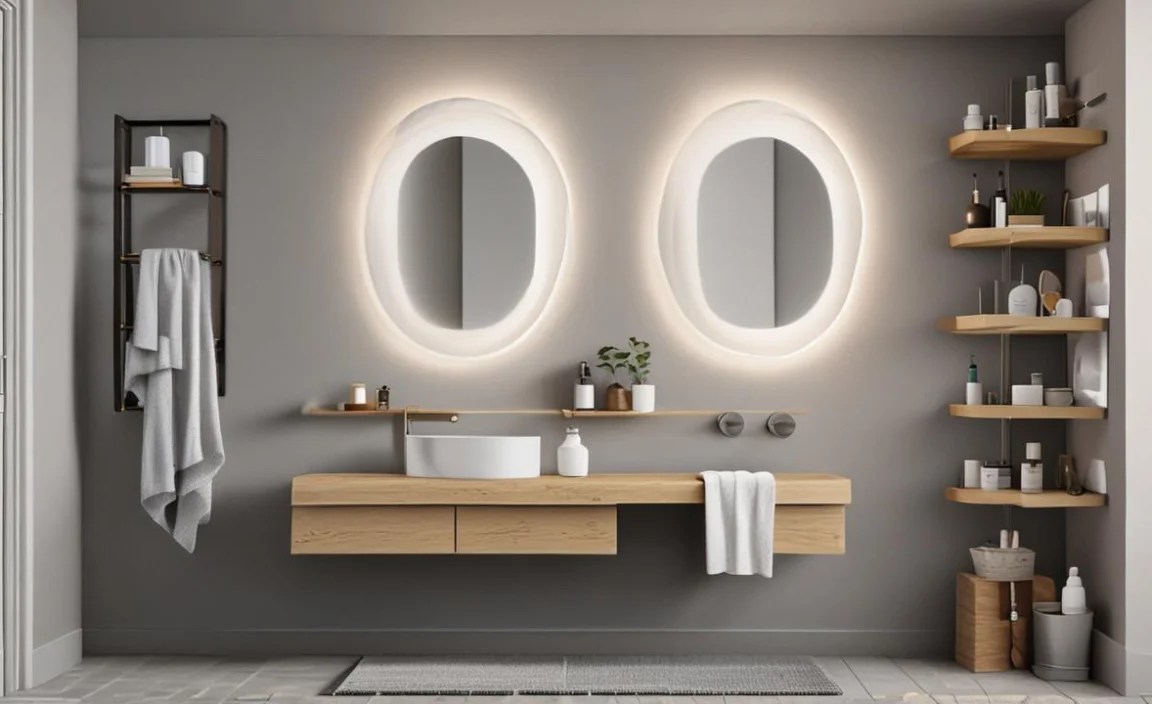
Think about your comfort level with DIY and your living situation.
- Renters: You’ll likely want to avoid drilling. Look for items that use strong adhesives, suction cups, tension rods, or freestanding designs.
- Homeowners: You have more flexibility. Drilling can provide the most secure installation for heavier items like wall-mounted cabinets or shelves.
Step 5: Match Items to Your Bathroom Style
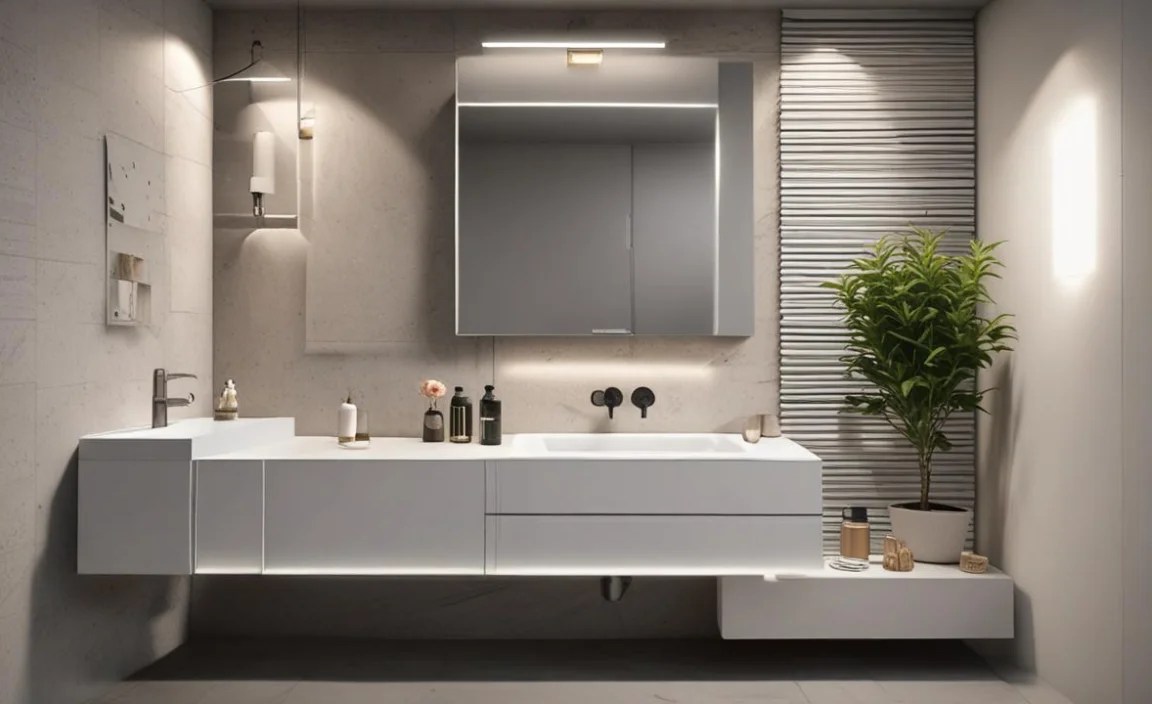
While not the most critical step, considering aesthetics can make your organized bathroom feel more appealing. Browse options that match your existing tile, fixtures, or color scheme. Modern, minimalist designs often work well in small spaces to avoid visual clutter.
Step 6: Read Reviews and Compare
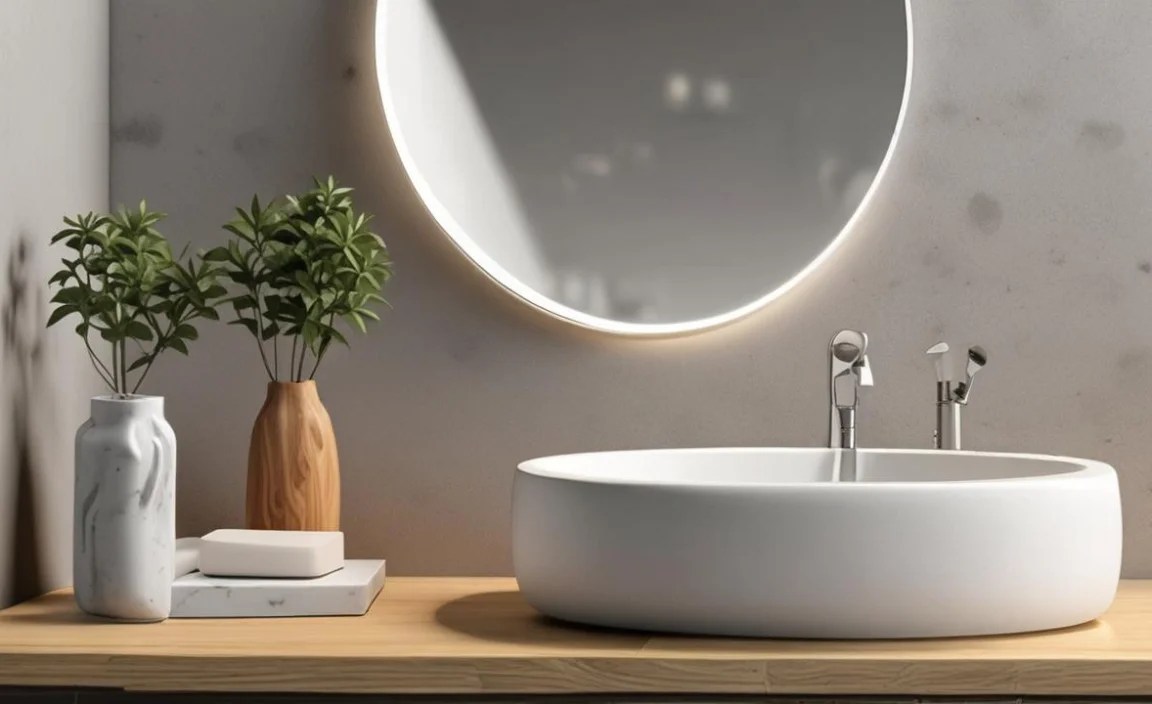
Once you have a shortlist of potential items, check online reviews from other users. They can offer valuable insights into the product’s durability, ease of installation, and actual performance. Compare prices and features from different retailers to ensure you’re getting the best value.
DIY Installation Tips for Beginners
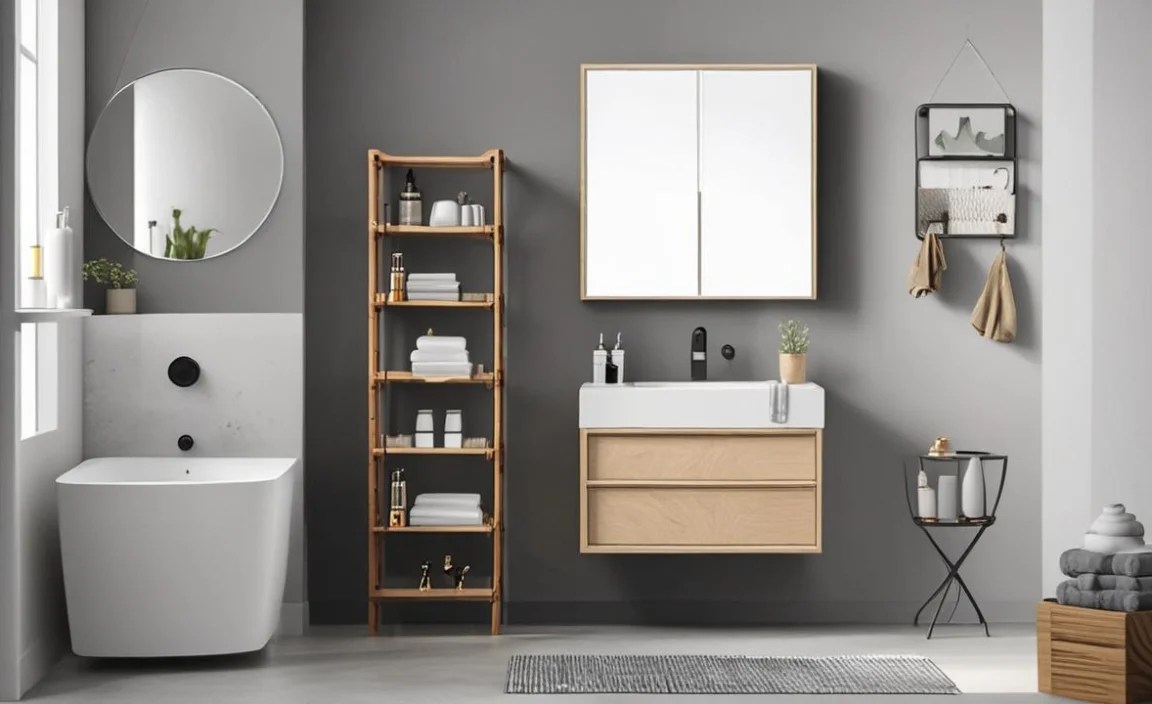
Many space-saving bathroom items are designed for easy setup, but a few beginner-friendly tips can make the process even smoother and safer.
Installing Wall-Mounted Items (Adhesive)
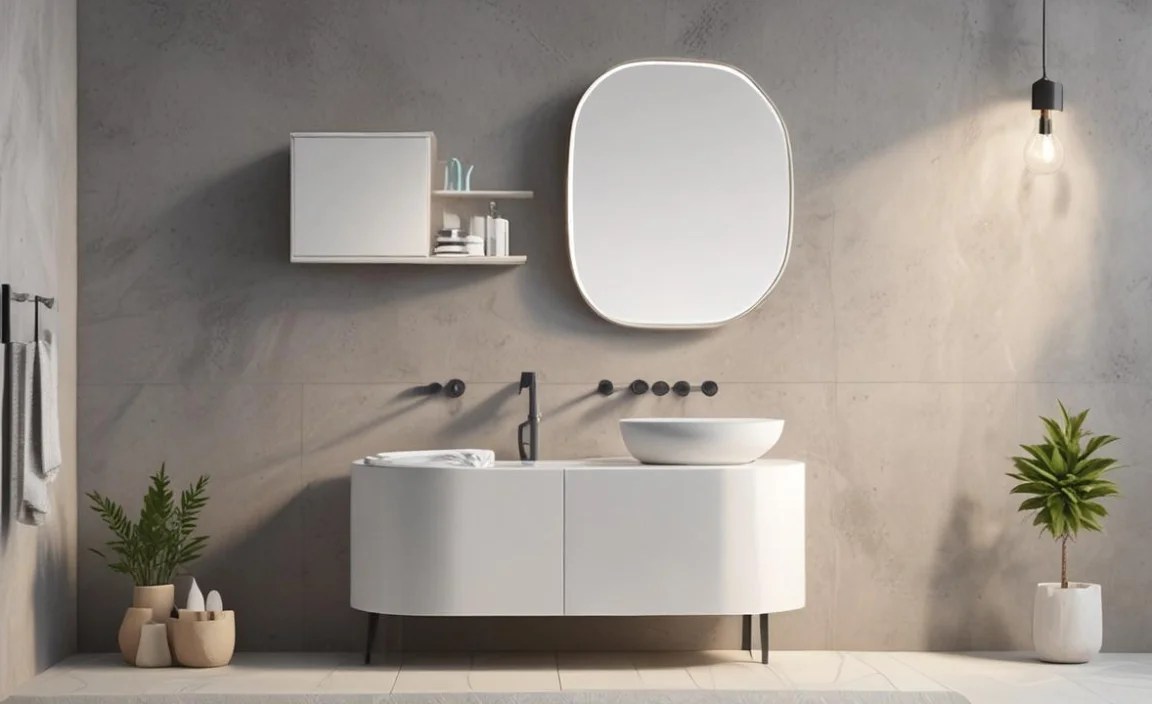
Many modern organizers use strong, water-resistant adhesives. It’s crucial to follow the manufacturer’s instructions precisely for a secure hold.
- Clean the Surface: This is non-negotiable. Use a good bathroom cleaner and a lint-free cloth to thoroughly clean the wall area where the organizer will be attached. Ensure it’s dry and free from soap scum, dust, or residue.
- Mark the Position: Use a pencil to lightly mark the desired location. A small level can ensure it’s straight.
- Apply the Adhesive/Tape: Most items come with pre-applied adhesive strips or a separate adhesive backing. Peel off the protective layer carefully.
- Press Firmly: Align the organizer with your marks and press it firmly against the wall. Hold it in place for the time recommended by the manufacturer (often 30-60 seconds) to ensure good contact.
- Wait Before Use: This is critical! Most adhesives require a curing period of 24-72 hours before the item can bear weight. Resist the urge to load it up immediately.
Safety Note: For peace of mind, you can research high-strength bathroom adhesives like 3M Command Strips, which are designed for wet environments and can be removed without damaging surfaces.
Installing Tension Rod Organizers
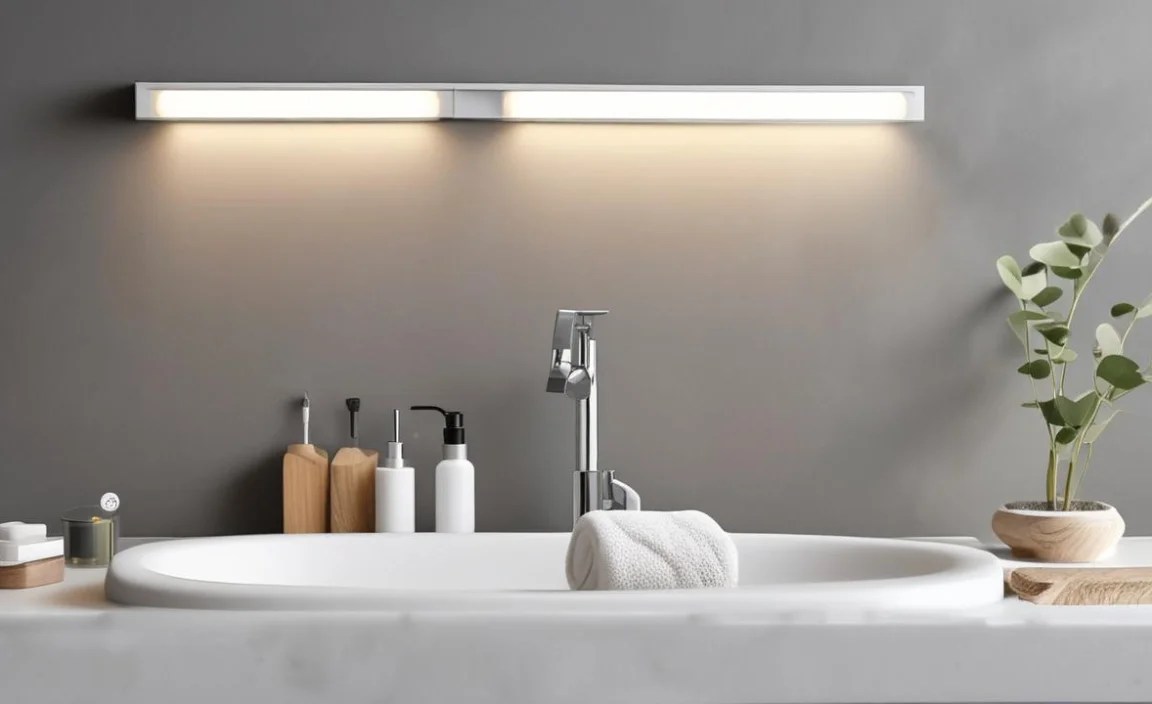
Tension rod caddies, often used in showers, require no drilling and are adjustable.
- Assemble the Rod: Most tension rods come in sections or need to be adjusted to the desired length.
- Position the Rod: Place one end against one wall and extend the rod until it’s snug against the opposite wall. For shower rods, this will be between your shower wall and the opposite wall or shower door track.
- Test the Tension: Gently push and pull the rod to ensure it’s securely in place. It should not slide down easily. Many tension rods have rubberized ends to prevent slipping and protect surfaces.
- Hang the Caddy: Once the rod is secure, hang the caddy onto it.
Tip: Periodically check the tension rod, especially in humid environments where materials can expand or contract, and adjust as needed.
Installing Screw-In Items
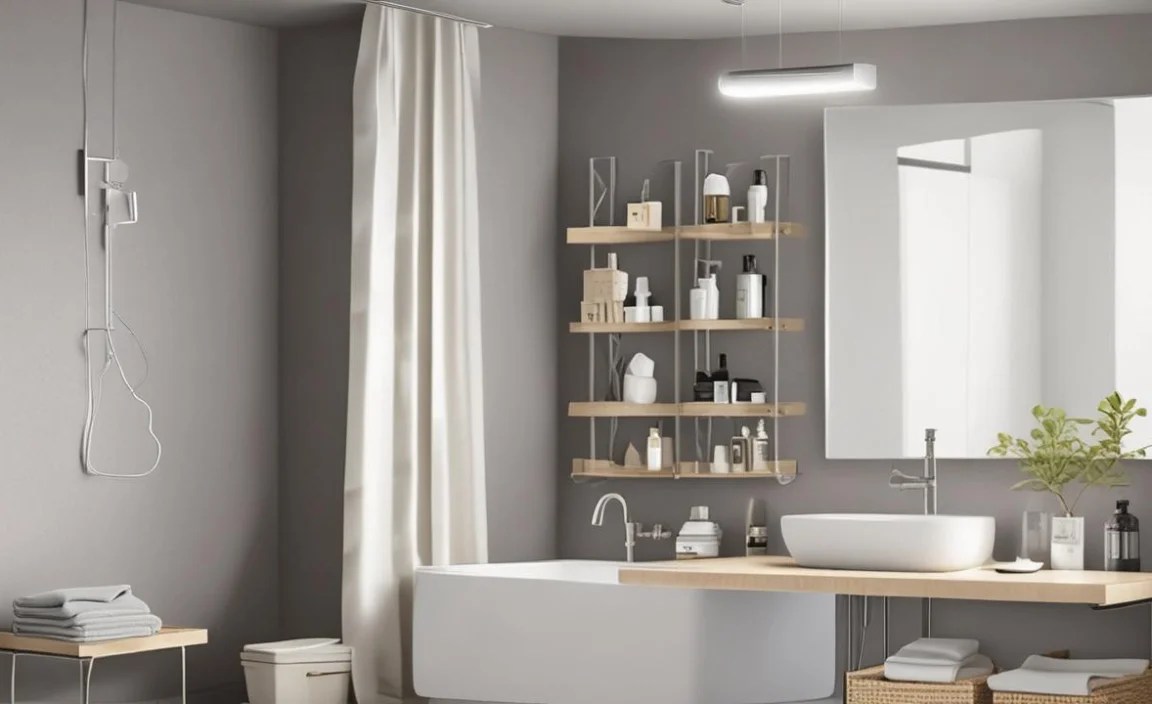
For maximum security, especially for heavier items or in high-traffic areas, screwing into the wall is the best option. If you’re uncomfortable with drilling, consider asking a friend or neighbor for help.
- Locate Studs (Recommended): For the most secure installation, find wall studs using a stud finder. Mark their locations.
- Mark Drilling Holes: Hold the item in its desired position and use a pencil to mark where the screw holes will go. Use a level to ensure it’s straight.
- Drill Pilot Holes: Using a drill bit slightly smaller than your screws, drill pilot holes at your marked locations. If not using studs, you’ll need appropriate wall anchors (e.g., drywall anchors) for a secure fit.
- Attach the Mount/Bracket: If the item has a separate mounting bracket, secure this to the wall with screws (and anchors if necessary).
- Attach the Organizer: Usually, the organizer unit then slides or screws onto the mounted bracket.
Safety First: Always be aware of what’s behind your wall before drilling. You don’t want to hit plumbing or electrical wires. If unsure, opt for adhesive or consult a professional. Resources like This Old House offer excellent guides on basic drilling and wall anchoring techniques.
Organizing Your Bathroom Effectively: Beyond Just Holders
While space-saving items with holders are fantastic, true bathroom organization is a holistic approach. Here’s how to maximize your efforts:
- Vertical Space is Your Friend: Beyond shelves, think about over-the-door organizers for towels or cleaning supplies, or tiered stands for countertop items.
- Drawer Dividers: As mentioned, these turn messy drawers into organized compartments. They are inexpensive and make a huge difference.
- Labels: For opaque containers or drawers, clear labels prevent rummaging and save time.
- Regular Decluttering Purges: Set reminders to go through your items annually, or even semi-annually. Discard expired products, broken items, or things you simply don’t use anymore.
- Multi-Functional Furniture: Consider a small stool with hidden storage or a bathroom cabinet that also acts as a display shelf.
- Corner Solutions: Use corner shelves or even simple tension rods to divide larger spaces into smaller, more usable zones.
The goal is to create a system that is easy to maintain. If it’s too complicated, you’re less likely to stick with it.
Maintenance and Care for Your Space-Saving Items
To ensure your new organizational tools last and keep your bathroom looking sharp, regular maintenance is key.
- Wipe Down Regularly: Most bathroom organizers, especially those in the shower, should be wiped down weekly with a damp cloth. This prevents soap scum buildup and keeps them looking fresh.
- Check Adhesives/Suction Cups: Periodically check that adhesive strips are still firmly attached or that suction cups haven’t lost their seal. Reapply or clean and reattach if needed.
- Look for Signs of Rust or Mold: For metal items, check for any signs of rust and address them promptly with a rust remover. For any material, watch for mold or mildew and clean with a mild bleach solution or white vinegar. Ensure good ventilation in your bathroom.
- Tighten Screws: If your organizers are screwed into the wall, give the screws a gentle check from time to time to ensure they haven’t loosened.
- Deep Clean When Needed: For items like shower dispensers, follow the manufacturer’s instructions for periodic deep cleaning to prevent clogs.
Proper care will not only extend the life of your organizers but also ensure they continue to function effectively, keeping your bathroom neat and tidy.
Table: Popular Space-Saving Bathroom Items & Their Benefits
| Item Type | Primary Function | Space-Saving Benefit | Holder Feature |
|---|
