
Quick Summary: Grout in construction fills gaps between tiles, crucial for stability and aesthetics. Understanding grout types, application, and maintenance ensures a durable, beautiful finish for your tiling projects. This guide covers everything a beginner needs to know about grout.
Ever admired a beautifully tiled backsplash or floor and wondered what holds those tiles so perfectly in place? It’s grout! You might have noticed grout lines can get dirty or stained, making even the prettiest tiles look less impressive. Don’t worry, understanding the basics of grout in construction is simpler than you think. It’s not just about filling spaces; it’s about making your tiles last and look their best. This guide will walk you through everything you need to know, from choosing the right grout to keeping it looking fresh. Let’s get your tiling projects looking professional and staying that way!
What Exactly Is Grout and Why Does It Matter?
Grout is essentially a cement-based mixture, often combined with sand and other additives, that’s used to fill the spaces between tiles. These spaces are called grout lines or joints. Think of them as the tiny bridges that connect each individual tile, providing structural support and preventing them from shifting or cracking. Without grout, your tiles would be loose, vulnerable to damage, and wouldn’t look as smooth and finished.
Beyond just holding tiles together, grout plays a vital role in the overall durability and appearance of a tiled surface. It helps to:
- Prevent Moisture Penetration: Grout creates a barrier that stops water, dirt, and other substances from seeping through the gaps and damaging what’s underneath, like subflooring or drywall. This is especially important in wet areas like bathrooms and kitchens.
- Enhance Structural Integrity: By filling the voids, grout distributes stress across the entire tiled area. This means if one tile experiences a minor impact, the force is spread out, reducing the chance of cracking.
- Improve Aesthetics: Grout isn’t just functional; it’s a design element. The color and width of your grout lines can dramatically change the look of your tiles, either complementing them or providing a bold contrast.
- Accommodate Movement: Building materials expand and contract slightly with changes in temperature and humidity. Grout is designed to be flexible enough to absorb some of this movement, preventing tiles from pushing against each other and cracking.
Getting the grout right from the start is a key step in any tiling project, whether you’re a seasoned pro or a DIY beginner. It affects how your project looks and how long it lasts.
Types of Grout: Choosing the Right Mix

When you start looking into grout, you’ll quickly realize there isn’t just one kind. The type of grout you choose depends on the tile, the location of the installation, and the desired look. Here are the most common types you’ll encounter:
1. Cementitious Grout
This is the most common and basic type of grout. It’s made primarily from Portland cement, often mixed with additives for improved performance. It’s generally affordable and easy to find.
- Sanded Grout: This is cement grout that contains fine sand. The sand provides strength and prevents shrinkage and cracking, especially in wider grout joints (typically 1/8 inch or larger). It’s the go-to for most floor tiles and larger wall tiles.
- Unsanded Grout: This type of cement grout is made without sand, or with very fine sand. It’s used for narrower grout joints (less than 1/8 inch) and with tiles that have easily scratched or delicate surfaces, like polished marble or glass. Because it lacks sand, it’s more prone to shrinking and cracking in wider gaps.
Both sanded and unsanded cementitious grouts typically require mixing with water or a latex additive for enhanced flexibility and durability. The ratio of water to grout is critical for proper strength and workability. For more on cement and its uses in construction, the Portland Cement Association offers extensive resources.
2. Epoxy Grout
Epoxy grout is a more advanced option made from epoxy resins and a hardener. It’s known for being incredibly durable, stain-resistant, and waterproof. This makes it an excellent choice for high-traffic areas, kitchens, bathrooms, and anywhere moisture or heavy use is a concern.
- Pros: Highly resistant to stains, chemicals, and moisture. Doesn’t require sealing. Very durable.
- Cons: More expensive than cementitious grout. Can be trickier to work with, as it cures harder and faster. Cleanup must be done immediately.
3. Furan Grout
Furan grout is made from polymers and is exceptionally resistant to harsh chemicals, high temperatures, and heavy traffic. It’s most commonly used in industrial or commercial settings, like laboratories or commercial kitchens, where extreme durability and chemical resistance are paramount. It’s typically black in color and is not a common choice for residential DIY projects.
4. Pre-Mixed Grout
This type of grout comes ready to use, straight out of the container. It often uses acrylic or urethane polymers and is a convenient option for smaller DIY projects. It’s less prone to shrinking and cracking than traditional cement grout and usually doesn’t require sealing.
- Pros: Extremely convenient, no mixing required. Good color consistency. Often stain and mildew resistant.
- Cons: Generally more expensive. Can have a shorter shelf life once opened. May not be as durable as cementitious or epoxy grouts for heavy-duty applications.
Understanding Grout Additives and Sealers
Beyond the base grout types, you’ll often see mentions of additives and sealers. These can significantly improve the performance and longevity of your grout.
Grout Additives
Additives are mixed into cementitious grouts to enhance their properties. The most common is a latex polymer additive, which replaces some or all of the water needed for mixing. These additives can:
- Increase flexibility
- Improve bond strength
- Enhance durability
- Reduce cracking and shrinkage
- Increase resistance to stains and moisture
For DIYers, using a good quality latex additive with sanded or unsanded grout is often recommended for better results, especially on floors or in wet areas.
Grout Sealers

Cementitious grouts, especially sanded and unsanded types, are porous. This means they can absorb liquids, making them susceptible to staining and mildew. Grout sealers are applied to the grout lines after installation to create a protective barrier.
Sealers work by:
- Repelling liquids (water, oil, etc.)
- Preventing stains from setting in
- Making cleaning easier
- Protecting against mildew and mold growth
There are various types of sealers, including:
- Penetrating Sealers: These soak into the grout pores and form an invisible barrier. They are good for maintaining the natural look of the grout and are often more durable.
- Topical Sealers: These form a protective film on the surface of the grout. They can sometimes alter the sheen of the grout and may need more frequent reapplication.
It’s crucial to ensure the grout is completely dry and clean before applying any sealer. Always follow the manufacturer’s instructions for application and curing times. For detailed guidance on sealants and their applications, resources like The Spruce offer helpful insights into what to look for.
Grout Application: A Beginner’s Step-by-Step Guide
Applying grout can seem daunting, but with the right preparation and a few simple steps, you can achieve a professional-looking finish. Here’s how to get started:
Tools You’ll Need:
- Grout (sanded or unsanded, depending on joint width)
- Grout additive (if recommended)
- Clean buckets (at least two)
- Measuring cups or tools
- Margin trowel or sturdy mixing stick
- Grout float (a rubber-faced tool for spreading grout)
- Grout sponge (large, dense, and rounded edges)
- Clean rags or microfiber cloths
- Safety glasses
- Gloves
- Optional: Grout bag (for clean, controlled application in tricky spots), small brush for detail work.
Step 1: Prepare Your Workspace and Tiles
Before you mix any grout, make sure your tiles are clean and dry. Remove any excess adhesive or debris from between the tiles. Ensure your tile edges are smooth. If you’re working with a porous tile or in an area prone to staining, consider applying a tile or stone enhancer/sealer to the tile faces themselves (not the grout lines yet). This can help prevent the grout color from staining the tile surface.
Step 2: Mix the Grout
This is a critical step. Always follow the grout manufacturer’s instructions for the correct powder-to-liquid ratio. Too much water will weaken the grout; too little will make it difficult to spread and cure properly.
- Pour the required amount of liquid (water or additive mixture) into a clean bucket.
- Gradually add the grout powder while mixing continuously with your margin trowel or stick.
- Mix until you achieve a smooth, paste-like consistency, similar to peanut butter or thick cake batter. Avoid over-mixing, which can introduce too much air.
- Let the mixture sit (“slake”) for 5-10 minutes as per manufacturer instructions. This allows the chemicals to fully hydrate.
- Give it a final brisk mix until smooth again.
- Work in small batches, as grout has a limited working time (pot life) before it begins to set.
Step 3: Apply the Grout
Using your grout float, scoop a generous amount of grout onto the surface. Hold the float at a 45-degree angle to the tile and spread the grout, pressing firmly to push it deep into the grout joints. Work diagonally across the tiles to avoid pulling grout out of the joints.
- Cover a small manageable area at a time.
- Ensure all joints are completely filled, with no air voids.
- Scrape off excess grout from the tile surface with the edge of the float, again holding it at a sharp angle (near 90 degrees) to avoid disturbing the filled joints.
- Periodically clean your grout float by scraping it against the rim of the bucket or using a rag.
Step 4: The First Cleaning (Initial Set)
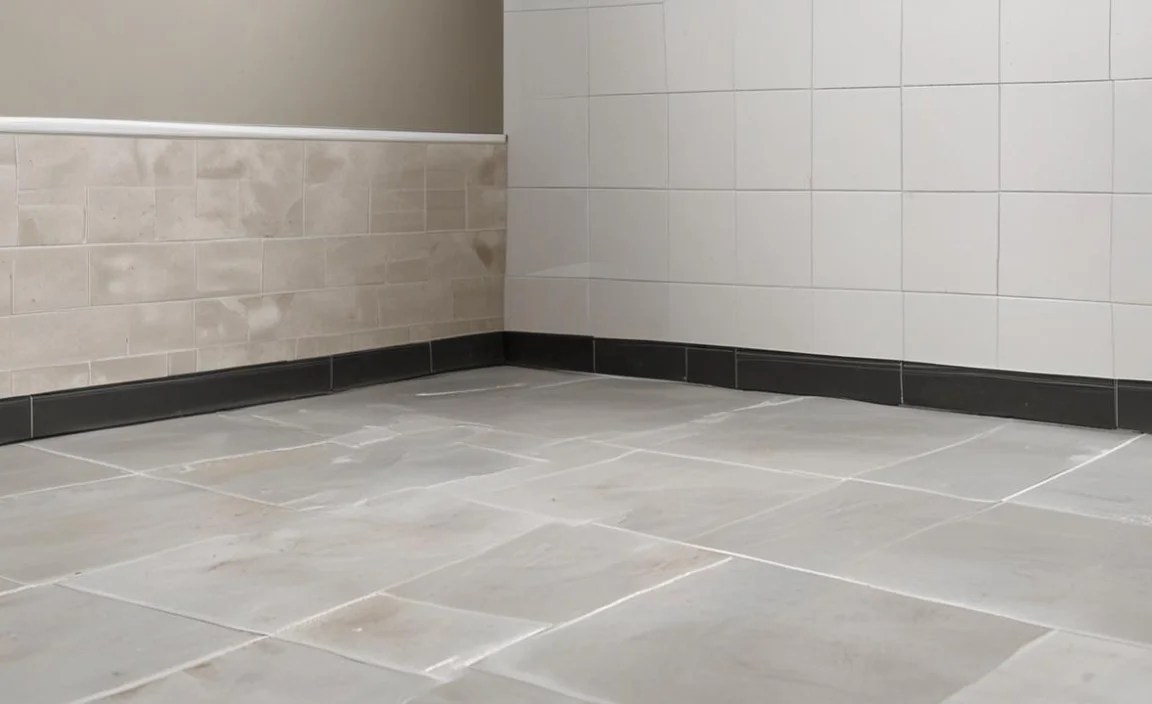
Once you’ve covered a small section and scraped off the bulk of excess grout, it’s time for the initial cleanup. Wait for the grout to firm up slightly in the joints – this usually takes about 15-30 minutes, depending on humidity and temperature. You’ll know it’s ready when it doesn’t easily smear or pull out of the joint when lightly touched. This is often referred to as the “hazing” stage.
- Dampen your grout sponge in clean water and wring it out thoroughly. It should be damp, not wet; excess water can weaken the grout.
- Gently wipe the sponge diagonally across the tiles to remove the excess grout and smooth the grout lines.
- Rinse the sponge frequently in a separate bucket of clean water. Use one bucket for initial rinsing and another for cleaner rinses to avoid re-depositing grout onto the tiles.
- Be careful not to dig into the grout lines or remove too much grout. A light touch is key.
- You will likely see a thin haze forming on the tiles as the grout dries. This is normal.
Step 5: Final Cleaning and Haze Removal
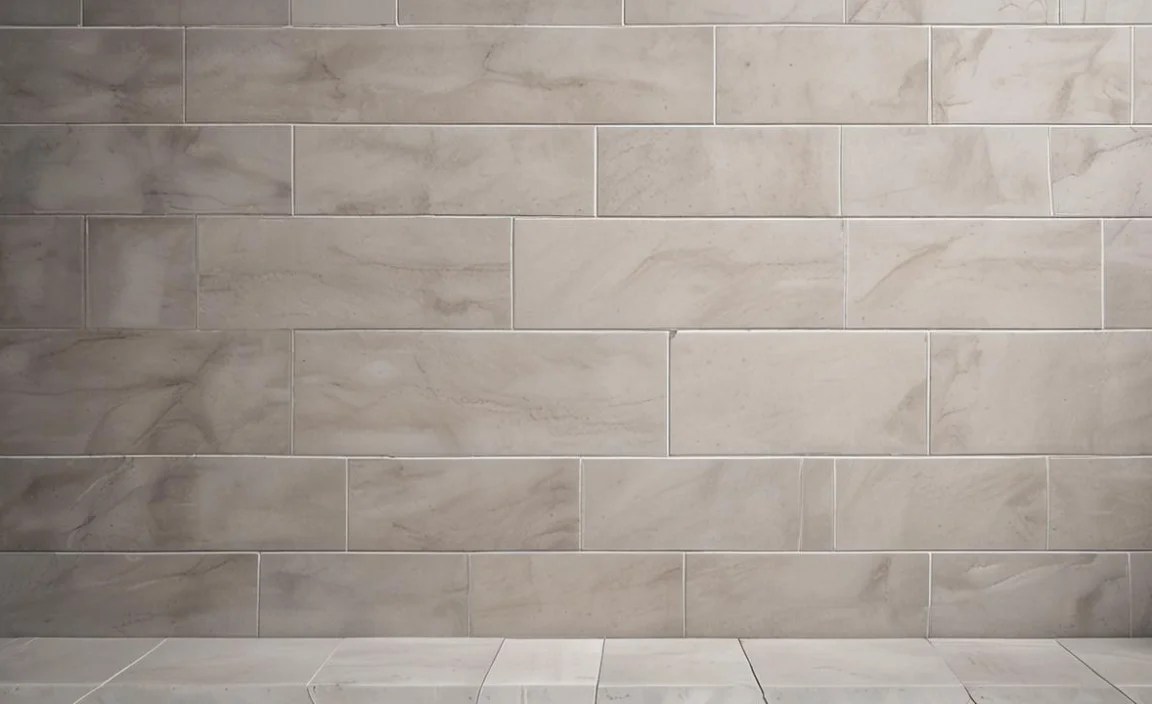
After the first cleaning, let the grout cure for a few hours. The haze on the tiles will likely become more visible and slightly stubborn. Use a different clean sponge, or a very clean, damp cloth, to wipe away this haze.
- Again, use a damp (not wet) cloth or sponge, wiping in a circular motion or diagonally.
- For stubborn haze, you might need a specialized grout haze remover, but try simple water and a clean cloth first.
- Ensure the grout lines are smooth and even.
Step 6: Curing and Sealing
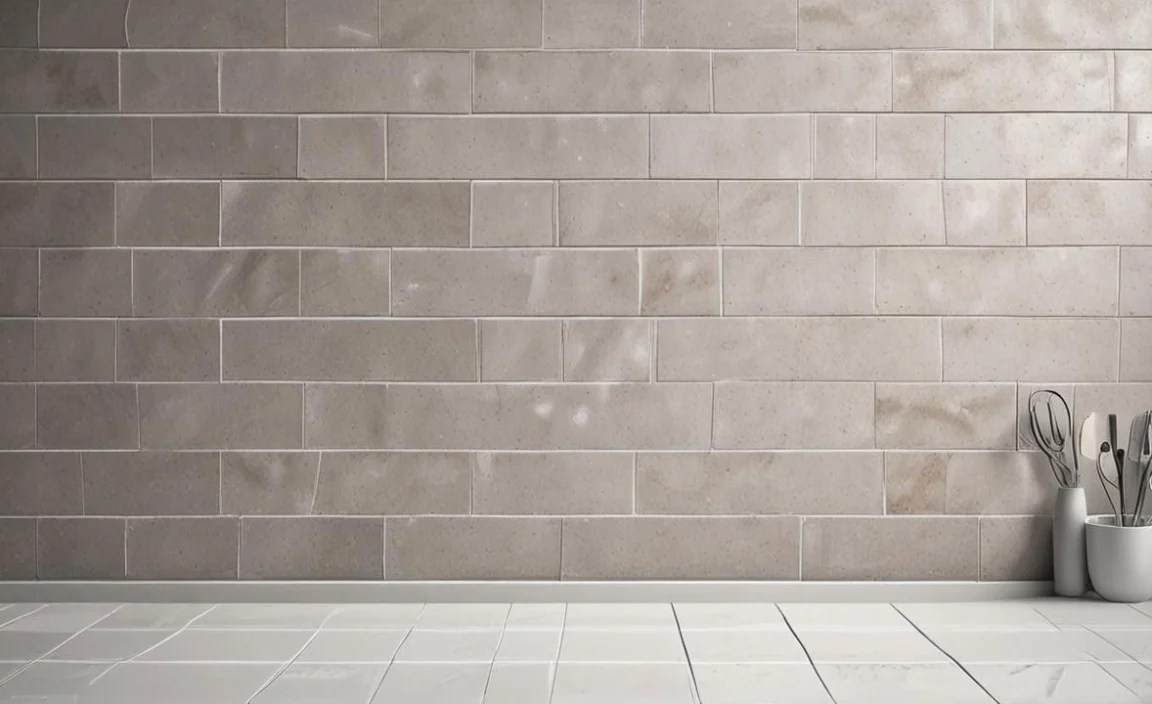
Grout needs adequate time to cure fully before it can be used or sealed. This usually takes at least 24-72 hours, but check the manufacturer’s recommendations, as some grouts require longer.
- Keep the grout lines dry and avoid heavy traffic during the curing period.
- Once fully cured, apply a grout sealer (if using cementitious grout).
- Typically, you’ll apply sealer with a small brush or applicator, focusing on the grout lines.
- Wipe any excess sealer off the tile surface immediately.
- Allow the sealer to cure according to product directions before exposing the area to moisture.
A properly sealed grout will repel water and stains, keeping your tiled surfaces looking great for years to come. For more detailed visual guides on grout application, resources like Build Magazine often feature step-by-step project instructions.
Grout VS. Mortar vs. Caulk: What’s the Difference?
It’s common for beginners to confuse grout with other materials used in tiling projects. While all are adhesives or fillers, they serve distinct purposes.
| Material | Primary Function | Application | Key Characteristics |
|---|---|---|---|
| Mortar | Adhesive for bonding tiles to the substrate (wall, floor). | Applied to the back of tiles (‘back-buttering’) or the substrate before tile setting. Forms the primary bond for the tile. | Thicker, stronger, often contains sand and cement. Used under the tile. |
| Grout | Fills the gaps between set tiles. | Applied into the ‘grout lines’ after tiles are set and adhesive has cured. Seals the joints. | Thinner than mortar, varies in composition (cement, epoxy), designed to fill small voids and offer some flexibility. Used between tiles. |
| Caulk | Seals joints, edges, and corners, especially where different materials meet or where movement is significant. | Applied to seams, like where a countertop meets a backsplash, or around bathtubs and showers. | Flexible and waterproof, typically silicone or latex-based. Designed to expand and contract significantly without cracking. Used at edges and transitions. |
Understanding these distinctions ensures you use the right material for the job, leading to a strong, durable, and watertight installation. Mortar holds tiles down, grout fills the spaces between them, and caulk seals vulnerable edges.
Maintenance and Repair of Grout

Even with the best installation and sealing, grout lines will eventually need some attention. Regular maintenance and prompt repairs can keep your tiled surfaces looking pristine.
Routine Cleaning
The best way to keep grout clean is to clean up spills immediately. For regular cleaning, use a pH-neutral tile cleaner or a mild soap and water solution with a soft brush or sponge.
- Avoid abrasive cleaners or harsh chemicals (like bleach or ammonia) unless specifically recommended for your grout type, as they can damage the grout or sealer over time.
- For tougher grime, a dedicated grout cleaner can be effective. Always test in an inconspicuous area first.
- Make sure to rinse thoroughly after cleaning to remove any residue.
- Reapply grout sealer as needed, typically every 6-12 months for high-traffic or wet areas.
Dealing with Stains and Mildew
If stains appear, try a paste of baking soda and water. Apply it to the stain, let it sit for a while, then scrub gently with a soft brush and rinse.
For mildew, use a specialized grout cleaner designed for mildew removal. Ensure good ventilation when using these products, and always wear gloves and eye protection. For persistent mildew, you might need to reapply sealer more frequently after cleaning.
Grout Repair
Over time, grout can chip, crack, or crumble, especially in areas that experience a lot of movement or moisture. This can lead to water damage beneath the tiles.
- Minor Chips/Cracks: You can repair small areas by carefully removing the damaged grout with a utility knife or a grout saw, cleaning the area thoroughly, and then applying new grout. Match the color as closely as possible.
- Wider Cracks/Damage: For larger repairs, you may need to remove all the grout from the affected joint and re-grout the entire area for a consistent look.
- Reg
