
Learn the basics of mirrors for beginners! This essential guide breaks down mirror types, placement tips, and simple care routines. Understand how mirrors enhance your space and discover easy ways to pick the perfect one for any room. Get ready to confidently choose and use mirrors to brighten and expand your home!
Welcome, DIY enthusiasts! Have you ever walked into a room and felt like something was missing, or maybe you just wanted to add a touch of style and light? Mirrors are fantastic tools for this! They can make small spaces feel huge, bounce natural light around a room, and serve as a beautiful decorative piece.
But with so many types and styles available, choosing the right one can feel a bit overwhelming. Don’t worry, I’m here to help! This guide will walk you through the absolute basics of mirrors in a way that’s easy to understand and follow. We’ll cover everything you need to know to pick out, place, and care for your new mirror. Get ready to transform your space with the magic of reflection!
Why Mirrors Matter in Your Home
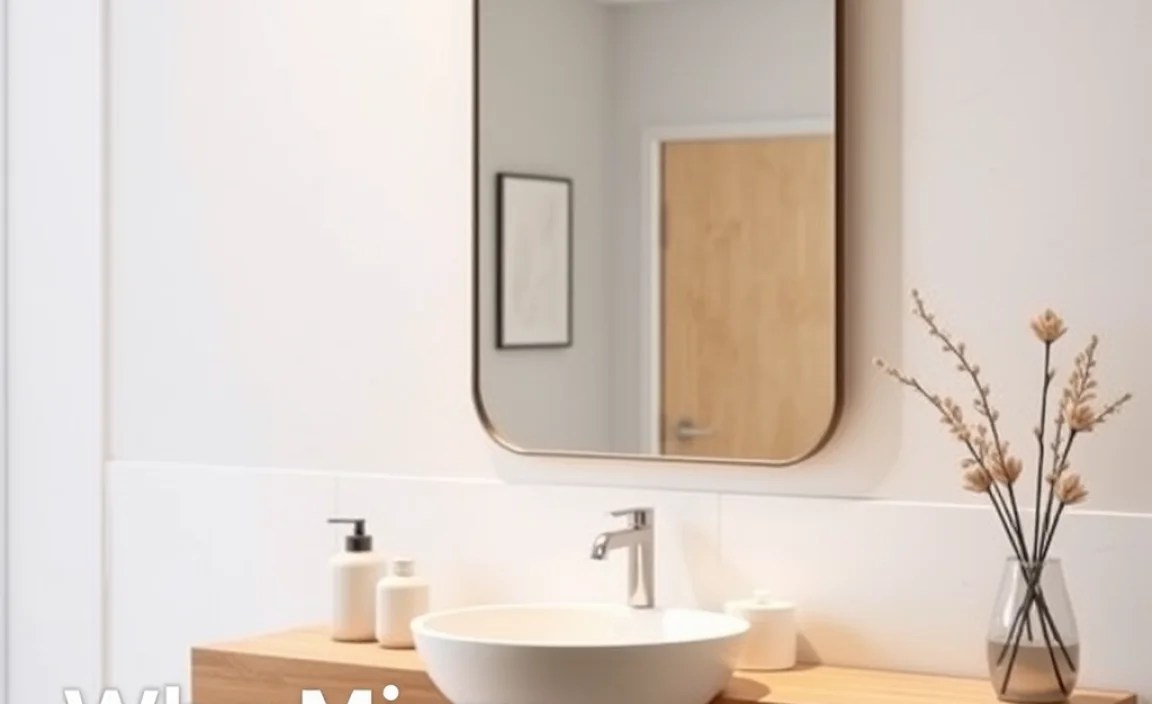
Mirrors are more than just objects to check your reflection in; they are powerful design elements. They can dramatically alter the perception of a space. A well-placed mirror can:
- Make Small Rooms Appear Larger: By reflecting the room, mirrors create an illusion of depth.
- Brighten Dark Corners: They bounce light, whether natural or artificial, making dimly lit areas feel more open and airy.
- Add Style and Personality: From ornate frames to minimalist designs, mirrors contribute to your home’s overall aesthetic.
- Serve Functional Purposes: Essential for entryways and bathrooms, they offer practicality alongside beauty.
Understanding these basics will help you make informed decisions when selecting and placing mirrors, ensuring they enhance your home rather than just taking up wall space.
Types of Mirrors: What’s Available?

When you start looking for mirrors, you’ll notice a variety of types. Knowing the differences can help you pick what’s best for your needs. Here are some common types you’ll encounter:
1. Standard Mirrors
These are the most common mirrors you’ll find. They are typically made of glass with a reflective coating on the back. They offer a clear, distortion-free reflection.
2. Decorative Mirrors
These mirrors prioritize aesthetics. They often feature unique shapes, colored glass, or intricate frames. Their primary purpose is to add visual interest to a room.
3. Full-Length Mirrors
As the name suggests, these are tall mirrors designed to show your entire body. They are popular for bedrooms, dressing rooms, and entryways.
4. Accent Mirrors
Smaller in size, accent mirrors are used to draw attention to a specific area or object. They can be clustered together or used as a single statement piece.
5. Frameless Mirrors
These mirrors have no frame, offering a sleek, modern look. Their edges are usually beveled or polished for a clean finish.
6. Framed Mirrors
These mirrors come with a frame around the reflective glass. Frames can be made from wood, metal, plastic, or other materials and come in countless styles, from rustic to contemporary.
7. Two-Way Mirrors (One-Way Mirrors)
These are special mirrors that appear reflective on one side but transparent on the other, depending on the lighting conditions. They are often used in security or observation settings and are not typically for standard home decor. For home use, you’ll mostly be concerned with the first six types.
Understanding Mirror Terminology for Beginners
Let’s demystify some terms you might hear when shopping for mirrors:
- Beveled Edge: This is a sloped or angled edge on a mirror, creating a decorative detail and a subtle visual separation between the mirror and the wall. It adds a touch of elegance.
- Silvering: This refers to the reflective coating applied to the back of the glass. Modern mirrors usually use a chemical process to apply aluminum or silver.
- MDF Backing: Medium-Density Fiberboard is often used as a backing material for mirrors. It’s strong and provides a stable surface.
- Tempered Glass: This is a type of safety glass that is stronger than regular glass and designed to break into small, less harmful pieces if it does shatter. While not standard for all mirrors, it’s a consideration for very large or high-traffic area mirrors.
- Gilding: This is the application of a thin layer of gold, silver, or other metal to a surface, typically used for ornate frames to give them a metallic sheen.
Choosing the Right Mirror for Your Space

Selecting a mirror involves thinking about its purpose and how it will fit into your room’s design. Here’s a simple approach:
Consider the Room’s Function
Entryway: A full-length or medium-sized mirror is great for a last-minute check before you leave. It also makes a small entryway feel more inviting.
Living Room: A decorative or large mirror can be a focal point, opening up the space and reflecting light from windows or lamps. It can even reflect artwork.
Dining Room: Mirrors here can add a sense of grandeur and bounce light from chandeliers or overhead lights.
Bedroom: A full-length mirror is practical for dressing. Smaller mirrors can be placed above dressers or on vanity tables.
Bathroom: Typically, a mirror is mounted above the sink. Consider the size of your vanity and sink when choosing. Mirrored medicine cabinets offer storage too.
Think About Size and Scale
A common mistake is choosing a mirror that’s too small for the wall. As a general rule:
- Above a Sofa/Console Table: The mirror should be about two-thirds the width of the furniture below it. Aim to hang it so the bottom is 6-8 inches above the furniture.
- Standalone Wall: Ensure it’s large enough to make a statement. If in doubt, go slightly bigger.
- Floor Mirror: These can lean against a wall and create a dramatic effect, especially in corners or larger rooms.
Match the Style
Your mirror’s frame should complement your room’s decor.
- Modern: Think frameless, simple metal frames, or geometric designs.
- Traditional: Ornate, gilded, or dark wood frames work well.
- Farmhouse/Rustic: Weathered wood, distressed finishes, or simple, chunky frames are fitting.
- Bohemian: Macrame, rattan, or uniquely shaped mirrors add to this style.
Placement is Key: Where to Hang Your Mirror
Where you place a mirror can make a huge difference. Here are some tips to maximize its impact:
1. Opposite a Window: This is a fantastic trick to bring in more natural light and give the illusion of another window. It makes the room feel brighter and more expansive.
2. Reflecting Something Beautiful: Position the mirror so it reflects a lovely view, a piece of art, or a nice architectural feature. Avoid placing it where it reflects clutter or an uninspiring wall.
3. Create a Focal Point: A large mirror above a fireplace, a console table in an entryway, or a dresser can become a central design element in the room.
4. Entryway Welcome: A mirror near your front door is practical for a quick check and makes guests feel welcome without adding clutter.
5. In Small Spaces: Hallways, narrow corners, or small bathrooms benefit the most from mirrors to make them feel larger and more open.
Hanging Height: For most wall-hung mirrors, the center of the mirror should be at eye level, approximately 57-60 inches from the floor. If hanging above furniture, the bottom edge of the mirror should be about 6-8 inches above the furniture’s top surface.
You can learn more about proper hanging techniques and safety from resources like This Old House, a reputable DIY resource.
Tools and Materials You Might Need

Before you start hanging, gather your tools. Having everything ready makes the job smoother and safer.
Essential Tools:
- Measuring Tape: For precise placement and checking dimensions.
- Level: To ensure your mirror hangs straight and true.
- Pencil: For marking the wall for drilling or screw placement.
- Stud Finder: Crucial for securely mounting heavier mirrors into wall studs.
- Drill and Drill Bits: For creating pilot holes and driving screws.
- Screwdriver: To match your chosen fasteners.
Mounting Hardware:
The type of hardware depends on the mirror’s weight and the wall material. Always check what the mirror manufacturer recommends.
- Picture Hanging Wire/D-rings: Often pre-attached to the mirror.
- Screws and Wall Anchors: For drywall if studs aren’t available (use appropriate anchors for the weight). Toggle bolts or heavy-duty drywall anchors are recommended for significant weight.
- Picture Hangers: For lighter mirrors.
- Heavy-Duty Mirror Clips/Mounts: Specialized hardware for mounting mirrors, especially larger ones without frames.
Step-by-Step Guide: Hanging Your Mirror
Let’s get your mirror on the wall! This is a general guide; always follow any specific instructions that came with your mirror or hardware.
Step 1: Decide on Placement
Measure and use a level to mark the desired spot. Consider height, alignment with furniture, and what the mirror will reflect. Your target is to have the center of the mirror at eye level (around 57-60 inches from the floor) if it’s a standalone piece.
Step 2: Locate Wall Studs (If Hanging a Heavy Mirror)
Use a stud finder to locate the vertical wooden studs within your wall. Marking the stud locations is key, as hanging heavy items directly into drywall without support is unsafe. For lighter mirrors, appropriate drywall anchors might suffice, but studs are always the most secure.
The United States Consumer Product Safety Commission offers guidance on secure wall anchoring for furniture and mirrors for home safety: Furniture Tip-Over Prevention (PDF).
Step 3: Mark Drilling Points
Hold the mirror (or a template of its size, if available) against the wall at your chosen height. Use a level to ensure it’s straight. Lightly mark the wall with a pencil where the hanging hardware will attach to the wall. If you’re using D-rings or wire, measure the distance between them and transfer that measurement to the wall accurately. If screwing directly into studs, mark the center of the stud.
Step 4: Install Hardware
- Into Studs: Drill pilot holes at your marked points. Then, drive screws directly into the studs. Ensure the screws are long enough to penetrate the stud adequately.
- Into Drywall: If studs aren’t available and your mirror is light enough for anchors, drill holes to accommodate your chosen wall anchors. Insert the anchors, then drive screws into the anchors. Follow anchor manufacturer instructions carefully.
Step 5: Hang the Mirror
With the hardware securely in place on the wall, it’s time to hang the mirror. Carefully lift the mirror and align its hanging hardware (D-rings, wire) with the screws or hooks on the wall. Gently lower the mirror to ensure it’s seated properly. If it’s a very heavy mirror, get an extra pair of hands to help lift and guide it.
Step 6: Check Stability
Once hung, gently test the mirror to make sure it’s secure and stable. Ensure it doesn’t wobble or feel loose. If anything seems off, remove the mirror and re-evaluate your mounting hardware and placement.
Mirror Maintenance and Cleaning
Keeping your mirrors clean will ensure they always look their best and continue to enhance your space.
Daily/Weekly Cleaning
For everyday smudges and dust:
- Spray a soft, lint-free cloth or a microfiber cloth with glass cleaner. Avoid spraying directly onto the mirror, as excess liquid can seep behind the glass and damage it, especially around the edges.
- Wipe the mirror gently in an ‘S’ pattern or in straight, overlapping strokes to avoid streaks.
- For a streak-free finish, you can use a second dry microfiber cloth to buff.
Tackling Tough Spots
For stubborn spots like toothpaste splatters or hairspray residue:
- Rubbing Alcohol: A small amount of rubbing alcohol on a cotton ball can effectively remove sticky residue.
- Vinegar Solution: A 50/50 mixture of white vinegar and water can also be effective.
- Avoid Abrasives: Never use paper towels (they can leave lint), scouring pads, or abrasive cleaners, as these can scratch the reflective surface.
Frame Care
The cleaning method for the frame will depend on the material:
- Wood: Use a dry or slightly damp cloth. For tougher grime, a mild wood cleaner can be used sparingly.
- Metal: A damp cloth is usually sufficient. For brass or chrome, you might use a specific metal polish, but test it in an inconspicuous spot first.
- Gilded Frames: These are delicate. Dust gently with a very soft, dry brush or cloth. Avoid any polishes or cleaners.
Common Mirror Mistakes to Avoid
To help you get the most out of your mirrors, here are a few common pitfalls to steer clear of:
1. The “Two Small Mirrors” Trap
Placing two small, decorative mirrors side-by-side when one larger mirror would have created a more cohesive and impactful statement. It’s often better to have fewer, larger pieces than many small ones that can look cluttered.
2. The Mirror-Across-a-Mirror Effect
While sometimes effective, facing two mirrors directly at each other can create an endless, disorienting tunnel effect that can be visually overwhelming and aesthetically displeasing. Use this technique with caution and intention.
3. Ignoring a Mirror’s Reflection
Hanging a mirror without considering what it will reflect. If it mirrors clutter, a blank wall, or an unflattering view, it diminishes its positive impact. Always think about the “view” the mirror creates.
4. Overlooking Weight and Safety
Assuming all mirrors can be hung with simple nails. Heavier mirrors require proper wall anchoring into studs or using robust drywall anchors and hardware. Safety first!
5. Too Many Mirrors
While mirrors can open up a space, having too many can make a room feel cold, clinical, or disorienting. Aim for balance and intention in their placement.
Mirror Accessories and Their Purpose
While a mirror itself is often the star, some accessories can enhance its functionality and appearance.
Mirror Mounting Hardware
As discussed, this includes a variety of hooks, screws, anchors, and specialized clips designed to securely hold mirrors to the wall. The right hardware is essential for safety and stability, especially for larger or heavier mirrors.
Mirror Defoggers/De-fogging Strips
Commonly used in bathrooms, these are electrical heating elements applied to the back of the mirror that prevent condensation buildup during steamy showers or baths. They ensure your mirror remains clear.
Mirror Cleaning Kits
These typically include lint-free cloths, squeegees, and specialized glass cleaners designed for mirrors, ensuring a streak-free shine.
Mirror Frames and Borders
While often integrated, some modern applications allow for adding decorative frames or adhesive borders to plain mirrors, offering a customizable way to update existing decor.
LED Mirror Lights
Many modern mirrors come with integrated LED lighting around the edges, providing bright, even illumination ideal for vanities or applying makeup.
Mirror Placement in Different Rooms: A Quick Reference Table
Here’s a handy table to help you visualize mirror placement in common areas:
| Room | Purpose | Recommended Mirror Type/Size | Placement Tips |
|---|---|---|---|
| Entryway | Last-minute checks, welcoming, making space feel larger | Full-length, Medium-sized (approx. 2/3 width of console table if present) |
