
Want a non-slip bath mat set you can trust? This DIY guide shows you how to create custom, effective non-slip bath mats using simple materials. Get peace of mind and a safer bathroom with these easy, reliable steps.
Ah, the slippery bathroom floor. It’s a common hazard, right after a poorly placed banana peel in a cartoon. Especially after a shower or bath, water can make surfaces treacherous. That’s where bath mats come in, but even store-bought ones can slide around. You want that comforting feeling of a mat that stays put, protecting you and your family from unexpected tumbles. Forget constantly readjusting or worrying about slips; we’re going to explore how to ensure your bath mat set is reliably non-slip, giving you confidence every time you step out of the tub or shower. Let’s make your bathroom a safer, more comfortable space, one sure step at a time! We’ll cover everything from understanding why mats slip to simple DIY solutions.
Why Do Bath Mats Slip? Understanding the Basics
It might seem straightforward, but understanding why bath mats slip helps us fix the problem. Most bath mats have a backing to increase grip. However, this backing can become less effective over time due to several factors:
- Wear and Tear: Regular use causes the backing material to degrade, losing its texture and stickiness.
- Moisture Buildup: Water can get trapped between the mat and the floor, creating a slippery layer that negates any grip the backing offers.
- Surface Type: Different bathroom floor materials (tile, linoleum, wood) have varying levels of natural grip. Some smooth surfaces are simply harder for any mat to adhere to.
- Cleaning Residue: Soaps and cleaning products can leave a residue on both the mat’s backing and the floor, reducing friction.
- Mat Material: Some mat materials, especially older synthetic ones, might not have inherently good grip properties.
Knowing these common culprits is the first step to having a bath mat setup that actually works. It’s not just about the mat; it’s also about the interaction between the mat, the floor, and the environment.
DIY Bath Mat Set Non Slip Solutions: Your Action Plan
Creating your own non-slip bath mat set or enhancing an existing one is surprisingly simple. We’ll cover a few effective DIY methods.
Method 1: Using Silicone Sealant for Enhanced Grip
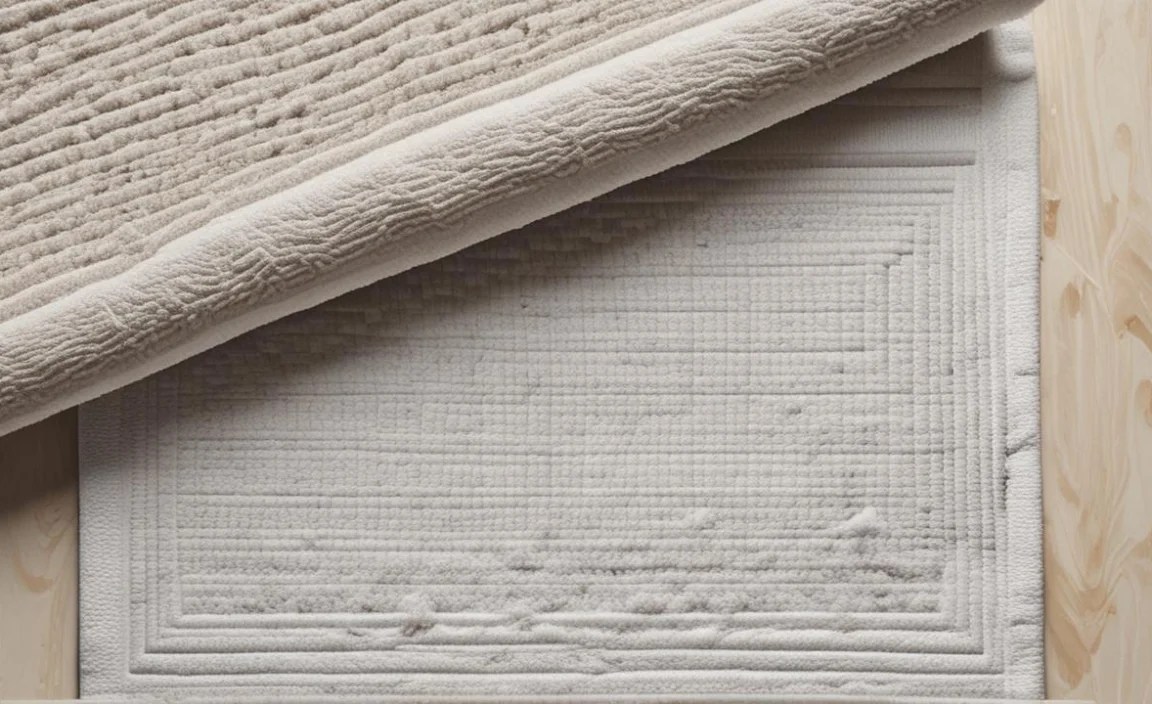
This is a popular and effective method. You’ll be applying lines or dots of silicone sealant to the underside of your existing bath mat to create a textured, non-slip surface.
Materials You’ll Need:
- An existing bath mat (clean and dry)
- Silicone sealant (clear or white, mold and mildew resistant is best for bathrooms)
- Caulking gun (if using a tube of sealant with a nozzle)
- Masking tape or painter’s tape (optional, for creating guides)
- A flat work surface
- Gloves (optional, but recommended)
Step-by-Step Guide:
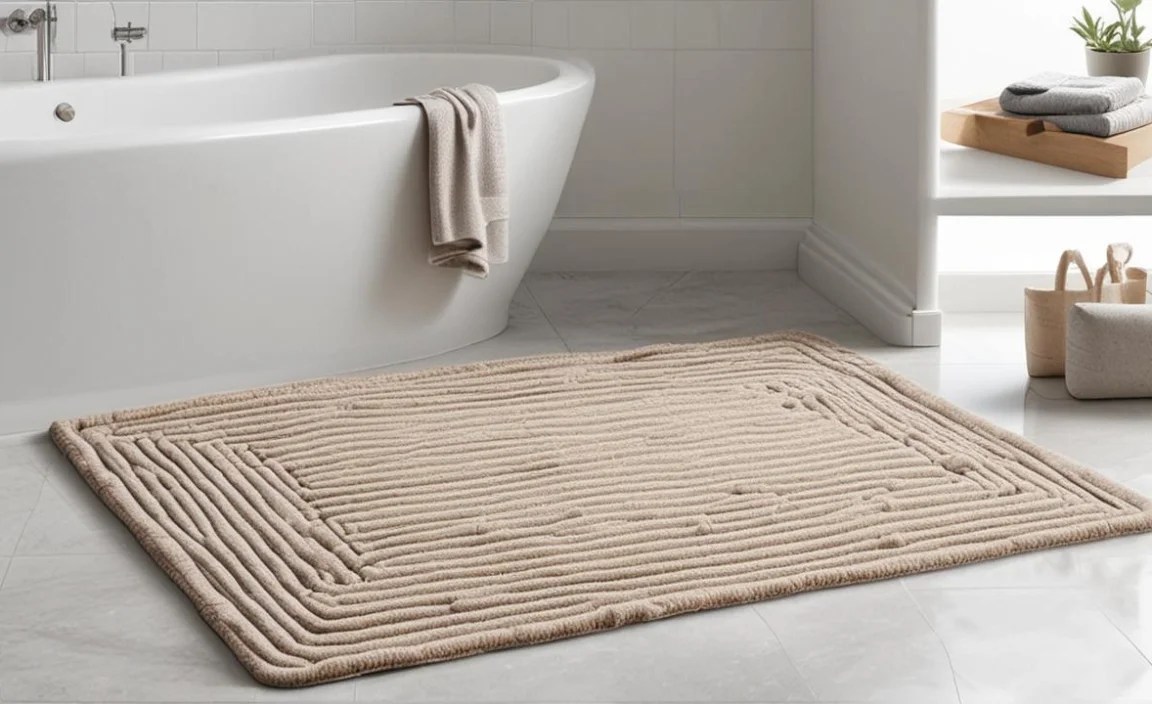
- Gather and Prepare Your Mat: Ensure your bath mat is thoroughly clean and completely dry. Any dirt or moisture will prevent the sealant from adhering properly. Lay it flat on your work surface, underside up.
- Prepare the Sealant: If you’re using a caulk tube, ensure the tip is cut to your desired bead size (a medium bead works well).
- Apply the Sealant: This is where you create the non-slip texture. You have a few options for application:
- Lines: Apply parallel lines of silicone sealant across the entire underside of the mat, spacing them about 1-2 inches apart.
- Dots: Apply a series of small dots of silicone sealant evenly across the underside. This gives a more discreet texture.
- Grid Pattern: For maximum grip, you can apply a criss-cross grid pattern.
Aim for consistent application. If you want perfectly straight lines, you can use masking tape to create guide strips, but this isn’t strictly necessary. You can also use a silicone sealant pen for more precise application if you prefer.
- Smooth or Texture (Optional): Some people like to gently run a gloved finger or a damp tool (like a popsicle stick) over the sealant beads while they are still wet to slightly flatten them or create a specific texture. Be careful not to smear it too much.
- Drying and Curing: This is a critical step. Let the sealant dry and cure completely. Check the product’s instructions for the specific curing time, which can range from 24 to 72 hours. Ensure it’s in a well-ventilated area. The sealant should feel firm and non-tacky to the touch.
- Test and Use: Once fully cured, flip your mat over. You should feel the raised silicone texture providing excellent grip. Place it back on your bathroom floor and test its stability.
Method 2: Adding a Latex or Rubber Backing
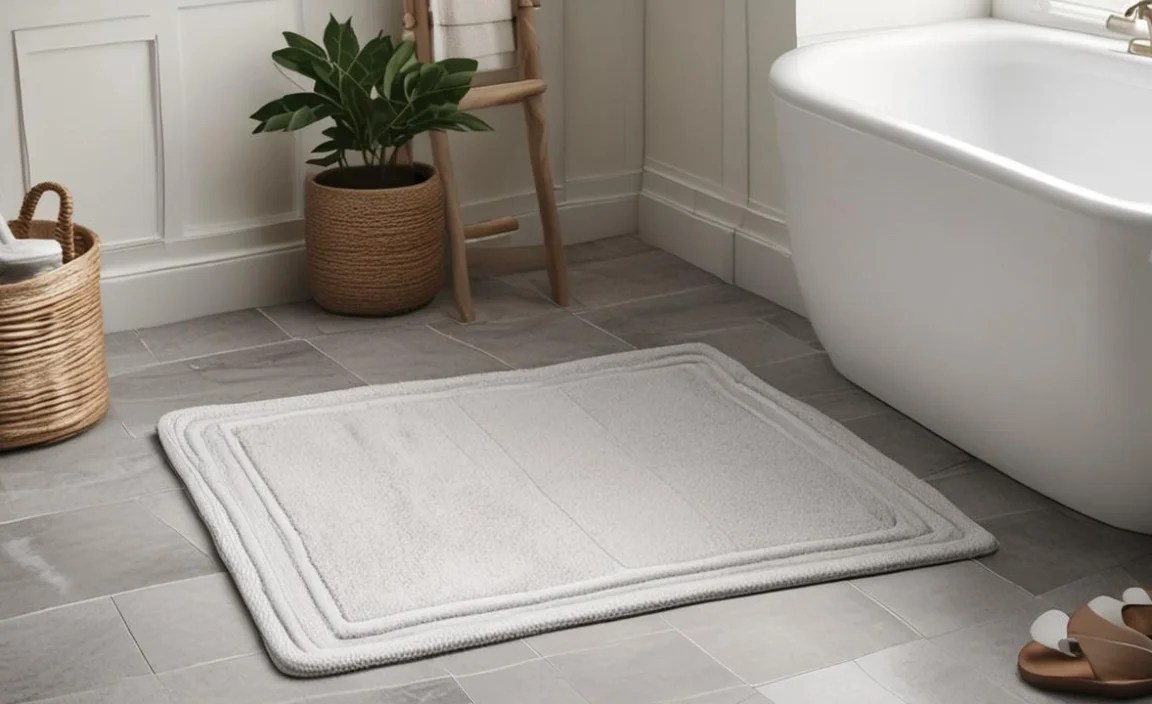
If your current mat has a thin or worn backing, you can reinforce it. This method involves applying a liquid latex or rubber coating.
Materials You’ll Need:
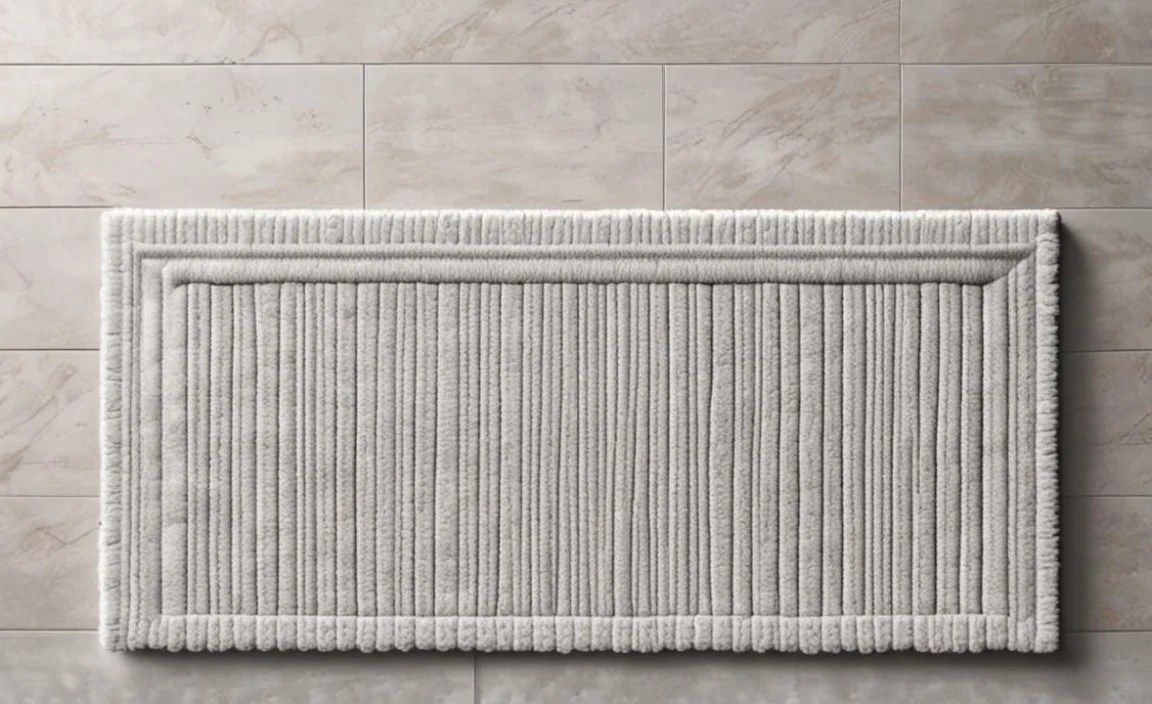
- Existing bath mat with a somewhat intact fabric backing
- Liquid latex or rubber coating (available at craft stores or online)
- A disposable brush or roller
- A flat, protected work surface (use newspaper or a drop cloth)
- Gloves
Step-by-Step Guide:
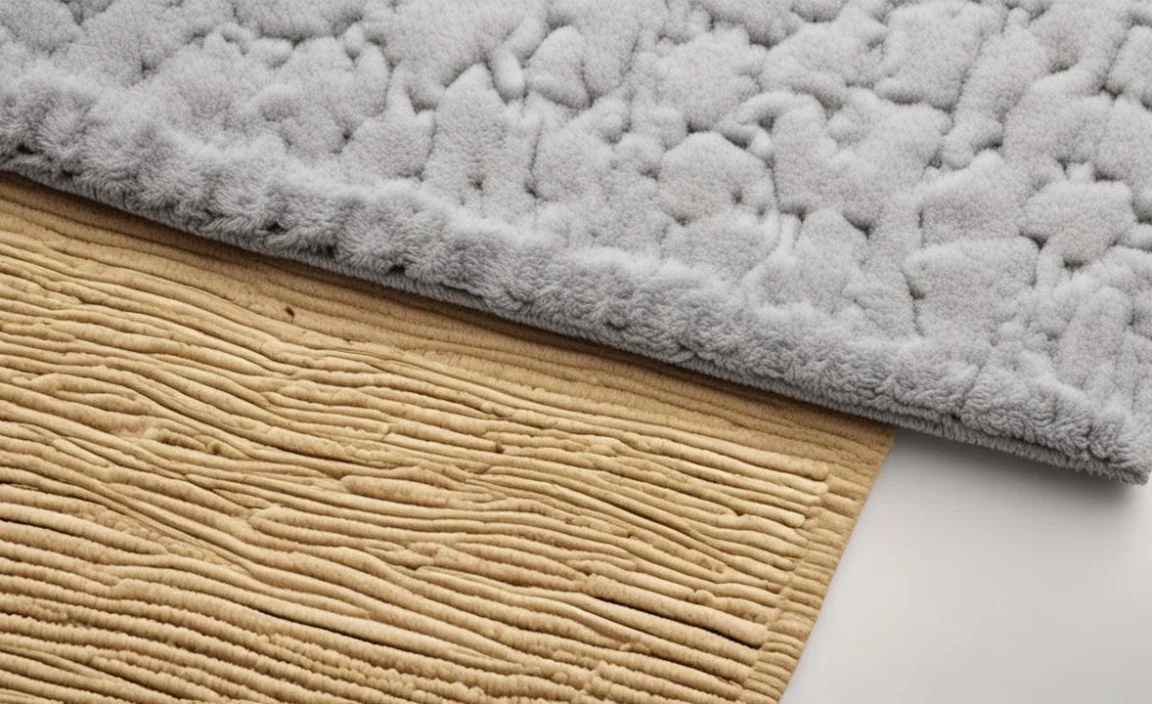
- Prepare the Mat and Surface: Lay your bath mat flat, face down, on your protected work surface. Ensure the mat is clean and dry.
- Apply the Liquid Latex/Rubber: Using your brush or roller, apply a thin, even layer of the liquid latex or rubber over the entire underside of the mat. Pay attention to corners and edges.
- Allow First Layer to Dry: Let this first layer dry completely according to the product’s instructions. It might take an hour or more depending on humidity.
- Apply Additional Layers: For a more durable and effective non-slip surface, apply 2-3 more thin layers, allowing each to dry thoroughly between coats.
- Curing: Once all layers are applied and dry, let the entire backing cure for the recommended time (often 24-72 hours) before using the mat. This ensures the latex/rubber is fully hardened and bonded.
- Result: You’ll have a newly reinforced, super-grippy backing that should keep your mat firmly in place.
Method 3: Using Non-Slip Spray or Grip Tape
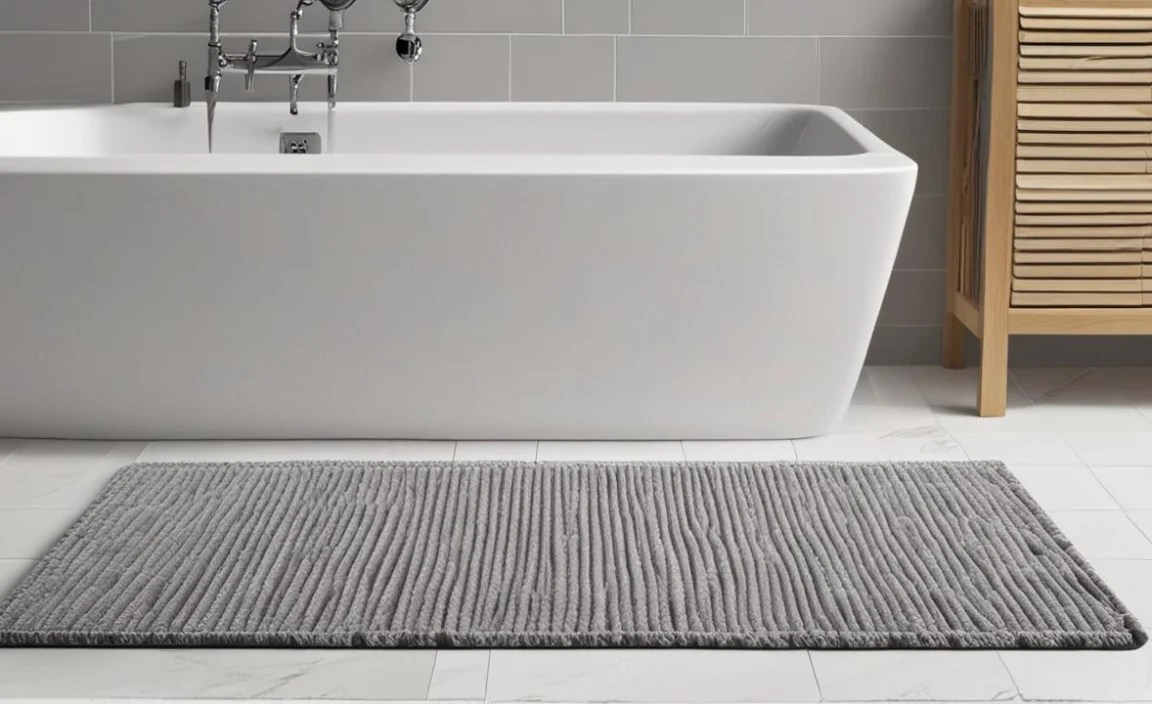
For a quicker, less permanent solution, non-slip spray or specialized grip tape can work.
Materials You’ll Need:
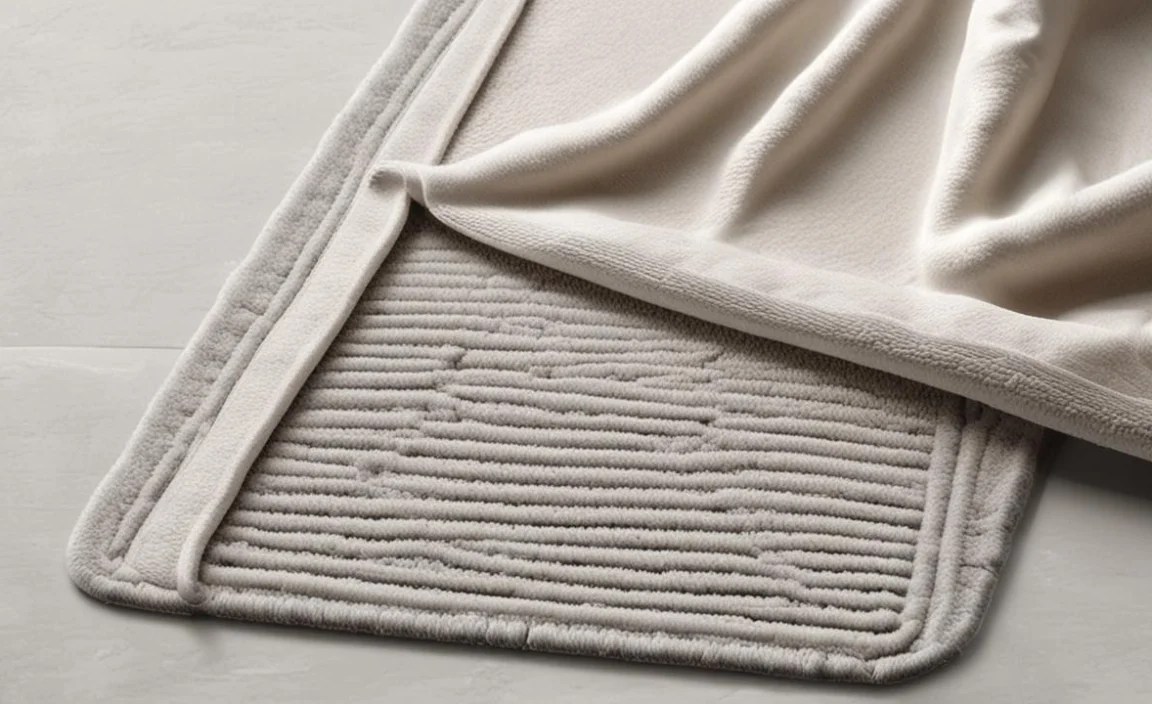
- Bath mat (clean and dry)
- Non-slip spray (like Krylon Easy-Tack or specialized fabric grip spray) OR
- Non-slip grip tape (designed for fabric or general use)
- Scissors (if using tape)
- Gloves (for spray)
Step-by-Step Guide (Non-Slip Spray):
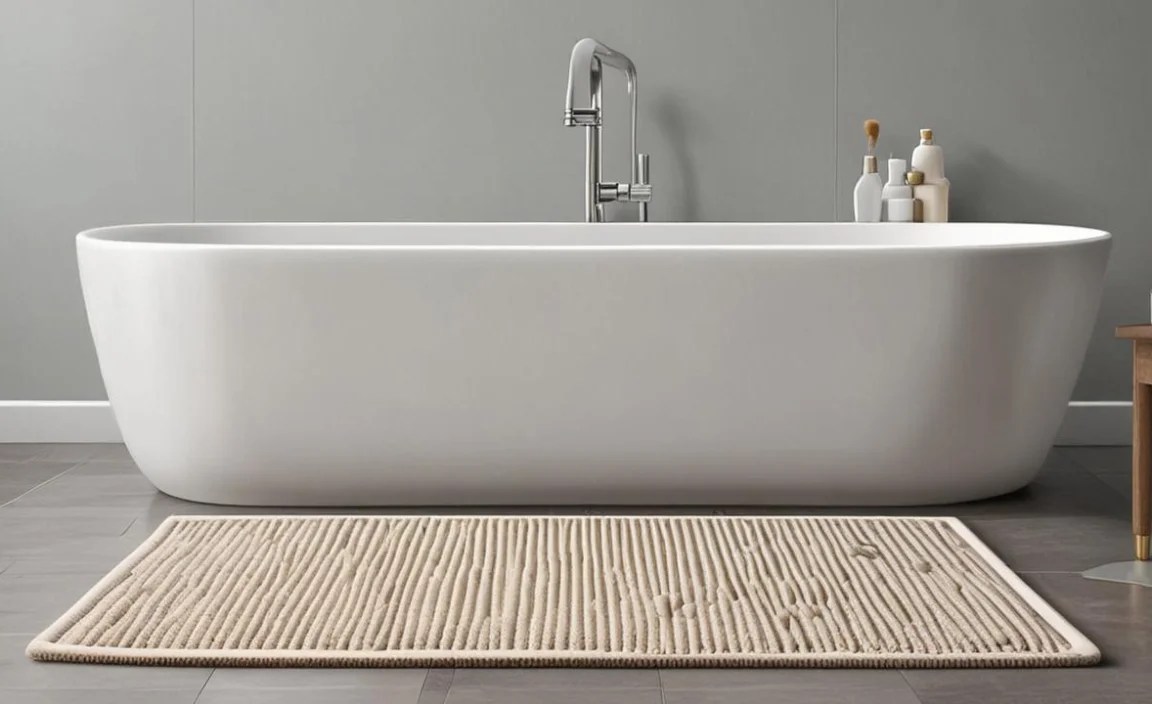
- Prepare the Mat: Lay the mat flat, underside up, in a well-ventilated area.
- Apply Spray: Shake the can well. Spray an even coat onto the underside of the mat. Follow the product’s directions for application distance and technique.
- Dry: Allow the spray to dry completely. Some sprays require reapplication after a wash or will wear off more quickly than other methods.
Step-by-Step Guide (Grip Tape):
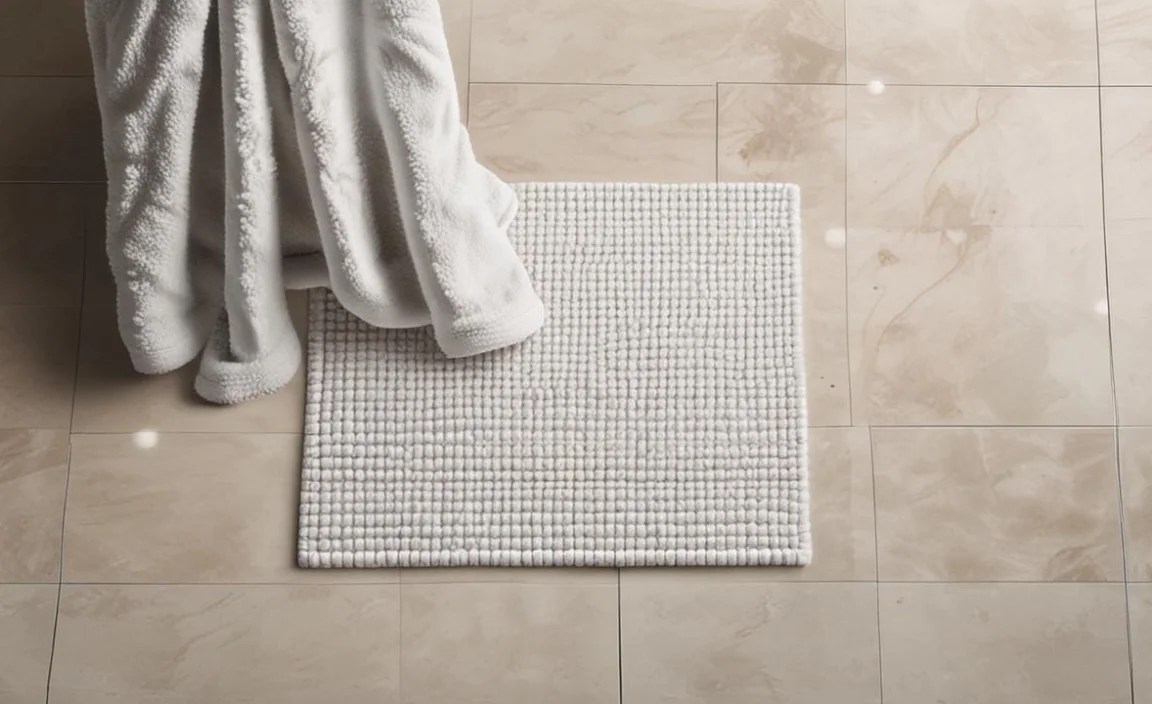
- Prepare the Mat: Lay the mat flat, underside up.
- Cut Tape: Cut strips of grip tape to your desired length.
- Apply Tape: Peel the backing from the tape and firmly press the strips onto the underside of the mat. You can create a pattern of lines, a grid, or applytape around the edges.
- Press Firmly: Ensure the tape is fully adhered to the mat.
Note: Non-slip sprays and tapes might not be as durable as silicone or latex methods, especially after repeated washing. They are excellent for quick fixes or mats that are frequently changed.
Choosing the Right Materials for Your Bathroom
When undertaking DIY projects, especially in a moisture-prone area like the bathroom, material choice is key. Safety and durability are paramount.
Sealant and Adhesive Considerations
- Mold and Mildew Resistance: This is crucial for bathroom applications. Look for silicone sealants specifically labeled as “mold and mildew resistant” or “kitchen and bath.” These contain additives to prevent fungal growth.
- Adhesion Properties: Ensure the sealant or adhesive you choose will stick well to your specific bath mat material (fabric, cotton, synthetic fibers). Most general-purpose caulks and liquid rubbers will adhere well to fabric.
- Flexibility: The sealant or adhesive should remain flexible after curing. This allows it to bend and move with the mat without cracking or peeling.
Latex vs. Rubber Coating
- Liquid Latex: Often used in crafts, it can provide a flexible, rubbery coating. It’s relatively easy to apply.
- Liquid Rubber: Designed for more robust applications, liquid rubber coatings can offer superior durability and water resistance. They are excellent for high-moisture areas.
A great resource for understanding adhesives and sealants is the Building Science Corporation, which offers in-depth information on material behavior in various conditions, though their technical nature might be advanced for beginners. For DIY purposes, focusing on the product’s intended use (e.g., “waterproof sealant,” “fabric adhesive”) is usually sufficient.
What Makes a “Good” DIY Non-Slip Bath Mat?

A successful DIY non-slip bath mat set has a few key characteristics:
- Superior Grip: It stays firmly planted on the floor, even when wet.
- Durability: The DIY treatment withstands regular use and washing (if the mat is washable).
- Safety: The applied material doesn’t become brittle or flake off, creating new hazards.
- Comfort: It doesn’t create an uneven or uncomfortable surface underfoot.
- Aesthetics: While grip is the priority, most people prefer their DIY additions to be discreet or blend in.
Pros and Cons of DIY vs. Store-Bought Non-Slip Mats

Here’s a quick comparison to help you decide when DIY is the best route.
| Feature | DIY Non-Slip Bath Mat | Store-Bought Non-Slip Bath Mat |
|---|---|---|
| Cost | Generally lower, especially if repurposing an existing mat. | Varies widely; can be inexpensive to quite costly. |
| Customization | High. You control the pattern, density, and type of grip. | Limited to available designs and features. |
| Effectiveness | Can be highly effective if done correctly, with durable materials like silicone. | Varies greatly by brand and quality; some slide more than others. |
| Durability | Depends on the materials used and application quality. Silicone is very durable. | Generally designed for durability, but backings can wear out. |
| Time Investment | Requires time for application and curing. | Ready to use immediately. |
| Safety Guarantee | Depends on DIY skill and material choice. | Usually tested; look for certifications or reputable brands. |
The DIY route offers unparalleled control over the grip. If you have a favorite mat that’s lost its non-slip properties, or you’re looking for a specific level of anti-slip performance, the DIY approach is often superior.
Maintaining Your Non-Slip Bath Mat Set
Even with a DIY non-slip treatment, proper care ensures longevity and continued safety.
- Regular Cleaning: Wash your bath mat according to its care instructions. Most fabric mats can be machine washed on a gentle cycle with cold water.
- Air Dry: Whenever possible, air dry your bath mat. High heat from a dryer can degrade the backing materials (both factory-applied and DIY) over time. Hang it over a shower rod, drying rack, or clothesline.
- Check for Wear: Periodically inspect the underside of your mat. If you notice any signs of peeling, cracking, or wear on the DIY non-slip treatment, it might be time for a touch-up or reapplication.
- Floor Hygiene: Keep your bathroom floor clean. Removing soap scum, hair, and dust where the mat meets the floor will help maintain maximum friction. A quick sweep or wipe down of the floor before placing the mat back can make a big difference.
When to Consider a New Mat
Sometimes, even the best DIY fixes can’t revive a mat that’s past its prime. If your bath mat is:
- Significantly frayed or torn
- Developing holes in the fabric
- Showing signs of severe mold or mildew that can’t be cleaned
- The original backing is completely disintegrating
It might be time to replace the mat entirely and start your DIY non-slip project with a fresh canvas. Remember, a new, basic bath mat is often inexpensive, making it the perfect candidate for a DIY upgrade.
Frequently Asked Questions (FAQ)
Q1: How long does a DIY non-slip bath mat treatment last?

With silicone sealant, a properly applied DIY treatment can last for several years, often outlasting the mat itself. Liquid latex or rubber coatings might need reapplication every 1-3 years depending on washing frequency and wear. Non-slip sprays and tapes are the least durable and may need frequent touch-ups or reapplication.
Q2: Can I use hot glue to make a bath mat non-slip?

While hot glue can create texture, it’s generally not recommended for a truly non-slip bath mat. Hot glue can become brittle over time, crack, or melt/soften in warm, humid bathroom conditions, potentially making the floor more slippery or leaving sticky residue. Silicone sealant is a much more durable and flexible option.
Q3: My DIY non-slip mat still slides sometimes. What did I do wrong?

Several things could be the cause: the mat wasn’t clean and dry before application, the sealant/adhesive wasn’t applied evenly or thickly enough, it hasn’t fully cured, or the bathroom floor itself might be exceptionally smooth or have residue. Ensure thorough cleaning and allow ample drying/curing time for the best results.
Q4: Is it safe to use non-slip coatings on bath mats that go in the laundry?

Yes, it is safe, provided you use materials designed for fabric and intend for the mat to be washable. Silicone and durable liquid rubber coatings adhere well and can withstand machine washing and air drying. Always check the manufacturer’s instructions for both your mat and your chosen coating. Avoid materials that could degrade or become brittle in the wash.
Q5: What if my bath mat is made of a material like shag or Chenille?

These textured materials can be trickier. For shag or chenille, you’ll want to apply the non-slip treatment to the backing fabric beneath the fibers. Ensure the sealant or coating can reach and adhere to the base fabric. Applying in thin, multiple layers is often best. You might also opt for grip tape applied directly to the backing.
Q6: How do I clean a DIY non-slip bath mat?

Treat it like a regular bath mat. Most fabric mats with DIY treatments can be machine washed cold and air-dried. Avoid high heat. For spots, you can use a mild detergent and a scrub brush. Ensure the mat is completely dry before placing it back on the floor to prevent any lingering moisture from causing slips.
Conclusion: Confidently Stepping onto Your Safer Mat
Taking a proactive approach to bathroom safety, starting with your bath mats, is a smart move. You’ve learned why mats slip and, more importantly, how to create your own reliable non-slip bath mat set using simple, effective DIY techniques. Whether you opt for the robustness of silicone sealant, the flexibility of liquid rubber, or the convenience of grip tape, you’re investing in peace of mind. Remember, a little effort now can prevent a potentially serious accident later.
So, grab those materials, prepare your favorite mat, and get ready to transform your bathroom into a safer, more secure space. You’ve got this! Enjoy the confidence that comes with knowing your bath mats will stay exactly where you put them, keeping you and your loved ones safe and sound, step after slippery step.
