
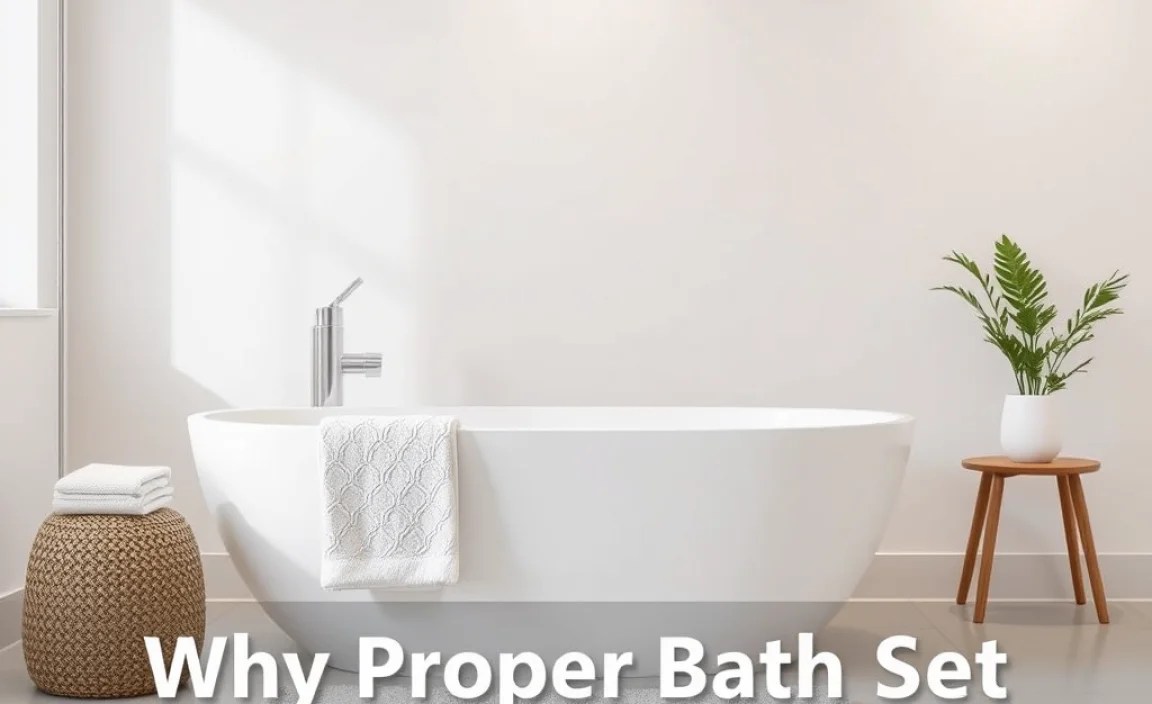
Discover brilliant ways to store your non-slip bath mat set, keeping your bathroom tidy and safe. From simple hooks to clever folding techniques, we’ll show you how to maximize space and prevent tripping hazards, transforming your bathroom organization effortlessly. This guide provides practical, beginner-friendly solutions for any home.
Wet floors after a shower are a common bathroom hazard. A good non-slip bath mat set is essential for safety, but storing it can be a challenge. They can be bulky, get in the way, or become a breeding ground for mildew if not stored properly. This guide will walk you through some incredibly simple, yet genius, storage solutions for your non-slip bath mat set that will make your bathroom look tidier and feel safer. You won’t believe how easy it is to solve this common household annoyance!
Why Proper Bath Mat Storage Matters
Storing your non-slip bath mat set correctly isn’t just about aesthetics; it’s about functionality and hygiene. A damp bath mat left bunched up on the floor can become a slip hazard itself, not to mention a perfect place for mold and mildew to grow. These microscopic organisms can affect air quality and are unsightly. Furthermore, a neatly stored mat prevents anyone from tripping over it when it’s not in use, especially in smaller bathrooms where space is at a premium.
Think about it: your bathroom is a space for relaxation and cleanliness. A cluttered, damp mat detracts from that peaceful atmosphere. By implementing a smart storage solution, you not only protect your family from slips but also maintain a healthier and more visually appealing bathroom environment. We’ll explore several ‘genius’ methods that are easy enough for anyone to implement, requiring minimal tools and effort but delivering maximum impact.
Understanding Your Non-Slip Bath Mat Set

Before diving into storage, it’s helpful to understand what makes up a typical non-slip bath mat set and why its material influences storage. Most sets include a mat for stepping out of the shower or tub, and often a smaller one for the toilet or sink area. The “non-slip” feature usually comes from a rubber or PVC backing, designed to grip wet tile or linoleum. This backing, while functional, can sometimes be stiff or prone to creasing if folded improperly.
Materials vary, too. Some mats are made of absorbent microfiber, which can take a while to dry if left bunched up. Others might be made of quick-drying PVC or natural rubber. Knowing your mat’s material will help you choose the best drying and storage method. For instance, a thick microfiber mat will need more air circulation to dry than a thin PVC one. The goal is always to keep the mat dry, flat (or rolled appropriately), and out of the way.
Genius Storage Solutions for Your Bath Mat Set
Finding a dedicated spot for your bath mat set can make all the difference. The key is to keep it elevated or in a position where air can circulate, allowing it to dry completely between uses. This prevents that musty smell and potential mold growth.
1. The Over-the-Door Hook Method: Simple and Space-Saving
This is perhaps the simplest and most effective method for most bathrooms. It requires minimal effort and no special tools. You’ll need a sturdy over-the-door hook or a set of adhesive hooks.
What You’ll Need:
- 1-2 sturdy over-the-door hooks (look for ones with a wide enough hook to accommodate the mat’s thickness) OR
- A set of strong, waterproof adhesive hooks
- Your non-slip bath mat set
Steps:
- Choose Your Location: Decide which door in your bathroom would be best. This could be the main bathroom door, a closet door, or even a shower door (if it has a frame). Ensure it doesn’t obstruct the door’s movement.
- Install the Hook(s):
- Over-the-Door Hooks: Simply slide the hook over the top of the door. Make sure it sits flush against the door so it won’t snag.
- Adhesive Hooks: Clean the surface where you plan to stick the hook thoroughly with rubbing alcohol to remove any soap scum or moisture. Let it dry completely. Peel off the backing of the adhesive and press the hook firmly onto the chosen spot. Hold for about 30 seconds as per the manufacturer’s instructions. Allow 24 hours for the adhesive to cure before hanging anything heavy.
- Hang Your Mats: Once the hook is securely in place, carefully fold or drape your bath mats over the hook(s). If you have a set, you might use one hook for the larger mat and another for the smaller one, or fold them together if the hook is wide enough. Ensure the mats hang freely to allow air to circulate.
Why it’s Genius:
This method keeps the mats completely off the floor, allowing them to air dry efficiently. It utilizes often-unused vertical space and keeps your bathroom floor clear, reducing tripping hazards and making cleaning easier. Plus, it requires no drilling or permanent installation, making it perfect for renters.
2. The Shower Rod or Curtain Rod Solution: Practical and Accessible
If you have a shower curtain rod, it presents another excellent opportunity for keeping your bath mats dry and out of the way. This method leverages existing bathroom fixtures.
What You’ll Need:
- Your non-slip bath mat set
- A shower curtain rod (already installed)
- Optional: Shower curtain rings or clips
Steps:
- Ensure Dryness: Before storing, shake out excess water from your bath mats. For best results, let them drip dry for a few minutes near the shower or tub.
- Drape or Clip:
- Draping: If your shower rod is accessible and you don’t mind the mats being slightly visible, you can simply drape the mats over the rod. Fold them neatly to maximize space and ensure they don’t drag on the floor or shower curtain.
- Using Clips/Rings: For a tidier look and better air circulation, use shower curtain rings or strong fabric clips. Attach the clips to the edge of your bath mat(s) and then hook these onto the shower rod. This allows each mat to hang individually, promoting faster drying.
Why it’s Genius:
This method is incredibly practical because it uses a fixture that is already part of most bathrooms. It keeps the mats elevated and allows for good airflow. It’s also very easy to implement without any additional purchases. Just be sure to hang them far enough back so they don’t interfere with the shower curtain’s function.
3. The Fold & Tuck: For Minimalist Spaces
For those who prefer a completely hidden solution or have very small bathrooms with limited wall or door space, the “Fold & Tuck” method is ideal. This involves neatly folding your mats and storing them in a discreet location.
What You’ll Need:
- Your non-slip bath mat set
- A dry, well-ventilated space for storage
- Optional: A slim basket or bin
Steps:
- Ensure Mats are Dry: This is the most crucial step for this method. Mats must be thoroughly dry before folding and tucking to prevent mold and odor. Hang them somewhere to air dry completely first, perhaps on a clothes drying rack or over a laundry basket.
- Fold Neatly: Fold the mats carefully. For most rectangular mats, folding them in half lengthwise, then in half again, creates a compact, manageable shape. Avoid sharp creases in the rubber backing, which can cause it to crack over time.
- Find a Storage Spot:
- Underneath the Vanity: If you have space under your sink or vanity, and it’s not prone to moisture, this can be a good spot. Place the folded mats towards the back.
- Inside a Linen Closet: Bathrooms often have linen closets. Tuck the folded mats between towels or on a shelf.
- In a Slim Basket: Use a slim, breathable basket or bin and place the folded mats inside. This keeps them contained and dust-free. Place the basket under the vanity, on a shelf, or even in a nearby closet.
Why it’s Genius:
This method offers a clean, uncluttered look by hiding the mats away. It’s perfect for bathrooms where aesthetics are paramount or space is extremely limited. The key is ensuring the mats are bone dry before storage to prevent issues.
4. The Wall-Mounted Holder/Rack: A More Permanent Solution
For a dedicated and organized storage system, consider a wall-mounted solution. This keeps your mats neatly organized and readily accessible, similar to how towels are often stored.
What You’ll Need:
- A wall-mounted rack, towel bar, or hooks specifically designed for bath mats or towels.
- Tools for installation (depending on the rack): Drill, screwdriver, level, wall anchors (if needed).
- Your non-slip bath mat set.
Steps:
- Select a Location: Choose a spot on a bathroom wall that is convenient but won’t be in the way. Ensure it’s a location where the mats can air dry. Avoid areas directly under leaky pipes.
- Prepare for Installation: Mark where you want to install the rack or hooks. If mounting onto drywall without hitting a stud, you’ll need to use wall anchors for a secure hold. Always check the weight capacity of the anchors and the rack. For guidance on using wall anchors, consult resources like This Old House’s guide on wall anchors.
- Install the Rack/Hooks: Follow the manufacturer’s instructions carefully. This typically involves drilling pilot holes, inserting anchors if necessary, and then screwing the rack or hooks into the wall. Use a level to ensure it’s straight.
- Hang Your Mats: Once the rack or hooks are securely installed, drape or hang your bath mats on them. Folding them neatly can help them fit better and dry faster.
Why it’s Genius:
This method provides a permanent, dedicated spot for your bath mats, keeping them consistently organized and off the floor. It can look very professional and integrated into your bathroom design. It’s also excellent for air circulation.
5. Rolling Your Mats: A Space-Saving Trick
Instead of folding, some materials can store well when rolled. This can be an effective way to minimize the space your mats take up.
What You’ll Need:
- Your non-slip bath mat set (preferably with flexible backing)
- A dry, flat surface for rolling
- Optional: A strap or large rubber band
Steps:
- Dry Thoroughly: As always, ensure the mats are completely dry.
- Lay Flat: Place the mat flat on a clean surface.
- Roll Tightly: Starting from one end, roll the mat up as tightly as possible. Try to maintain an even roll.
- Secure if Needed: If the mat tends to unroll, you can use a large rubber band or a Velcro strap to keep it compact.
- Store: Place the rolled mat upright in a basket, on a shelf, or in a cabinet.
Why it’s Genius:
Rolling can sometimes be more space-efficient than folding, especially for longer mats. It also helps maintain the integrity of some mat materials by avoiding creasing. This method works best for mats with a flexible backing that can be rolled without damage.
Tips for Maintaining Your Bath Mat Set
Proper storage is part of keeping your bath mat set in good condition. Here are some essential maintenance tips:
- Regular Washing: Most bath mats can be machine washed. Check the care label. Typically, washing them with your regular laundry (avoiding fabric softener, which can reduce absorbency) in warm water, and then air drying, is best. For those with rubber or PVC backing, machine washing might be too harsh; check the manufacturer’s recommendations. A good wash every few weeks can prevent deep-set dirt and odor.
- Frequent Air Drying: Even when properly stored, allow your mats to air dry completely between uses. If possible, hang them over the side of the tub or on a hook for a few hours after showering.
- Check for Wear and Tear: Periodically inspect your mats for signs of wear, such as peeling backing, frayed edges, or excessive thinning. Damaged mats can lose their non-slip properties and become a safety hazard.
- Deep Cleaning: For a deeper clean, especially if you notice any mildew spots or persistent odors, you can use a mild bleach solution (diluted appropriately) or specific bathroom cleaners formulated for mold and mildew. Always rinse thoroughly and air dry completely. For an eco-friendly deep clean, a baking soda paste can work wonders.
- Sunlight is Your Friend: If possible, occasionally hang your mats in direct sunlight. UV rays are natural disinfectants and can help kill bacteria and brighten the fabric.
Choosing the Right Storage Solution for Your Bathroom

The best storage solution for your non-slip bath mat set depends on several factors:
- Bathroom Size: Small bathrooms benefit most from wall-mounted hooks or over-the-door solutions that utilize vertical space. Larger bathrooms might have more flexibility.
- Bathroom Layout: Consider where you have free wall space, door space, or existing fixtures like a shower rod.
- Your Mats’ Material: Thick, plush mats might require more robust hanging solutions or better airflow than thinner, quick-drying mats.
- Your Personal Style: Do you prefer a hidden, minimalist look, or are you okay with visible storage?
- Rental vs. Ownership: Renters should prioritize non-permanent solutions like over-the-door hooks or adhesive hooks over drilling into walls.
Here’s a quick comparison to help you decide:
| Storage Method | Pros | Cons | Best For |
|---|---|---|---|
| Over-the-Door Hook | Easy, no tools, excellent air circulation, renter-friendly | Mats are visible, can snag if not placed carefully | Small bathrooms, renters, quick drying needs |
| Shower Rod / Curtain Rod | Uses existing fixtures, good for air circulation, no extra cost | Mats are visible, might interfere with curtain function if not mindful | Bathrooms with shower curtains, those who want easy access |
| Fold & Tuck | Hidden, minimalist, very space-efficient when dry | Requires mats to be perfectly dry, potential for odor/mildew if not | Very small bathrooms, those prioritizing aesthetics, neat freaks |
| Wall-Mounted Holder/Rack | Organized, permanent, dedicated space, good air circulation | Requires installation (drilling), permanent modification | Homeowners, those wanting a permanent organized solution |
| Rolling | Compact, space-saving, can prevent creasing | Requires mats to be dry and flexible, might unroll without securing | Mats with flexible backing, space-saving needs |
Think about what works best for your specific bathroom setup and lifestyle. For instance, if you have a family with kids who are constantly in and out of the shower, an easily accessible over-the-door hook might be ideal. If you live alone and value a serene, minimalist aesthetic, the fold-and-tuck method might be preferable, provided you’re diligent about drying.
Safety First: Avoiding Tripping Hazards
Beyond storage, always ensure your non-slip bath mat is placed correctly on the floor when in use. The primary benefit of a non-slip mat is to prevent falls on wet surfaces. When it’s not in use, keeping it stored in one of the ways described above prevents it from becoming a hazard itself. A mat left bunched up or extending too far into a walkway is just as dangerous as a slippery floor.
When selecting non-slip bath mats, look for those with a high-quality backing made from materials like rubber or TPR (thermoplastic rubber), known for their grip. According to consumer product safety guidelines, ensuring adequate friction between surfaces is key to preventing falls. For more on home safety, you can refer to resources from the Consumer Product Safety Commission (CPSC), which provides excellent guidance on preventing common household accidents, including those related to slips and falls.
Remember these key safety points:
- Always ensure your bath mats have a non-slip backing.
- When in use, place mats on a dry, flat surface.
