
Create a stylish and organized bathroom with DIY accessory sets featuring trays. Learn how to select components, assemble them, and personalize your space for a polished, functional look that fits your budget and style.
Keeping your bathroom tidy can feel like a constant battle. Small items like lotions, soaps, and toiletries often clutter countertops, making your space feel messy and uninviting. But what if you could create a beautiful, organized system that looks professionally done, without the hefty price tag? Creating your own bathroom accessory sets with a tray is a fantastic DIY project that adds both style and functionality. You don’t need to be a master crafter to get a designer look! We’ll walk you through everything you need to know to assemble a custom set that perfectly suits your needs and makes your bathroom shine.
Why Make Your Own Bathroom Accessory Sets with Tray?
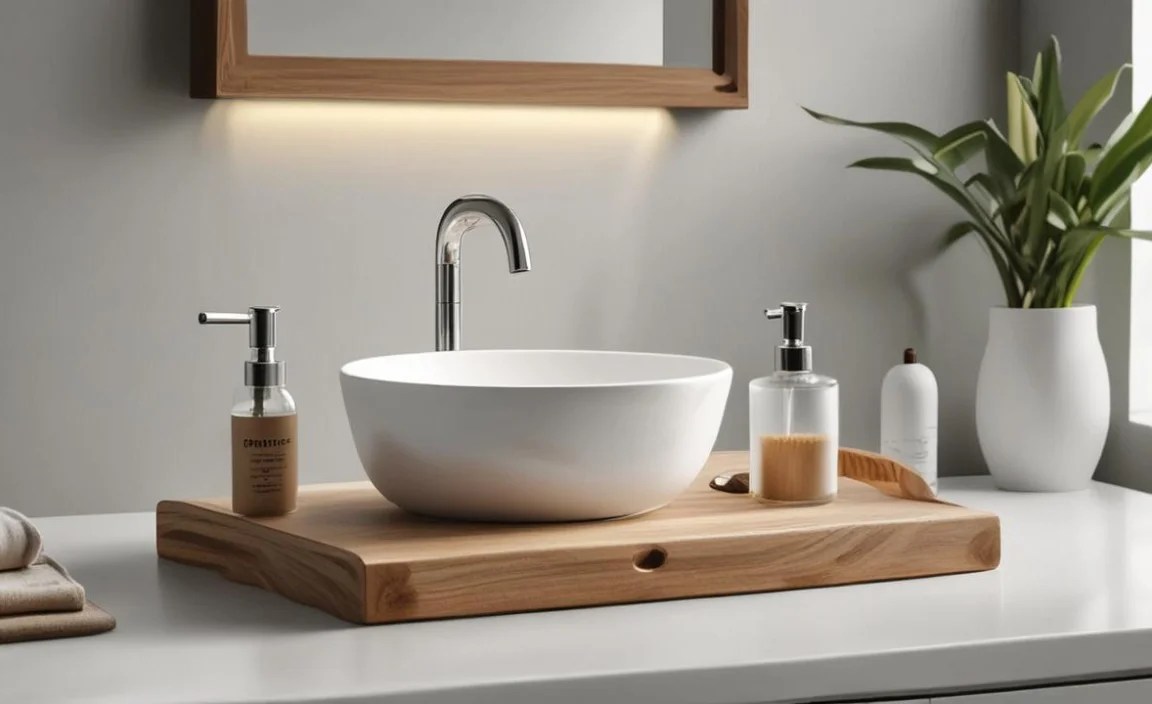
Commercial bathroom accessory sets can be expensive and often don’t quite match your existing decor or specific needs. Building your own set offers unparalleled freedom and benefits, making it a smart choice for any homeowner looking to add a personal touch to their bathroom.
Benefits of a DIY Approach

Cost-Effectiveness: You can often save significant money by sourcing individual pieces and assembling them yourself, compared to buying pre-packaged sets.
Customization: Tailor each piece to your exact style, color scheme, and functional requirements. Choose materials, finishes, and sizes that complement your bathroom perfectly.
Durability & Quality: Select higher-quality materials than you might find in mass-produced sets, ensuring your accessories last longer.
Unique Style: Create a one-of-a-kind look that reflects your personality and enhances your bathroom’s aesthetic.
Perfect Fit: Ensure every item serves a purpose and fits perfectly on your tray and within your bathroom space.
Understanding the “Tray” Component
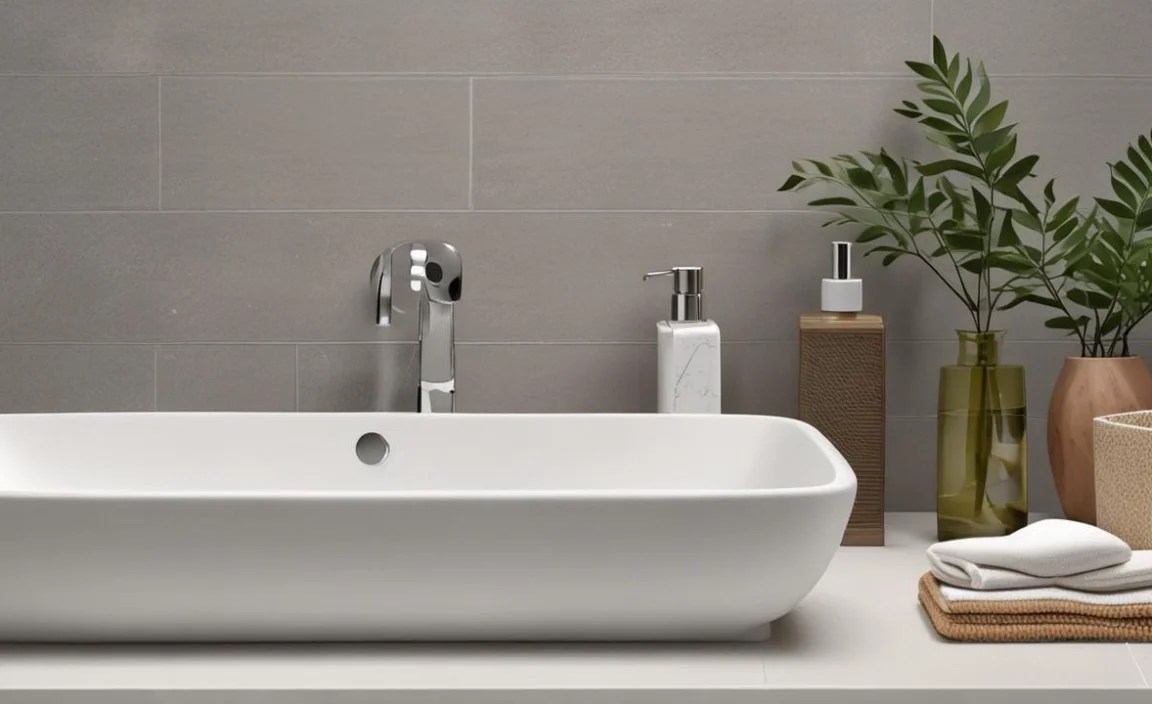
The tray is the unifying element that brings your DIY bathroom accessory set together. It acts as a stable base, preventing items from scattering and keeping your vanity top neat. It can be made from various materials, from wood and metal to acrylic or even decorative ceramic. The tray not only organizes but also adds a decorative layer to your countertop.
Planning Your DIY Bathroom Accessory Set
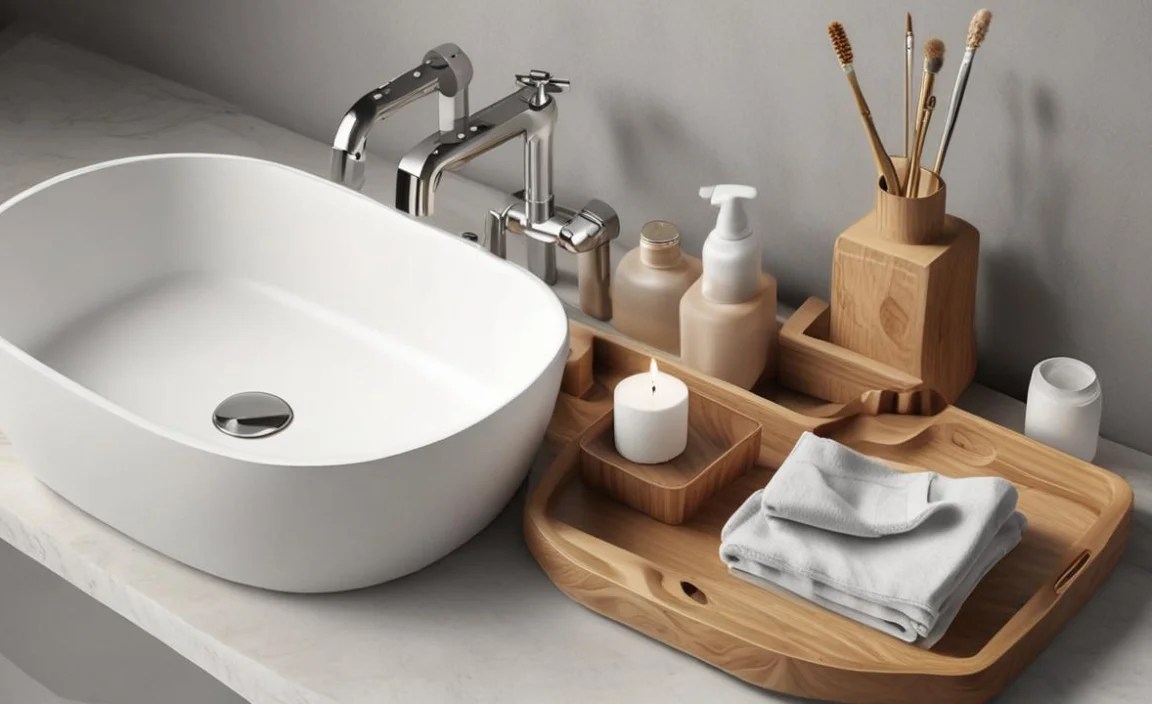
Before you grab any tools, a little planning goes a long way. Think about what you need to store, the style of your bathroom, and the space you have available.
Step 1: Assess Your Bathroom Needs
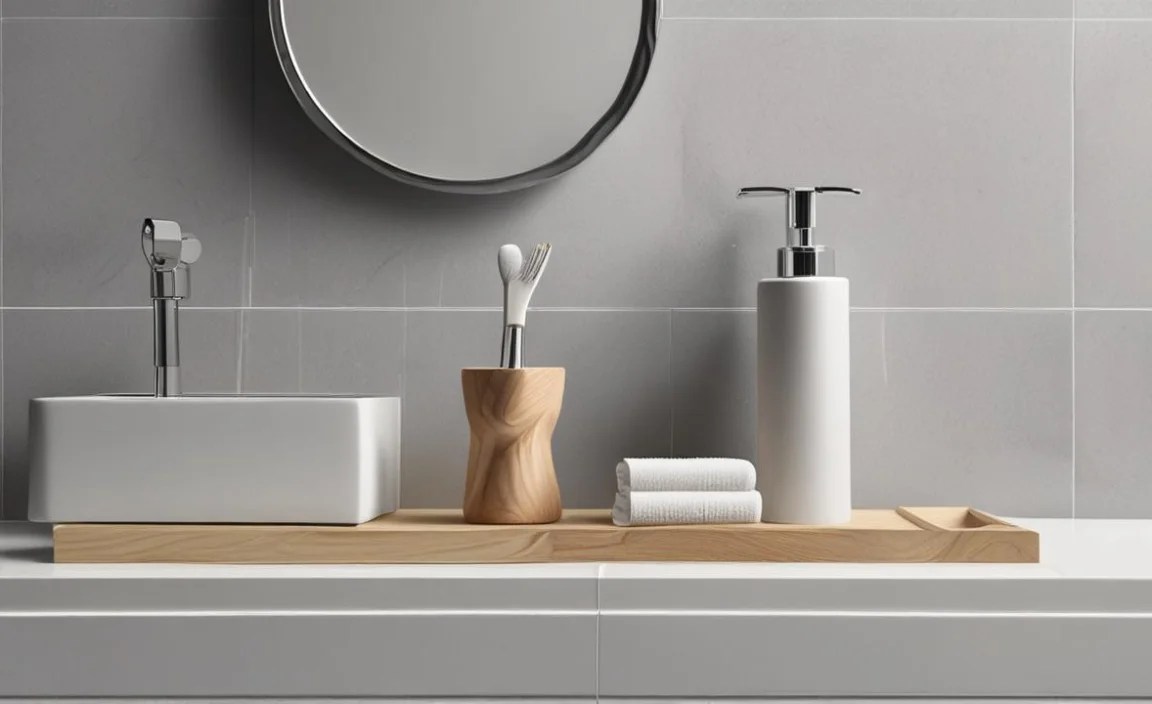
Walk through your bathroom and identify what items tend to clutter your vanity. Common items include:
Hand soap dispenser
Toothbrush holder
Tumbler/cup (for rinsing or holding small items)
Cotton ball/swab dispenser
Tissues or a small tissue box cover
A spot for your watch or rings
Consider the size of your vanity. Measure the available surface area to ensure your chosen tray and accessories will fit comfortably without overcrowding.
Step 2: Define Your Style and Materials
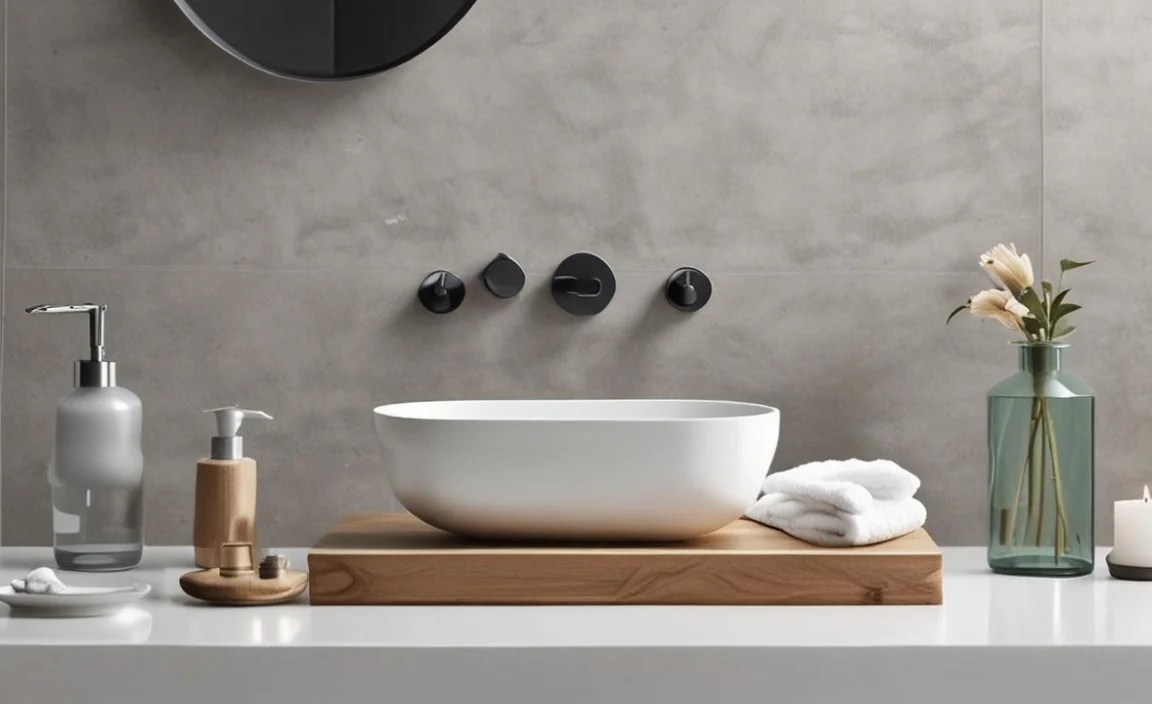
What is the overall aesthetic of your bathroom? Is it modern, rustic, minimalist, spa-like, or coastal? Your accessory set should complement this.
Modern/Minimalist: Look for sleek designs in materials like brushed nickel, chrome, black matte, glass, or clear acrylic.
Rustic/Farmhouse: Consider wood (distressed or natural), matte black metal, or aged bronze finishes.
Spa-like/Boho: Natural materials like bamboo, light wood, stone, or textured ceramics work well.
Coastal: White, light blues, natural wood, and seagrass accents can create this feel.
Think about the durability and maintenance of materials. Some materials are more water-resistant and easier to clean than others.
Step 3: Choose Your Tray
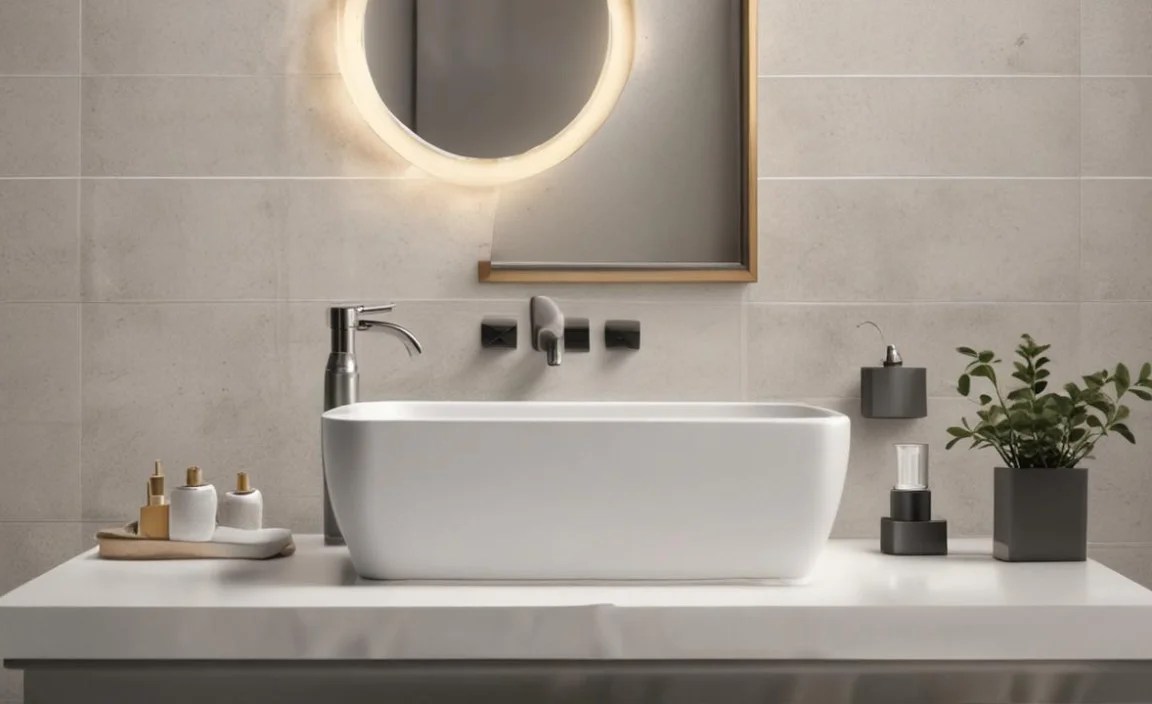
The tray is the foundation of your set. It needs to be the right size and material to suit your needs.
Common Tray Materials and Considerations:
Wood: Offers warmth and natural beauty. Can be sealed for water resistance.
Pros: Aesthetic appeal, natural look.
Cons: Can warp or stain if not properly sealed, may not be ideal for very humid environments without excellent sealing.
Metal (Stainless Steel, Brass, Aluminum, Iron): Durable, modern, or industrial. Finishes vary widely.
Pros: Very durable, often water-resistant, wide range of styles.
Cons: Can scratch, some metals can corrode or rust if not treated or maintained, can be heavier.
Acrylic/Lucite: Clear or colored, offers a contemporary, minimalist look.
Pros: Water-resistant, easy to clean, lightweight, modern appearance.
Cons: Can scratch, may look “plasticky” if not high quality.
Ceramic/Porcelain: Elegant and easy to clean. Can be highly decorative.
Pros: Very easy to clean, water-resistant, can be very decorative.
Cons: Fragile, can chip or break if dropped.
Mirror: Adds a touch of glamour and can make a small space feel larger.
Pros: Reflective, sophisticated, can enhance light.
Cons: Shows fingerprints easily, can be fragile.
Tray Size Guide:
Measure your vanity space. A typical vanity might accommodate a tray that’s 10-14 inches long and 5-8 inches wide. Always measure twice to avoid ordering a tray that’s too big or too small.
Assembling Your Bathroom Accessory Set: Step-by-Step
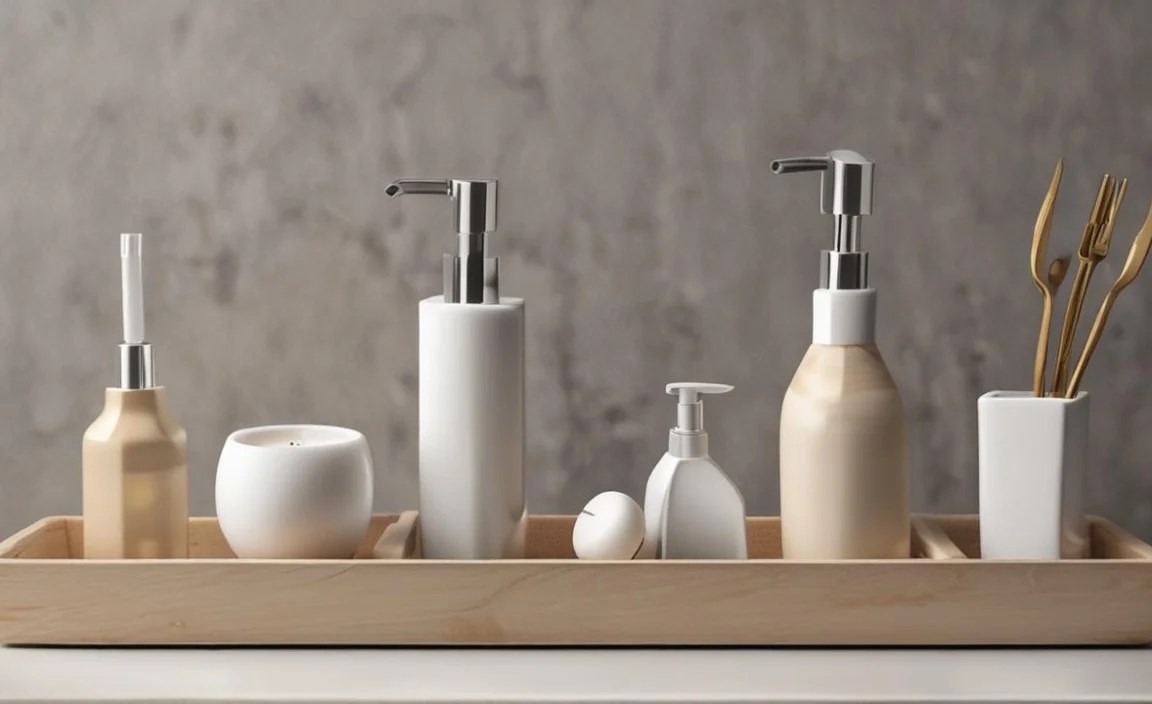
Once you have your plan, it’s time to gather your components and put them together.
Step 1: Select Your Individual Accessories
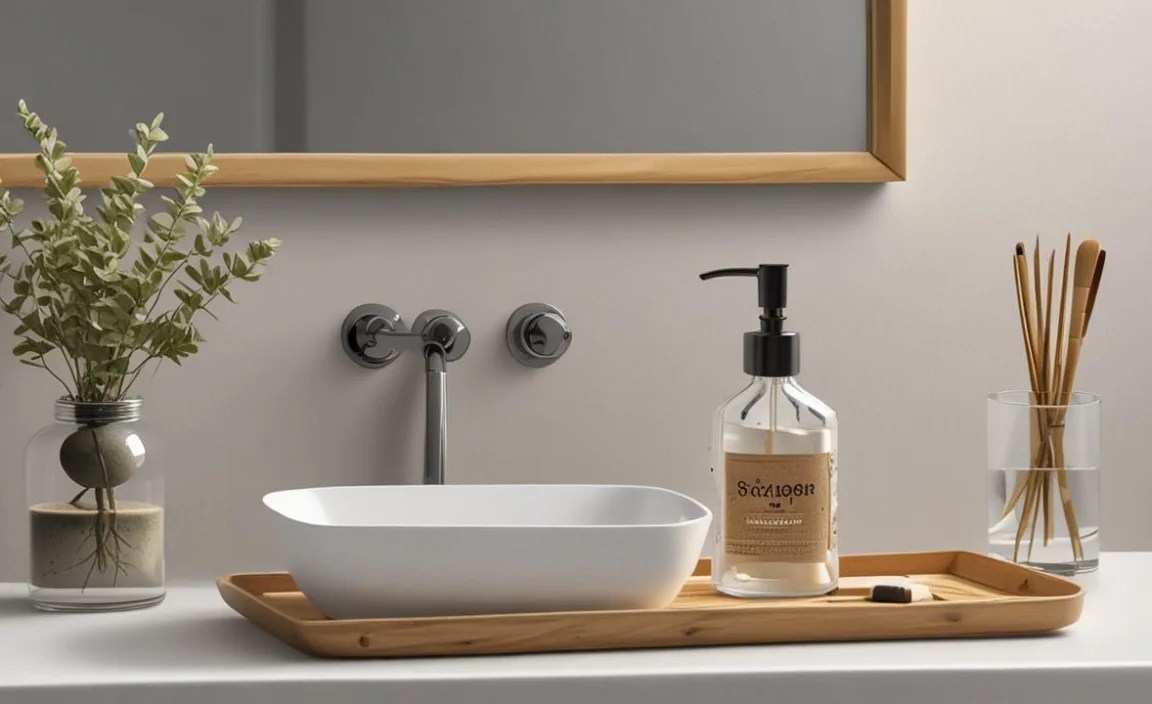
You can find excellent quality individual bathroom accessories from a variety of retailers, from large home improvement stores to online marketplaces. Look for pieces that have a cohesive design or material.
Essential Components to Consider:
Soap Dispenser: Choose between a liquid pump dispenser or a solid bar soap dish.
Toothbrush Holder: A classic cup or a holder with slots for multiple toothbrushes.
Tumbler/Cup: Useful for rinsing or holding small items like hair ties.
Storage Jars/Dispensers: For cotton balls, swabs, bath salts, or makeup removers. Look for lidded options to keep contents dust-free.
Small Tray or Dish: For rings, earrings, or keys.
Where to Find Great Pieces:
Home Goods Stores: Often have a wide selection of stylish and affordable accessories.
Online Retailers (Amazon, Wayfair, Etsy): Vast choices, often with customer reviews to guide you.
Discount Stores (Target, Walmart): Can yield surprisingly chic finds.
Flea Markets & Antique Shops: For unique, vintage pieces.
Specialty Kitchen or Bath Stores: May offer higher-end or more unique options.
Step 2: Measure and Arrange on the Tray

Lay out your chosen tray on a flat surface. Place your selected accessories onto the tray. Experiment with different arrangements until you find the most aesthetically pleasing and functional layout.
Arrangement Tips:
Balance: Distribute items evenly across the tray.
Height: Place taller items towards the back and shorter items towards the front.
Functionality: Keep frequently used items (like soap and toothbrush holder) within easy reach.
Visual Appeal: Group similar items or create a focal point with a decorative item.
Step 3: Secure Accessories (Optional but Recommended)
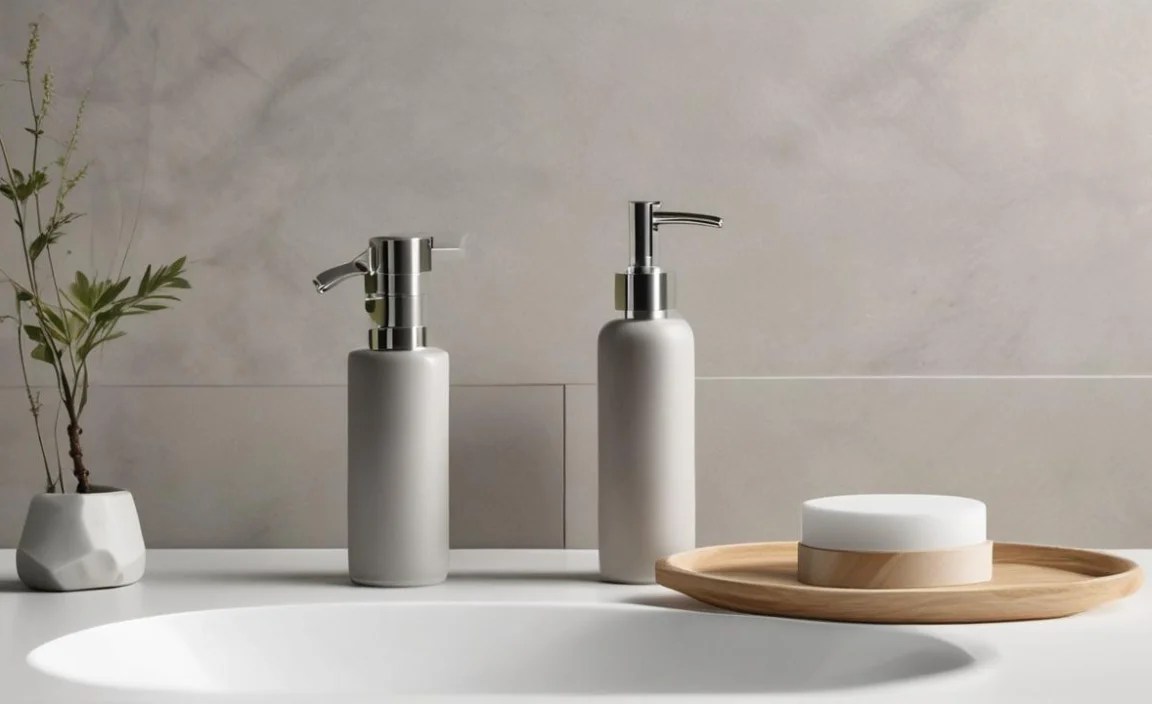
For greater stability, especially if your tray has a smooth surface or your accessories have felt bottoms that might slide, you can attach them.
Methods for Securing Accessories:
Museum Putty/Quake Hold: A removable, non-damaging putty that holds items in place. Apply a small amount to the base of each accessory before placing it on the tray. This is a great option for delicate surfaces or if you like to rearrange often.
Non-Slip Mats: Cut a piece of non-slip drawer liner to fit the bottom of your tray or the base of each accessory.
Adhesive (Use with Caution): Strong adhesive is a permanent solution and should only be used if you are certain you won’t want to rearrange or change your accessories. Test in an inconspicuous area first.
Step 4: Final Touches and Placement
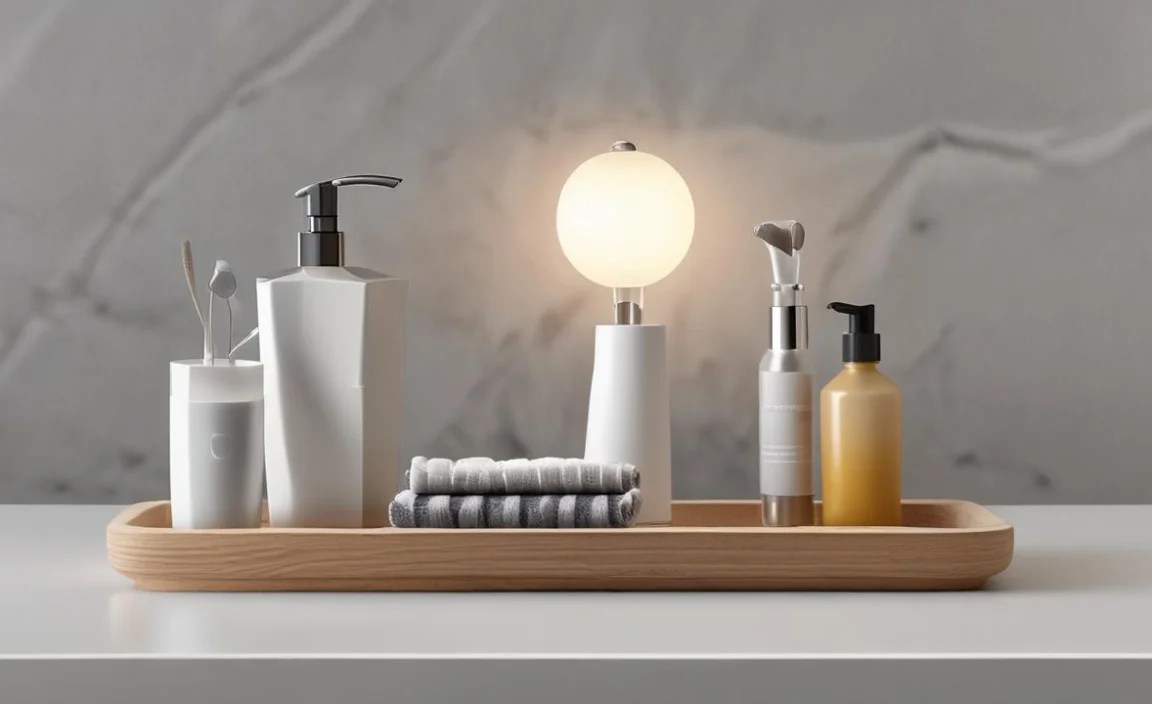
Once your accessories are arranged and secured on the tray, it’s time to place your beautiful new bathroom accessory set on your vanity. Step back and admire your work!
DIY Tray Ideas for Your Bathroom Accessory Set
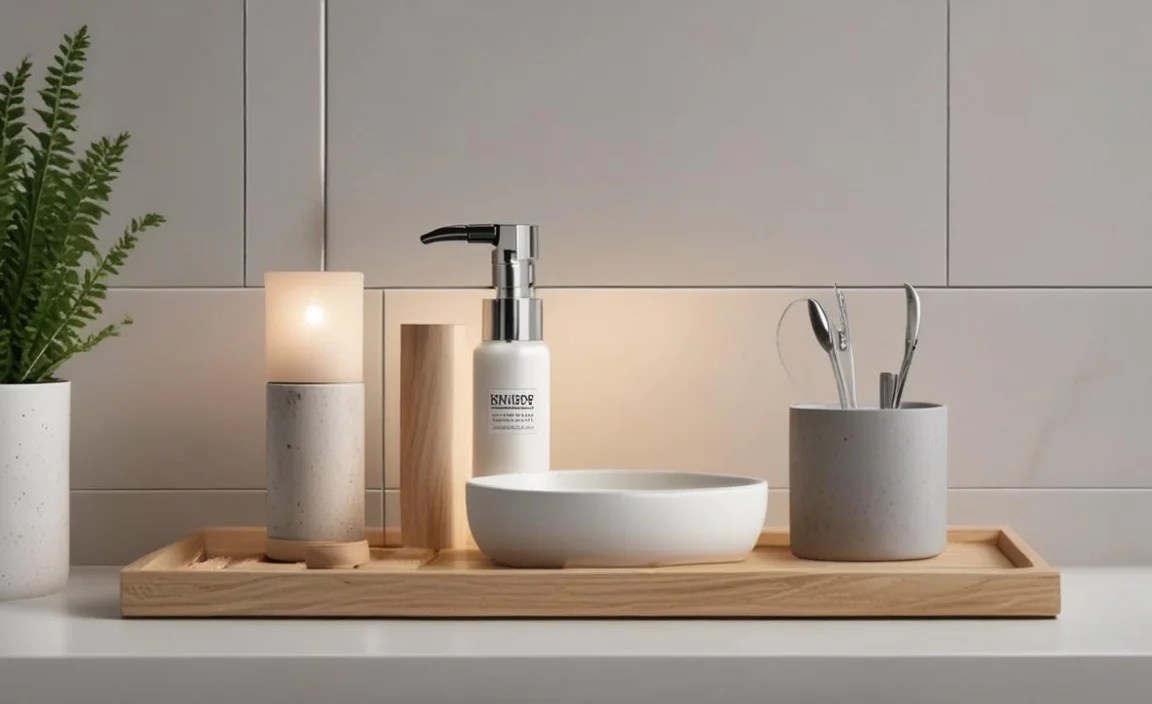
If you can’t find the perfect ready-made tray, or want an even more custom look, consider making your own tray.
Wood Tray Tutorial (Beginner-Friendly)
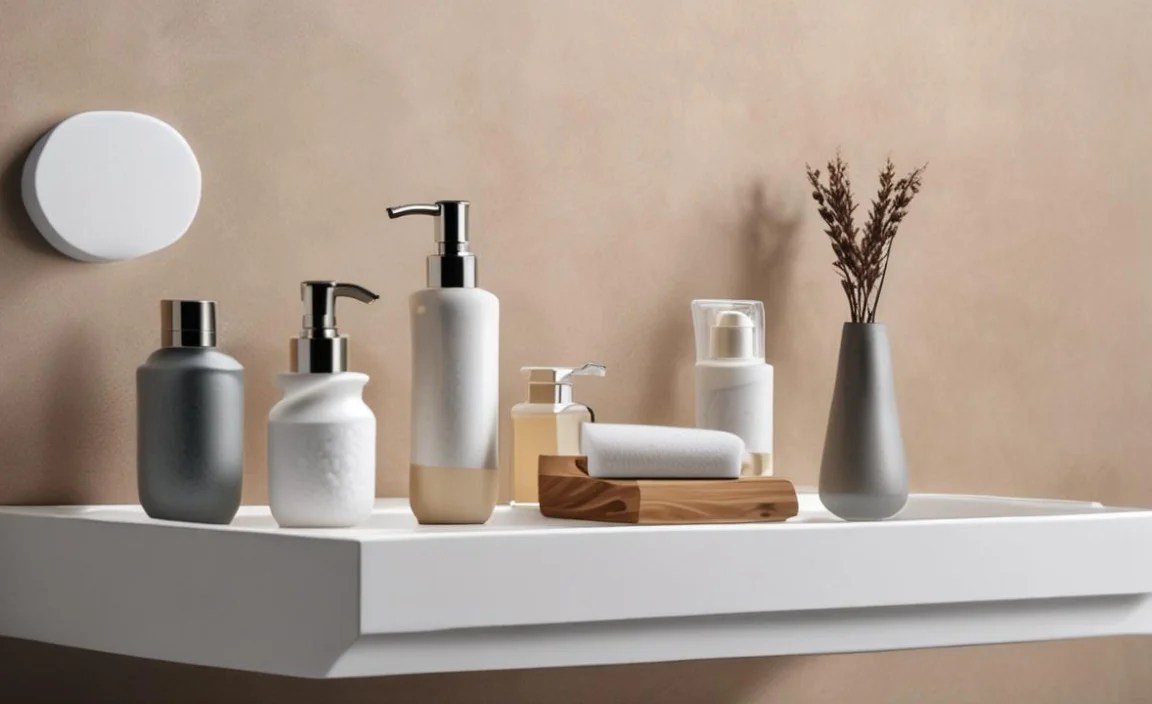
This is a simple project that can yield a beautiful and durable tray.
Materials:
Wooden base (e.g., a pre-made wooden serving tray base, a piece of plywood cut to size, or a shallow wooden box)
Wooden trim or border pieces (e.g., quarter-round molding, lattice strips)
Wood glue
Sandpaper (medium and fine grit)
Wood stain or paint (your choice of color)
Protective sealant (polyurethane or clear acrylic spray)
Optional: Handles or knobs
Tools:
Measuring tape
Saw (hand saw or miter saw for precise cuts)
Clamps (optional, for holding pieces while glue dries)
Paintbrushes or rollers
Rag for wiping stain
Instructions:
1. Prepare the Base: If you’re using a piece of plywood, cut it to your desired tray dimensions. Sand all edges smooth to prevent splinters. If using a pre-made base, ensure it’s clean and smooth.
2. Cut the Trim: Measure and cut your trim pieces to fit around the edges of your wooden base. Use a miter saw for clean 45-degree angle cuts at the corners for a professional look. If using a hand saw, measure carefully and make straight cuts.
3. Attach the Trim: Apply a generous amount of wood glue to the underside of the trim pieces and along the edges of the base where they will attach. Press the trim firmly onto the base. If you have clamps, use them to hold the trim in place while the glue dries according to the manufacturer’s instructions.
4. Sand and Smooth: Once the glue is completely dry and the trim is securely attached, sand the entire tray. Start with medium-grit sandpaper to smooth out any rough spots or uneven edges, then finish with fine-grit sandpaper for a silky smooth surface.
5. Stain or Paint: Apply your chosen wood stain or paint. For staining, wipe on the stain with a rag, let it penetrate for a few minutes (follow product instructions), and then wipe off the excess. For painting, apply thin, even coats, allowing each coat to dry before applying the next. You may need 2-3 coats for full coverage.
6. Seal for Protection: Once the stain or paint is fully dry, apply 2-3 coats of a clear protective sealant, such as polyurethane. This is crucial for a bathroom tray to protect it from moisture and water splashes. Allow adequate drying time between coats.
7. Add Hardware (Optional): If you want to add handles or knobs for easier carrying, measure and mark their desired placement on the sides of the tray. Drill pilot holes and then screw in your chosen hardware.
This DIY tray offers a warm, customizable element to your bathroom accessory set.
Other Tray Ideas to Spark Creativity
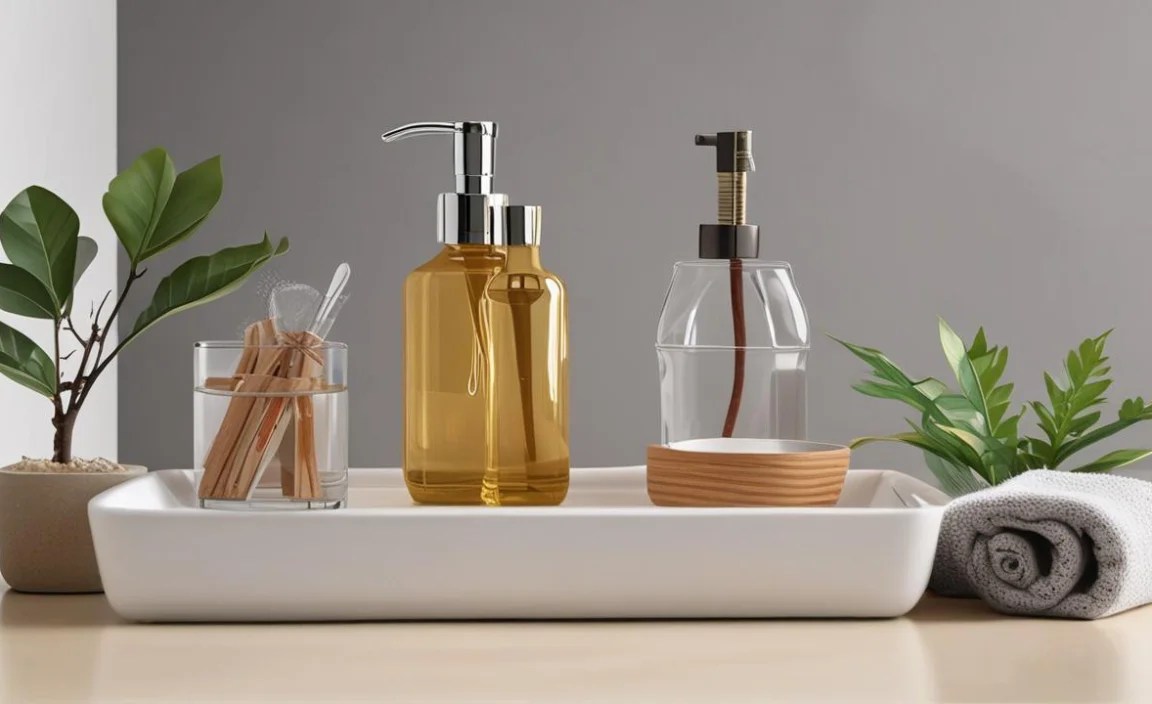
Repurposed Serving Tray: An old wooden serving tray can be cleaned, sanded, and repainted or stained. Add new hardware for a modern twist.
Bamboo or Rattan Basket: A shallow, rectangular basket can function as a tray, adding texture and a natural feel.
Mirror Tray: Glue mirror panels onto a sturdy base (like MDF) or purchase a mirror serving tray. This adds elegance and reflects light.
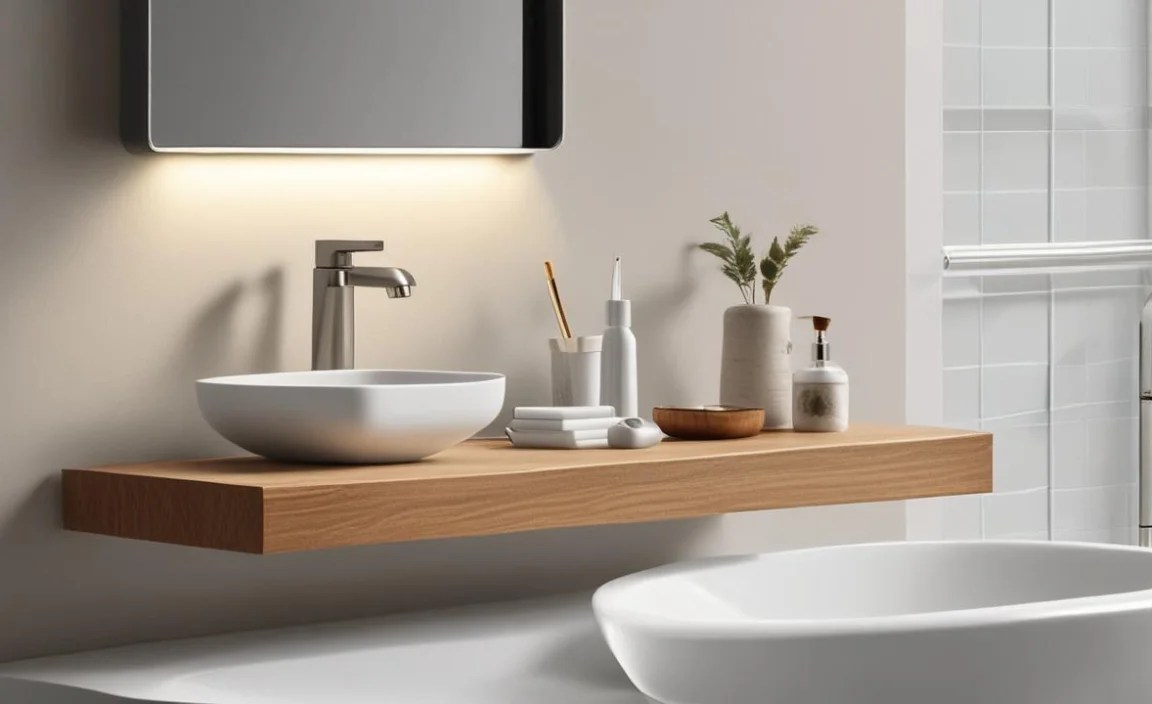
Floating Shelf Component: A small, decorative floating shelf can sometimes be mounted low on a wall near the vanity to act as a decorative tray holder if counter space is extremely limited.
Maintaining Your DIY Bathroom Accessory Set
Regular cleaning will keep your accessories looking pristine and hygienic.
Daily Wipes
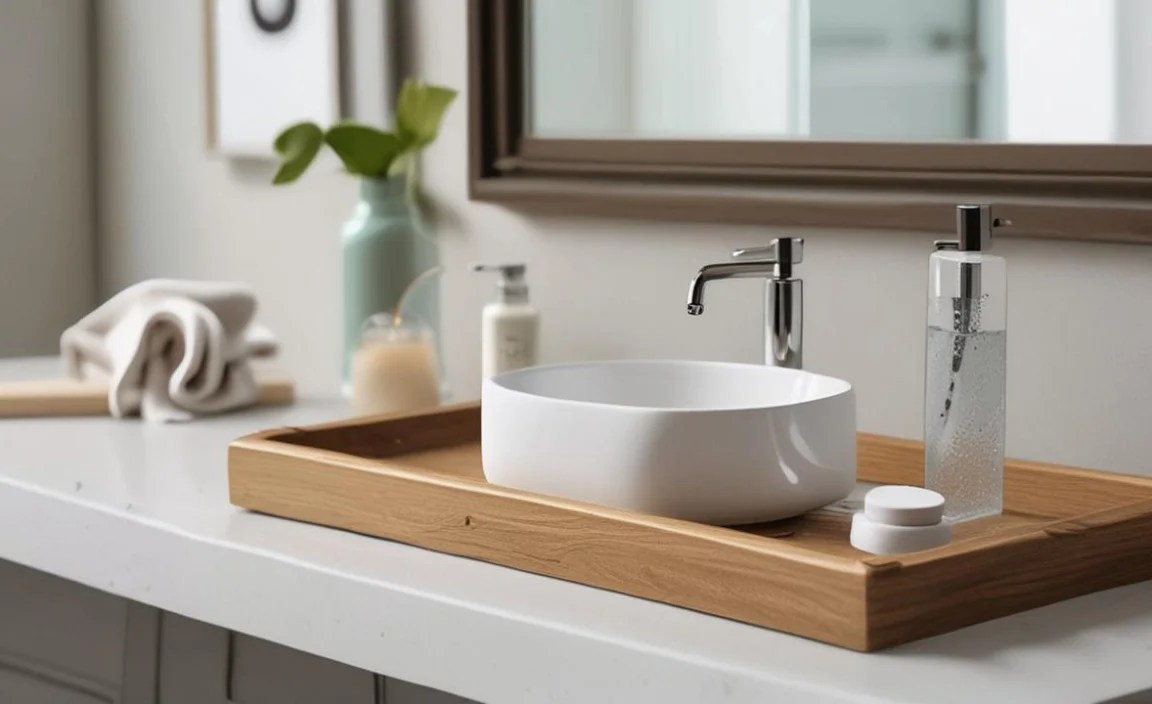
Wipe down all items and the tray with a soft, damp cloth after use to remove water droplets and toothpaste splatters.
Weekly Cleaning
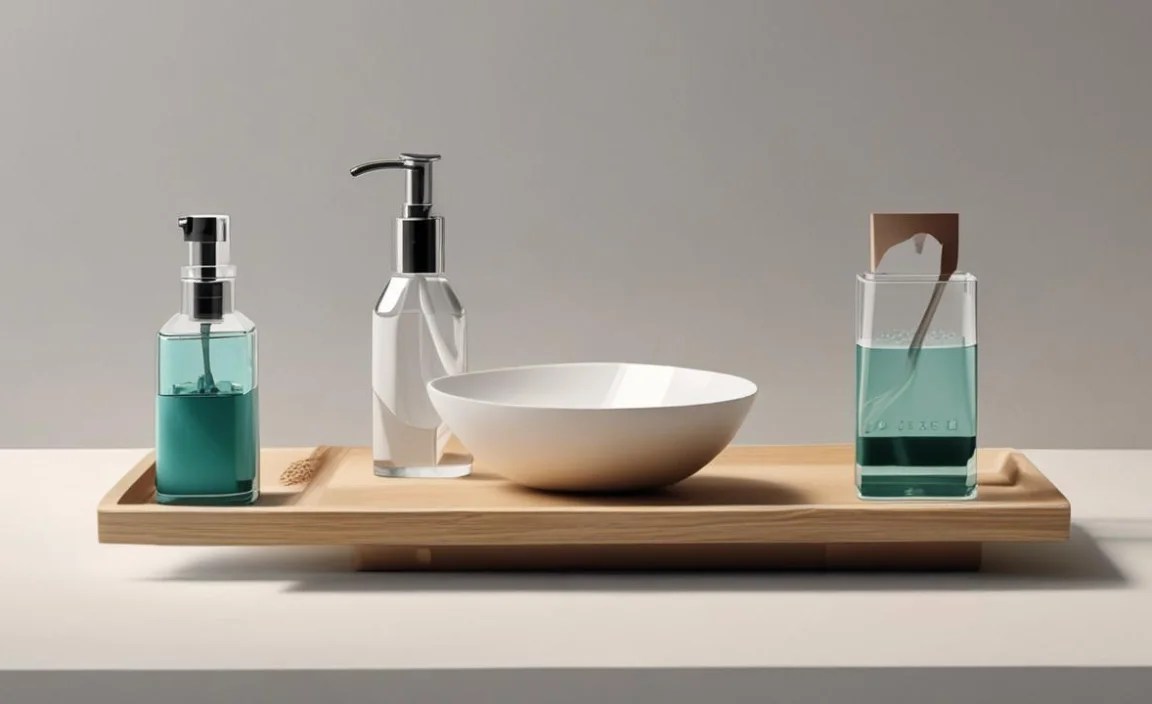
Dispensers: For soap dispensers, wipe the nozzle and exterior. If you notice clogs or slow pumping, follow the manufacturer’s instructions for cleaning.
Toothbrush Holders/Tumblers: Empty and wash with warm, soapy water. Ensure they are completely dry before returning items.
Trays: Wipe down with a damp cloth and mild soap if needed. For wooden trays, avoid excessive moisture. For metal, check for any signs of discoloration.
Periodic Deep Cleaning
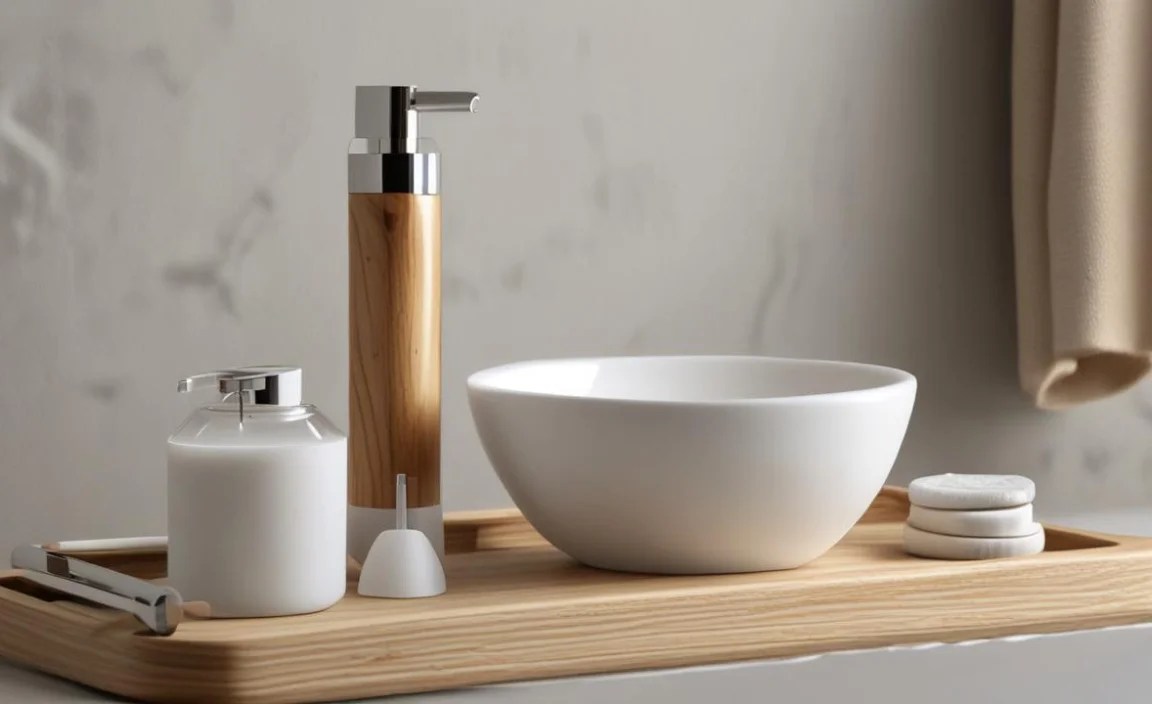
Disinfect: Use a mild disinfectant spray or wipes on all surfaces.
Polish: For metal accessories, use a metal polish appropriate for the material to restore shine.
Reseal (Wood): If you notice wear on your wooden tray’s sealant, light sanding and reapplication of sealant might be necessary, especially if it’s heavily exposed to water.
Safety and Best Practices
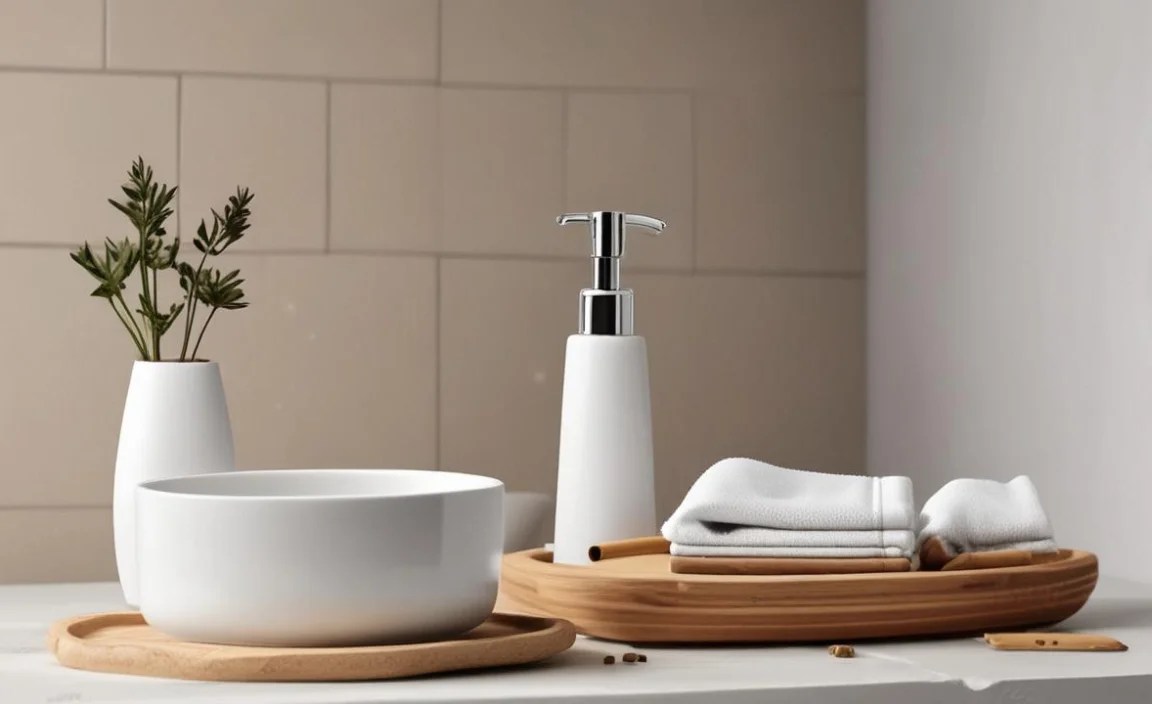
When working with DIY projects, especially those involving tools or adhesives, safety is paramount.
General Safety Tips:
Read Instructions: Always read and follow the safety instructions for all tools, adhesives, and finishes you use.
Ventilation: Ensure good ventilation when staining, painting, or sealing wood. Work in a well-aired room or outdoors.
Eye Protection: Wear safety glasses when cutting, drilling, or sanding.
Gloves: Wear appropriate gloves when handling chemicals like stains, paints, and adhesives.
Sharp Tools: Handle saws and knives with extreme care. Keep fingers away from blades.
Secure Work Area: Ensure your workspace is stable and free from clutter. Secure materials you are working on.
Specific to Bathroom Accessories:
Water Exposure: Be mindful of materials and finishes that are not water-resistant. Opt for sealed wood or materials like glass, metal, and acrylic for areas prone to splashes. The Environmental Protection Agency (EPA) provides excellent resources on mold prevention and moisture control in homes, which is relevant for bathroom environments.
Stability: Ensure accessories are stable on the tray and the tray is stable on your vanity to prevent spills and breakage.
* Non-Slip Surfaces: Consider placing non-slip pads under your tray for added security, especially on slippery vanity tops.
By adhering to these safety guidelines, you can ensure a smooth and successful DIY experience.
Frequently Asked Questions (FAQ)
Q1: What are the most important factors to consider when choosing a tray for my bathroom accessory set?
A1: Consider the size of your vanity, the materials that best match your bathroom’s decor, and how well the tray material will hold up to moisture. Durability and ease of cleaning are key for a bathroom environment.
Q2: Can I mix and match accessories from different brands and materials for my DIY set?
A2: Absolutely! The beauty of a DIY set is the freedom to mix and match. Aim for a cohesive look by sticking to a similar color palette, finish (e.g., all matte black), or style (e.g., all modern).
Q3: How do I prevent my accessories from sliding around on the tray?
A3: You can use museum putty, double-sided adhesive strips, or non-slip mats on the bottom of your accessories or tray.
Q4: Is it better to buy a pre-made tray or make my own?
A4: It depends on your budget, time, and desired level of customization. Pre-made trays are quicker, while DIY trays offer more control over size, material, and style, often at a lower cost.
Q5: What common bathroom items should I include in my accessory set?
A5: Essential items typically include a soap dispenser, toothbrush holder, a cup or tumbler, and storage for cotton balls or swabs. You can also add a small dish for jewelry.
Q6: How do I clean a wooden tray for my bathroom accessory set?
A6: For a sealed wooden tray, wipe it clean with a damp cloth and mild soap. Avoid prolonged exposure to water and dry it thoroughly immediately. If it’s not sealed, it’s best to use a decorative tray that doesn’t come into direct contact with water or moisture. For heavy-duty cleaning, a light sanding and reapplication of sealant might be needed.
Q7: Where can I find inspiration for bathroom accessory set designs?
A7: Look at home decor websites, Pinterest, Instagram, interior design magazines, and even hotel bathrooms for ideas. Observing how items are grouped and displayed can spark your creativity.
Conclusion
Creating your own bathroom accessory set with a tray is a rewarding DIY project that allows you to inject personal style and enhance functionality in your bathroom at a fraction of the cost of store-bought options. By following these planning, assembly, and maintenance tips, you can craft a beautiful, organized, and cohesive look that you’ll enjoy every day. Remember, the goal is to simplify your space, reduce clutter, and add a touch of elegance. So, gather your materials, let your creativity flow, and transform your bathroom vanity into a stylish sanctuary!
