
Understanding essential bathroom components is key for any DIY beginner. This guide simplifies the basics of toilets, sinks, faucets, showers, tubs, and their common parts, making your next bathroom project manageable and successful. Hey there, DIY fans! Ever stand in the bathroom aisle, surrounded by pipes, fixtures, and a whole lot of confusing jargon?
It can feel a bit overwhelming, right? You want to tackle those small fixes or maybe even a minor upgrade, but you’re not sure where to start. That’s totally normal! Bathrooms have a few key parts, and knowing what they are and what they do is the first big step. Forget the complex manuals for now. We’re going to break down the essentials in a way that’s easy to understand. By the end of this guide, you’ll feel much more confident about what’s what in your bathroom. Let’s dive in and demystify those bathroom components!
Understanding Your Bathroom: A Beginner’s Map
Think of your bathroom as a system, a well-orchestrated team of components working together to provide a clean and comfortable space. For beginners, the key is to identify the main players on this team and understand their basic roles. This knowledge will empower you to perform simple maintenance, troubleshoot common issues, and even make informed decisions when you’re ready for more advanced projects.
The Toilet: More Than Just a Seat
The toilet is arguably the most crucial fixture in any bathroom. While it seems simple, it has several important components that ensure it functions correctly and efficiently.
Inside the Tank: The Brains of the Operation
The toilet tank is where the magic of flushing happens. Inside, a few key parts work together. Understanding these can help you fix common issues like a running toilet or a weak flush.
- Fill Valve (or Ballcock): This is the valve that refills the tank with water after each flush. It also controls the water level. If your tank is constantly refilling, this might be the culprit.
- Flush Valve: Located at the bottom of the tank, this is a rubber seal (often called a flapper) that lifts when you flush, allowing water to rush into the bowl.
- Flapper Chain: This connects the flush lever to the flapper. It needs to be the right_length – not too tight, not too loose – for the flapper to seal properly.
- Flush Lever (or Handle): The part you push or pull to activate the flush mechanism.
- Overflow Tube: This is a vertical pipe inside the tank. If the fill valve malfunctions and overfills the tank, the excess water flows into the toilet bowl through this tube, preventing a mess on your floor.
Under the Bowl: The Hidden Workings
Beneath the visible part of the toilet, there are connections essential for its operation.
- Wax Ring: This is a crucial seal between the toilet base and the drainpipe in the floor. It prevents water and sewer gases from escaping. A damaged wax ring will cause leaks around the base of the toilet.
- Toilet Bolts: These secure the toilet to the floor. They are typically covered by decorative caps at the base of the toilet.
- Water Supply Line: A flexible or rigid pipe that connects the toilet tank’s fill valve to the water shut-off valve on the wall.
- Shut-Off Valve: This is a small valve, usually on the wall behind or near the toilet, that controls the water supply to the toilet. Always turn this off before working on the toilet!
The Sink: From Washing Hands to Filling Buckets
Your bathroom sink is more than just a basin; it’s a hub for hygiene. It consists of the basin itself and the plumbing that brings in clean water and takes away used water.
The Basin and Its Partners
- Sink Basin: The main bowl that holds water. They come in various materials like ceramic, porcelain, stainless steel, and composite.
- Drain Assembly: This includes the drain opening in the basin, a stopper mechanism (like a pop-up stopper or a push-button stopper), and the pipe that carries water away.
- Overflow Hole: A small hole near the top of the sink basin. If the water is left running, it drains excess water into the drainpipe, preventing the sink from overflowing.
The Faucet: Controlling the Flow
The faucet is what you interact with most. It controls the temperature and flow of water. There are several types, but the core components are similar:
- Spout: Directs the water into the sink.
- Handles (or Lever): These operate the internal mechanism to control water flow and temperature. Single-handle faucets combine hot and cold water control into one lever, while double-handle faucets have separate handles for hot and cold.
- Cartridge/Stem: This is the internal heart of the faucet. It’s a valve that is opened or closed by the handle(s) to control water. Different faucet types have different internal mechanisms, like cartridges (in modern single-handle faucets) or stems (in older two-handle faucets).
- Aerator: A small screen at the tip of the spout that mixes air with water, creating a smooth, splash-free stream and conserving water.
The Shower and Bathtub: Your Personal Oasis
Whether you prefer a quick shower or a long soak, these fixtures are central to your bathroom experience. They share many common components.
The Shower Components
- Shower Head: The part that sprays water. They come in many styles, from fixed to handheld and rain showerheads.
- Shower Valve: This is usually hidden behind your shower wall. It controls the water flow and temperature to the showerhead. It’s connected to the handle(s) you operate from outside the wall.
- Shower Arm: The pipe that extends from the wall to connect to the showerhead.
- Drain: Located at the bottom of the shower floor, this is essential for water to exit.
The Bathtub Components
A bathtub shares many parts with a shower, but with a few additions:
- Bathtub Basin: The main structure that holds water.
- Faucet/Spout: Delivers water into the tub. It can be a simple spout or integrated with a shower valve and handle.
- Drain and Overflow: Similar to a sink’s, a bathtub has a drain at the bottom and an overflow opening higher up to prevent overfilling. These are often connected to a single drainpipe.
- Faucet Handles: Control hot and cold water.
Plumbing Basics: Like the Bathroom’s Nervous System
While you won’t be doing major plumbing work as a beginner, understanding the basics is helpful. Plumbing is essentially a network of pipes that deliver water and remove waste.
Water Supply Lines
These are pipes that bring fresh, clean water into your bathroom fixtures. They are usually made of copper, PEX (cross-linked polyethylene), or CPVC (chlorinated polyvinyl chloride). Your shut-off valves are the crucial access points for controlling water to individual fixtures.
Drain-Waste-Vent (DWV) System
This is a complex but essential system of pipes that carries wastewater away from your fixtures and out of your home. It also uses a series of vents to allow air into the system, which helps water flow smoothly and prevents sewer gases from backing up into your bathroom. You’ll see larger, often white, pipes for this system.
Essential Tools for Beginner Bathroom Maintenance
You don’t need a professional’s arsenal to handle most common bathroom tasks. A few basic tools will get you far.
- Adjustable Wrench: Your best friend for loosening or tightening nuts and bolts on pipes and fixtures.
- Pipe Wrench: Specifically designed for gripping and turning pipes. Useful for larger, stubborn fittings.
- Pliers (Slip-Joint and Needle-Nose): Versatile for gripping, bending, and cutting.
- Screwdriver Set (Phillips and Flathead): Essential for disassembly and reassembly of faucet handles, toilet seat hinges, and other components.
- Plumber’s Tape (Teflon Tape): Used to seal threaded pipe connections, preventing leaks.
- Plumber’s Putty: A pliable compound used to seal sink drains and other fixtures against the basin. It remains flexible and is excellent for watertight seals.
- Bucket: Always have a bucket handy to catch any dripping water when you’re working on pipes.
- Old Towels or Rags: For cleaning up spills and protecting surfaces.
- Safety Glasses: Protect your eyes from debris or unexpected splashes.
- Work Gloves: Keep your hands clean and protected.
For more in-depth information on tools, you might find resources from organizations like the National Association of Home Builders (NAHB) helpful in understanding construction materials and their associated tools.
Common Bathroom Component Problems & Simple Fixes
Many common bathroom frustrations are actually quite simple to resolve once you know which component is acting up.
Leaky Faucets: Dripping You Crazy?
A dripping faucet is not only annoying but also a waste of water. Often, the issue lies with the faucet’s internal cartridge or stem, or sometimes worn-out O-rings.
Simple Fix: For many single-handle faucets, replacing the cartridge is the solution. For older two-handle faucets, replacing the stem or O-rings might be necessary. Always turn off the water supply at the shut-off valve before starting!
For guidance on specific faucet types, manufacturer websites often have detailed diagrams and troubleshooting guides. For example, Delta Faucet provides repair parts lookup, which can be a great resource.
Running Toilets: The Ghostly Flush
A toilet that constantly refills or makes noise is usually due to a faulty fill valve or a worn-out flapper in the tank.
Simple Fix: Check the flapper first. Is it sealing properly? Is the chain too tight or too loose? If the flapper looks good, the fill valve might be the issue. Replacement kits for both are readily available and relatively easy to install.
Clogged Drains: Slow to Go
This is a very common bathroom problem. Hair is often the main culprit.
Simple Fixes for Clogged Drains:
- Plunger Power: For sinks and showers, a good plunger can often dislodge the clog. Ensure a tight seal around the drain.
- Drain Snake (Auger): A flexible tool that can be fed down the drain to break up or retrieve clogs.
- Baking Soda & Vinegar Trick: Pour about half a cup of baking soda down the drain, followed by half a cup of white vinegar. Let it foam for 15-30 minutes, then flush with hot water. This can help break down minor clogs.
- Cleaning the P-Trap: Underneath most sinks, there’s a U-shaped pipe called a P-trap. This traps debris. Place a bucket underneath, unscrew the trap, clean it out, and reassemble.
For more severe clogs, or if these methods don’t work, it might be a sign of a larger issue in your plumbing system, and you may need to call a professional.
Loose Toilet Seat: The Wobble Factor
A wobbly toilet seat is usually just a matter of tightening the bolts that attach it to the toilet bowl.
Simple Fix: Look under the back of the toilet seat where it attaches to the bowl. You’ll find bolts and nuts. Tighten these with a screwdriver or wrench. Some seats have decorative caps that need to be lifted to access the hardware.
Understanding Different Fixture Types

Knowing the types of components can help you choose replacements or understand what you have.
Toilets: What’s the Difference?
Toilets vary in style and efficiency. Understanding these differences can inform future choices.
| Type | Description | Beginner-Friendly Notes |
|---|---|---|
| One-Piece Toilet | The tank and bowl are molded into a single unit. | Easier to clean, fewer potential leak points. Can be heavier and harder to maneuver. |
| Two-Piece Toilet | The tank and bowl are made separately and bolted together. | Most common type, easier to transport and install for DIYers due to separate parts. Potential for leaks between tank and bowl if not sealed properly. |
| Wall-Hung Toilet | The tank is concealed within the wall, and the bowl is mounted to the wall. | Sleek look, easy floor cleaning underneath. Installation is complex and requires professional plumbing knowledge due to in-wall tank setup. |
| Dual-Flush Toilet | Offers two flush options: one for liquid waste and one for solid waste, saving water. | Water-efficient. Mechanism inside the tank can be slightly more complex than a standard single-flush. |
Sinks: Styles and Materials
Sinks are available in a vast array of styles and materials, each with its own pros and cons.
| Material | Pros | Cons | Common Types |
|---|---|---|---|
| Ceramic/Porcelain | Durable, non-porous, easy to clean, wide variety of styles, relatively inexpensive. | Can chip or crack if heavy objects are dropped. | Pedestal, Undermount, Drop-in, Wall-mount |
| Stainless Steel | Durable, hygienic, modern look, resistant to heat and stains. | Can scratch, can be noisy (unless sound-dampened). Prone to water spots if not dried. | Undermount, Drop-in |
| Composite (e.g., Granite, Quartz) | Extremely durable, wide range of colors and finishes, resistant to scratches and stains. | Can be expensive, heavier than other materials. | Undermount, Drop-in |
| Glass | Aesthetically pleasing, modern, easy to clean. | Can chip, scratch, or break. Water spots can be highly visible. | Vessel, Undermount |
When looking at sinks, consider how they are mounted. Drop-in sinks sit into a cutout in the countertop with their rim resting on top. Undermount sinks are mounted beneath the countertop, offering a seamless look. Vessel sinks sit entirely on top of the countertop, acting as a decorative feature.
Faucets: Different Ways to Control Water
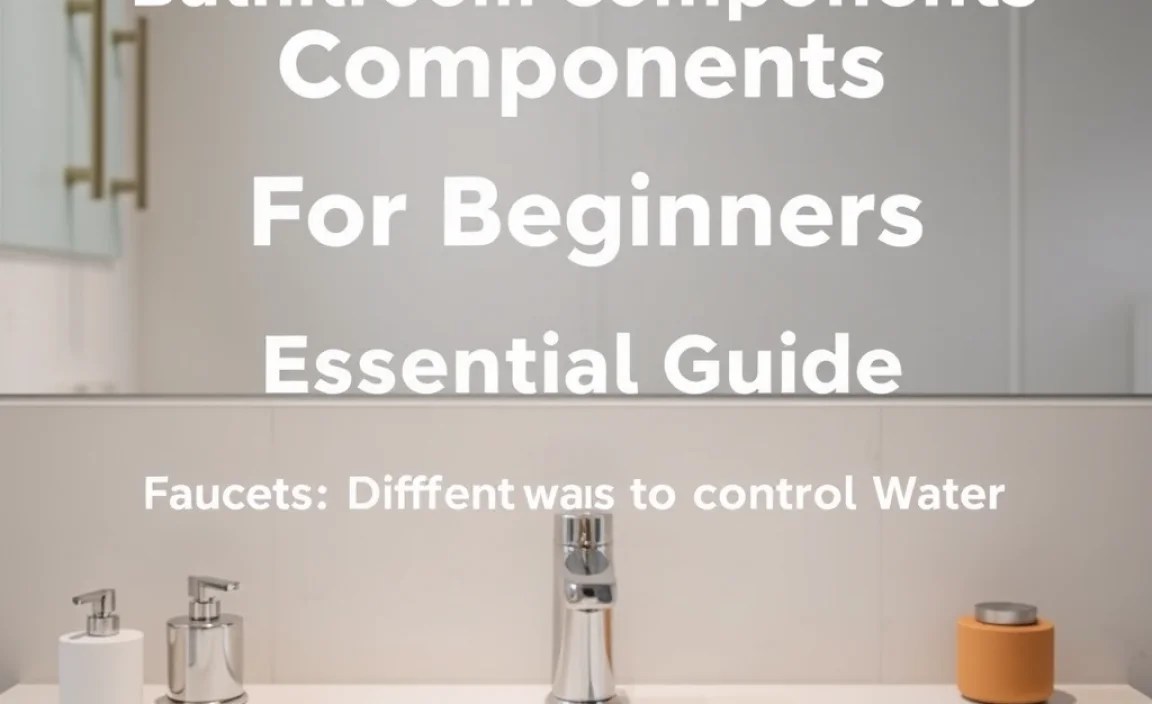
Faucets can significantly impact your bathroom’s look and functionality.
- Compression Faucets: Older style, separate hot and cold handles that tighten down to stop water flow. They are reliable but can wear out quicker and are prone to drips.
- Cartridge Faucets: Use a movable stem with a cartridge inside that controls water flow. Can be single or double handle. This is a very common type in modern bathrooms.
- Ball Faucets: Often found in kitchens but sometimes in bathrooms, these use a single handle that moves over a rounded ball-shaped cap. They have a bit more complexity in their internal parts.
- Ceramic Disc Faucets: Very durable; they use two ceramic discs that slide against each other to control water flow. They are resistant to leaks and last a long time. Usually single-handle.
For a beginner, understanding that you’ll likely be dealing with the handle removal to access the cartridge or stem is the most important takeaway.
Upgrading or Replacing Components: A Beginner’s Approach
When it comes time to replace a component, like a leaky faucet or a worn-out toilet seat, taking a step-by-step approach is key.
Step 1: Identify the Component and Its Type
Before you buy anything, look closely at the part you need to replace. Is it a single-handle bathroom faucet? A dual-flush toilet flapper? Knowing the exact type will save you a trip back to the store.
Step 2: Turn Off the Water!
This is the most critical safety step. Locate the shut-off valve for the fixture you’re working on (usually behind the toilet, under the sink). Turn it clockwise until it stops. For a sink, there are usually two valves, one for hot and one for cold. For the toilet, there’s typically one.
