
For a stylish and organized bathroom, a set of 4 robe hooks is an essential upgrade. These practical hooks offer a chic way to store heavy robes, towels, or even clothing, decluttering your space and adding a touch of elegance with easy installation.
Is your bathroom floor a landing strip for damp robes? Do you find yourself searching for a place to hang your fluffy towel after a shower? You’re not alone! Many of us struggle with bathroom clutter, especially when it comes to bulky items like bathrobes. It’s a common problem that can make even the most beautifully designed bathroom feel messy.
But don’t worry, there’s a simple, stylish, and incredibly effective solution: a set of four bathroom hooks specifically designed for robes. These aren’t just any hooks; they’re the unsung heroes of bathroom organization. They can transform a chaotic space into a serene retreat, keeping your essentials neatly in place. Ready to reclaim your bathroom’s order with a touch of chic? Let’s dive into how these essential hooks can make a big difference.
Why a Set of 4 Bathroom Hooks for Robes is a Game-Changer

When we talk about bathroom accessories, hooks often get overlooked. However, a well-chosen set of four robe hooks offers far more than just a place to hang things. They bring a sense of order, elevate your bathroom’s aesthetic, and provide practical functionality that makes daily routines smoother. Think about it: a heavy, plush bathrobe needs a sturdy place to rest. Towels, after a long day, deserve to be aired out properly rather than piled up. A set of four is perfect because it provides ample space for multiple users or different items, without overwhelming your walls.
These hooks are designed to handle the weight of a water-soaked towel or a thick bathrobe, something a flimsy “decorative” hook simply can’t do. They are also strategically sized to allow items to hang freely, promoting faster drying and preventing mildew. Beyond their utility, a set of four can be arranged in a pleasing pattern, turning a functional necessity into a deliberate design element. This is where “essential” meets “chic” – practical solutions that also enhance your home’s style.
The Versatility of Four: More Than Just Robes
While the primary purpose of a “bathroom hooks for robes set of 4” is, of course, to hang robes, their utility extends much further. This set can serve a multitude of purposes, making them a truly indispensable addition to any bathroom, regardless of its size.
- Towels: The most obvious alternative use. You can assign one hook for guest towels, another for hand towels, and two for bath towels. This separation helps towels dry faster and prevents a jumbled mess.
- Loofahs and Bath Poufs: Hanging these after use allows them to dry completely, which is more hygienic and extends their lifespan.
- Pajamas or Loungewear: Especially in larger bathrooms or master suites, hooks near the shower or tub are perfect for temporary storage of sleepwear while you bathe.
- Drying Racks for Small Items: Delicate items, like swimsuits or workout wear, can be hung to dry discreetly.
- Accessory Storage: In a pinch, they can hold toiletry bags or even decorative items like a small plant or framed photo, adding a personal touch.
- Kids’ Towels/Robes: If you have children, assigning each child their own hook for their robe or towel can encourage self-sufficiency and keep things organized.
The inclusion of four hooks in a set is a thoughtful number, offering a balance between having enough space for various items and not overcrowding your wall space. This versatility is a key reason why a set of four is often the most practical and popular choice for many households.
Choosing the Right Set of 4 Bathroom Hooks for Robes

Selecting the right hooks involves considering several factors to ensure they not only look good but also perform exceptionally well and integrate seamlessly with your bathroom’s existing style and structure. Here’s a breakdown of what to think about:
Material Matters: Durability Meets Design
The material of your hooks will significantly impact their longevity, appearance, and resistance to moisture. Bathrooms are inherently humid environments, so choosing materials that can withstand this is crucial.
- Stainless Steel: This is a top choice for bathrooms due to its excellent resistance to rust and corrosion. It offers a modern, clean look and is very durable. Brushed or polished finishes are common.
- Brass: Often plated with chrome or nickel, brass hooks are strong and can add a touch of vintage or classic elegance. Ensure the plating is high-quality to prevent peeling.
- Zinc Alloy: A very common and cost-effective material. Zinc alloy hooks are durable and can be finished in various ways to mimic more expensive metals.
- Aluminum: Lightweight yet strong, aluminum is naturally rust-resistant. It’s a good option for a more minimalist or industrial look.
- Plastic/Resin: Generally the most budget-friendly option. While some high-quality plastics can be durable, they often lack the weight and elegant feel of metal. They can be prone to cracking or fading over time.
Look for finishes that complement your existing fixtures like faucets, showerheads, and towel bars. Common finishes include chrome, brushed nickel, oil-rubbed bronze, matte black, and polished brass.
Style & Finish: Harmonizing with Your Decor
The aesthetic of your hooks should enhance, not clash with, your bathroom’s overall style. Whether your bathroom is modern, traditional, rustic, or minimalist, there’s a hook style to match.
- Modern/Contemporary: Often feature clean lines, minimalist designs, and sleek finishes like brushed nickel or polished chrome. Think simple geometric shapes or single-post designs.
- Traditional/Classic: May have ornate details, curved lines, or finishes like oil-rubbed bronze or polished brass, often featuring a more substantial, decorative base.
- Rustic/Farmhouse: Could incorporate distressed finishes, wrought iron looks, or natural materials to evoke a warmer, more casual feel.
- Farmhouse: Often include black finishes with a slightly distressed look, or natural wood accents.
Consider the overall color palette and the style of your vanity, tiles, and accessories. A cohesive look is key to a polished bathroom design.
Load Capacity: The Unsung Hero of Durability
This is where the “essential” part really shines. A “robe hook” implies it can hold a significant load. Cheap hooks might look good but can bend or break under the weight of a wet bathrobe or multiple heavy towels. Always check product descriptions for stated load capacity. A good quality robe hook set should be able to comfortably support at least 5-10 pounds per hook, if not more. Some heavy-duty options are rated even higher. This prevents the frustration and potential damage of a hook failing.
Installation Type: Ensuring a Secure Fit
How you plan to install your hooks is crucial for security and longevity. There are generally two main types:
| Installation Type | Pros | Cons | Best For |
|---|---|---|---|
| Screw-In (Permanent) | Most secure, highest weight capacity, very durable, truly permanent. | Requires drilling into walls (tile, drywall, or studs), might be intimidating for beginners, difficult to reposition. Need to locate studs for maximum security in drywall. According to the BuildingGreen resource on wood framing, interior walls typically have studs spaced 16 or 24 inches apart, which is where you’ll get the most secure anchor point. |
Anyone looking for a permanent, strong solution, homeowners, areas with heavy use. |
| Adhesive (Temporary/Semi-Permanent) | Easy to install (no drilling), repositionable (sometimes), good for renters or those who prefer not to damage walls, less commitment. | Lower weight capacity compared to screw-in, adhesive can fail over time or with high humidity, surface preparation is critical, may leave residue or damage paint upon removal. | Renters, temporary solutions, hanging lighter items like hand towels or washcloths, beginners seeking low-impact installation. |
For robe hooks, especially in a set of four where you anticipate hanging heavier items like robes, screw-in installation is highly recommended for long-term security and reliability. If you’re installing into tile, using a specialty drill bit for tile (like a carbide-tipped or diamond-tipped bit) is essential to prevent cracking. Always follow manufacturer instructions for drill bits and wall anchors.
Installing Your Bathroom Hooks: A Step-by-Step Guide for Beginners

Don’t let the idea of drilling into your wall intimidate you! Installing screw-in hooks is a straightforward DIY project. We’ll break it down into simple, manageable steps. Safety first: always wear safety glasses when drilling.
Tools You’ll Need:
- Your new set of 4 bathroom hooks (and included hardware)
- Drill with appropriate drill bits (wood bit for studs, masonry/tile bit for tile/backer board)
- Stud finder
- Level
- Pencil
- Measuring tape
- Screwdriver (Phillips or flathead, depending on screw type)
- Wall anchors (if not drilling into studs or solid material)
- Caulk or sealant (optional, for waterproofing screw holes in certain materials)
Step-by-Step Installation (Screw-In Method):
- Plan Your Placement: Decide exactly where you want each hook. Consider the height (usually 60-70 inches from the floor for robes), spacing between hooks (at least 6-10 inches apart to allow items to hang freely), and proximity to doorways or other fixtures. Use your measuring tape and pencil to mark the desired location for the center of the hook.
- Locate Wall Studs: This is the most secure method for drywall. Use a stud finder to locate wall studs behind your marked spot. If you can align your hook’s screw holes with a stud, you won’t need wall anchors. Mark the stud’s edges or center. If studs aren’t conveniently located, you’ll need to use appropriate wall anchors.
- Mark Screw Holes: Hold the hook’s mounting plate (or the hook itself, if it mounts directly) against the wall at your intended spot. Use your level to ensure it’s straight. Lightly mark the exact positions for your screws through the mounting plate’s holes.
- Drill Pilot Holes:
- Into Studs: Select a drill bit slightly smaller than the screw diameter. Drill a pilot hole at each marked screw location.
- Into Drywall (No Stud): Use a drill bit specified by your wall anchor’s packaging. Drill holes for the anchors. Gently tap or screw the anchors into the holes until flush with the wall.
- Into Tile/Backer Board: Use a masonry or tile drill bit. Start slowly and apply light pressure to avoid breaking the tile. Drill through the tile and into the wall material behind it. Some recommend using masking tape over the drill spot to prevent the bit from slipping.
- Attach the Mounting Plate (if applicable): Most robe hooks have a separate mounting plate that attaches to the wall first. Align the plate with your pilot holes (or anchors) and insert the provided screws. Tighten them securely with your screwdriver.
- Install the Hook: Many hooks simply slide or screw onto the mounted plate. Follow your specific hook’s instructions. If the hook screws directly into the wall using only screws, align it with the pilot holes/anchors and drive the screws in.
- Attach the Second Hook (and subsequent hooks): Repeat steps 1-6 for the remaining three hooks, ensuring they are level with each other and spaced appropriately.
- Test Them Out: Gently pull on each hook to ensure it’s firmly attached. Hang a towel or robe on each one to test its stability.
- Final Touches (Optional): If you’ve drilled into tile or a surface prone to moisture, you can apply a small bead of clear caulk around the base of the hook or mounting plate where it meets the wall for added water protection. Wipe away any excess immediately.
Remember, if you’re ever unsure about drilling into your walls or dealing with specific wall materials, it’s always a good idea to consult with a more experienced DIYer or a professional. However, with patience and the right tools, this is a perfectly manageable task for beginners.
Maintaining Your Hooks: Ensuring Longevity and Shine
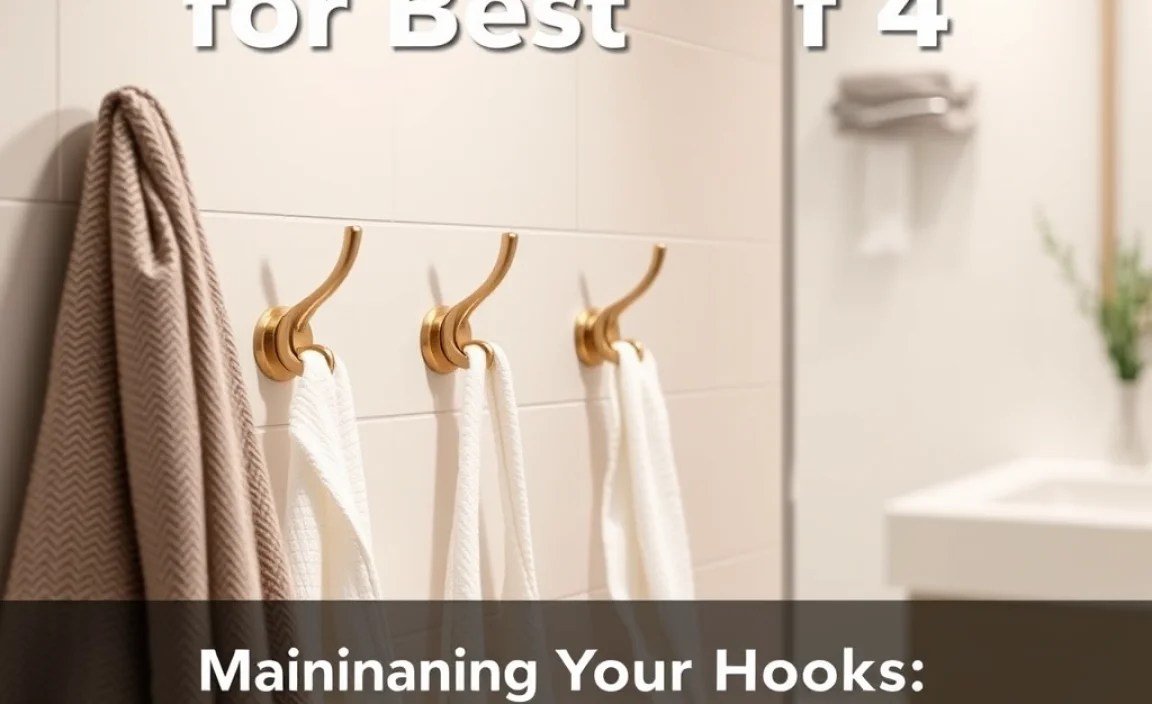
Once your stylish and practical hooks are installed, a little bit of care goes a long way in keeping them looking great and functioning perfectly for years to come. Bathroom environments, with their steam and frequent cleaning, can be tough on accessories, but routine maintenance is simple.
Daily/Weekly Care:
- Wipe Down: After use, or as part of your regular bathroom cleaning routine, wipe down the hooks with a soft, damp cloth. This removes soap scum, water spots, and any residue. For most metal finishes, a microfiber cloth is ideal.
- Dry Thoroughly: Pay attention to any crevices or joints where water can sit. Patting the hooks dry with a soft towel after wiping can prevent water spots, especially on polished finishes.
- Rinse and Dry: If you use cleaning sprays, spray them onto your cloth, not directly onto the hooks. Then, wipe the hooks clean and dry them. Avoid abrasive cleaners or scouring pads, as these can scratch the finish.
Deep Cleaning & Troubleshooting:
- For Tough Stains: If you encounter stubborn water spots or soap scum that a damp cloth won’t remove, try a mild solution of water and dish soap. For more persistent issues on stainless steel, a paste of baking soda and water can be effective, but always test in an inconspicuous area first and rinse thoroughly.
- Check for Tightness: Periodically (every few months), give each hook a gentle tug to ensure it’s still securely mounted. If you notice any wobbling, you may need to re-tighten the screws or check if the wall anchors are still firm.
- Rust or Corrosion: If you notice any signs of rust (more common with lower-quality materials or plated finishes), clean the area immediately with a non-abrasive cleaner suitable for the material. For stainless steel, a specialized stainless steel cleaner can help restore the finish. If plating is damaged, it might be time to consider replacing the hook.
By incorporating these simple maintenance steps into your routine, your “bathroom hooks for robes set of 4” will remain a functional and chic addition to your bathroom, resisting the wear and tear of daily life.
Organizing Your Bathroom Chic: Beyond Just Hooks

While a set of bathroom hooks for robes is a cornerstone of an organized and stylish bathroom, it’s just one piece of the puzzle. Truly mastering bathroom chic involves a holistic approach to decluttering and decorating. Here are a few tips to complement your new hooks:
- Coordinate Towels: Invest in a matching set of bath towels, hand towels, and washcloths. This instantly elevates the look of your bathroom. Consider colors that complement your tile and vanity.
- Towel Storage Solutions: Beyond hooks, think about towel ladders, open shelving with neatly folded towels, or even a decorative basket for spare towels.
- Vanity Organization: Use drawer organizers, small bins, or trays inside your vanity to keep toiletries tidy. A clean countertop makes a huge difference.
- Shower Caddies: Keep your shampoo, conditioner, and soap neatly contained with a shower caddy, whether it’s a hanging, corner, or suction-cup variety.
- Waste Bin Placement: A sleek, appropriately sized waste bin can discreetly manage trash and keep the floor clear.
- Decorative Touches: Add a plant, a nice soap dispenser, a framed piece of art, or a scented candle to bring personality and warmth to the space.
- Lighting: Proper lighting can dramatically change the ambiance. Consider dimmable options or adding task lighting around the mirror.
By thinking about how your hooks integrate into the overall ecosystem of your bathroom, you can create a space that is not only functional and well-organized but also a true sanctuary.
FAQ: Your Bathroom Hook Questions Answered
Q1: What is the best material for bathroom robe hooks?
The best materials are typically stainless steel, solid brass, or high-quality zinc alloy due to their durability and resistance to rust and corrosion in a humid bathroom environment. Always check the finish for quality and ensure it matches your other fixtures.
