
Bathroom installation is achievable for beginners with this easy-to-follow guide. We break down every step, from planning and choosing fixtures to plumbing and finishing touches, ensuring a successful and stress-free DIY project. Get ready to transform your bathroom confidently!
Wrestling with a bathroom installation can feel like a huge undertaking. Leaky pipes, complex wiring, and the fear of making a costly mistake often steer homeowners away from tackling it themselves. But what if I told you that with the right preparation and a clear roadmap, bathroom installation is a perfectly manageable DIY project? You can achieve that spa-like oasis or modern practical bathroom without hiring an expensive professional.
This guide is designed to demystify the process. We’ll walk you through each stage, from the initial planning to the final coat of paint, using simple language and actionable steps. No more jargon-filled manuals or confusing diagrams. We’re here to build your confidence and equip you with the knowledge to install your bathroom safely and effectively. So, let’s dive in and discover just how genius your DIY skills can be!
Bathroom Installation: Your Essential DIY Roadmap

Embarking on a bathroom installation project is exciting! It’s your chance to customize a space that’s both functional and reflects your personal style. But before you grab your toolkit, let’s lay the groundwork. Proper planning is the bedrock of a successful bathroom installation, preventing headaches and costly mistakes down the line.
This guide will cover everything you need to know. We’ll explore budget considerations, essential tools, and crucial design elements. Understanding these initial steps will set you up for a smooth and successful renovation.
Phase 1: Planning & Preparation – The Foundation for Success

This is where your dream bathroom starts to take shape on paper. Skipping this phase is like building a house without blueprints – a recipe for disaster. Let’s get organized!
1. Define Your Vision and Budget
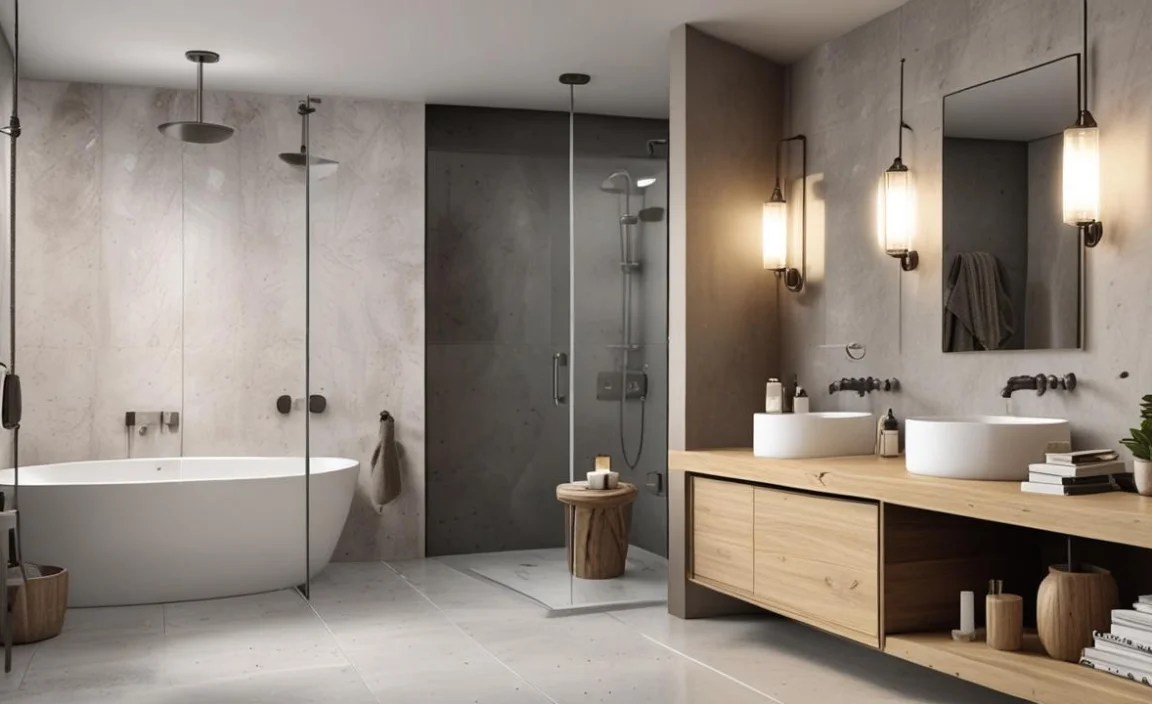
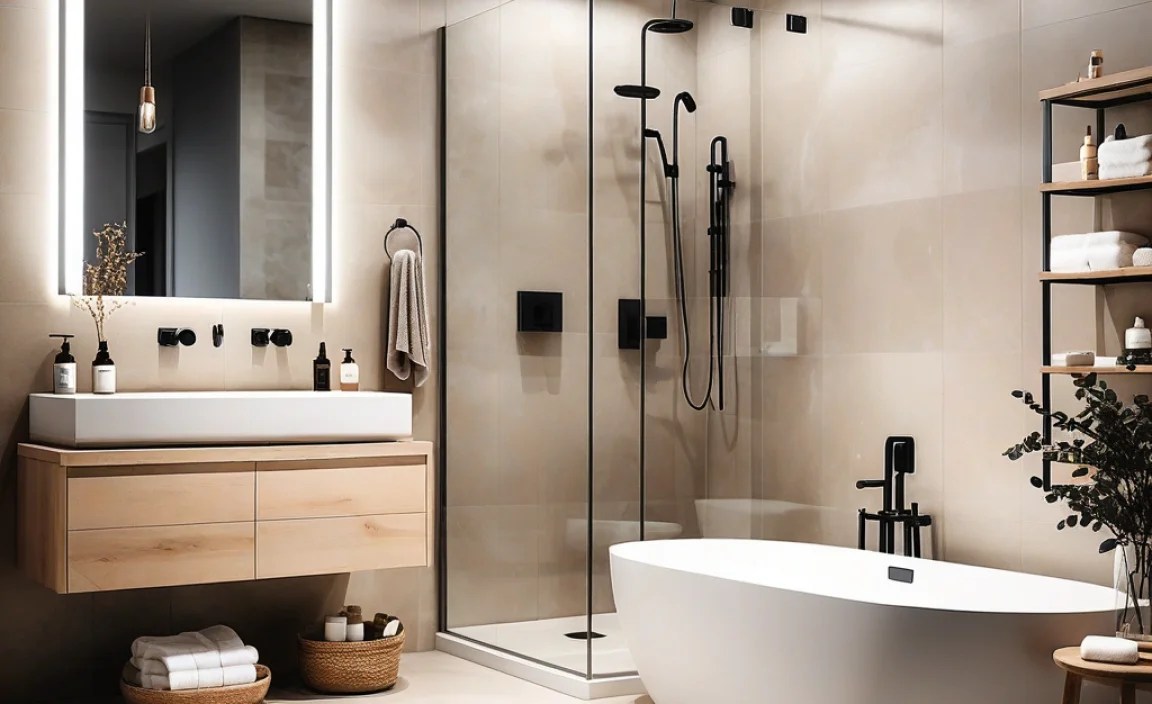
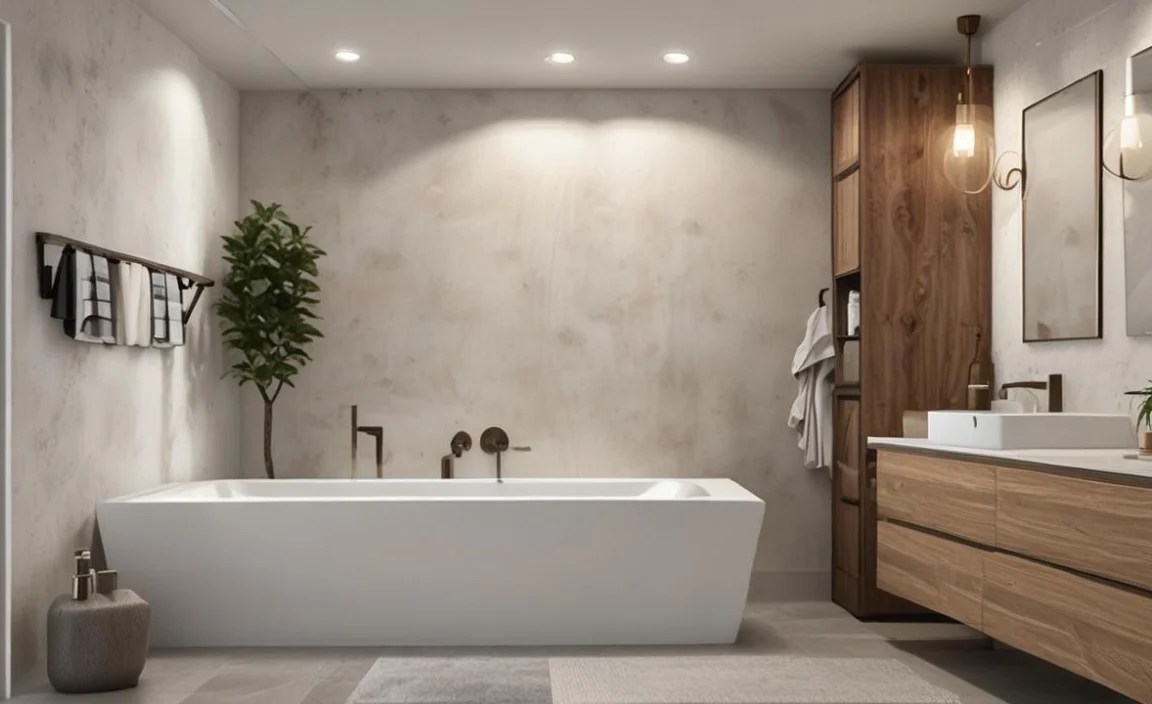
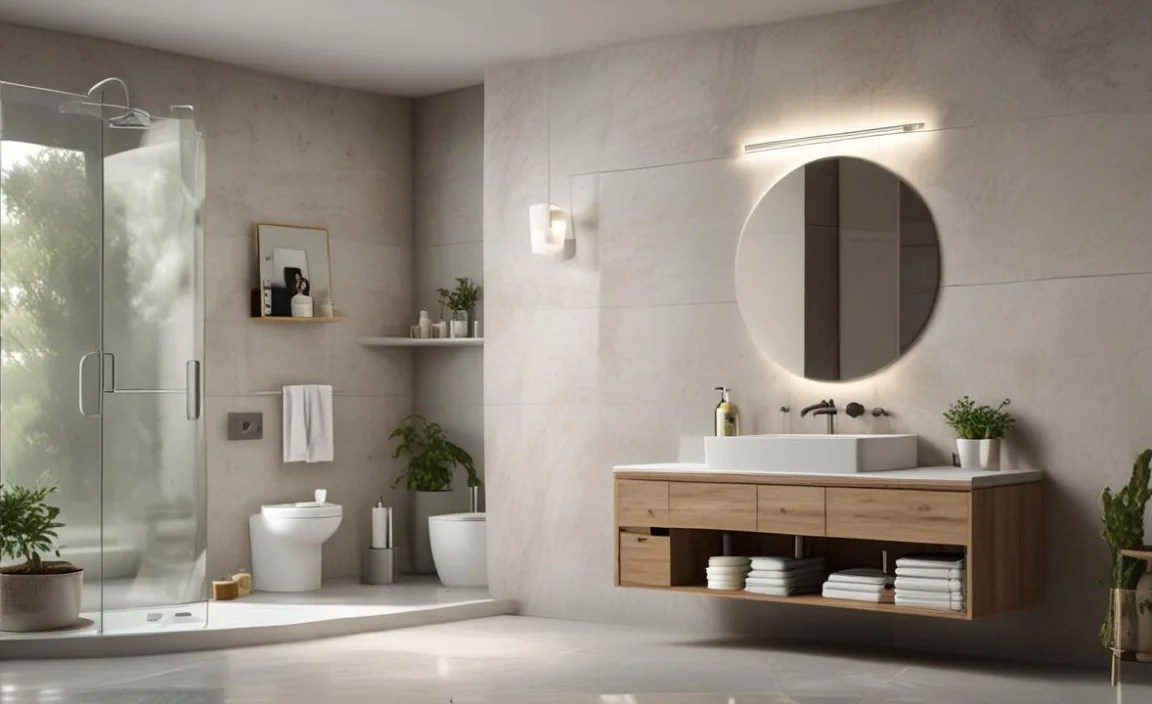
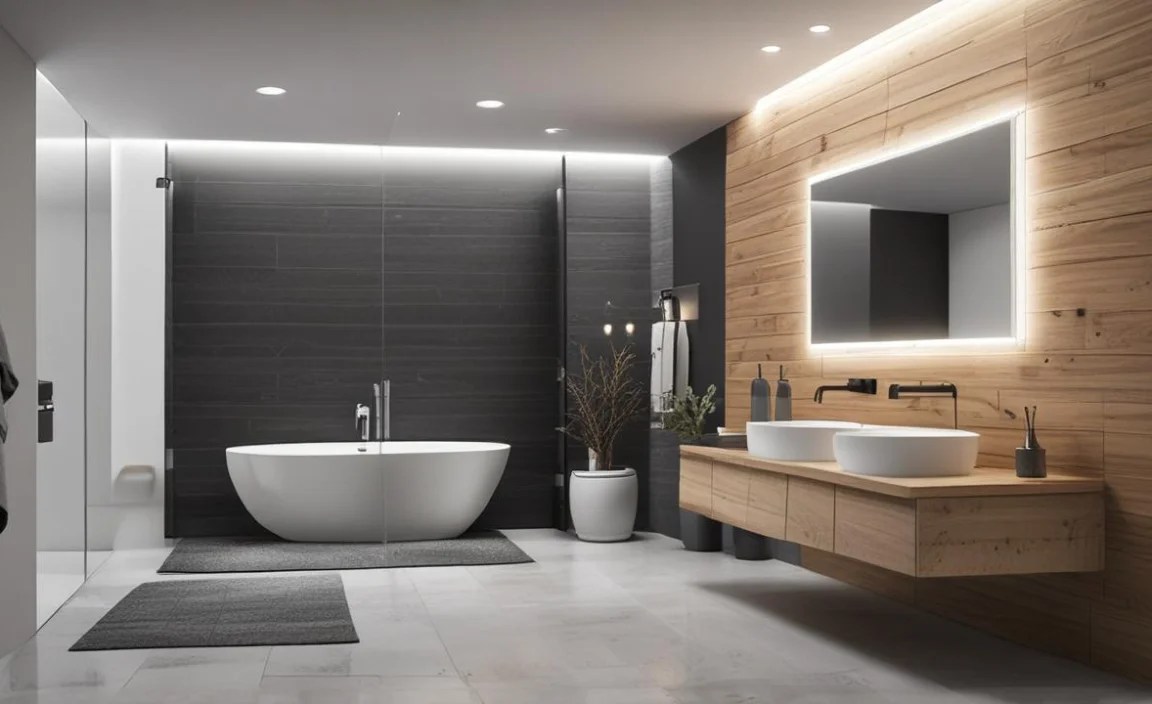
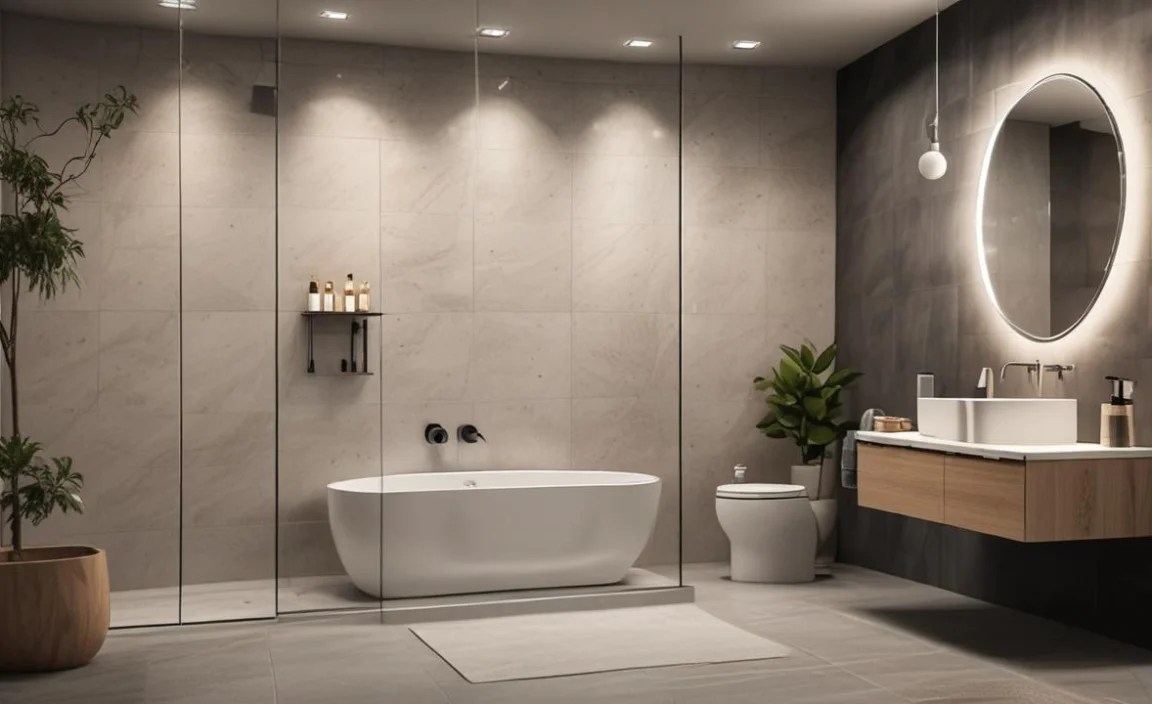
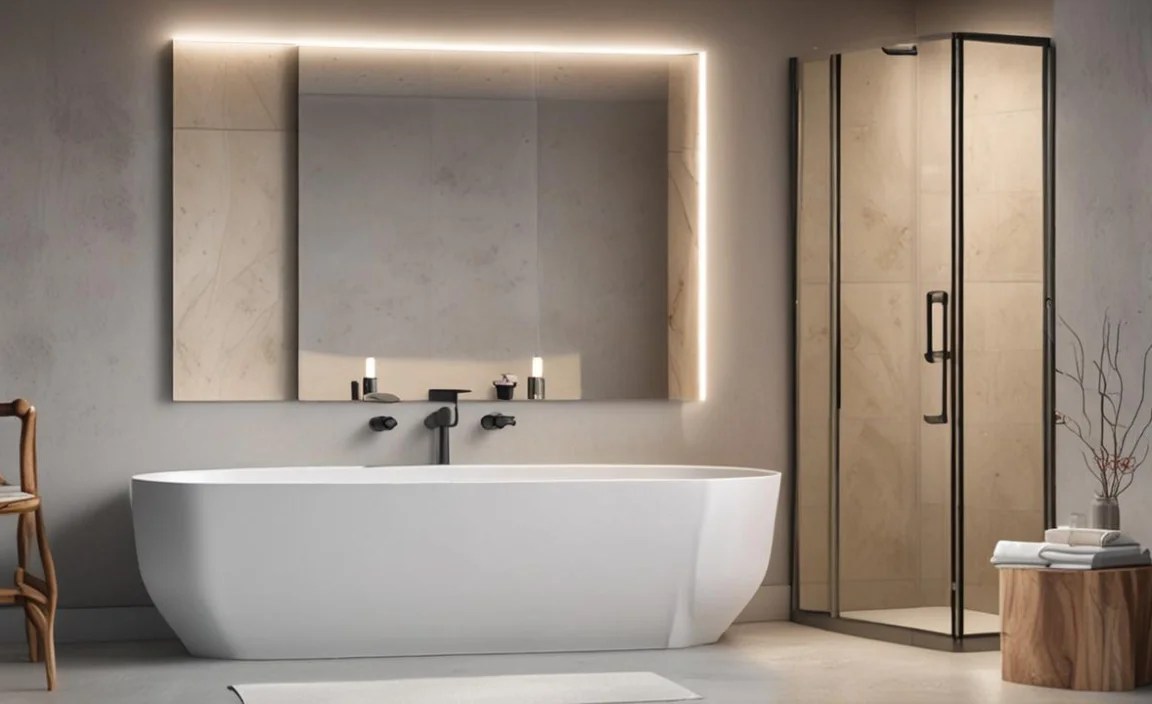
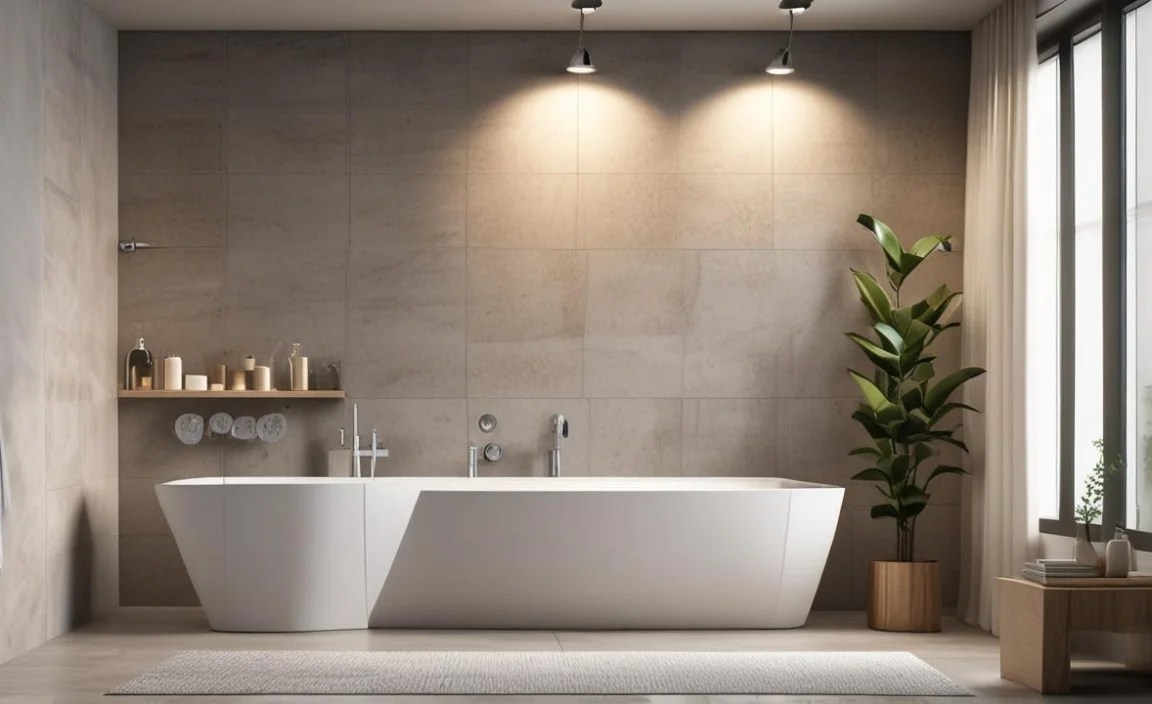
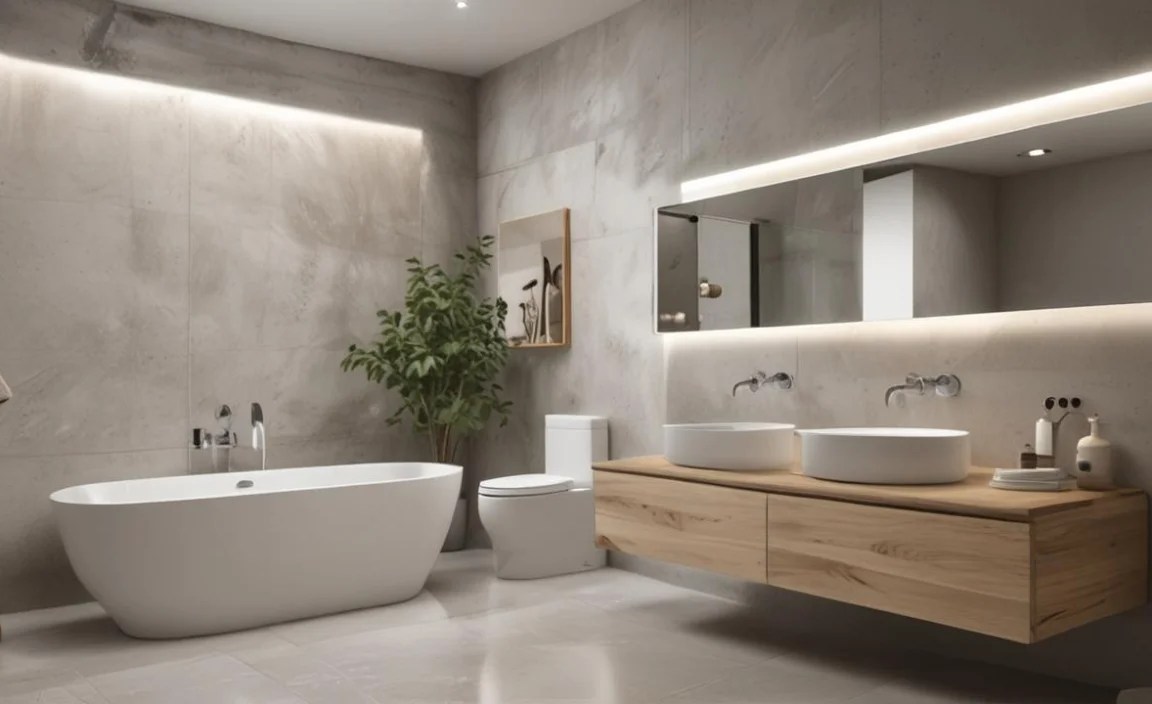
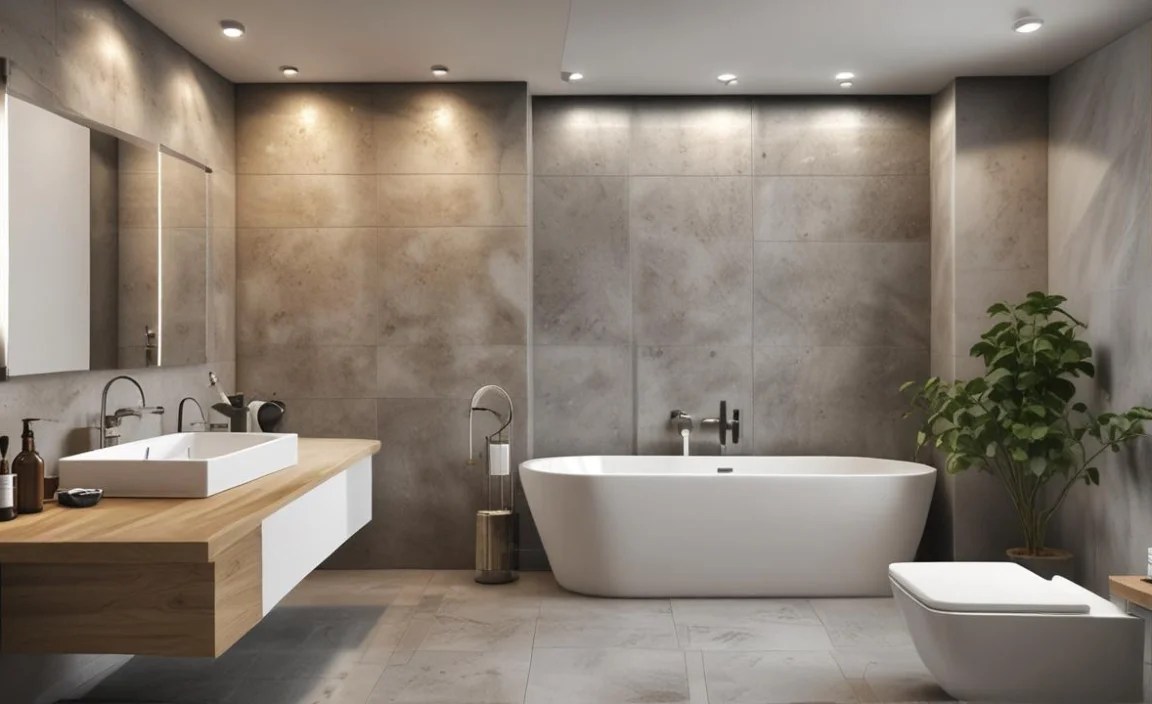
Before anything else, visualize your ideal bathroom. What’s its purpose? Is it a quick morning routine space, a relaxing sanctuary, or a family-friendly hub? Think about the style: modern, traditional, minimalist, or farmhouse? Consider the fixtures you absolutely need (toilet, sink, shower/tub) and any extras (bidet, double vanity, extra storage).
Next, set a realistic budget. This includes costs for:
- Fixtures (toilet, sink, faucet, showerhead, tub/shower base)
- Tiles and grout
- Vanity and countertop
- Mirror and lighting
- Paint and accessories
- Plumbing supplies (pipes, connectors, valves)
- Electrical supplies (if needed)
- Tools (rent or buy)
- Contingency fund (10-15% for unexpected costs)
A good resource for understanding renovation costs is the Building America program from the U.S. Department of Energy, which offers insights into energy-efficient home improvements, including bathroom renovations.
2. Measure and Sketch Your Space
Accuracy is key here. Measure the room’s dimensions meticulously: length, width, and ceiling height. Note the location of existing plumbing (water supply lines, drain pipes) and electrical outlets. Draw a to-scale floor plan. This will help you:
- Determine the best layout for your new fixtures.
- Calculate the amount of tile, paint, and flooring needed.
- Ensure new fixtures will fit and allow for comfortable movement.
Pro Tip: Use graph paper or a simple drawing app. Mark windows, doors, and any existing plumbing/electrical points. This sketch is your primary guide for placement.
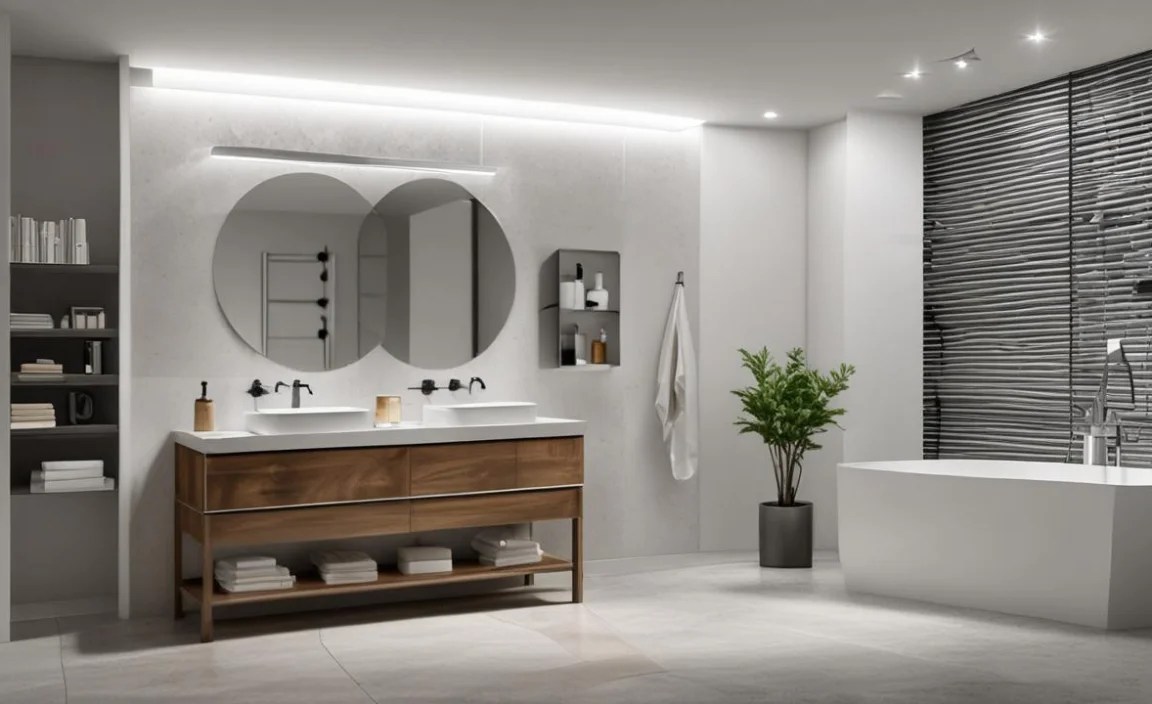
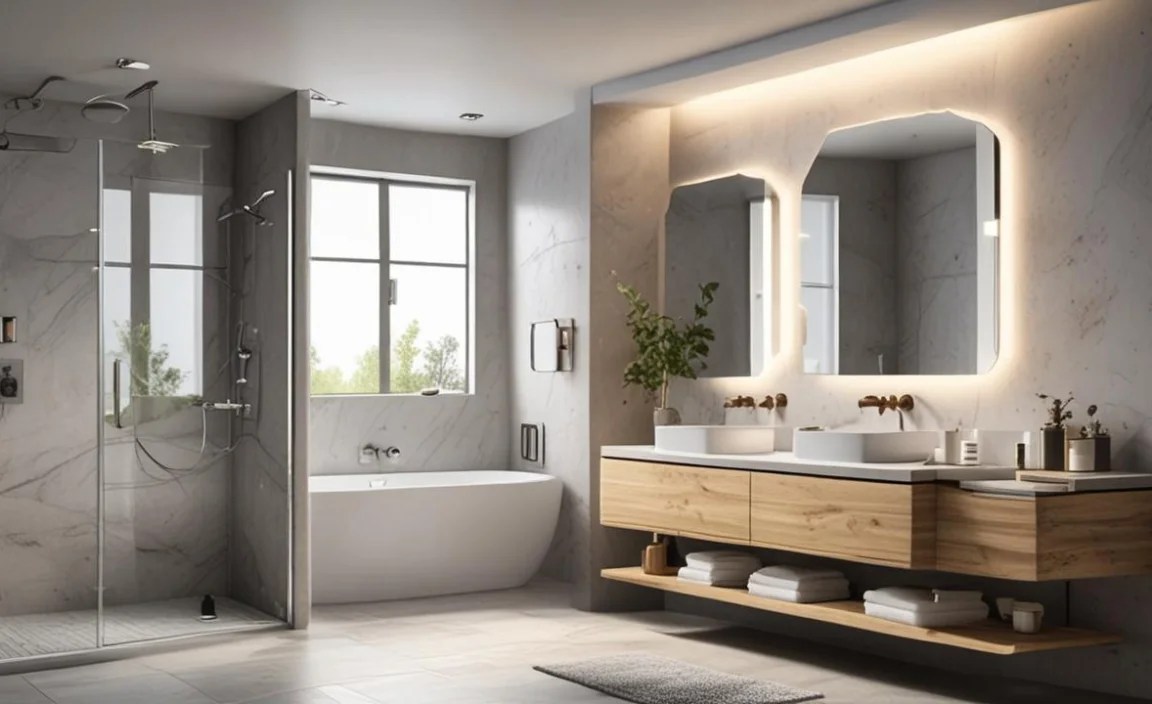
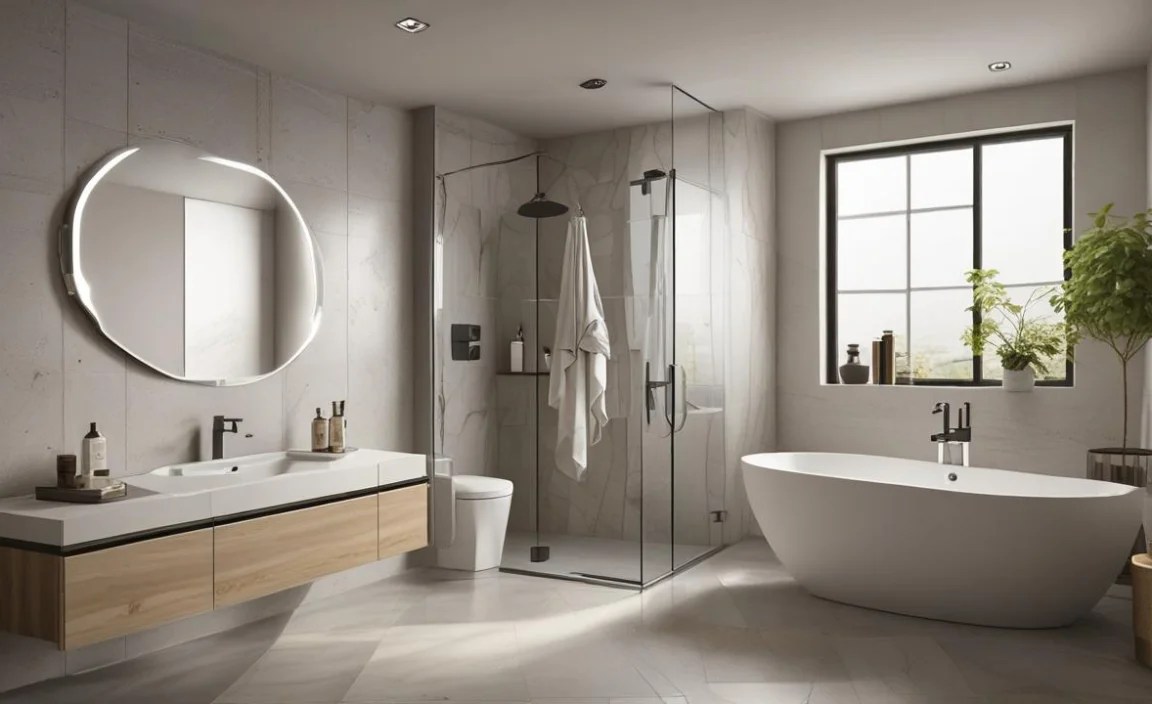
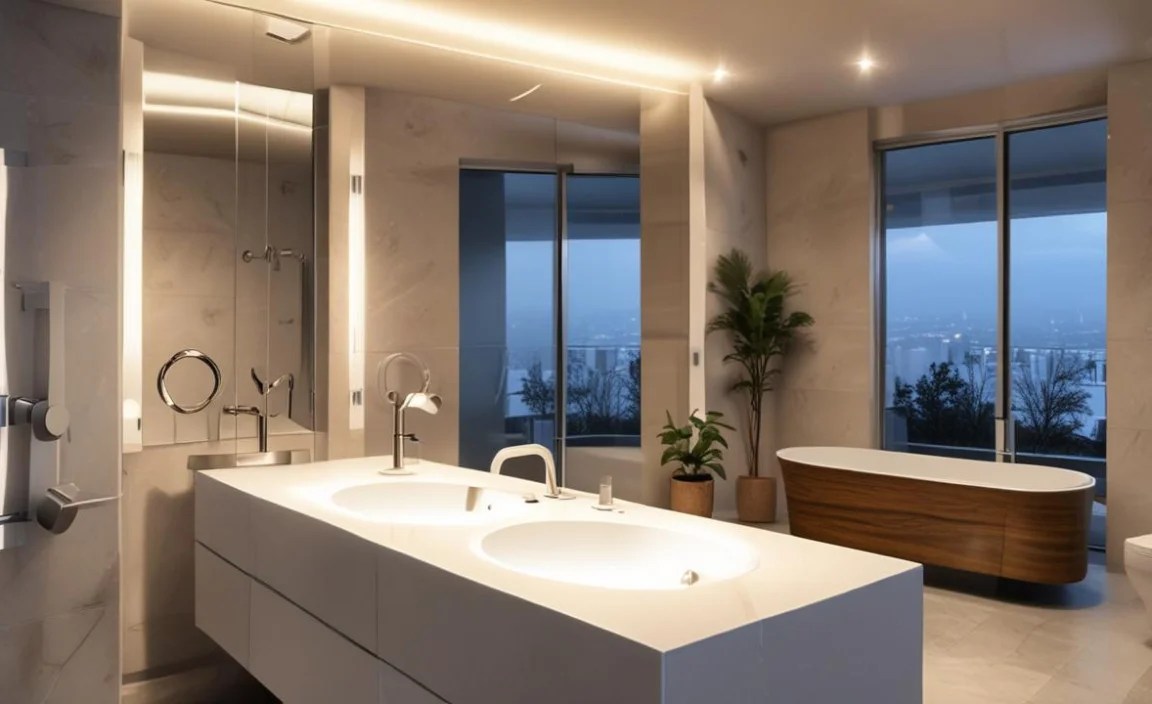
3. Choose Your Fixtures and Materials

This is the fun part! Select fixtures that fit your style, budget, and space. Consider the functionality:
- Toilets: Look at water efficiency (e.g., WaterSense labeled toilets), comfort height, and flushing power.
- Sinks: Options include pedestal sinks, vanity sinks (undermount, drop-in), vessel sinks. Match the sink size and depth to your needs.
- Faucets: Consider finish (chrome, brushed nickel, matte black), handle type (single-handle, double-handle), and style.
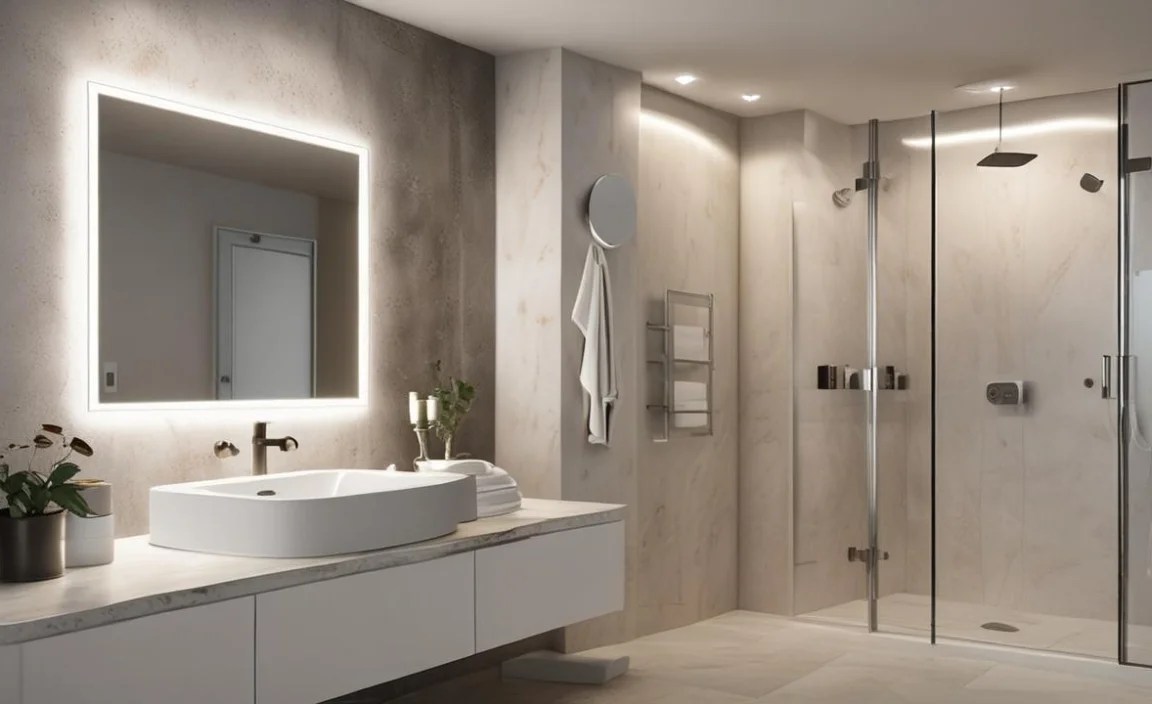
- Showers/Tubs: Decide between a shower-only, a tub/shower combo, or a freestanding tub. Look at materials for shower bases (acrylic, fiberglass, solid surface) and tub materials (cast iron, acrylic, composite).
For flooring and wall coverings, consider:
- Tiles: Ceramic, porcelain, natural stone, or even luxury vinyl tile (LVT). Ceramic and porcelain are popular for bathrooms due to their water resistance and durability.
- Grout: Choose a grout color that complements your tiles. Epoxy grout is an excellent option for bathrooms as it’s highly resistant to stains and water.
- Paint: Opt for moisture-resistant paint specifically designed for bathrooms.
4. Gather Your Essential Tools and Materials
Having the right tools makes the job significantly easier and safer. Here’s a starter list:
Essential Tools for Bathroom Installation
This list covers the basics; specific tasks might require more specialized tools.
| Tool | Purpose | Notes |
|---|---|---|
| Pipe Wrench (2) | Tightening and loosening pipes and fittings. | One to hold, one to turn. |
| Adjustable Wrench | General-purpose for nuts and bolts. | Various sizes are useful. |
| Plumber’s Putty/Silicone Caulk | Sealing around drains, faucets, and fixtures. | Use plumber’s putty for drains, silicone for waterproof seals. |
| Level | Ensuring all fixtures are installed straight. | A 2-foot level is very handy. |
| Tape Measure | Accurate measurements for placement and materials. | Essential for everything. |
| Utility Knife | Cutting caulk, drywall, and other materials. | Always use a sharp blade. |
| Screwdriver Set | Installing vanities, toilet seats, and other components. | Phillips and flathead. |
| Pliers (various types) | Gripping, cutting, and bending wires or small parts. | Needle-nose and slip-joint pliers are good. |
| Reciprocating Saw (Optional) | Cutting through plumbing, subflooring, or old fixtures. | Consider renting if not a frequent DIYer. |
| Drill and Drill Bits | Creating pilot holes, driving screws, boring larger holes. | Cordless is highly recommended. |
| Safety Gear | Eye protection, gloves, dust mask. | Non-negotiable for safety. |
5. Prepare the Work Area
Protect your existing flooring and furniture with drop cloths. Ensure adequate lighting and ventilation, especially when working with glues or sealants. If you’re removing old fixtures, shut off the main water supply to your home and drain the pipes.
Phase 2: Demolition & Rough-Ins – Clearing the Way
This is where things get a bit messy, but it’s crucial for laying the groundwork for your new bathroom.
1. Removing Old Fixtures
This is the best part of demolition! Start with the toilet:
- Ensure water supply is off and flush the toilet to drain the tank and bowl.
- Disconnect the water supply line from the tank.
- Remove the caps from the floor bolts.
- Unbolt the toilet from the floor.
- Carefully rock the toilet to break the wax seal and lift it away.
- Cover the open drainpipe with a rag to prevent sewer gases from escaping.
Next, the sink and vanity:
- Turn off water supply valves under the sink.
- Disconnect the hot and cold water supply lines.
- Disconnect the P-trap from the drainpipe.
- Remove any clips or fasteners holding the sink in place.
- Lift the sink out.
- Unscrew and remove the vanity.
Finally, the tub or shower:
- Turn off water supply to the shower/tub.
- Remove the showerhead and trim.
- If it’s a tub/shower combo, you may need to pry off trim pieces around the tub’s edge.
- For a shower stall, remove doors and panels.
- If the tub/shower base is to be replaced, it may require carefully cutting it out with a reciprocating saw.
2. Plumbing Rough-In
This stage involves installing or modifying the water supply and drain lines for your new fixtures according to your plan. If you’re relocating plumbing, this can be complex and may involve opening up walls. If your new layout is similar to the old one, you might only need to make minor adjustments.
Water Supply: New pipes (usually PEX, copper, or CPVC) will run from your main water line to the locations of your faucet, toilet, and shower/tub. Ensure you use appropriate connectors and valves. Always use primer and cement for PVC/CPVC connections, and solder for copper (if you’re comfortable with it).
Drainage: Drain pipes (typically PVC) carry wastewater from your fixtures to your home’s main sewer line. These pipes need to be sloped correctly to ensure proper drainage – a common rule of thumb is a quarter-inch drop per foot of horizontal pipe. Vent pipes are crucial for allowing air into the drainage system, which helps prevent trap siphoning and ensures smooth flow.
Key Plumbing Connections:
- Shut-off Valves: Install individual shut-off valves for the toilet and sink so you can isolate them for future repairs without turning off water to the whole house.
- Shower Valve: The shower valve is a critical component that controls water flow and temperature. It must be installed correctly and sealed to prevent leaks behind the wall.
Important Note: Plumbing can be tricky. If at any point you feel unsure or uncomfortable, it’s wise to consult or hire a licensed plumber. Improper plumbing can lead to significant water damage.
3. Electrical Rough-In (If Applicable)
If you’re adding new lights, an exhaust fan, or outlets, this is when the wiring is run through the walls. Always turn off the power to the circuit you’re working on at the breaker box. If you’re not experienced with electrical work, hire a licensed electrician. Safety is paramount when dealing with electricity. For regulations and best practices, consult your local building codes or resources like the National Electrical Code (NEC).
Phase 3: Installing Fixtures – Bringing Your Bathroom to Life

Now we start putting the new pieces in place!
1. Install the Bathtub or Shower Base
For Bathtubs:
- Carefully position the tub onto the prepared subfloor.
- Ensure it’s level using shims if necessary.
- Connect the drain assembly to the tub and the rough plumbing.
- Secure the tub to wall studs according to the manufacturer’s instructions, often with screws or nails through a flange.
For Shower Bases:
- Prepare the subfloor.
- Apply a layer of mortar to ensure a solid, level base.
- Set the shower base onto the mortar and ensure it’s level and plumb.
- Connect the drain assembly.
- Secure the base to the wall studs.
2. Install Valves, Trim, and Showerheads
After the tub/shower base is in, it’s time for its guts:
- Install the shower valve according to the manufacturer’s instructions, ensuring it’s properly seated and sealed.
- Install the tub spout and connect it to the valve’s outlet.
- Install the shower arm and showerhead.
- Apply high-quality, mildew-resistant silicone caulk around the edges of the tub or shower base where it meets the walls to create a watertight seal. This is a critical step for preventing leaks.
3. Install Toilets
A new toilet installation is straightforward once the flange is in place:
- Place a new wax ring onto the toilet flange on the floor.
- Carefully align the toilet and lower it onto the flange, ensuring the bolts go through the holes in the toilet base.
- Press down firmly to seat the wax ring.
- Secure the toilet with the provided nuts and washers, tightening them evenly. Do not overtighten, as this can crack the porcelain.
- Attach the toilet seat.
- Reconnect the water supply line to the tank’s fill valve.
- Turn on the main water supply and check for leaks at the base and supply line connection.
4. Install the Vanity and Sink
First, the vanity:
- Position the vanity cabinet in its designated spot.
- Ensure it’s level and plumb. Use shims if the floor or walls are uneven.
- Secure the vanity to the wall studs using screws.
Now, the sink:
- If it’s an undermount sink, it’s usually installed before the countertop is attached to the vanity.
- For drop-in or vessel sinks, follow the manufacturer’s template for cutting the hole in the countertop.
- Apply plumber’s putty or silicone caulk around the sink’s rim before setting it into the countertop to create a watertight seal.
- Install the faucet and drainage assembly onto the sink according to the manufacturer’s instructions.
- Connect the P-trap and water supply lines to the new faucet and drain.
5. Install Faucets and Accessories
This typically involves attaching the faucet to the sink and connecting the water supply lines, then connecting the drain. Follow the manufacturer’s specific instructions for each item. Once the main fixtures are in, install accessories like towel bars, toilet paper holders, and mirrors.
Phase 4: Finishing Touches – Tiling, Painting, and Sealing

This is where your bathroom starts to look like a finished space.
1. Tiling Walls and Floors
Tiling can seem daunting, but with patience, you can achieve great results.
- Layout: Plan your tile layout, starting from a prominent point (like the center of the wall or floor) to ensure symmetrical cuts.
- Adhesive: Apply tile adhesive (mortar or mastic) to the wall or floor using a notched trowel. Work in small sections to prevent the adhesive from drying out.
- Setting Tiles: Press each tile firmly into the adhesive. Use tile spacers to maintain consistent grout lines.
- Cutting Tiles: Use a tile wet saw or nippers for cuts around edges, corners, or fixtures. Always wear safety glasses.
- Grouting: Once the adhesive has cured (usually 24 hours), remove the spacers and apply grout with a grout float, working it into all the gaps.
- Cleaning: Wipe off excess grout with a damp sponge, rinsing the sponge frequently. Polish off any grout haze with a clean, dry cloth after it has set slightly.
For more detailed guidance on tile setting, resources like All About Tiles offer comprehensive tutorials.
2. Painting
Ensure the walls are clean and dry. Apply a high-quality bathroom paint, which is formulated to resist moisture and mildew. Apply two coats for best coverage and durability.
3. Sealing Grout Lines

Once grout is fully cured (check product instructions, often 48-72 hours), apply a good quality grout sealer using a small brush.
