
Brighten your bathroom and organization with colorful jar labels! Easily identify toiletries, DIY potions, or craft supplies with vibrant, easy-to-read designs. This guide offers simple, eye-catching solutions for a more visually appealing and functional bathroom space.
Is your bathroom a little… chaotic? Do you ever reach for a jar, only to stare at its contents, unsure of what’s inside? You’re not alone! Many of us have a collection of jars holding everything from cotton balls to homemade bath salts, and keeping them organized can feel like a puzzle. Fumbling in the morning rush for the right item is frustrating, but what if there was a simple, colorful way to fix it? Get ready to transform your bathroom jars from confusing containers to delightful organizational tools. We’ll guide you through creating essential, vibrant labels that make finding what you need a breeze. Let’s dive in and add some cheerful order!
Why Colorful Bathroom Labels are a Game-Changer

Bathroom organization isn’t just about tidiness; it’s about creating a harmonious space that supports your well-being. When your bathroom jars are clearly labeled, you save precious time and reduce stress. Colorful labels do more than just identify contents; they add a pop of personality and visual appeal to your bathroom. Think of them as mini works of art that also serve a crucial purpose. They can make your bathroom feel more welcoming and less cluttered, turning a mundane task like finding toothpaste into a pleasant experience.
Benefits of Using Colorful Labels

- Instant Identification: Clearly see what’s in each jar at a glance, saving time and preventing mix-ups.
- Enhanced Aesthetics: Add a vibrant and personalized touch to your bathroom decor, making it more visually appealing.
- Improved Organization: Helps categorize various bathroom items, from personal care products to cleaning supplies.
- DIY Project Fun: Creating your own labels can be a rewarding and creative activity, allowing for endless design possibilities.
- Accessibility: Great for families, especially if different members use specific products or have special needs.
- Reduced Clutter: A well-labeled collection of jars looks neater and more intentional than a disarray of plain containers.
What Makes a Label Essential?
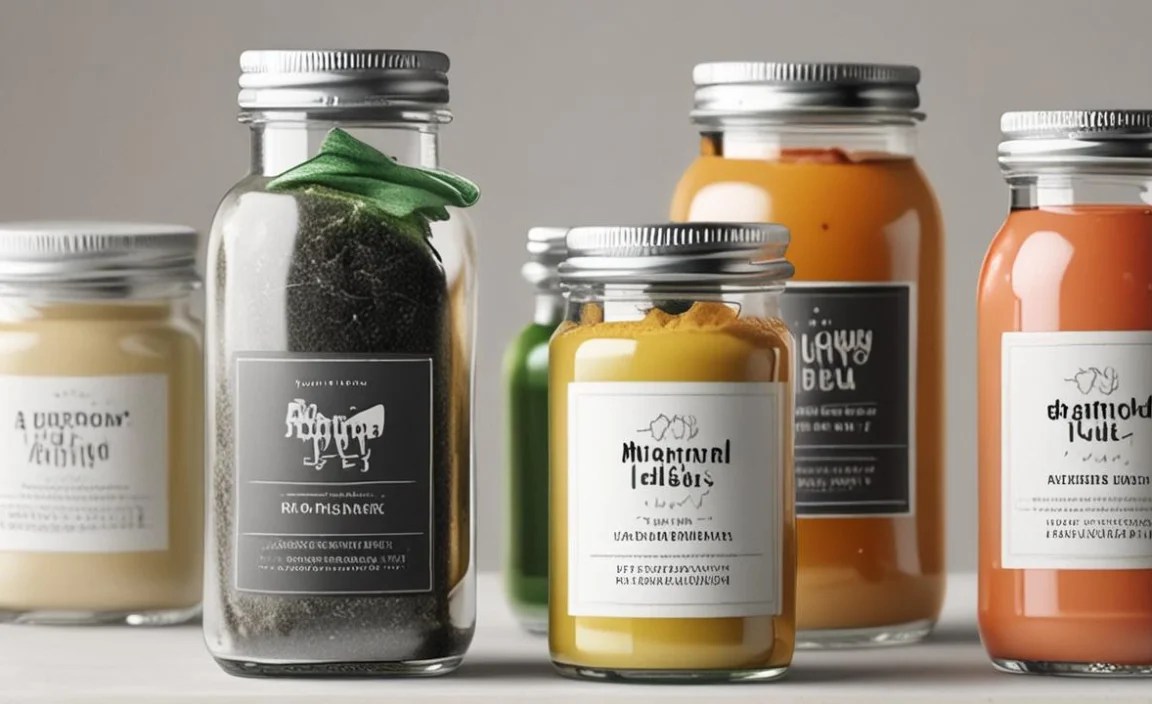
An essential label is one that is easy to read, durable enough for a bathroom environment (which can be humid!), and clearly states the contents. For jars, this means the label should be legible even from a short distance and shouldn’t peel or smudge easily. When you add color, you enhance these essential qualities by making the labels not only functional but also visually distinct. This is particularly helpful when you have multiple jars that look similar or contain items that could be mistaken for one another.
Choosing Your Colorful Label Style
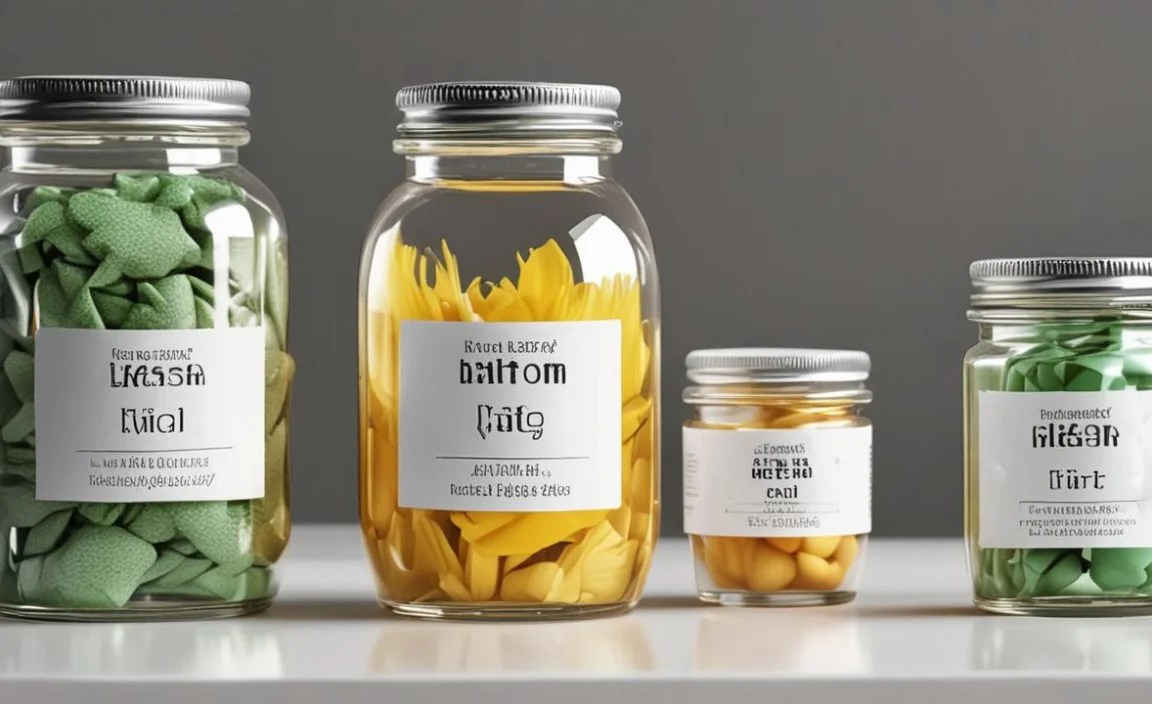
The world of labeling is vast and exciting! When selecting colorful bathroom labels for your jars, consider the overall aesthetic of your bathroom and the type of items you’ll be labeling. Do you prefer a sleek, modern look, or something more whimsical and playful? Your choice can set the tone for your entire bathroom space.
Design Ideas for Vibrant Labels
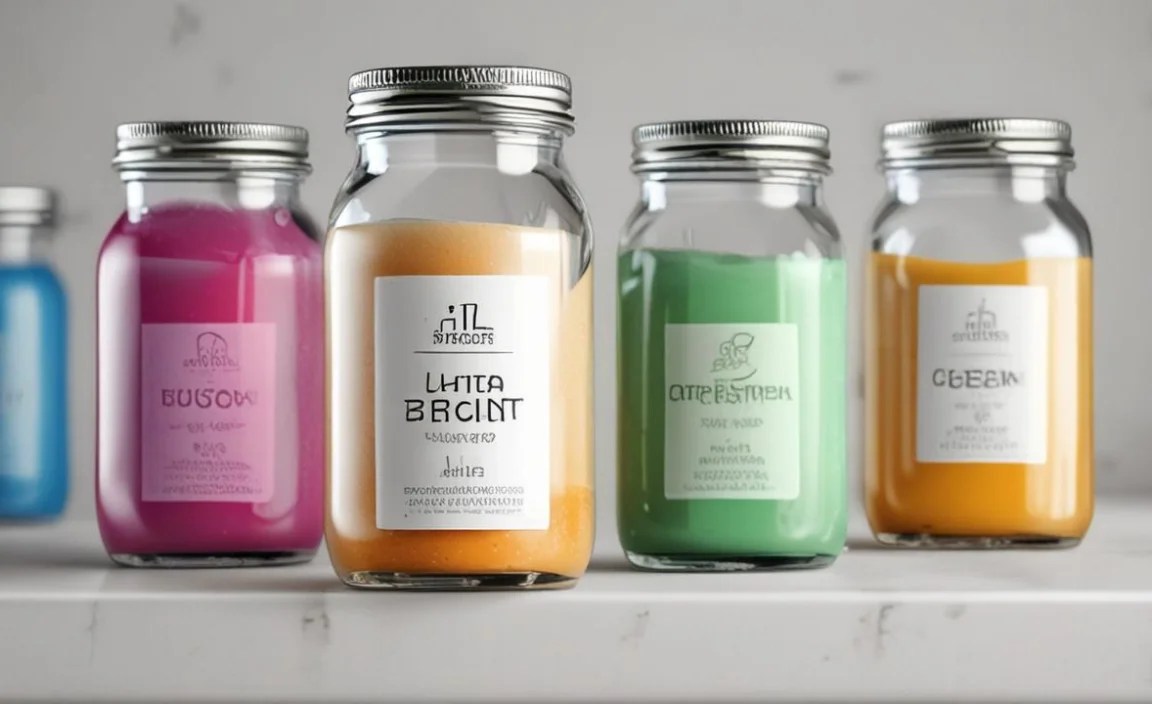
- Monochromatic Magic: Use varying shades of a single color for different categories (e.g., blues for bath items, greens for cleaning supplies).
- Rainbow Bright: Assign a specific color to each type of product or individual jar for maximum visual impact.
- Themed Palettes: Choose color schemes inspired by nature, a specific holiday, or your bathroom’s decor. Think coastal blues and sandy beiges, or floral pastels.
- Bold and Contrasting: Use bright, contrasting colors to make each label pop. For example, pairing a sunny yellow with a deep navy.
- Subtle Hues: Opt for softer, pastel shades if a more calming atmosphere is desired, while still providing clear differentiation.
Material Matters: Selecting the Right Label
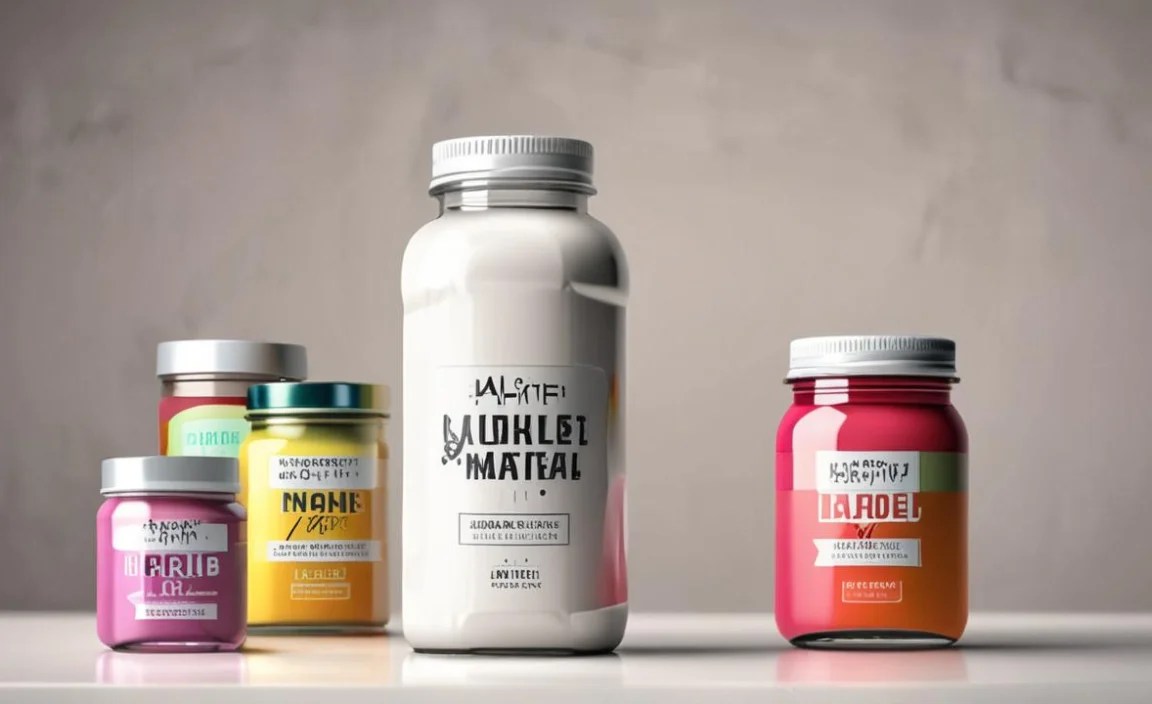
The material of your labels is crucial for their longevity and appearance, especially in a humid bathroom environment. Here’s a look at popular options:
| Label Material | Pros | Cons | Best For |
|---|---|---|---|
| Vinyl Labels | Durable, waterproof, fade-resistant, easy to clean. Available in many colors and finishes. | Can be more expensive than paper. Requires careful application to avoid bubbles. | High-moisture areas, frequently touched items, long-term use. |
| Waterproof Paper Labels | Affordable, easy to print on at home, often with a matte or glossy finish. | May eventually peel or smudge in very high humidity or with direct water contact. | Items not in direct splash zones, temporary labeling, budget-friendly projects. |
| Laminated Paper Labels | Adds a protective layer to paper labels, increasing water resistance and durability. | Lamination can sometimes wrinkle or bubble in extreme humidity. | A good middle-ground for moderate moisture and longevity. |
| Fabric Labels (Iron-on or Sew-on) | Unique texture, can be very durable, adds a rustic or crafty feel. | Limited color options for printing, may require special printers or pens. Not ideal for glass jars unless attached to a fabric sleeve. | Fabric storage baskets, personalizing cloth items. |
Printable vs. Pre-Made Labels
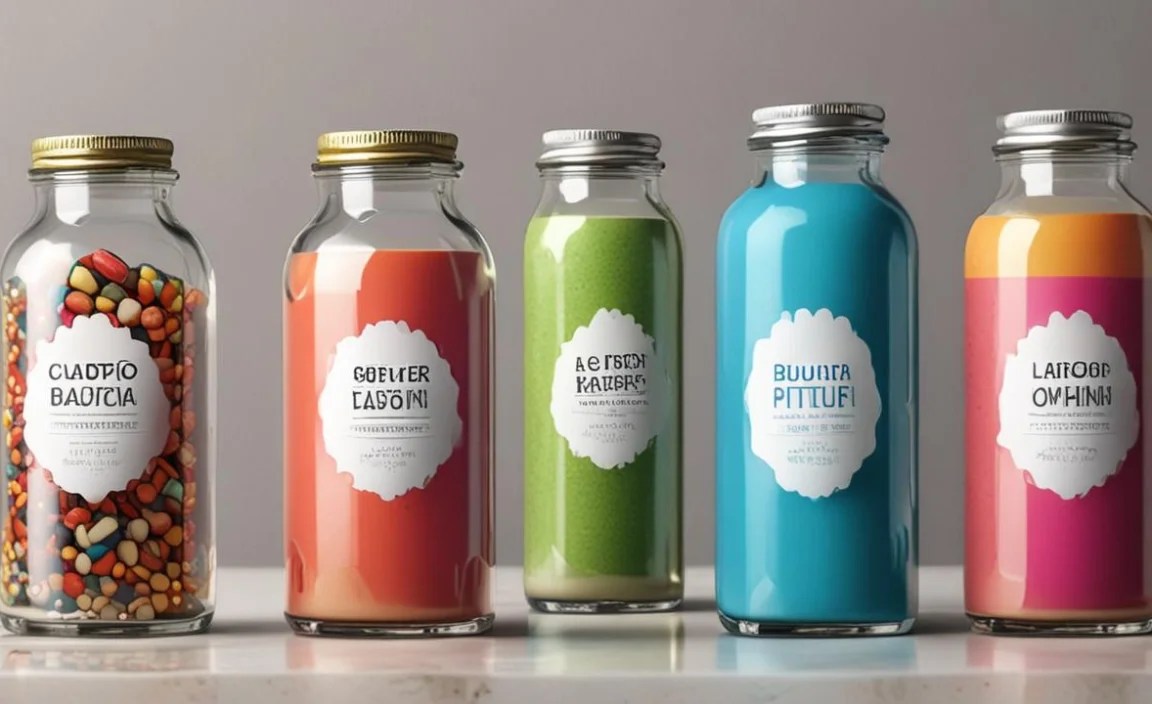
You have two main avenues for acquiring your colorful bathroom labels:
- Printable Labels: These come on sheets (paper or vinyl) designed to be printed at home with an inkjet or laser printer. You can find endless designs online or create your own using graphic design software or free online tools. This offers maximum customization.
- Pre-Made Label Sets: Many retailers offer pre-designed sets of colorful labels, often with common bathroom items already printed. These are convenient for a quick fix but offer less personalization.
How to Create Your Own Colorful Bathroom Labels

Designing and applying your own labels is surprisingly easy and incredibly rewarding. It allows you to match your labels perfectly to your bathroom’s decor and the specific items you need to identify. Let’s walk through the process.
Step 1: Gather Your Supplies
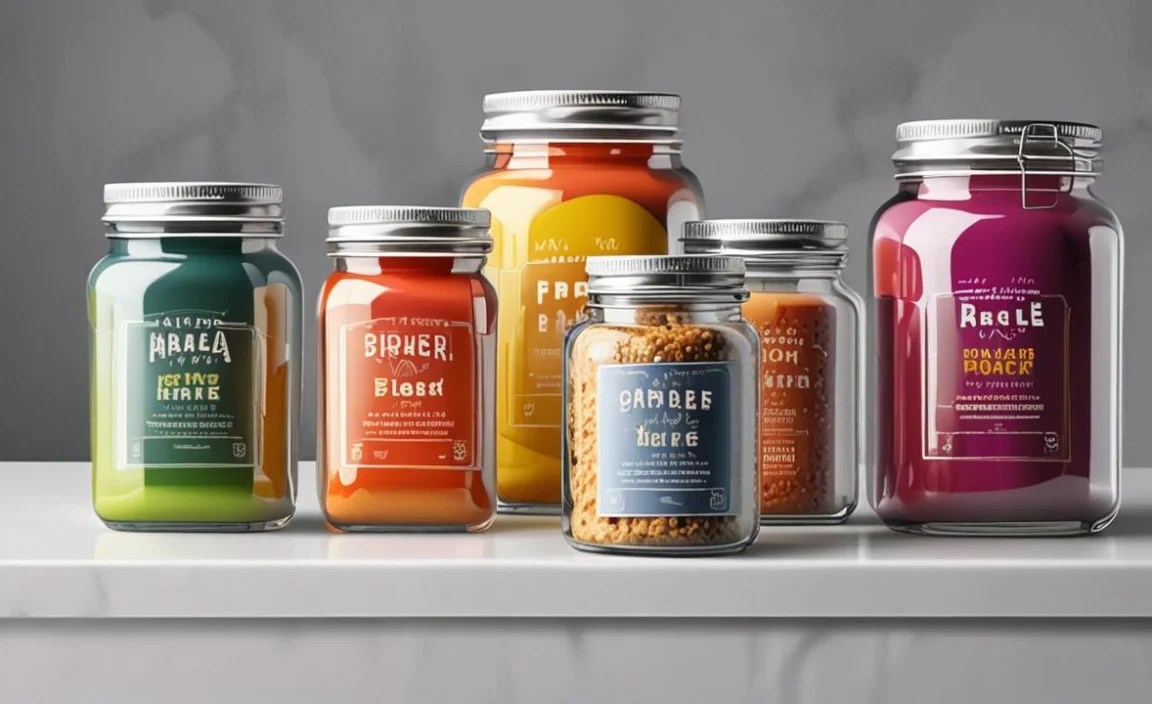
Before you start, make sure you have everything you need. This will make the process smoother and more enjoyable.
- Jars: Ensure they are clean and dry.
- Label Material: Choose from the options discussed above (vinyl sticker paper, waterproof paper, etc.). You can buy sheets online or at craft stores.
- Printer: An inkjet or laser printer for printable labels.
- Design Software/App: Options range from professional software like Adobe Illustrator to free online tools like Canva or even Microsoft Word/Publisher. For a simpler approach, you can use mobile apps like PosterMyWall or Label Maker.
- Cutting Tools: Scissors, a craft knife, or a cutting machine (like a Cricut or Silhouette) for precise cutting.
- Applicator (Optional): A squeegee or credit card can help smooth out vinyl labels without bubbles.
- Clear Sealant (Optional): For extra protection on paper labels, a clear spray sealant can be beneficial.
Step 2: Design Your Labels
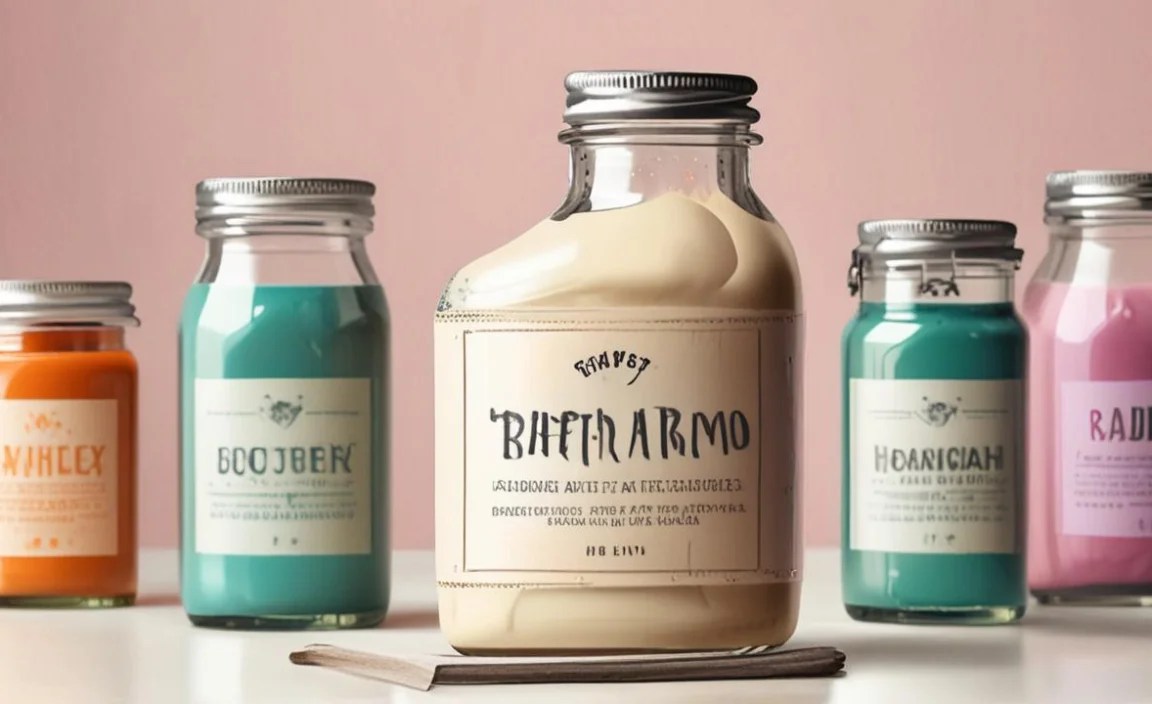
This is where your creativity shines! Whether you’re aiming for simple and clean or bold and artistic, follow these tips:
- Measure Your Jar: Determine the size and shape of labels that will fit best on your jars.
- Choose Your Colors: Select a color palette that complements your bathroom.
- Select Fonts: Pick a font that is easy to read. Larger, sans-serif fonts are often best for quick identification.
- Add Text: Clearly write the name of the contents (e.g., “Cotton Balls,” “Bath Salts,” “Q-Tips,” “Face Masks”).
- Include Icons (Optional): Small, relevant icons can add visual interest and aid recognition. A tiny cotton ball icon next to “Cotton Balls,” for instance.
- Layout: Arrange text and graphics on your design canvas, keeping in mind your measurements. Many online tools offer templates for various label shapes and sizes.
Pro Tip: If you’re new to design, start with pre-made templates from sites like Canva. They offer a fantastic selection of free, customizable templates perfect for jar labels.
Step 3: Print Your Labels
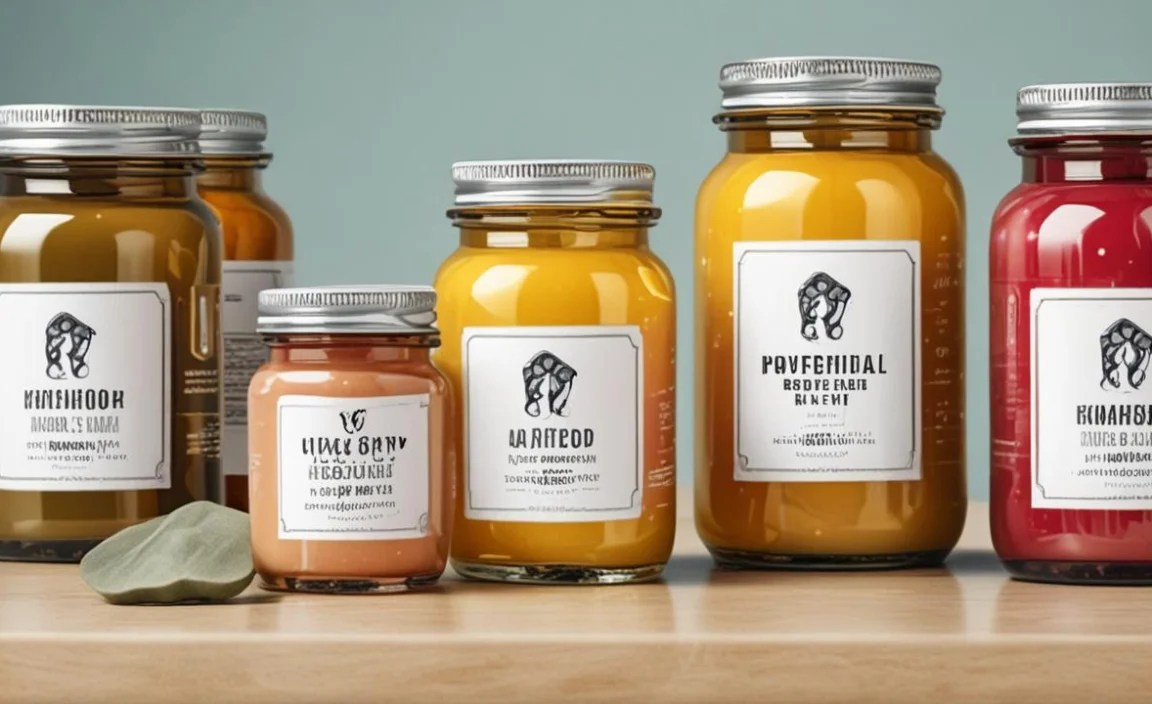
Once your designs are ready, it’s time to print:
- Load Your Printer: Feed your chosen label material into your printer according to the manufacturer’s instructions.
- Print Settings: Ensure you select the correct paper type and quality settings for the best results. For vibrant colors, don’t skimp on print quality.
- Test Print (Recommended): Before printing your entire sheet, print one label on plain paper to test the size and layout. You can then hold this test print against your jar to confirm measurements.
Step 4: Cut Out Your Labels
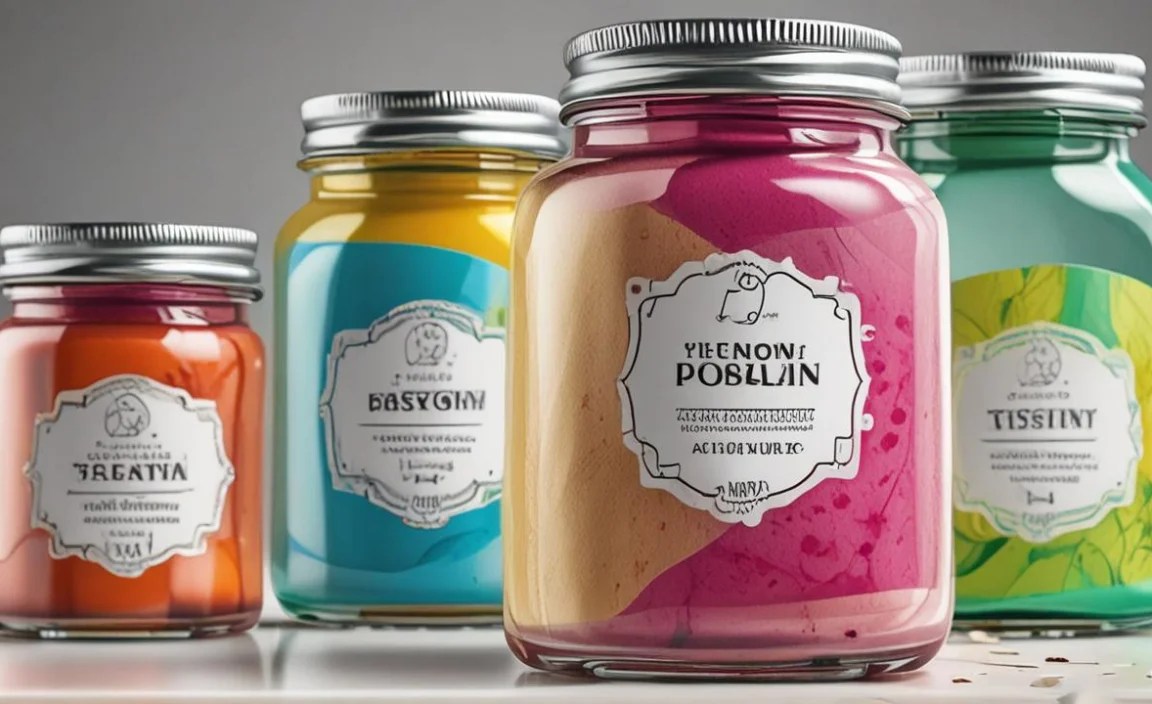
Carefully cut out your printed labels:
- Using Scissors or Craft Knife: Cut precisely along the edges of your design. For a cleaner look, consider using a paper trimmer if you have one.
- Using a Cutting Machine: If you have a Cricut or Silhouette, upload your design and let the machine do the precise cutting for you. This is ideal for intricate shapes or perfect circles.
Step 5: Apply Your Labels
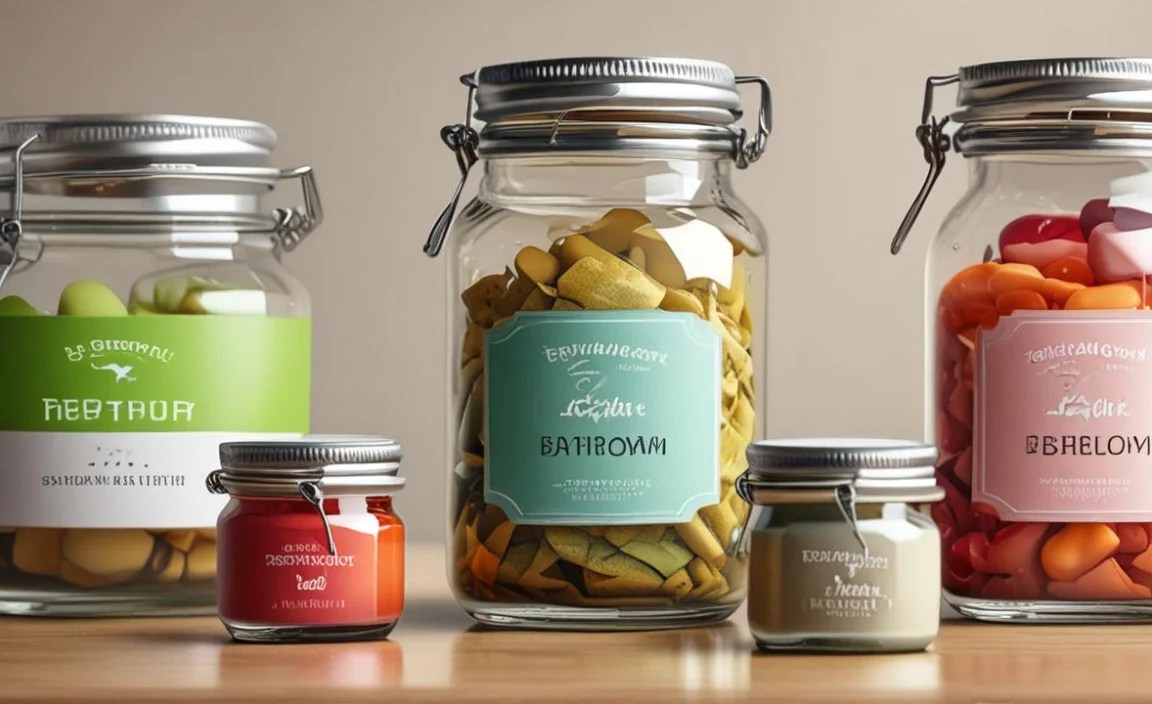
This is the final step, and it requires a steady hand for the best finish:
- Clean the Jar Surface: Ensure the area where the label will be applied is free from dust, oils, or moisture. A quick wipe with rubbing alcohol can help ensure good adhesion, especially for vinyl.
- Peel and Position: Carefully peel the label from its backing. Position it on the jar where you want it to go, starting from one edge and slowly applying it to avoid wrinkles or air bubbles.
- Smooth Out Bubbles: If using sticker labels (especially vinyl), gently press down from the center outwards. A squeegee, credit card, or even your fingertip can help push out any trapped air bubbles.
- Press Firmly: Once positioned, apply firm pressure to ensure the label adheres well to the jar.
- Seal (Optional): If you’ve used paper labels and want extra protection against moisture, consider a light coat of clear spray sealant. Ensure it’s fully dry before exposing the jar to humidity.
Creative Ideas for Colorful Bathroom Jar Labels
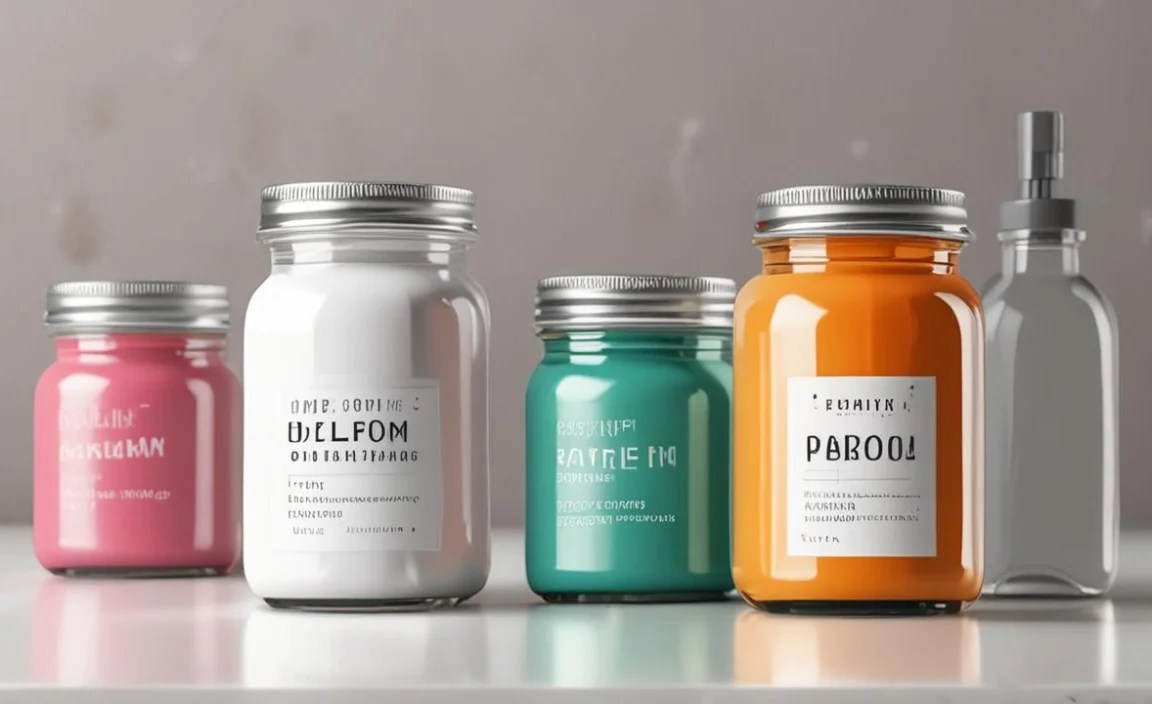
Beyond simple identification, colorful labels can become a design element in your bathroom. Here are some creative applications and inspiration:
DIY Bathroom Potions and Salts
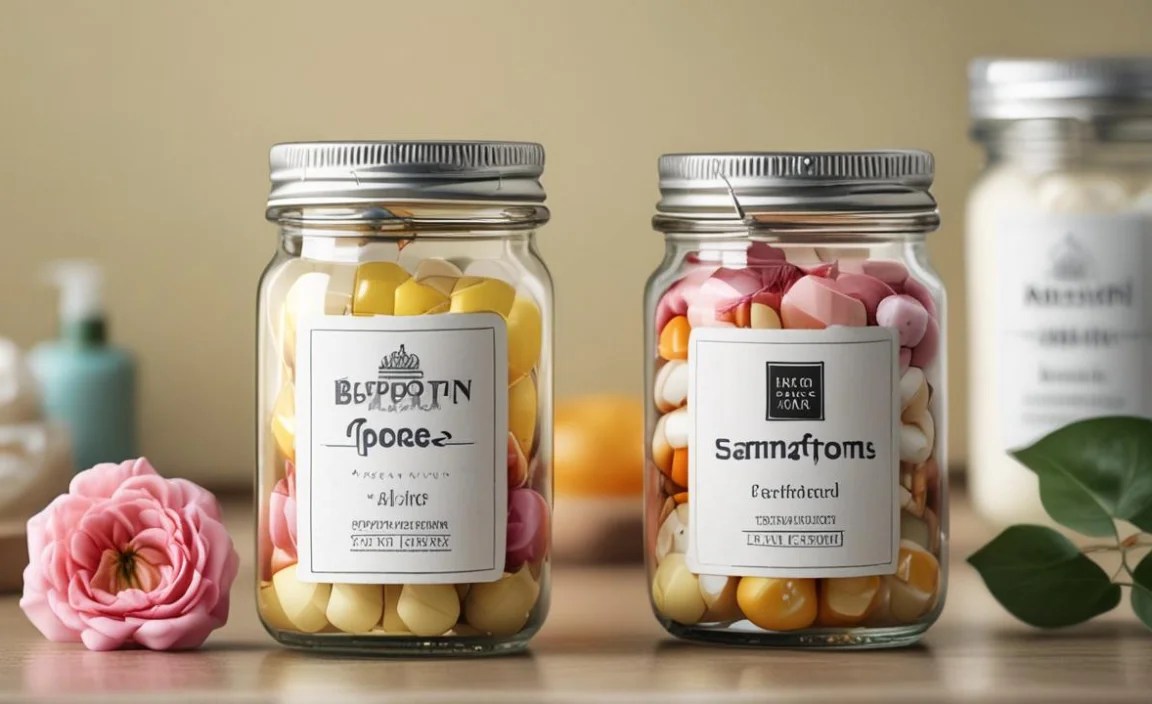
Many people enjoy making their own bath bombs, scrubs, and bath salts. Colorful labels are perfect for these homemade goodies:
- Lavender Bath Soak: Use pastel purple labels.
- Citrus Sugar Scrub: Bright yellow or orange labels.
- Eucalyptus Steam Jars: Cool blue or green labels.
- Rose Petal Bath Salts: Soft pink or rose-colored labels.
You can even add a small description of the scents or benefits directly on the label for a personalized touch.
Organizing Daily Essentials
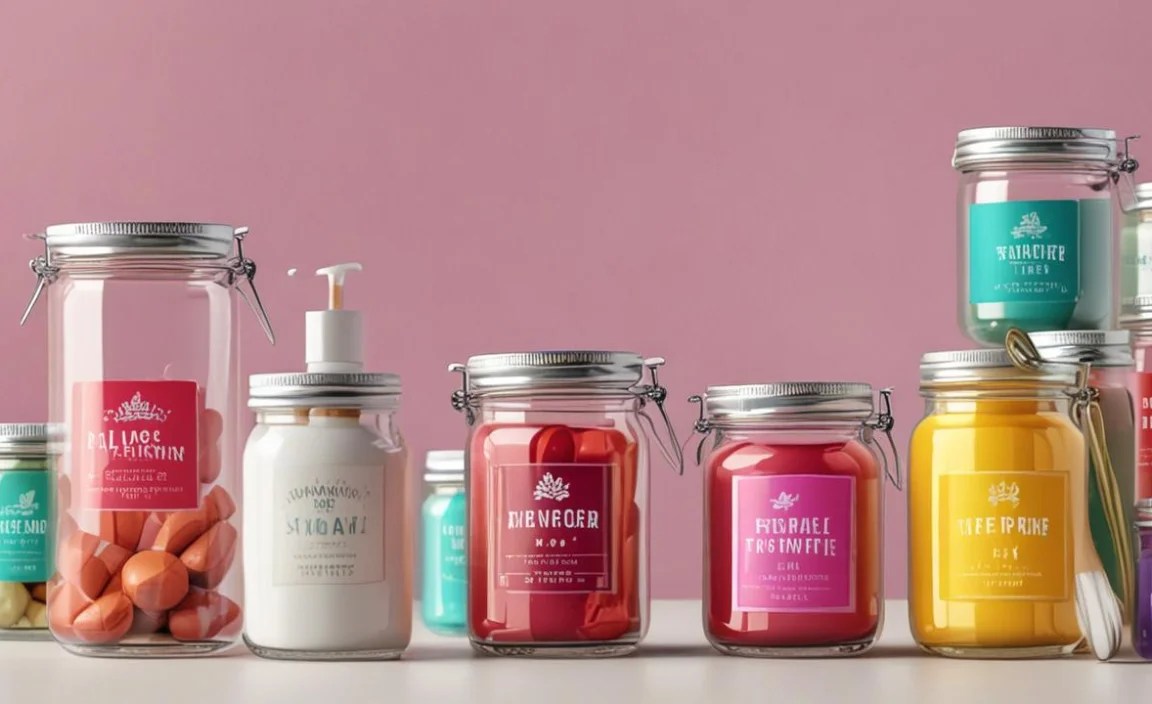
Keep your everyday items tidy and easy to find:
- Cotton Balls: Soft white or pastel blue labels.
- Cotton Swabs (Q-Tips): Small white labels with a simple black or colored border.
- Hair Ties/Bobby Pins: Small, brightly colored labels in colors matching your accessories or bathroom scheme.
- Face Masks: A variety of fun, vibrant labels – perhaps one for each type of mask you use.
Crafts and Hobby Supplies
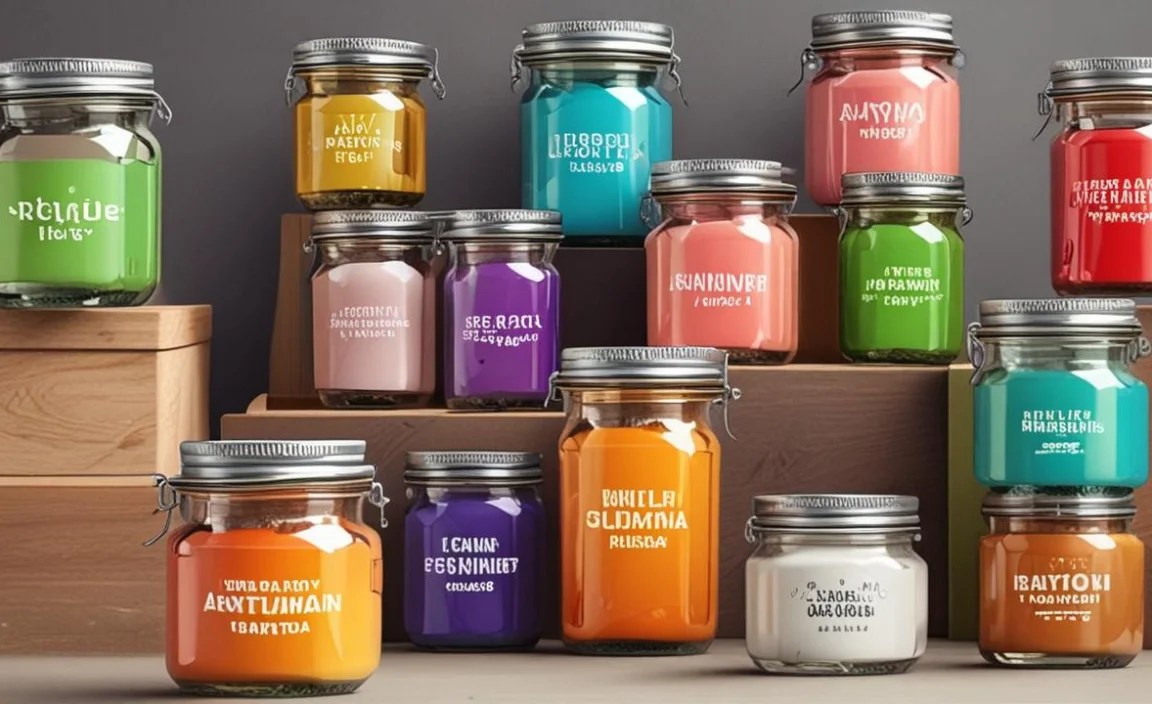
If you use your bathroom for storing craft supplies, such as beads, thread, or small tools, colorful labels are invaluable. Assigning a different color to each type of craft supply makes it incredibly easy to find what you need without rummaging.
Cleaning Solutions and Tools
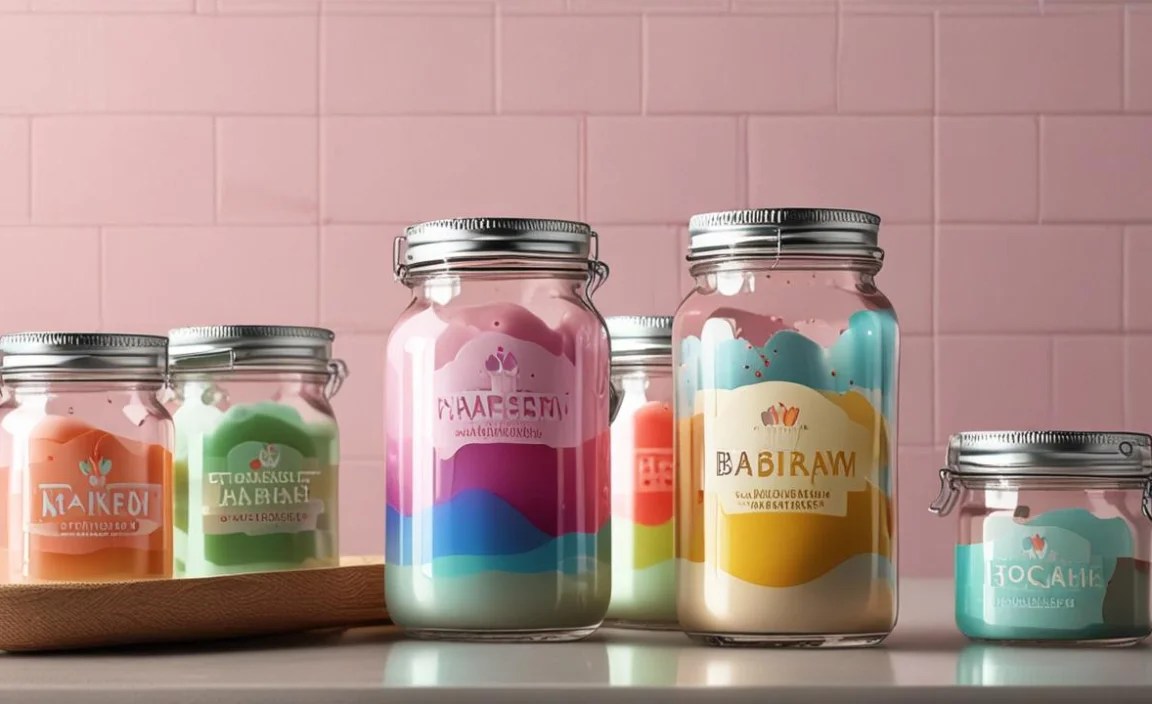
For cleaning products stored in jars or decanted into smaller containers, clear, colorful labels are a must for safety and efficiency:
- All-Purpose Cleaner: A bold green label.
- Toilet Bowl Cleaner: A bright red label for easy distinction.
- DIY Laundry Detergent: A clean blue label.
Always ensure homemade cleaning solutions are made safely and stored appropriately, and consult resources like the EPA’s Safer Choice program for guidance on safer product ingredients.
Tips for Long-Lasting Labels in Humid Environments
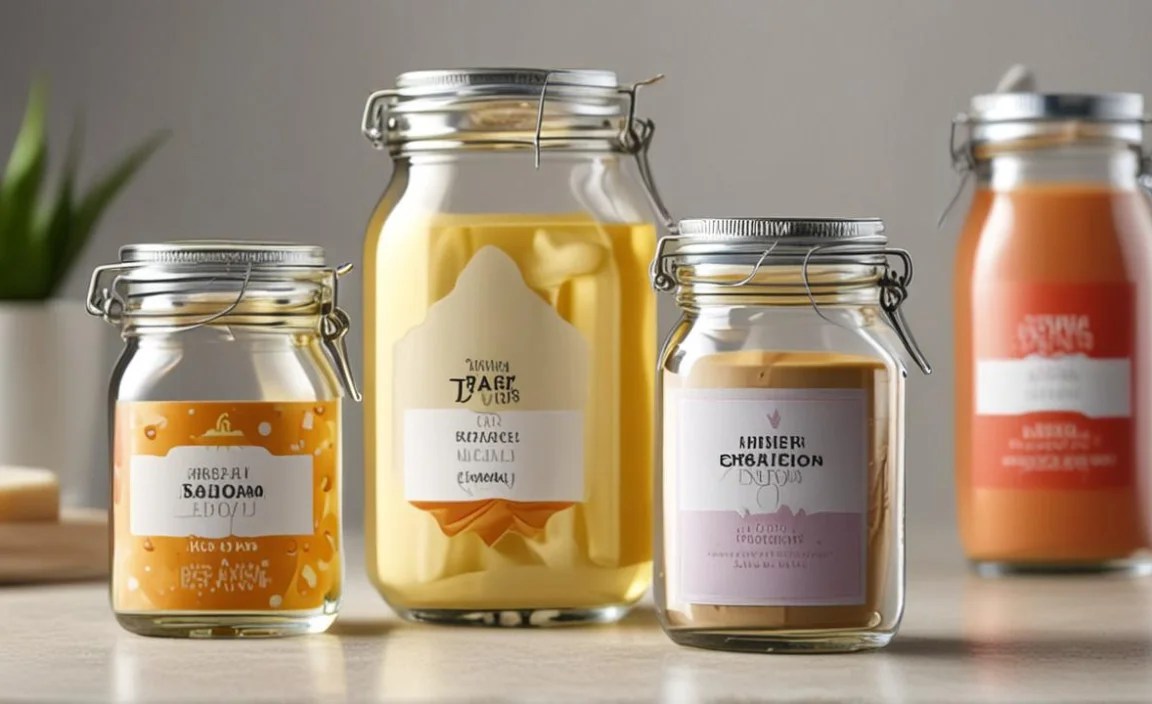
Bathrooms are notorious for their humidity, which can be tough on labels. Here’s how to ensure yours stand the test of time:
- Choose Waterproof Materials: As discussed, vinyl is your best bet for durability. High-quality waterproof paper with a good adhesive backs is also a strong contender.
- Apply to Smooth, Dry Surfaces: Moisture or dust will prevent labels from sticking properly. Make sure your jars are completely dry and clean before application.
- Seal Paper Labels: If using paper, a layer or two of clear acrylic sealant spray can significantly improve water resistance. Allow ample drying time.
- Avoid Direct Water Spray: Position your labeled jars away from direct water from showers or sinks whenever possible.
- Consider Lamination: Self-adhesive laminating sheets can add a protective barrier to printed paper labels. Ensure the edges are well sealed.
- Regular Inspection: Periodically check your labels. If you notice any peeling or damage, it’s easier to replace them before they become unreadable.
Common Labeling Mistakes to Avoid
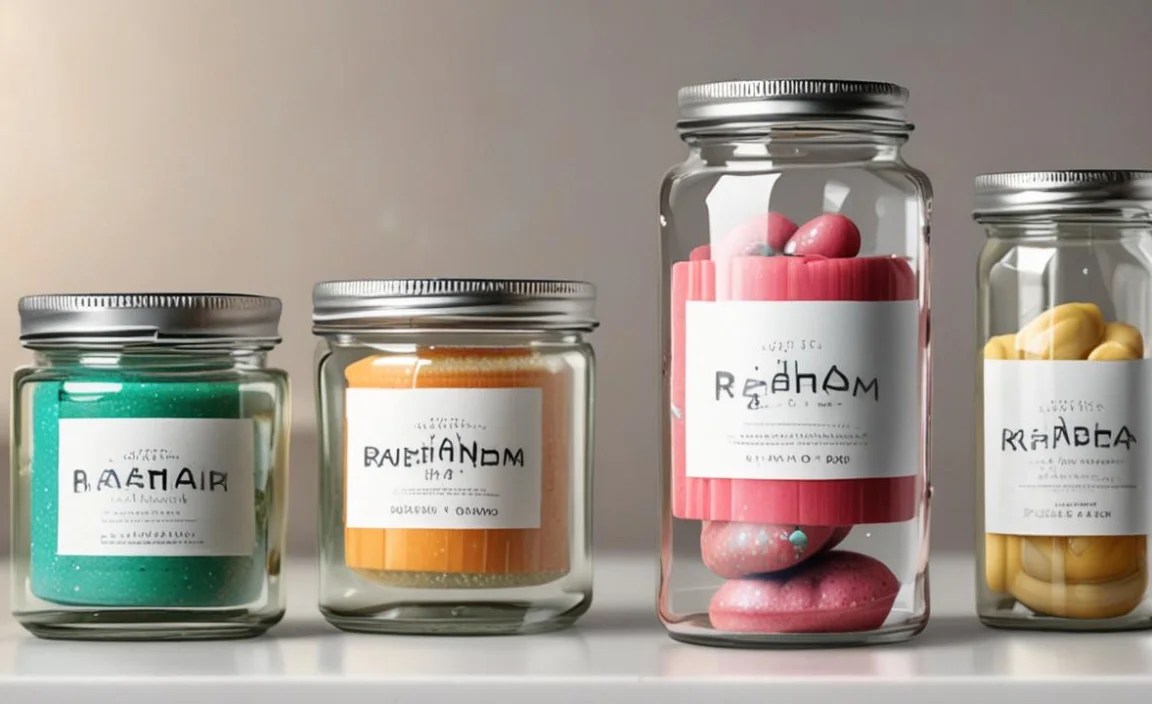
While creating your labels, keep these common pitfalls in mind to ensure success:
| Mistake | Why It’s a Problem | How to Avoid It |
|---|---|---|
| Using the Wrong Material | Paper labels peel or dissolve in humidity; ink can run. | Always opt for waterproof vinyl or laminate for bathroom use. |
| Illegible Fonts/Small Text | Hard to read, especially in a hurry or poor lighting. | Choose clear, sans-serif fonts and make text large enough to be seen easily. |
| Inconsistent Design | Can look messy and defeat the purpose of organization. | Stick to your chosen color palette and font style throughout your labeling project. |
| Applying Labels to Wet or Dirty Jars | Poor adhesion, leading to labels peeling off. | Ensure jars are thoroughly cleaned and dried before applying labels. Use rubbing alcohol for a pristine surface. |
| Overcrowding Information | Makes labels look cluttered and hard to scan. | Keep labels concise. Use clear, simple terms for contents. Icons can help convey information visually. |
| Ignoring Size & Placement | Labels might be too small to read, or placed where they will be easily damaged. | Measure your jars and plan label placement carefully. Prioritize visibility and protection. |
Frequently Asked Questions About Colorful Bathroom Jar Labels
Q: Are colorful labels better than plain ones for bathroom jars?

A
