
Quick Summary: Achieve stunning, hotel-quality bathroom labels for your jars easily! This guide provides simple steps and tips to create elegant, durable, and perfectly organized labels that elevate your bathroom’s aesthetic and functionality. Get professional results right at home, even if you’re a beginner.
Bathroom Labels For Jars: Stunning Hotel Quality at Your Fingertips
Ever walked into a luxurious hotel bathroom and noticed those perfectly labeled jars? They look so neat and feel so intentional. You might think it’s a secret only the pros know, but creating that same polished look for your own bathroom jars is surprisingly simple! No more guessing what’s in that cotton ball jar or where the hair ties are. With a few easy steps, you can transform everyday containers into stylish storage that looks like it belongs in a five-star spa.
This guide will walk you through everything you need to know. We’ll cover finding the right materials, designing your labels, and applying them flawlessly. Get ready to bring a touch of hotel elegance into your home, making organization beautiful and effortless. Let’s get started on creating those stunning, hotel-quality bathroom labels for your jars!
Why Hotel-Quality Bathroom Labels Matter
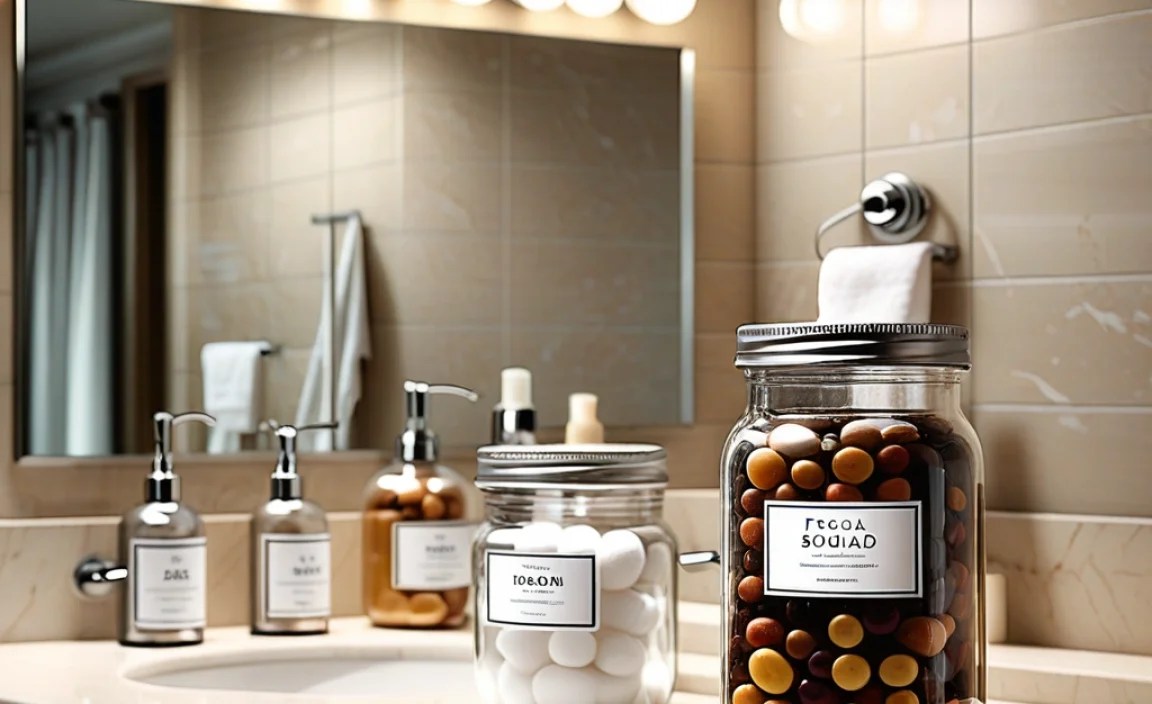
Beyond just looking good, well-designed bathroom labels for jars offer practical benefits that might surprise you. Think about your daily routine. How much time do you spend fumbling for small items in the bathroom? Having clear, attractive labels instantly streamlines this process. It’s not just about aesthetics; it’s about creating a functional, stress-free environment.
Hotel bathrooms are a masterclass in efficient and elegant organization for a reason. They anticipate guest needs and present items in a way that is both beautiful and easy to understand. Replicating this in your own home means:
- Quick Identification: Instantly know what’s inside each jar, saving time and frustration.
- Enhanced Aesthetics: Transforms ordinary jars into decorative elements.
- Improved Organization: Creates a sense of order and calm in your bathroom space.
- Hygienic Storage: Keeps items like cotton swabs and balls protected and clean.
- Personalized Touch: Allows you to customize your bathroom to your specific needs and style.
Choosing the Right Materials for Your Labels
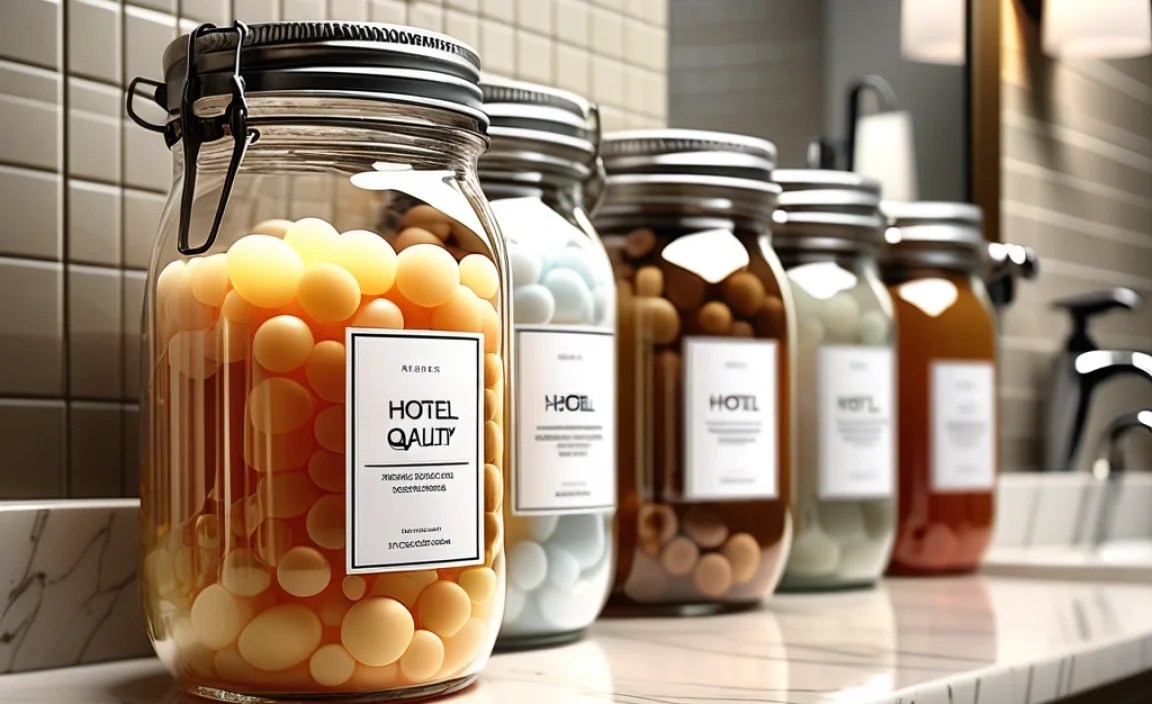
The key to achieving that “hotel quality” look lies in selecting the right materials. You want labels that are not only attractive but also durable enough to withstand the humid bathroom environment. Here’s a breakdown of popular material options:
Label Paper Types
The foundation of your label is the paper or material it’s printed on. The choice here significantly impacts the final look and longevity.
- Waterproof Vinyl: This is often the top choice for bathrooms. Vinyl labels are resistant to moisture, preventing ink from smudging or the label from peeling due to humidity. They come in various finishes like matte, glossy, or satin.
- Water-Resistant Paper: While not as robust as vinyl, some specialty paper labels are treated to resist water splashes. These can be a good option if your bathroom isn’t overly humid, or if you plan to seal them.
- Kraft Paper: For a more rustic or farmhouse look, kraft paper labels can be charming. However, they are generally not water-resistant and would require a sealant.
- Clear Labels: These offer a minimalist look, allowing the contents of the jar to show through while still providing clear identification.
Adhesive Considerations
The glue behind your label is just as important. You need an adhesive that sticks well but can also be removed cleanly if needed, though for bathroom jars, a strong, permanent-feeling bond is often preferred for durability.
- Permanent Adhesive: These offer the strongest bond and are ideal for jars that won’t be frequently moved.
- Removable Adhesive: Useful if you like to change your bathroom decor often, but ensure it’s still strong enough to withstand humidity.
- Water-Activated Adhesive: Less common for DIY but used in some commercial applications; can be very strong once set.
Finishing Touches
Once printed, you might want to add a layer of protection or a specific aesthetic finish.
- Lamination: A clear, protective layer that adds significant water resistance and durability. Available in matte or gloss finishes.
- Sealants/Sprays: Clear acrylic sprays can offer some water resistance, especially for paper labels. Ensure they are suitable for the label material.
Designing Your Elegant Bathroom Labels
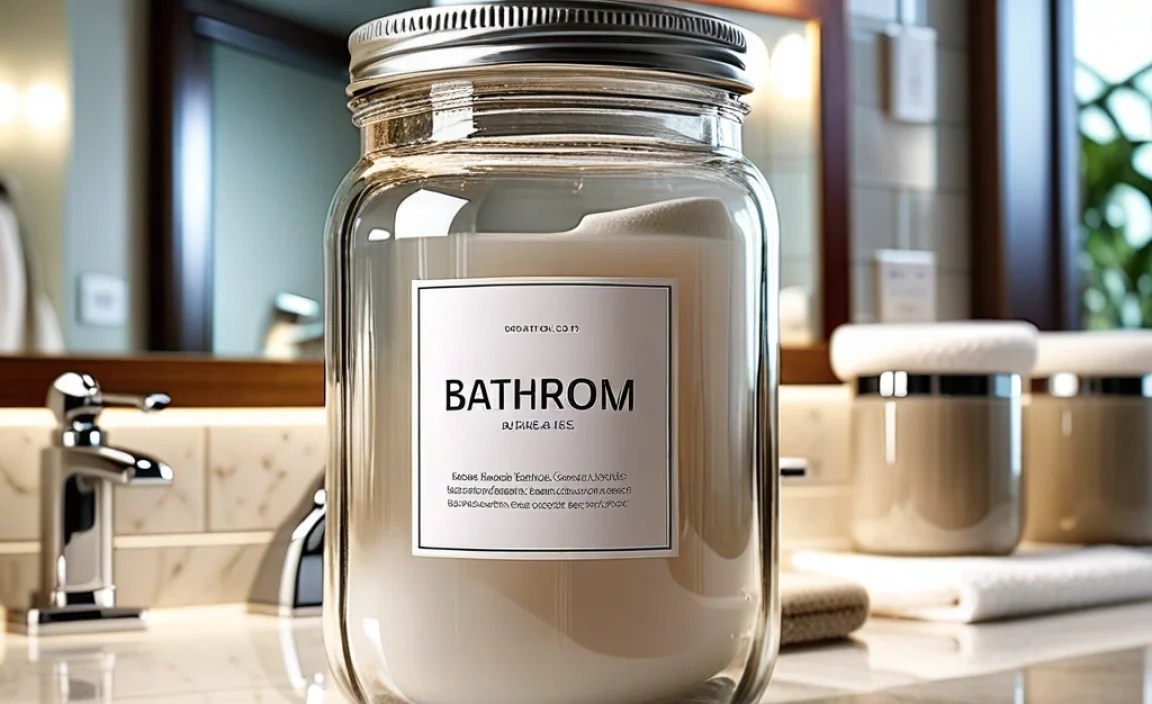
The design of your labels is where the “hotel quality” really shines. Think clean lines, easy-to-read fonts, and consistent styling. Today, many online tools and software make sophisticated design accessible to everyone.
Font Choices for Readability and Style
Choosing the right font is crucial for both clarity and aesthetics. For a hotel feel, aim for fonts that are:
- Sans-serif fonts: Clean, modern, and highly readable (e.g., Arial, Helvetica, Montserrat, Roboto).
- Classic serif fonts: For a more traditional or luxurious vibe (e.g., Times New Roman, Georgia, Garamond).
- Script fonts (use sparingly): Can add elegance but ensure they are readable from a distance. Best used for decorative elements rather than essential text.
Consistency is key. Stick to one or two fonts maximum for all your labels to create a cohesive look. You can often find excellent font pairings that work well together.
Layout and Information
Keep the design simple and functional. What information do you really need on the label?
- Item Name: The most important element (e.g., “Cotton Balls,” “Q-Tips,” “Bath Salts,” “Hand Soap”).
- Optional: Quantity (e.g., “250 ct”), special ingredients, or brand name if desired.
Consider the size of your jars and the label. A small jar might only need the item name, while a larger one could accommodate slightly more detail. Centering the text often gives a very clean, professional appearance.
Color Palette
For a hotel-quality look, a neutral or monochromatic color scheme usually works best. Think whites, creams, grays, blacks, or subtle metallics (like brushed gold or silver for text). You can also use colors that match your existing bathroom decor for a seamless integration.
Using Design Tools
You don’t need to be a graphic designer to create professional-looking labels. Here are some easy-to-use tools:
- Canva: Offers a vast library of templates, fonts, and graphics. Many are free to use. You can create custom label designs and download them for printing. Search for “label templates” or “jar labels.”
- Microsoft Word/Google Docs: Basic but effective. You can set up a page with text boxes, choose fonts, and print. Use the layout tools to position text precisely.
- Online Label Makers: Many websites are dedicated to creating custom labels, often with pre-designed templates. Some allow you to upload your own fonts or graphics.
For an authoritative guide on font pairing and design principles, you can consult resources like Fonts.com’s design tips.
How to Create Your Stunning Bathroom Labels: Step-by-Step
Now that you have your materials and design ideas, let’s get to the actual creation process. Follow these steps for beautifully crafted, hotel-quality labels.
Step 1: Consolidate Your Jar List and Design Ideas
First, walk through your bathroom and make a list of every jar you want to label. Note the approximate size of each jar and the space available for a label. This will help you determine the right label size and font size for each one. Keep your design choices (fonts, colors, style) consistent across all labels.
Step 2: Design Your Labels
Using your chosen design tool (Canva, Word, etc.), create the artwork for each label.
- Set Dimensions: If possible, set the exact dimensions for your labels (e.g., 2 inches wide by 1 inch tall). This ensures they fit your jars perfectly.
- Add Text: Type in the names of the items for each jar.
- Font and Color: Apply your chosen fonts and color scheme. Remember readability!
- Layout: Ensure text is centered or aligned nicely.
- Save Your Work: Save each design individually, perhaps naming them by the item they represent (e.g., “cotton-swabs-label.png”).
Pro Tip: If you’re using an online tool, many have specific “label” templates that can be a great starting point.
Step 3: Choose Your Printing Method
You have a few options for printing:
- Home Printer: The most convenient. You’ll need the right label material (sticker sheets) that your printer can handle. Ensure your printer handles the material type.
- Professional Printing Service: For the highest quality, especially with special materials or finishes, consider a local print shop or an online printing service (like Vistaprint for business cards, which can also do custom stickers).
Step 4: Print Your Labels
This is where your material choice really matters.
- For Waterproof Vinyl or Water-Resistant Paper: Load the sticker sheets into your printer according to the manufacturer’s instructions. Double-check printer settings – ensure you’re printing at the correct quality and size. Print a test page first on plain paper to confirm your design looks right before committing to your special material.
- For Regular Paper Labels: Print onto your chosen paper. You’ll likely need to seal these afterward.
Step 5: Cut Your Labels
Once printed, you’ll need to cut out each label. Precision here makes a big difference!
- Cutting Machine: If you have a Cricut or similar machine, you can use it to cut out your labels precisely along the printed lines or create kiss-cut stickers where only the label layer is cut through.
- Craft Knife and Ruler: For straight, clean cuts, use a ruler as a guide with a sharp craft knife. Always cut on a protected surface (like a cutting mat).
- Scissors: Use sharp scissors for intricate shapes or if a craft knife isn’t an option. Try to keep cuts as clean and straight as possible.
Some printing services will cut your labels for you, especially if you order die-cut stickers.
Step 6: Apply Finishing Touches (Optional but Recommended)
To ensure that hotel-quality longevity and water resistance:
- Laminate: If you printed on paper or non-laminated vinyl, apply a clear self-adhesive laminate sheet. Carefully align and smooth it over the printed label to avoid air bubbles. Then, trim any excess laminate.
- Sealant Spray: For paper labels without lamination, a few light coats of a clear acrylic sealant spray can add a layer of protection. Allow each coat to dry completely.
Step 7: Apply Labels to Your Jars
This is the final, satisfying step!
- Clean the Jar Surface: Make sure the glass jar is clean, dry, and free of dust or oils. A quick wipe with rubbing alcohol can help ensure excellent adhesion.
- Peel and Stick: Carefully peel the label from its backing. For larger labels, you might want to start applying from one edge or the center and smooth outwards to minimize air bubbles.
- Align and Press: Position the label where you want it on the jar and press down firmly, smoothing from the center outwards.
- Smooth Out Bubbles: If you encounter small air bubbles, you can often gently push them towards the edge of the label with your finger or a soft cloth. For persistent bubbles, you might need to lift and reapply, or gently prick the bubble with a fine needle and smooth it down.
Tips for Achieving a Consistent Hotel Aesthetic
Achieving that seamless hotel look is all about attention to detail. Here are some expert tips to elevate your ordinary jars into sophisticated bathroom accessories.
Uniformity is Key
The most striking feature of hotel organization is its visual consistency. This applies to your bathroom labels in several ways:
- Same Font, Same Size: Use the exact same font and font size for all your primary labels.
- Consistent Label Shape and Size: Unless you have a specific reason (like a very tall or very short jar), aim for all your labels to be the same shape and general size.
- Matching Jar Types: If possible, use jars that are similar in style and material for a cohesive look. Clear glass jars are a popular choice.
Placement Matters
Where you place the label on the jar affects the overall presentation.
- Centering: Center the label on the front of the jar. Find the middle point vertically and horizontally for a balanced look.
- Straight Application: Ensure the label is applied perfectly straight. If it’s crooked, it will be much more noticeable and detract from the polished appearance.
- Consider the Jar’s “Front”: If your jar has a seam or a particular side that looks best facing forward, ensure your label is placed on that side.
Less is More
Hotel design often embraces minimalism. Avoid overcrowding your labels with too much text, excessive graphics, or too many colors. A simple, clean design is often the most impactful.
Consider Label Material and Finish
The material you choose directly influences the perceived quality:
- Matte Finishes: Often look more sophisticated and less prone to glare than glossy finishes.
- Clear Labels: Can create a very modern, high-end feel.
- Subtle Metallic Accents: If using metallic colors (like gold or silver), keep them understated. Often, just the text in metallic is enough.
For resources on maintaining a clean and organized bathroom space, the U.S. Environmental Protection Agency offers general tips on waste reduction and recycling that can inspire organized living.
Types of Jars Perfect for Labeling
Almost any jar can be transformed with the right label, but some types lend themselves particularly well to creating that hotel-quality aesthetic.
Glass Jars
Clear glass jars are the quintessential choice for a reason. They look clean, allow you to see the contents (which can be aesthetically pleasing if items are uniform, like white cotton balls), and offer a smooth surface for labels.
- Mason Jars: Classic and versatile, come in various sizes.
- Apothecary Jars: With lids, these add an instant touch of vintage luxury.
- Specialty Glass Containers: Smooth-sided jars from cosmetic brands or food items, once cleaned, can be repurposed.
Container Materials and Suitability for Labels
While glass is popular, other materials can also work, though label adhesion and appearance might vary.
| Jar Material | Label Suitability | Tips for Best Results |
|---|---|---|
| Clear Glass | Excellent | Ensure surface is clean and dry. Smooth application is key. |
| Frosted Glass | Good | Surface might be slightly less smooth, but labels adhere well. |
| Ceramic (Glazed) | Good | Smooth glazed surfaces work best. Avoid matte or unglazed ceramics. |
| Plastic (Smooth) | Fair to Good | Adhesion can vary greatly by plastic type. Test on an inconspicuous area first. Avoid heavily textured plastics. |
| Metal | Good | Ensure the metal is clean and smooth. Paint or finish might affect adhesion. |
When repurposing jars, ensure they are thoroughly cleaned and dried. For food jars, remove any sticky residue from old labels. Rubbing alcohol is excellent for this.
Maintaining Your Beautiful Bathroom Labels
Once your stunning labels are in place, a little care will ensure they stay looking pristine for a long time.
- Gentle Cleaning: When cleaning your jars or bathroom surfaces, use a soft, damp cloth. Avoid harsh scrubbing directly on the label, especially if you’re not using waterproof materials.
- Avoid Prolonged Submersion: While many labels are water-resistant, letting jars sit in standing water can eventually compromise the adhesive or material.
- Humidity Management: Good bathroom ventilation helps reduce excess humidity, which is beneficial for both.
