
Mastering bathroom organization is simple with decorative and functional jar labels! This guide offers brilliant bathroom labels for jars ideas, showing you how to create custom labels that enhance your space while keeping everything tidy and easy to find. Get ready to transform your countertops and drawers into organized, stylish havens for all your essentials.
Tired of rummaging through drawers or scanning cluttered countertops for that one specific item? You’re not alone! Keeping bathrooms organized can feel like a constant battle against tiny bottles and overflowing shelves. But what if there was a simple, beautiful way to bring order? Imagine opening a drawer and instantly finding exactly what you need, all thanks to a neat label on a jar. It’s not just about tidiness; it’s about creating a calm, functional space where everything has its place. This guide will walk you through easy, creative ideas for bathroom labels for jars. We’ll explore how to make your storage both practical and pretty, making your bathroom a more enjoyable place to be. Get ready to reclaim your space and add a touch of personal style!
Why Labels Are a Bathroom Game-Changer
When it comes to bathroom organization, jars are fantastic storage companions. They’re versatile, easy to clean, and can hold a surprising amount of everyday items. However, without labels, they can quickly become a jumble of identical glass containers. This is where the magic of bathroom labels for jars comes in. They transform a collection of jars into a clear, navigable system.
Think about it: you’re in a rush in the morning. You need cotton swabs. If they’re in a clearly labeled jar, you grab it and go. If they’re mixed with cotton balls and other small items in an unlabeled jar, you’re left searching and potentially making a mess. Labels save time, reduce stress, and make your bathroom look effortlessly organized. They’re especially handy for shared bathrooms, ensuring everyone knows what’s in each container. Plus, the right labels can add a decorative touch, making your bathroom feel more personal and polished.
Getting Started: What You’ll Need
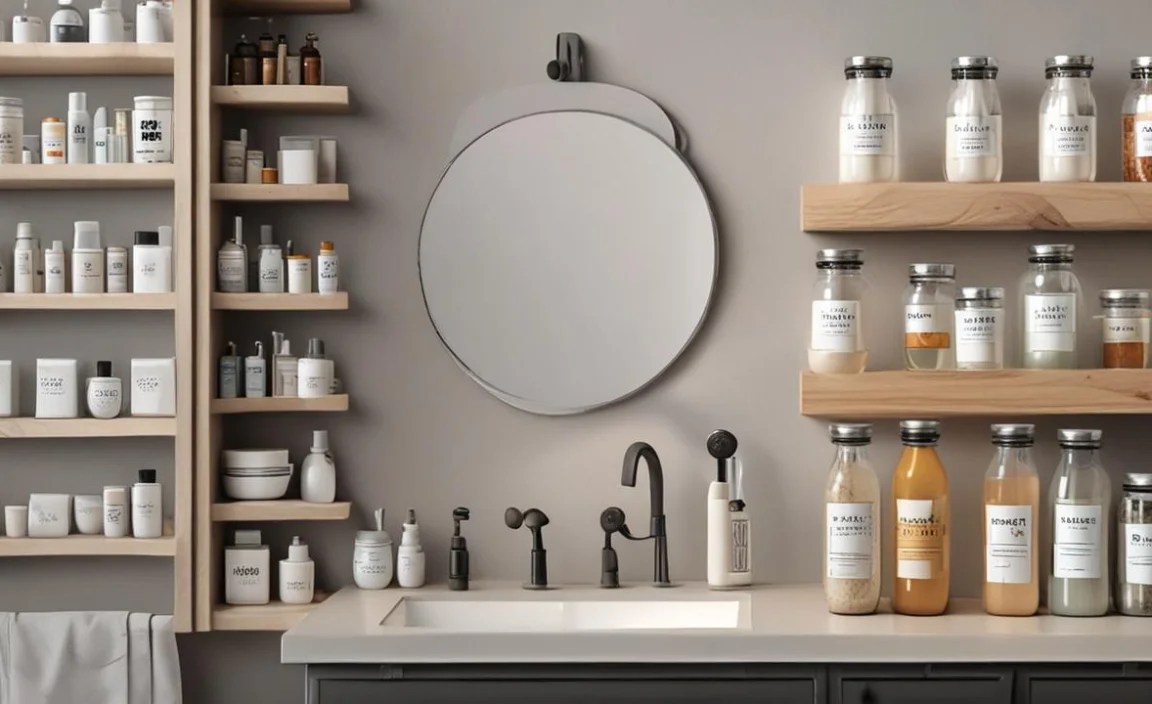
Before diving into the creative side of bathroom labels for jars, let’s gather our supplies. You don’t need a lot, and many items you might already have. Here’s a quick rundown of essentials:
- Jars: Any clean glass or plastic jars work! Mason jars, old jam jars, or even dedicated countertop storage jars are perfect.
- Labeling Materials: This is where you can get creative. Options include:
- Sticker paper (printable or plain)
- Cardstock or heavy paper
- Chalkboard labels or paint
- Washi tape
- Stamps and ink pads
- Paint pens or permanent markers
- Cutting Tools: Scissors, a craft knife, or a label maker.
- Adhesive: Glue stick, double-sided tape, or the adhesive already on stickers.
- Printer (Optional): If you plan to print custom designs.
- Cutting Machine (Optional): For intricate designs if you have a Cricut or similar.
Creative Bathroom Labels for Jars Ideas
Now for the fun part! Let’s explore some brilliant ways to label your bathroom jars. We’ll cover different styles to suit your taste and the items you’re storing.
1. Classic & Clean: Printable Labels
For a uniform and polished look, printable labels are a fantastic choice. You can design them yourself or find templates online.
How-to:
- Design: Use graphic design software (like Canva, which has free templates) or word processing software to create your label text and design. Keep it simple: “Cotton Swabs,” “Bath Salts,” “Hair Ties.”
- Print: Print your designs onto sticker paper or regular paper. If using regular paper, you’ll need a glue stick or double-sided tape to attach them. Ensure your printer settings are correct for the paper type. For durable results, consider using waterproof sticker paper.
- Cut: Carefully cut out each label. If you’re using sticker paper, just peel and stick. If not, apply your adhesive evenly to the back of the label and press it firmly onto the clean, dry jar.
Pro-Tip: For a more cohesive look, print all your labels on the same style of paper or in a consistent font family. This creates a unified aesthetic across all your jars.
2. Rustic Charm: Chalkboard Labels
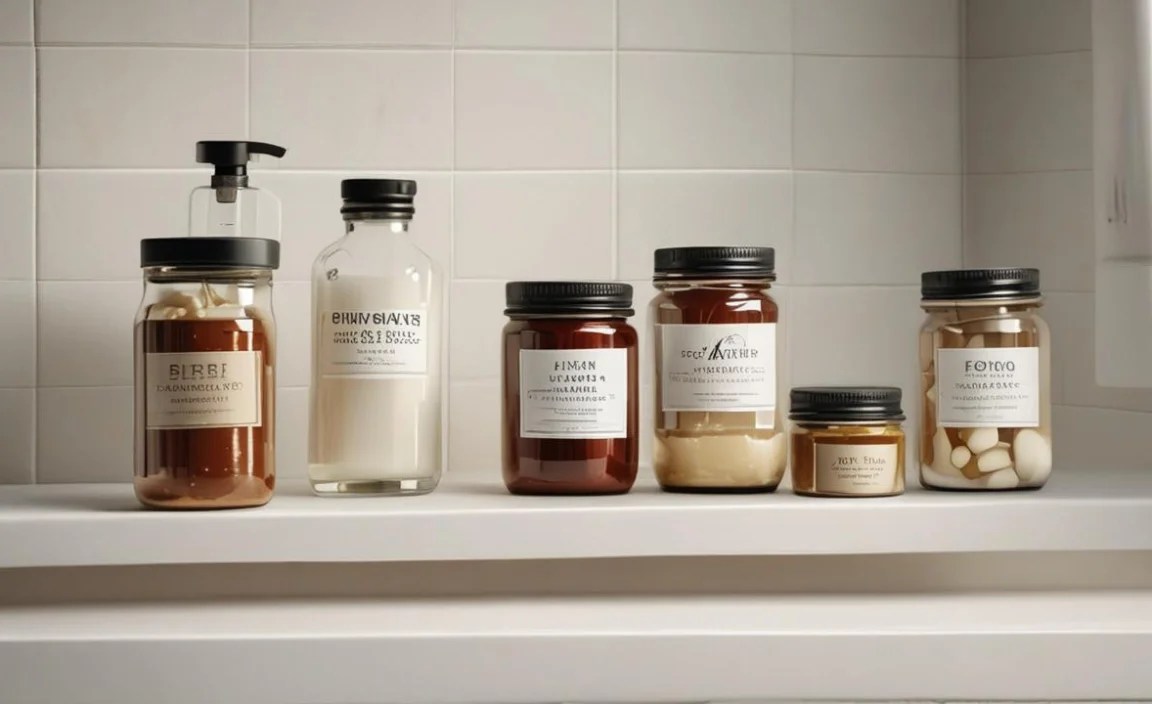
Chalkboard labels add a touch of rustic or farmhouse style and are super practical because you can easily change what’s written on them. This is ideal for items you use seasonally or whose contents might vary.
How-to:
- Prepare Jars: You can buy pre-made chalkboard labels that stick onto jars, or you can create your own. If making your own, clean your jars thoroughly and paint them with chalkboard paint, letting each coat dry completely before applying the next.
- Write: Once the paint is fully cured (check the paint can for drying times, often 24-48 hours), use chalk pens or regular chalk to write your labels. Chalk pens offer a crisp, clean line and are less messy than regular chalk.
- Attach (if applicable): If using adhesive chalkboard labels, simply stick them onto your jars.
Tip: Before writing your final label, “season” the chalkboard surface by rubbing it all over with chalk and then wiping it clean. This prevents your first writing from becoming permanently etched into the paint.
3. Trendy & Crafty: Washi Tape
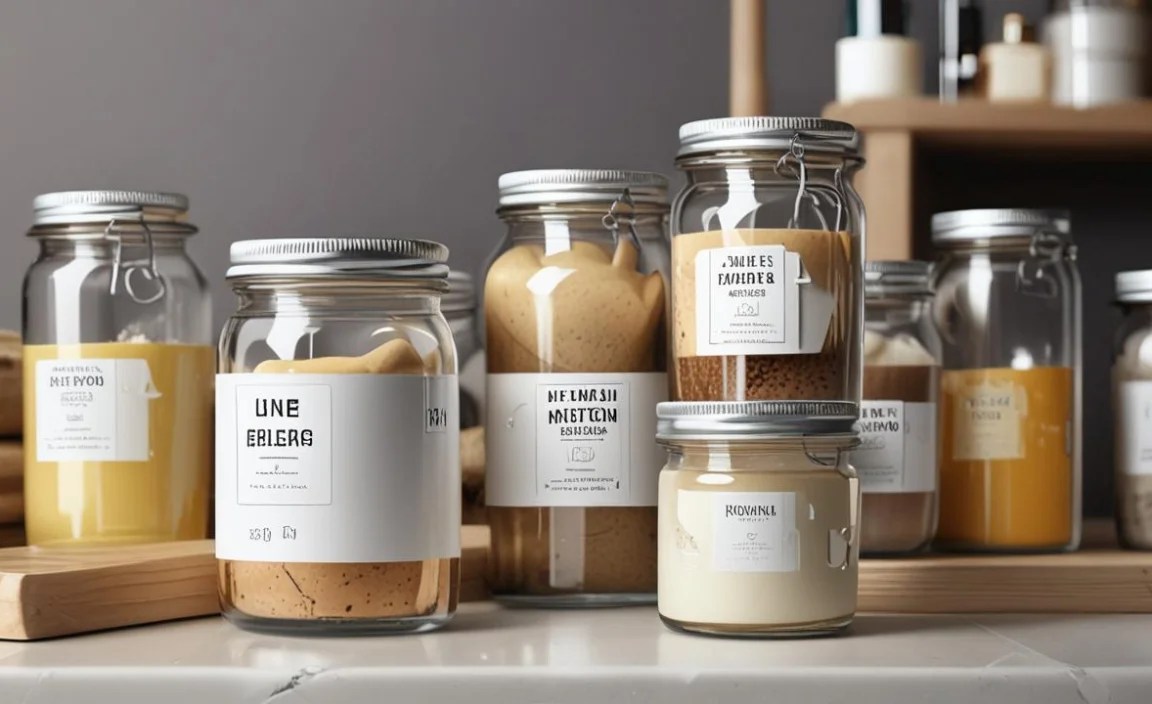
Washi tape comes in an endless variety of patterns and colors, making it a fun and easy way to personalize your jars. It’s also removable, which is a bonus!
How-to:
- Clean Jars: Make sure your jars are clean and dry.
- Apply Tape: Wrap a strip or two of washi tape around the jar. You can wrap it horizontally, vertically, or create a border.
- Add Text: Write directly onto the washi tape with a permanent marker. Alternatively, you can cut small pieces of cardstock, write your labels on them, and then attach the cardstock to the jar using a bit of washi tape.
Style Note: Mix and match patterns for a playful look, or stick to a single color palette for a more sophisticated feel.
4. Modern & Minimalist: Paint Pens
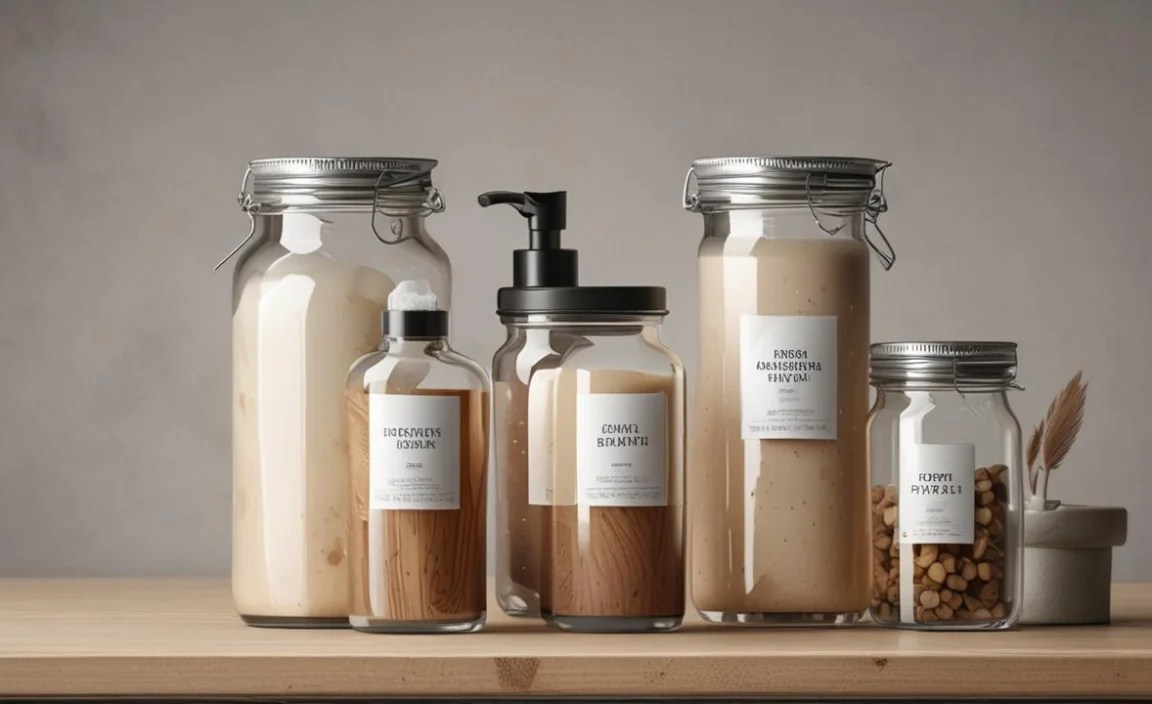
For a clean, modern aesthetic, paint pens are perfect. They offer precision and a vibrant finish that looks intentional and stylish.
How-to:
- Choose Pens: Select paint pens in a color that contrasts well with your jar material (e.g., white or gold on dark glass, black on clear glass).
- Clean Jars: Ensure your jars are spotless and completely dry.
- Write Directly: Carefully write your label directly onto the glass. Take your time for neat lettering.
- Seal (Optional): For extra durability, especially if jars will be handled frequently or washed often, you can seal the writing with a clear sealant spray designed for glass. Ensure good ventilation when using sprays.
5. Vintage Vibes: Stamped Labels

Love a vintage or apothecary look? Stamps are your best friend! You can get letter stamps and ink pads to create custom labels.
How-to:
- Prepare Labels: You can stamp directly onto the jar (this can be tricky to get neat), or stamp onto small tags, strips of cardstock, or even craft paper.
- Stamp: Arrange your letter stamps to spell out the item name and press them firmly into an ink pad. Then, stamp onto your chosen material. You can “distress” the paper slightly by crumpling it and flattening it out before stamping for an aged look.
- Attach: Affix your stamped labels to the jars using glue, double-sided tape, or by tying them on with twine or ribbon.
6. Functional First: Label Maker Labels
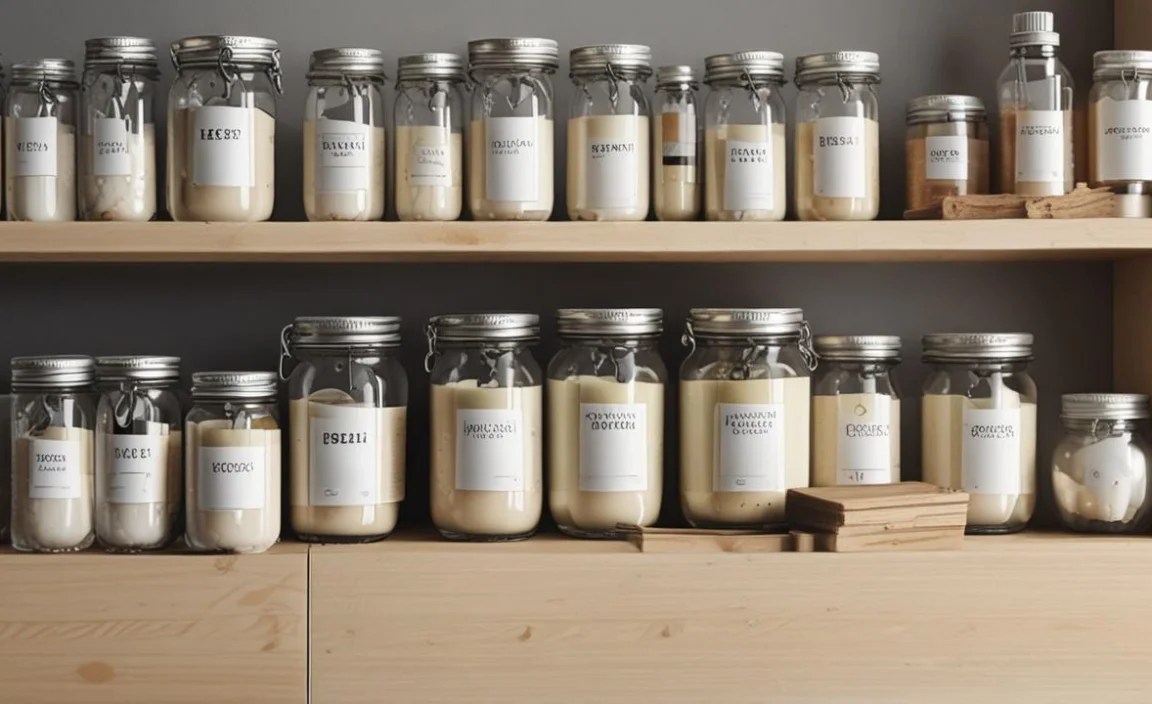
If practicality reigns supreme, a label maker is your go-to. It’s fast, efficient, and produces clear, consistently sized labels.
How-to:
- Type Text: Type the name of the item into your label maker.
- Print: Print the label. Many label makers offer different font styles and sizes.
- Apply: Peel the backing off the label and apply it smoothly to the jar. Many label maker tapes are water-resistant and durable, making them suitable for bathroom conditions.
Tip: Choose label tape colors that complement your bathroom decor. Black text on white tape is classic, but colored tapes can add a subtle pop.
Beyond the Text: Decorative Touches
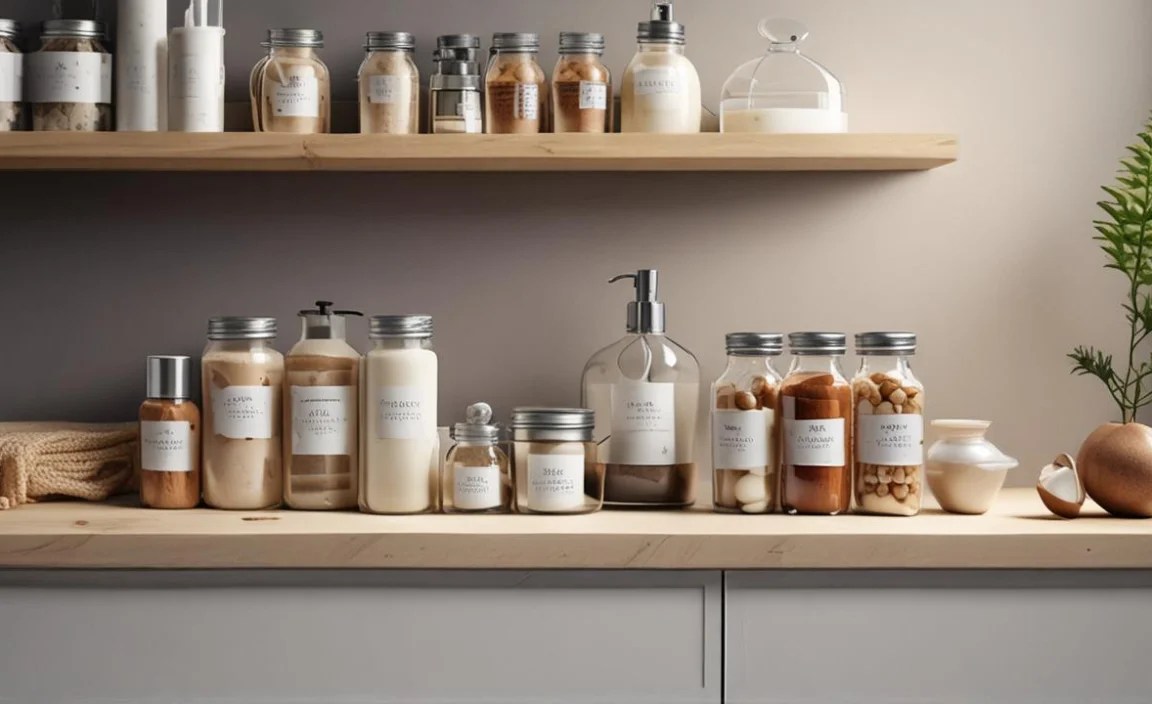
Don’t stop at just the words! Adding a few decorative elements can elevate your bathroom jar labels from functional to fabulous.
- Borders: Use washi tape, thin strips of paint, or decorative ribbon to create a border around your primary label.
- Icons: Add small icons related to the contents. For example, a tiny soap icon for a soap dispenser jar or a cotton ball illustration for cotton swabs.
- Materials: Glue on small embellishments like tiny shells, beads, or dried flowers (sealed well) for a unique accent.
- Hanging Tags: For a tiered look or if you prefer not to stick directly onto the jar, tie a small tag with a ribbon or twine to the neck of the jar.
What to Label in Bathroom Jars

The possibilities are endless, but here are some common bathroom items that are perfect for storing in labeled jars:
| Item Category | Specific Items | Jar Label Ideas |
|---|---|---|
| Personal Care | Cotton swabs, cotton balls, makeup remover pads, hair ties, bobby pins, dental floss, Q-tips | “Swabs,” “Puffs,” “Pads,” “Ties,” “Pins,” “Floss,” “Tips” |
| Soaps & Cleansers | Bar soap (in a dry jar), bath salts, Epsom salts, bubble bath, cleansing grains | “Bath” “Salts,” “Calm,” “Soak,” “Grains” |
| First Aid & Health | Band-aids, antiseptic wipes, cotton pads, medication (if kept safely and clearly labeled per instructions) | “Boo Boos,” “Wipes,” “Pads,” “Meds” |
| Beauty & Cosmetics | Loose powders, small brushes (stored bristles up), makeup sponges, travel-sized toiletries | “Powder,” “Brushes,” “Sponges,” “Travel Size” |
| Organization Hub | Small tools for grooming, like tweezers, nail clippers, cuticle pushers | “Tools,” “Grooming,” “Essentials” |
Considerations Before Labeling
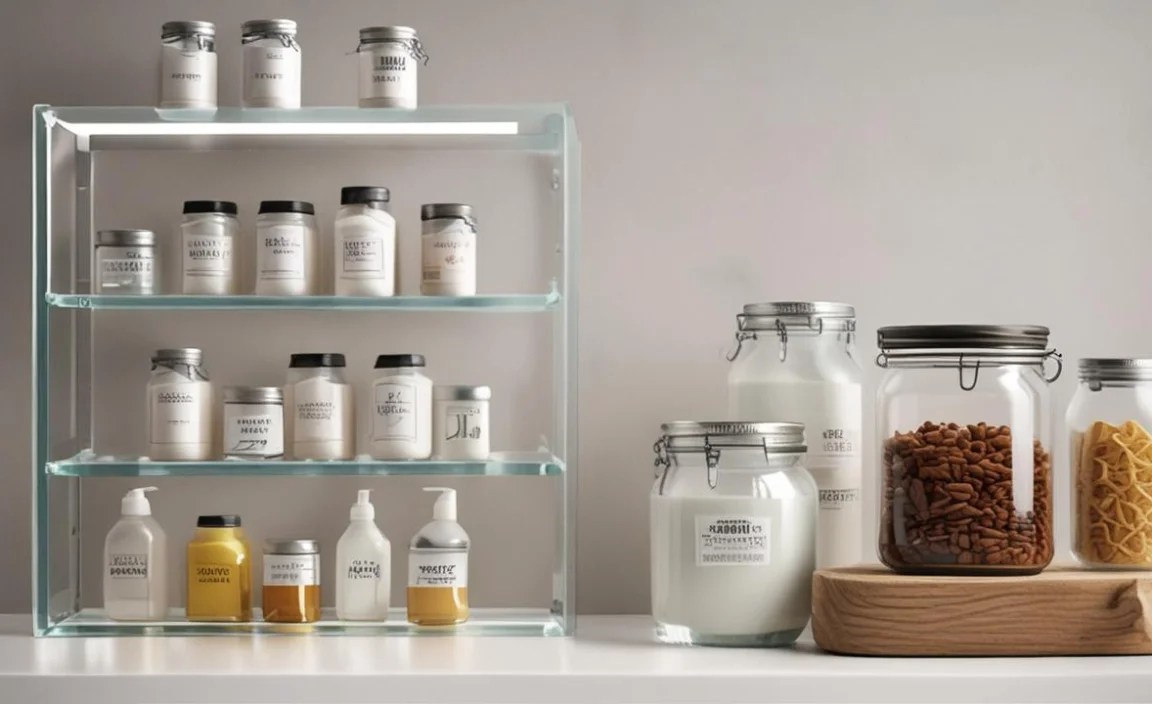
Before you start sticking, drawing, or stamping, a few things are worth considering to ensure your labels are effective and practical for the bathroom environment.
- Moisture Resistance: Bathrooms are humid. Labels made from plain paper might peel or ink might run. Opt for sticker paper, laminated paper, or use a sealant spray for added protection. Consider waterproof options if jars might get splashed.
- Durability: Jars might get moved around or handled frequently. Choose labeling methods and adhesives that can withstand regular use. Paint pens and well-adhered printed labels are usually quite durable.
- Readability: The primary goal is to easily identify contents. Ensure your font is clear and large enough to read at a glance. High contrast between the label color and text color also helps.
- Cleaning: How will you clean the jars? If you plan to wash them frequently, ensure your labels can handle it. Some labels might not survive dishwashers or rough scrubbing.
- Aesthetics: While function is key, don’t forget form! Choose label styles and colors that complement your bathroom’s decor. This is where personal preference truly shines.
Bathroom Labels for Jars: DIY vs. Store-Bought
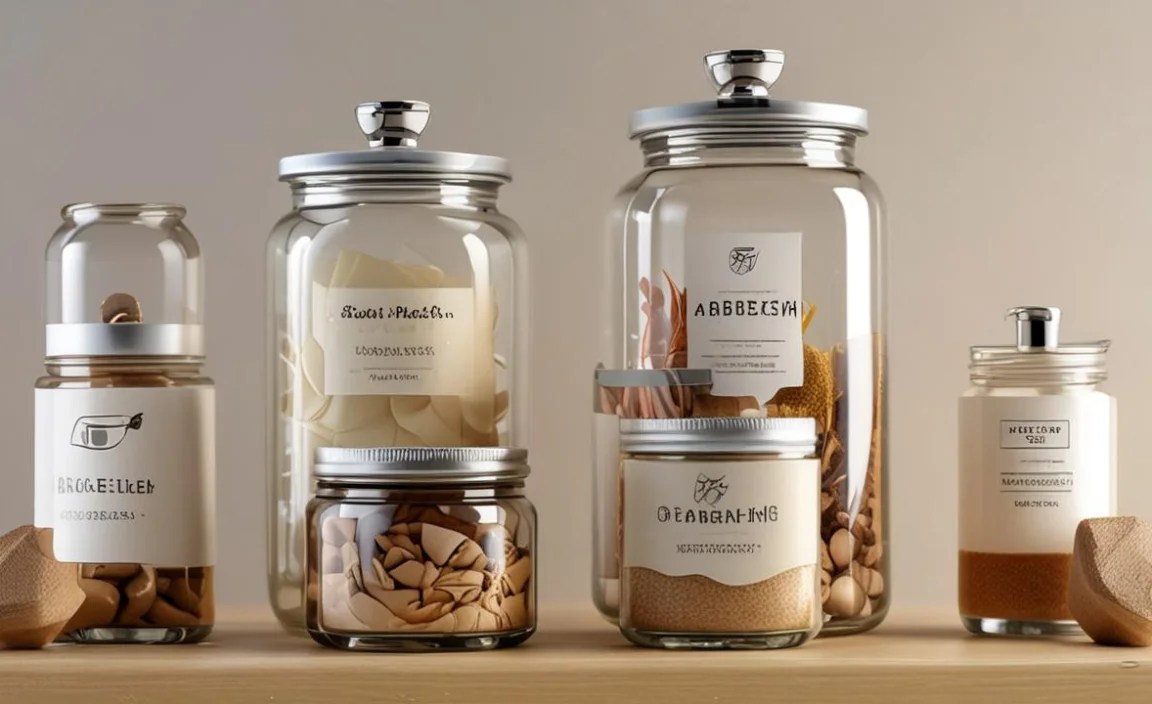
Thinking about how you’ll acquire your labels? Both DIY and store-bought options have their pros and cons. Understanding these can help you choose the best route for your needs and budget.
| Method | Pros | Cons |
|---|---|---|
| DIY (Printable, Handmade) | Highly customizable (design, size, color). Can be very cost-effective, especially if using existing materials. Offers a unique, personal touch. Satisfaction of a handmade project. | Can be time-consuming. May require specific tools or software. Durability can vary depending on materials and skill. Consistency can be a challenge for complex designs. |
| Store-Bought (Stickers, Label Makers) | Convenient and quick. Often very durable and water-resistant. Consistent and professional appearance. Wide variety of styles and fonts available. | Less customizable; you’re limited by what’s offered. Can be more expensive, especially for premium label maker tapes or pre-designed sticker sheets. May lack a personal, handmade feel. |
For many, a hybrid approach works best. You might use a label maker for everyday items and create custom, decorative labels for display jars. The key is to find a system that’s both practical and pleasing to you.
Making Your Bathroom an Oasis of Calm

Beyond just labeling, consider the overall organization of your bathroom. Jars are a great start, but how do you arrange them? Here are some tips to create a truly organized and serene space:
- Group Like Items: Keep all your cotton products together, all your bath additives together, all your hair accessories together. This reduces visual clutter and makes finding things intuitive.
- Vertical Space: Use tiered trays or shelves to maximize vertical space on countertops or inside cabinets. Jars are perfect for these arrangements.
- Drawer Dividers: For items that need to be tucked away, use drawer dividers. Small jars can fit neatly within these dividers, keeping everything contained.
- Accessibility: Place frequently used items in easily accessible jars on your countertop or the top shelf of cabinets. Less frequently used items can go higher or lower.
- Declutter Regularly: Even with labels, the bathroom can get cluttered. Take a few minutes each week to put things back, discard old items, and ensure your system is still working for you.
Frequently Asked Questions About Bathroom Jar Labels
Q1: Can I reuse bathroom jar labels?
A1: It depends on the type of label. Removable stickers, washi tape, or chalk labels are often reusable or easy to replace. Permanent marker or painted labels on glass are generally permanent unless removed with a solvent. If you need to change them frequently, opt for erasable or removable solutions.
Q2: How do I ensure my labels don’t get ruined by humidity?
A2: Use waterproof or water-resistant sticker paper. If printing on regular paper, consider laminating the labels or sealing them with a clear, waterproof spray. Paint pen labels, especially if sealed, tend to hold up well. For a beautiful resource on protecting your home from moisture, consult the EPA’s guidance on mold prevention, which highlights the importance of managing humidity.
Q3: What’s the best way to remove old jar labels?
A3: For paper labels, soak the jar in warm, soapy water. For stubborn adhesive residue, rubbing alcohol, a commercial adhesive remover like Goo Gone, or even cooking oil can work wonders. Test any removal method on an inconspicuous area first, if possible.
Q4: Can I label jars that I will be washing in the dishwasher?
A4: Labels from a standard label maker or printed on regular paper will likely not survive a dishwasher. For dishwasher-safe labels, look for specialized waterproof vinyl stickers designed for this purpose or consider using paint pens and sealing them thoroughly with a dishwasher-safe sealant. For best results, hand-washing labeled jars is often recommended.
Q5: What font styles are best for bathroom labels?
A5: Prioritize readability. Simple, clean sans-serif fonts (like Arial, Helvetica, or Calibri) are excellent choices. For a more decorative look, scripts can work if they are clear and not too ornate.
