
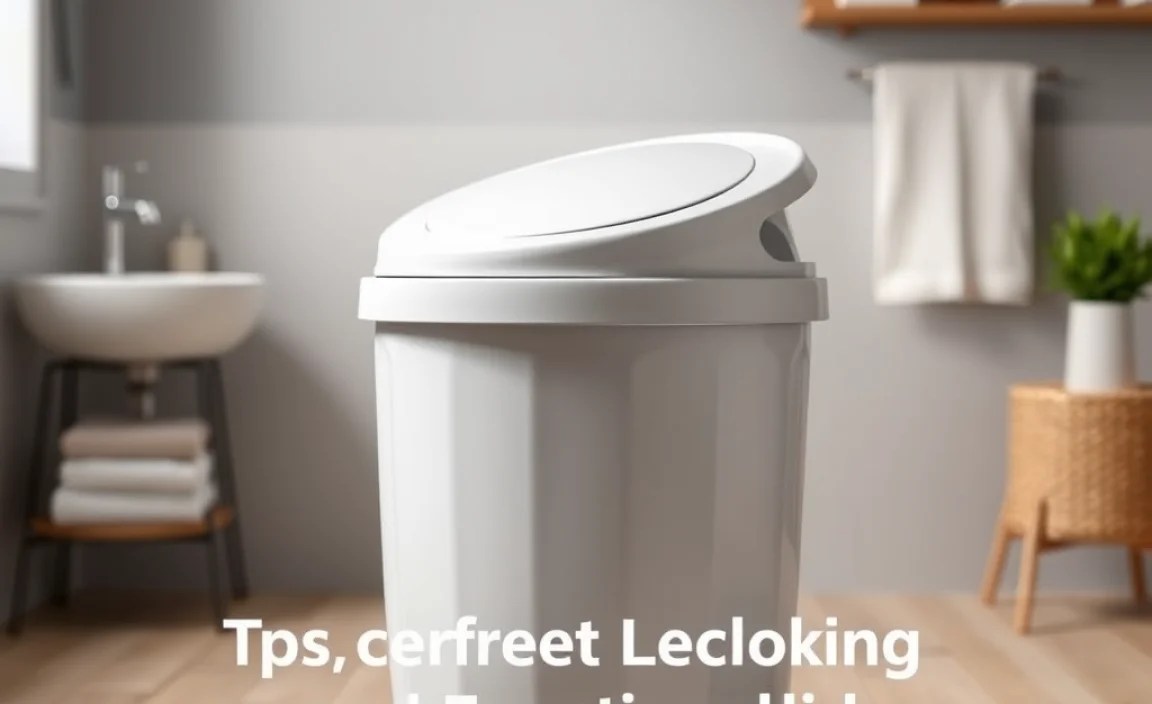
Want a bathroom trash can with a lid without buying a new one? This DIY guide shows you simple ways to add a lid to your existing can using common household items or inexpensive materials. It’s an easy and affordable solution to keep odors contained and your bathroom looking tidier.
Is your bathroom trash can missing a lid? It’s a surprisingly common issue that can lead to unpleasant odors escaping and a less-than-tidy appearance. You might think you need to run out and buy a new one, but what if there’s an easier, more budget-friendly way? I’m Bryan Lee, and I love finding smart, simple solutions for your home. This guide is all about transforming your current bathroom trash can into one with a lid, using methods that even a complete beginner can master. We’ll cover everything from quick fixes to more involved projects, ensuring you can find a solution that fits your style and your skills. Get ready to say goodbye to open bins!
Why Add a Lid to Your Bathroom Trash Can?

Adding a lid to your bathroom trash can isn’t just about aesthetics; it serves several practical purposes that can significantly improve your bathroom experience. From keeping smells contained to preventing your cat from investigating its contents, a lid offers a simple but effective upgrade.
Odor Control
Bathrooms can sometimes harbor less-than-pleasant smells. A trash can lid acts as a barrier, trapping odors inside the bin. This is especially helpful for disposing of things like cotton pads, tissues, or other items that can develop a scent over time. A sealed bin means a fresher-smelling bathroom, which is a win for everyone.
Hygiene and Cleanliness
An open trash can can be a haven for dust, hair, and other airborne particles. A lid helps to keep the contents of your bin cleaner and reduces the potential for spreading germs or bacteria. It also makes the bin look neater and tidier, contributing to an overall cleaner feel in your bathroom.
Pest Deterrence
While less common in a well-maintained bathroom, an open trash can can sometimes attract small insects. A lid provides a physical barrier, making it much harder for pests to access the bin’s contents. This is a simple preventive measure that can help keep your bathroom more hygienic.
Aesthetics and Privacy
Let’s face it, an open trash can isn’t always the most attractive feature in a bathroom. A lid can hide the unsightly contents, contributing to a more polished and organized look. Whether you’re expecting guests or just want a more serene space for yourself, a lid adds a touch of privacy and refinement.
Assessing Your Current Trash Can and Needs

Before diving into DIY projects, take a moment to look closely at your existing bathroom trash can. Understanding its material, shape, and size is key to choosing the best method for adding a lid. This initial assessment will save you time and effort down the line.
Material Matters
- Plastic Cans: These are the most common and versatile. They are easy to work with, whether you’re attaching something or modifying the can itself.
- Metal Cans: Metal bins can be a bit trickier to alter, but they offer durability. If you have a metal bin, consider options that don’t require drilling or cutting into the can itself.
- Wicker or Decorative Bins: These often have unique shapes. Solutions for these might involve custom fabrication or adapting existing lids.
Shape and Size
Is your trash can round, square, or rectangular? Does it have a wide opening or a narrower one? Knowing these dimensions will help you find or create a lid that fits snugly. Measure the diameter (for round cans) or the length and width (for square/rectangular cans) of the opening accurately.
Your Skill Level and Tools
Be honest about what you’re comfortable with. Are you happy to drill holes, use strong adhesives, or do you prefer methods that involve no cutting or permanent changes? We’ll offer options for various skill levels.
DIY Bathroom Trash Can With Lid: Effortless Secrets
Now for the fun part! Let’s explore some practical and beginner-friendly DIY methods to add a lid to your bathroom trash can. We’ll start with the simplest options and move to slightly more involved ones.
Method 1: The Quick Cover-Up (No Tools Needed!)
This is the easiest and fastest way to get a lid. It’s perfect if you need an immediate solution or prefer not to alter your existing bin.
What You’ll Need:
- A sturdy piece of cardboard or a thin plastic cutting board
- Scissors or a utility knife (if using cardboard)
- Measuring tape or ruler
- Optional: Decorative paper, contact paper, or spray paint
Step-by-Step:
- Measure the Opening: Accurately measure the diameter (for a round can) or the length and width (for a square/rectangular can) of your trash can’s opening. Add about half an inch to each measurement for overlap.
- Cut Your Lid Material:
- For Cardboard: Cut your cardboard to the measured size. Make sure it’s thick enough to hold its shape but not so thick that it’s unwieldy. If your cardboard is bent, you might weigh it down with books for a while to flatten it.
- For a Cutting Board: If you have an old, thin plastic cutting board that fits the approximate size, you can often cut it down with strong scissors or a utility knife. Be careful when cutting plastic.
- Decorate (Optional): Want your lid to match your bathroom decor? Cover the cardboard with decorative contact paper, wrapping paper, or even paint it with acrylic or spray paint. If you use spray paint, do this outdoors or in a well-ventilated area. Allow it to dry completely.
- Place the Lid: Simply rest your new lid on top of the trash can. It should sit securely due to the slight overlap.
Pros:
- Extremely easy and fast
- No tools or permanent changes required
- Very inexpensive
- Customizable to match decor
Cons:
- May not be perfectly airtight
- Cardboard can be damaged by moisture over time
- Might not be the most durable solution
Method 2: The Fabric Lid (Simple Stitching or No-Sew)
This method creates a softer, more decorative lid that can add a touch of fabric charm to your bathroom. You can either sew it or use no-sew fabric glue.
What You’ll Need:
- Fabric of your choice (enough to cover the top plus extra for seams/elastic)
- Measuring tape or ruler
- Strong fabric scissors
- For Sewing: Sewing machine and matching thread, or a hand-sewing needle
- For No-Sew: Fabric glue (like Fabri-Tac or Aleene’s Fabric Fusion)
- Elastic band (about ½ inch wide, cut to fit the circumference of your bin plus 1 inch for overlap)
- Safety pin
- Optional: Interfacing for a stiffer lid
Step-by-Step (Sewing Method):
- Measure and Cut Fabric: Measure the diameter (or length/width) of your trash can opening. Add 2 inches for seam allowance and 2-3 inches for the casing where the elastic will go. For example, if your opening is 10 inches in diameter, cut a circle that is 14 inches in diameter (10 + 2 + 2). If you’re using interfacing, cut it to the exact size of the opening (e.g., 10 inches diameter).
- Attach Interfacing (Optional): If using interfacing, iron it onto the wrong side of the main fabric circle according to the interfacing instructions. This gives the lid more structure.
- Create the Casing: Fold the outer edge of the fabric circle down by ½ inch (wrong sides together) and press. Then, fold it down again by 1 inch to create a channel for the elastic. Sew along the inner folded edge, leaving a 2-inch opening unsewn to thread the elastic through.
- Thread the Elastic: Attach a safety pin to one end of the elastic band. Thread the elastic through the casing you just created, using the safety pin to guide it.
- Secure Elastic and Close Opening: Once the elastic is all the way through, overlap the ends by about ½ inch and sew them securely together. Then, sew the 2-inch opening in the casing closed. Your fabric lid should now have an elastic edge that will cinch around the rim of the trash can.
Step-by-Step (No-Sew Method):
- Measure and Cut Fabric: Cut a fabric circle that is about 6 inches larger in diameter than your trash can opening (e.g., if opening is 10 inches, cut a 16-inch circle). This extra fabric allows for the gathered edge and the glue.
- Prepare the Edge: Apply a generous line of fabric glue about 1.5 inches in from the raw edge of the fabric circle.
- Create the Gathered Edge: Carefully fold the edge over onto itself to create a channel for the elastic. Press firmly where you’ve applied the glue. Let it set according to the glue manufacturer’s instructions.
- Thread the Elastic: Use a safety pin to thread your elastic band through the fabric channel. Ensure it’s snug but can still expand.
- Secure Elastic and Connect Ends: Once the elastic is threaded, tie or sew the ends together securely. Then, carefully pull the fabric taut around the elastic and use more fabric glue to seal any open edges and ensure the channel is closed. Let it cure completely.
Pros:
- Adds a decorative, soft touch
- Can be easily removed for washing
- Customizable with numerous fabric options
- Relatively simple to make
Cons:
- Might not be completely odor-proof
- Fabric can stain or retain moisture
- Needs to fit snugly to be effective
Method 3: The Wooden Lid (Slightly More Advanced)
This method creates a more robust and stylish lid, often resembling a store-bought version. It requires some basic woodworking skills and tools.
What You’ll Need:
- A thin piece of plywood or a pre-made wooden circle/square (available at craft stores)
- Measuring tape or ruler
- Jigsaw or hand saw (if you need to cut the wood to size)
- Sandpaper (medium and fine grit)
- Wood glue
- Wood screws (short enough not to go through the lid)
- Drill and drill bits
- Optional: Wood finish (stain, paint, sealant)
- Optional: Small knob or handle
Step-by-Step:
- Measure and Cut the Wood: Measure your trash can opening. Cut your plywood to create a circle or square that is about 1-2 inches larger in diameter than the opening. If you purchased a pre-made shape, ensure it’s the right size or can be trimmed.
- Sand the Edges: Use medium-grit sandpaper to smooth the cut edges, then finish with fine-grit sandpaper for a smooth feel. This prevents splinters and creates a professional look.
- Add Support (Optional but Recommended): For larger lids or for added strength, you can attach a thin strip of wood (like a ½ inch by ¼ inch strip or even a paint stir stick) around the underside rim of the lid, inset about ½ inch from the edge. This lip will rest inside the trash can opening, preventing the lid from sliding off. Attach this strip with wood glue and small screws. Ensure screws are short enough not to penetrate the top surface.
- Attach a Handle (Optional): If you want a handle, drill a pilot hole in the center of the lid and attach a knob or handle using a screw from the underside.
- Finish the Wood: Apply your chosen wood finish – stain, paint, or a clear sealant. This protects the wood and makes it resistant to bathroom moisture. Apply multiple thin coats, allowing each to dry thoroughly. For bathrooms, a water-based polyurethane sealant offers good protection. For more on wood finishing, consult resources like Family Handyman’s guide to applying wood stain.
- Place the Lid: Once dry, place your new wooden lid on top of the trash can. The internal lip (if you added one) will help keep it stable.
Pros:
- Durable and long-lasting
- Adds a premium, natural look
- Can provide a good seal
- Customizable with handles and finishes
Cons:
- Requires tools and some woodworking experience
- More time-consuming than other methods
- Wood can warp or degrade if not properly sealed against moisture
Method 4: Repurposing an Existing Item
Sometimes, the best DIY solution involves repurposing something you already have or can find easily.
What You’ll Need:
This depends on what you find! Ideas include:
- A plastic container lid (e.g., from a large food storage container)
- A shallow plastic tub or tray
- A sturdy decorative plate or platter (if the bin is for lighter use)
- Measuring tape
- Scissors, utility knife, or saw (depending on material)
- Adhesive or mounting supplies (strong double-sided tape, Velcro, etc.)
Step-by-Step:
- Identify a Potential Lid: Look around your home or at thrift stores for items that are roughly the same size and shape as your trash can opening. A plastic container lid from a large ice cream tub, a storage bin, or even a sturdy plastic produce tray could work.
- Measure and Test Fit: Measure your trash can opening carefully. Compare this to the item you’ve found. Does it fit over the opening? Does it sit snugly?
- Trim to Fit: If the item is too large, carefully trim it down using appropriate tools for the material. For plastic, a utility knife or jigsaw is often effective. Always wear safety glasses and cut on a protected surface.
- Improve Stability (Optional): If the lid slides around too much, consider adding some stabilizing elements.
- Velcro: Attach one side of strong Velcro tape to the inside rim of the lid and the other side to the outside rim of the trash can.
- Weather Stripping: Apply self-adhesive foam weather stripping around the inside edge of the lid for a tighter, more secure fit.
- Rubber Feet: Attach small rubber feet to the underside of the lid to prevent it from sliding.
- Decorate (Optional): Just like with the cardboard lid, you can paint or cover repurposed lids to better match your bathroom’s style.
Pros:
- Eco-friendly – repurposes existing items
- Can be very quick and inexpensive
- Wide variety of potential solutions
Cons:
- Finding the right item can take time
- May require modifications for a good fit
- Aesthetics might be eclectic
Tips for a Great-Looking and Functional Lid
No matter which DIY method you choose, a few extra touches can elevate your new lid from a simple cover to a stylish accessory.
Matching Your Decor
Consider the color scheme and materials in your bathroom. A plain plastic lid can be transformed with spray paint designed for plastic, while a cardboard or wood lid can be covered in wallpaper, contact paper, or painted to match tiles or cabinetry.
Adding a Handle
A small knob, a decorative pull, or even a piece of sturdy rope can make lifting the lid easier and add a decorative element. Ensure any handle is securely attached.
Ensuring a Good Fit
A lid that fits snugly will be more effective at containing odors and will look much tidier. If your lid is a bit loose, consider adding a layer of foam weather stripping around the inside rim. For more permanent bins, you might even consider small, discreet hinges to attach the lid to the bin itself (this is a more advanced project).
Ease of Cleaning
Choose materials that are easy to wipe down. If using fabric, consider a material that can be easily removed and washed to keep it hygienic.
Choosing the Right Method for You
When deciding which DIY approach to take, consider the following factors:
| Factor | Cardboard/Quick Cover | Fabric Lid | Wooden Lid | Repurposed Item |
|---|---|---|---|---|
| Ease of Creation | Very Easy |
