
Bathtub details in construction are crucial for a leak-free, functional, and beautiful bathroom. Understanding proper installation, materials, and plumbing connections ensures your new tub lasts for years without issues. This guide breaks down everything a beginner needs to know for a confident DIY approach or informed homeowner decision.
Bathtub Details in Construction: Your Essential Beginner’s Guide
Thinking about a bathroom renovation or a new home build? The bathtub might seem like a simple fixture, but the details in its construction are super important. Getting them right means a beautiful, leak-free tub for years. Getting them wrong? Well, that can lead to headaches and costly repairs down the line. Don’t worry, we’ll walk through all the essential bathtub details in construction, making it easy to understand. You’ll feel confident whether you’re tackling this yourself or just want to know what to look for.
We’ll cover everything from choosing the right type of tub and preparing the space to the nitty-gritty of plumbing and sealing. By the end of this guide, you’ll know exactly what makes a bathtub installation successful and why each step matters. Ready to dive in?
Why Bathtub Details Matter in Construction

Bathtub construction details aren’t just about aesthetics; they’re about function and longevity. A poorly constructed bathtub area can lead to several problems:
- Water Damage: Leaks behind walls or under floors can cause rot, mold, and structural damage. This is by far the biggest concern.
- Poor Drainage: If not installed correctly, your tub might not drain efficiently, leaving standing water and potential plumbing issues.
- Instability: A tub that isn’t properly supported can feel wobbly and unsafe, compromising its durability.
- Aesthetic Flaws: Gaps around the tub, uneven tile work, or improperly finished edges detract from the bathroom’s overall look.
- Difficult Maintenance: Improperly sealed or installed tubs can be hard to clean and maintain.
Understanding these details helps you either perform a better DIY installation or ensure your contractor is following best practices. It’s about building a solid foundation for a relaxing and reliable bathing experience.
Types of Bathtubs and Their Construction Considerations

Before we get into installation specifics, let’s look at the common bathtub materials. Each has different requirements during construction and installation.
Acrylic Tubs

Acrylic tubs are lightweight, versatile, and relatively inexpensive. They are formed from heated acrylic sheets molded into shape. Their construction often involves a reinforcing layer of fiberglass or resin.
- Construction Notes: They are generally easy to install due to their light weight. However, they require good support underneath to prevent flexing.
- Key Details: Ensure the subfloor is level and strong. Adhering to the manufacturer’s instructions regarding support structures (like mortar beds or wooden frames) is vital.
Cast Iron Tubs

These are classic, durable tubs made by pouring molten iron into a mold and coating it with a porcelain enamel finish. They are extremely heavy and built to last.
- Construction Notes: Due to their weight, the floor structure must be robust enough to support them. Installation requires more people and careful handling.
- Key Details: Reinforcing the subfloor may be necessary. Proper sealing around the edges is critical, as the heavy weight can sometimes stress connections if not perfectly fitted.
Steel Enamel Tubs
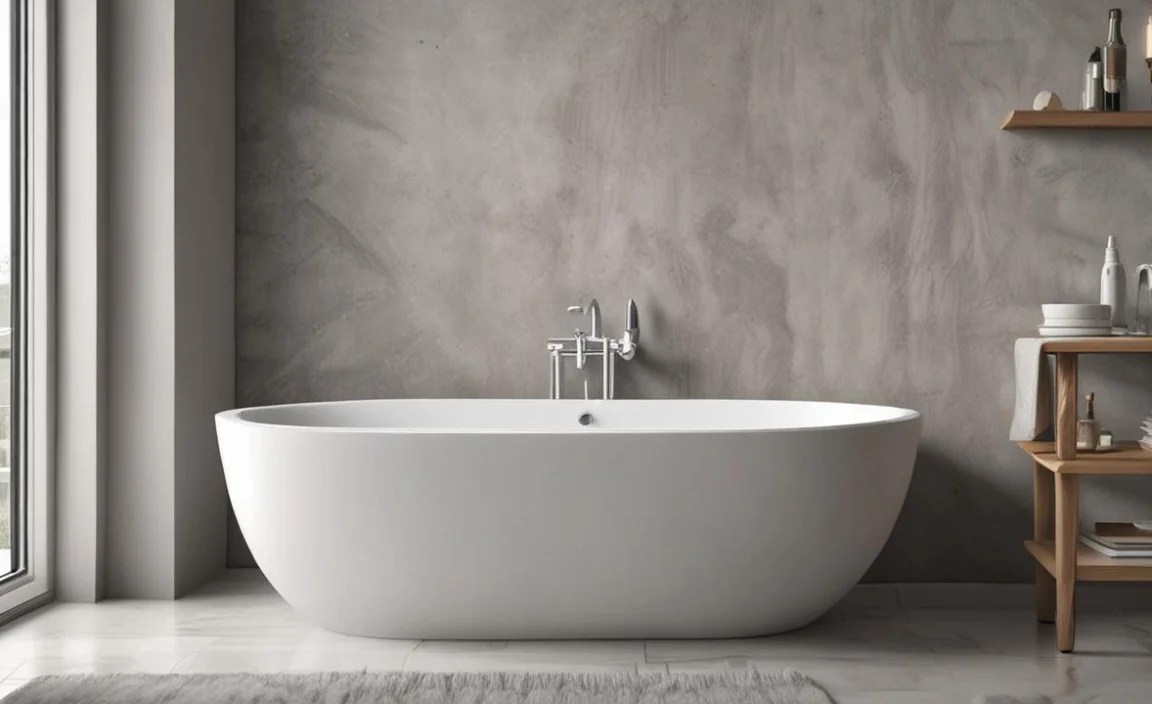
Similar to cast iron but lighter, steel enamel tubs are made from stamped steel coated with porcelain enamel. They are more affordable than cast iron but can chip more easily.
- Construction Notes: Lighter than cast iron, making them easier to maneuver.
- Key Details: Support is still important. The main concern is the enamel’s durability; avoid dropping heavy objects into them. Installation is similar to acrylic in terms of general support needs.
Solid Surface Tubs

Made from materials like cultured marble, stone resin, or solid acrylic, these tubs offer a seamless look and feel. They can mimic the appearance of natural stone but are often more durable and easier to maintain.
- Construction Notes: These tubs can be heavy, similar to cast iron, depending on the specific material.
- Key Details: Robust floor support is a must. Sealing is often minimal due to the seamless nature of the material, but perfect leveling is paramount.
Fiberglass Tubs
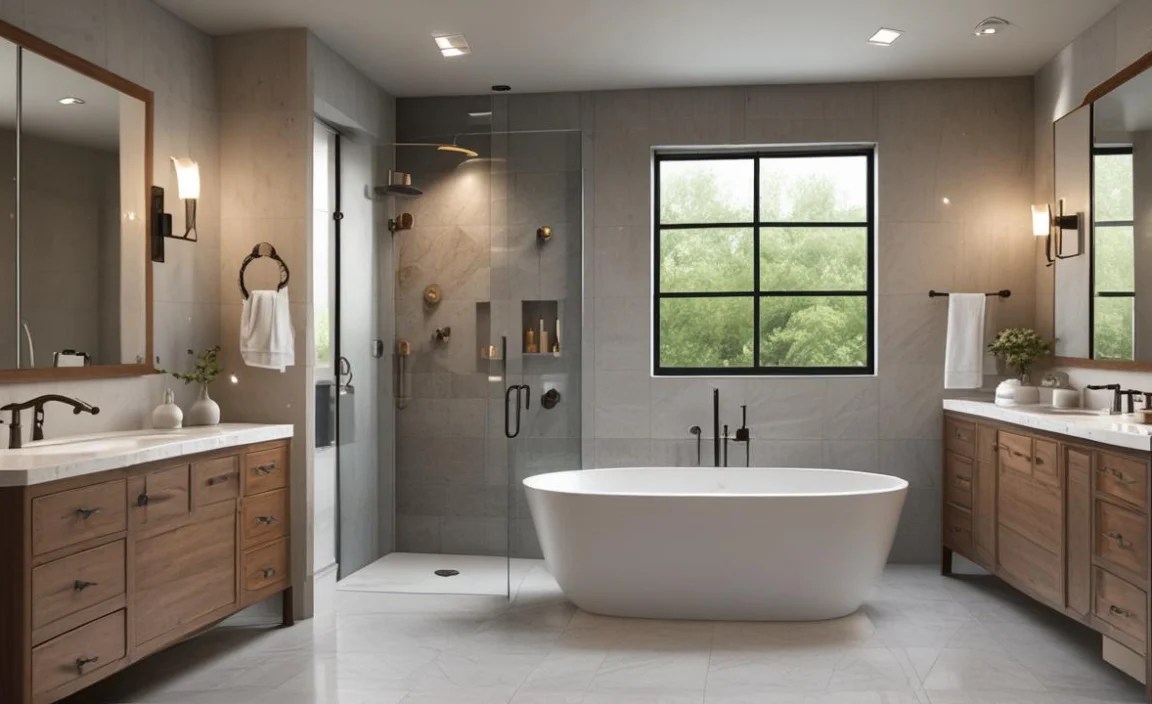
These are the lightest and most budget-friendly option, made from molded fiberglass with a gel coating. They are prone to cracking and fading over time.
- Construction Notes: Easiest to install due to their lightness.
- Key Details: They require substantial support to prevent flexing, which can lead to cracking. A mortar bed is highly recommended for proper support and to prevent stress on the fiberglass.
Essential Steps in Bathtub Construction & Installation
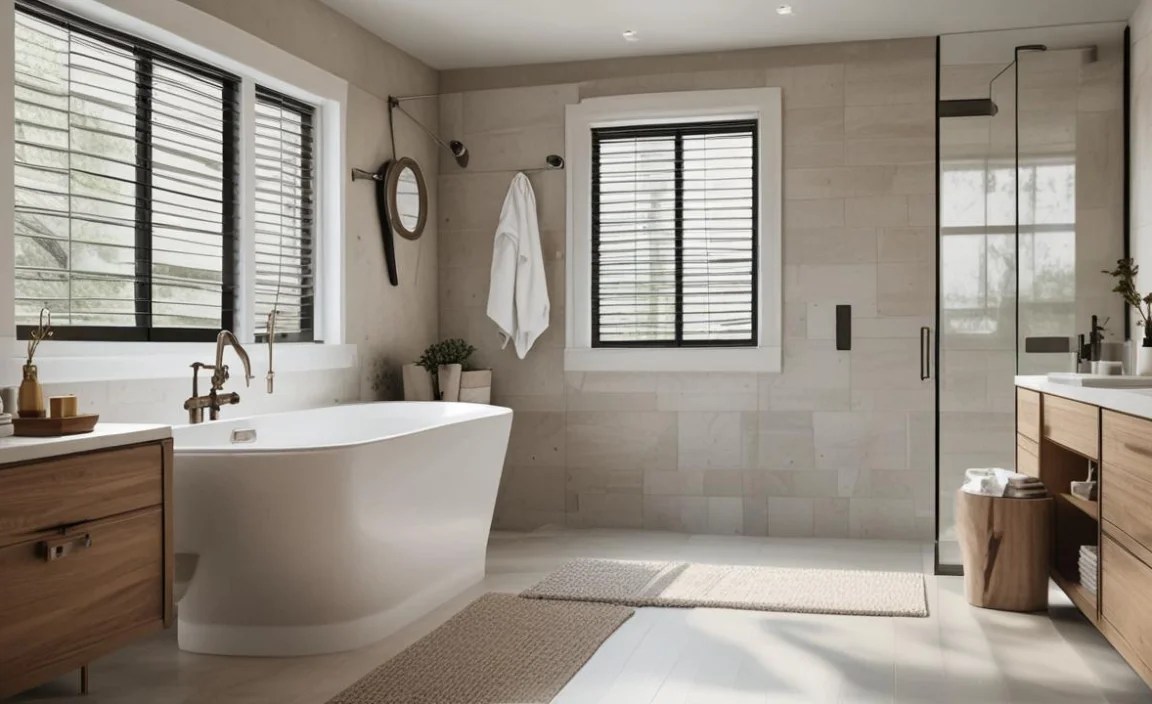
Let’s break down the key stages involved in installing a bathtub. We’ll assume you’re working with a standard alcove bathtub, which is the most common type.
1. Preparing the Alcove (The Tub’s Home)

This is where it all begins. The area where the tub will sit needs to be ready and perfectly prepared.
- Framing: Ensure the studs are plumb (perfectly vertical) and square for a solid base. The framing dimensions should match the tub’s specifications precisely. Companies like the U.S. Department of Housing and Urban Development (HUD) offer excellent resources on standard construction framing practices.
- Subfloor: The subfloor needs to be clean, sound, and perfectly level. Any debris or unevenness will transfer to the finished tub installation. If you’re replacing an old tub, remove all old caulking, adhesive, and debris. A clean slate is essential.
- Plumbing Rough-in: The shower arm, tub spout, and drain rough-ins need to be correctly positioned and secured according to local building codes and the bathtub manufacturer’s specifications. Incorrect placement here can cause headaches later.
- Waterproofing: This is CRITICAL. The walls surrounding the tub area need to be waterproofed. This often involves applying a liquid membrane or installing cement board with a waterproof coating behind it, especially in shower/tub combinations.
2. Setting the Bathtub

This is the moment of truth! Placing the tub correctly ensures stability and proper function.
Tools you might need:
- Level (various sizes)
- Tape measure
- Utility knife
- Pry bar
- Screwdriver or drill
- Caulking gun
- Bucket
- Stud finder
- Safety glasses and gloves
- Pencil
Steps:
- Test Fit: Carefully place the tub into the alcove without securing it. Check for gaps and ensure it sits flush against the walls.
- Leveling: Use a long level to check if the tub is level from front to back and side to side. Shim as necessary under the tub’s rim or base, especially if using acrylic or fiberglass, according to manufacturer guidelines. For many tubs, a mortar bed is the preferred method for even support.
- Support Bed (Mortar Bed): For acrylic and fiberglass tubs, a mortar bed is highly recommended. Mix a suitable mortar and spread a thick, even layer on the subfloor where the tub will sit. Gently press the tub into the mortar bed. This provides unwavering support and prevents flexing. Allow it to cure completely.
- Securing the Tub: Many alcove tubs have a nailing flange around the rim. This flange is used to secure the tub to the wall studs. Position the tub, ensure it’s flush and level, and then use appropriate screws or nails to fasten the flange to the studs. Be careful not to overtighten, which can crack some tub materials.
3. Connecting the Plumbing

This part requires precision and knowledge of basic plumbing. If you’re not comfortable here, it’s best to hire a licensed plumber.
-
- Drain Assembly: Install the drain shoe into the tub’s drain opening from the top. Below the subfloor, connect the drain shoe to the waste pipe using a P-trap and an overflow assembly. Ensure all connections are watertight using plumber’s putty or appropriate seals and solvent cement. A common mistake is not sealing the drain flange properly from the top, leading to leaks.
- Spout and Shower Head: Attach the tub spout to the pre-installed pipe. For shower/tub combos, connect the shower arm to the valve body and screw on the shower head. Ensure the valve body is securely mounted according to manufacturer instructions.
- Testing for Leaks: Before completing the walls, it’s crucial to fill the tub with water and check all connections for leaks. Run water through the shower head as well.
4. Finishing Touches: Sealing and Wall Installation

Once the tub is securely in place and plumbing is functional, it’s time to finish the surrounding area.
-
-
- Wall Material Installation: Install your chosen wall material (like tile, wainscoting, or acrylic surround panels) around the tub. Ensure that tile backer board (like HardieBacker or DensShield) is used in wet areas and properly installed.
- Tiling or Paneling: If tiling, ensure proper spacing and use waterproof grout. If using surround panels, follow the manufacturer’s specific installation guidelines.
- Caulking: This is your final line of defense against water. Apply a bead of high-quality, mildew-resistant silicone caulk along the seam where the tub meets the wall or tile. Ensure a continuous, watertight seal. The This Old House website provides excellent visual guides on how to achieve a perfect caulk bead.
-
Key Bathtub Details to Check

Here’s a quick checklist of critical bathtub details in construction to keep in mind:
| Detail | Why It’s Important | Common Pitfalls |
|---|---|---|
| Leveling | Ensures proper drainage and stability; prevents stress on the tub material and surrounding fixtures. | Tub sits at an angle, leading to standing water; gaps appear between tub and walls. |
| Support Structure | Prevents flexing, cracking, or warping of the tub, especially for acrylic and fiberglass models. | Tub feels soft or bouncy; cracks develop over time; premature failure. |
| Waterproofing | Protects walls and subfloor from moisture, preventing mold, mildew, and structural damage. | Water seeps behind walls, leading to costly repairs; mold growth. |
| Plumbing Connections | Ensures a watertight and functional drainage and filling system. | Leaks at the drain or overflow; slow or non-existent drainage. |
| Sealant (Caulk) | Creates a final barrier against water infiltration where the tub meets the walls. | Water seeps into gaps; mold and mildew growth in gaps; unsightly appearance. |
Common Bathtub Construction Materials for Walls and Floors

The materials you use around the bathtub are just as important for durability and waterproofing as the tub itself.
Tile
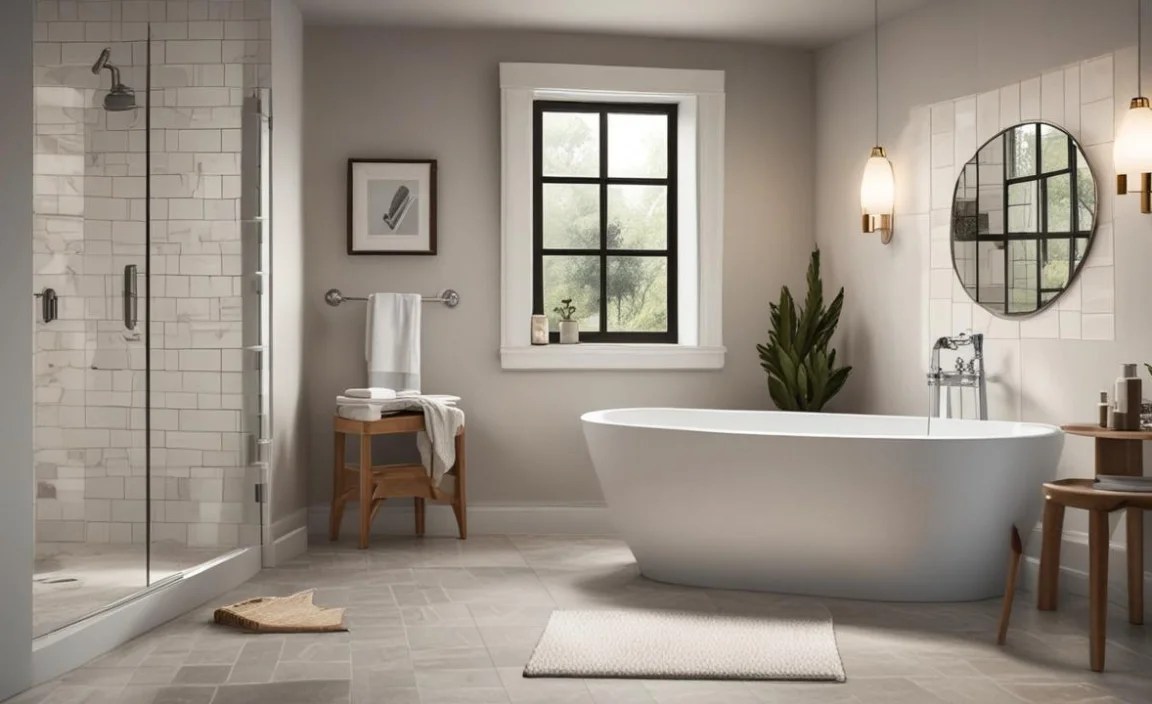
A popular choice for its aesthetic appeal and durability. However, the installation is crucial for waterproofing.
-
-
- Backer Board: Use cement board (like HardieBacker) or a specialized waterproof gypsum board (like DensShield) directly behind the tile. Never tile directly onto drywall in wet areas.
- Waterproofing Membrane: For added protection, consider applying a liquid waterproofing membrane over the backer board before tiling.
- Grout: Use a high-quality, waterproof grout and seal it regularly.
-
Solid Surface/Acrylic Surround Panels

These are prefabricated panels designed to be installed directly onto the studs or over existing walls. They offer seamless, waterproof surfaces.
-
-
- Installation: Follow manufacturer instructions precisely. Many use adhesive and mechanical fasteners.
- Sealing: Seams between panels and where they meet the tub need to be sealed with the manufacturer-specified adhesive or sealant.
-
Natural Stone
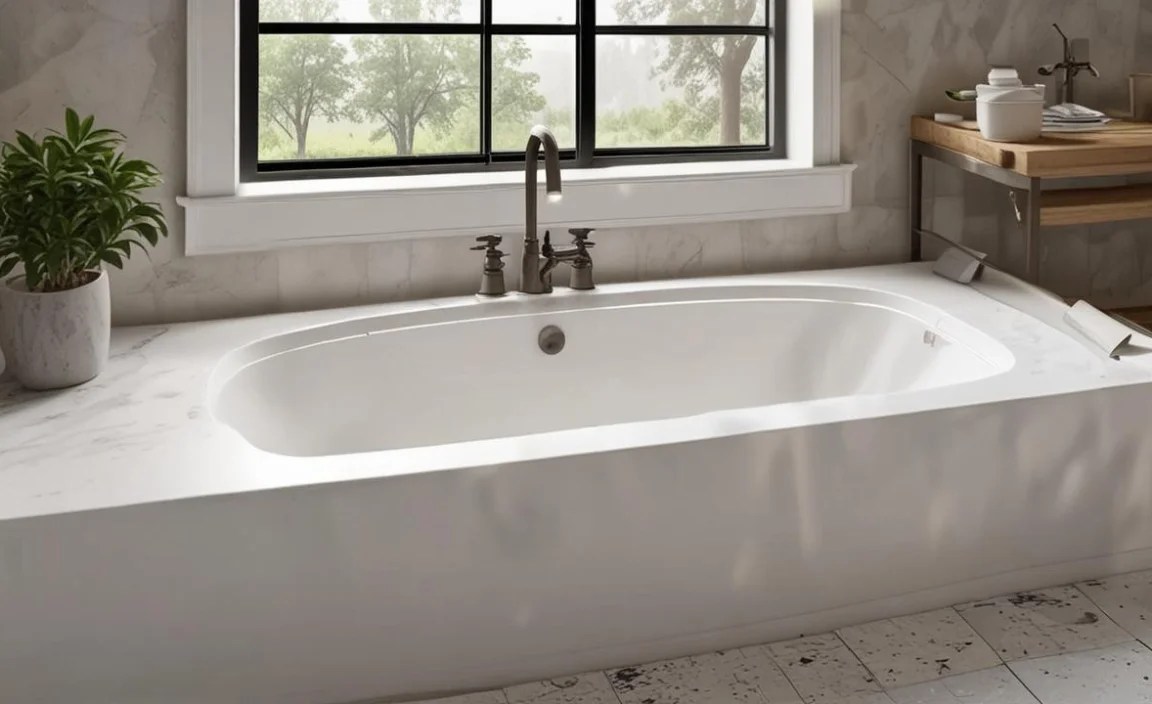
Beautiful but requires specialized installation and sealing.
-
-
- Backer Board & Membrane: As with tile, a proper backer board and waterproofing membrane are essential.
- Sealing: Natural stone is porous and requires regular sealing to prevent staining and water absorption.
-
Flooring Materials

The floor in front of the tub should also be water-resistant and non-slip.
-
-
- Tile: Ceramic or porcelain tiles with a waterproof grout are excellent choices.
- Luxury Vinyl Plank (LVP): A durable and water-resistant option.
- Sheet Vinyl: Seamless and good for waterproofing.
-
The DIY.com offers a helpful guide on waterproofing bathroom walls and floors, which is directly relevant to tub surrounds.
Troubleshooting Common Bathtub Installation Issues

Even with the best intentions, things can go wrong. Here are some common issues and how to address them:
-
-
- Tub is Not Level: If you discover this after installation, it can be tricky. You might need to carefully lift one side of the tub and add shims or adjustment blocks, then re-secure. If it’s significantly off, you may need to reinstall it.
- Gaps Between Tub and Wall: Small gaps can usually be sealed with silicone caulk. For larger gaps, you might need to add blocking behind the tub’s nailing flange or adjust the framing if possible.
- Leaking Drain or Overflow: This usually means a bad seal at the drain flange, overflow plate, or P-trap connection. You may need to disassemble and reassemble the drain system, ensuring plumber’s putty or sealant is used correctly.
- Water Pooling in the Tub: This is a clear sign the tub isn’t level. You’ll need to address the leveling issue as described above.
- Cracked Tub: For acrylic or fiberglass tubs, a crack often means it wasn’t adequately supported or has been subjected to impact. Small cracks might be repairable with a patch kit, but larger ones often require tub replacement.
-
Frequently Asked Questions (FAQ)
Q1: How much support does a bathtub need?

Bathtubs, especially acrylic and fiberglass ones, need solid support to prevent flexing. This is often achieved with a mortar bed spread on the subfloor, or by ensuring the tub’s base and rim are fully in contact with a level, solid structure. Check the manufacturer’s specific installation manual for their recommendations.
Q2: What’s the best material for sealing around a bathtub?

For sealing the gap between the tub and the surrounding walls/tile, 100% silicone caulk is the best choice. Look for products specifically designed for kitchens and bathrooms, as they are mildew-resistant.
