
Discover the best shower curtain hooks DIY solutions to easily and affordably upgrade your bathroom. This guide provides simple, step-by-step instructions, material options, and creative ideas to help you find or make the perfect hooks for a stylish and functional shower.
Tired of shower curtain hooks that snag, break, or just don’t look right? It’s a common frustration many of us face. A simple shower curtain rod can look incomplete without the right set of hooks, and often, the options in stores feel either too basic or too expensive. But what if you could take matters into your own hands? This guide is here to show you that finding and even creating the best shower curtain hooks DIY is easier than you think. We’ll walk through everything you need to know to make an informed choice or a custom creation that perfectly suits your style and needs.
Why DIY Shower Curtain Hooks Matter
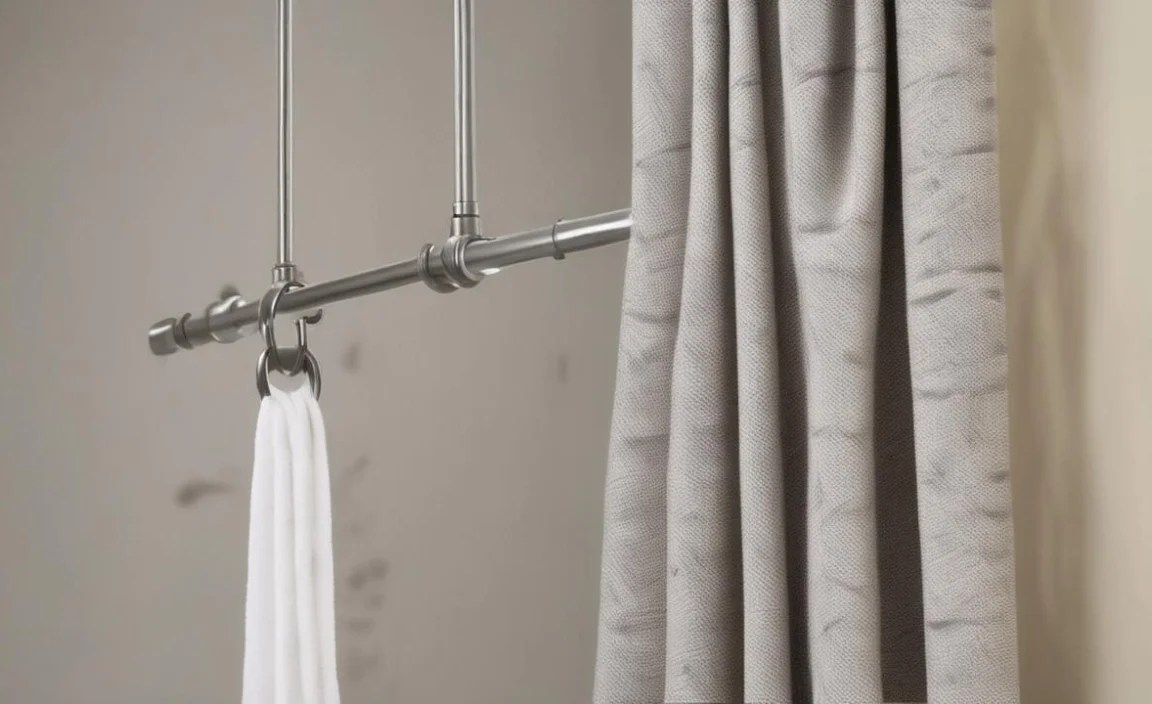
Choosing the right shower curtain hooks is more than just a functional necessity; it’s a subtle yet impactful way to enhance your bathroom’s overall aesthetic. Standard plastic hooks can feel cheap and wear out quickly, while ornate metal ones can sometimes be pricier than expected. Opting for a DIY approach, or at least understanding the DIY landscape, allows for unparalleled customization and potential cost savings. It’s about tailoring your bathroom to your taste, ensuring durability, and avoiding those minor annoyances that add up.
For beginners, the term “DIY” might sound intimidating. But in the context of shower curtain hooks, it often means selecting from a wider array of readily available materials or making simple modifications. You don’t need to be a master craftsperson! Think of it as making smart choices that lead to a better outcome. We’ll break down the options into easy-to-understand categories, so you can feel confident in your decisions.
Understanding Basic Shower Curtain Hook Anatomy
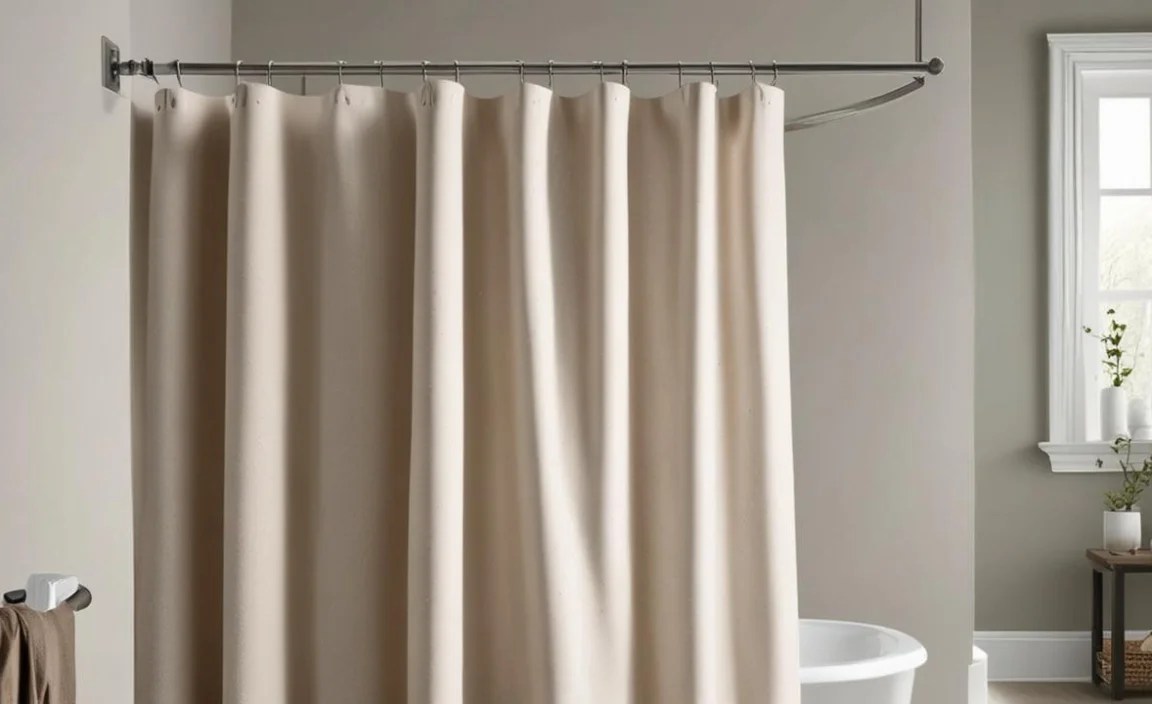
Before we dive into the “DIY” aspect, let’s quickly cover what makes a shower curtain hook work. Most hooks have two main parts:
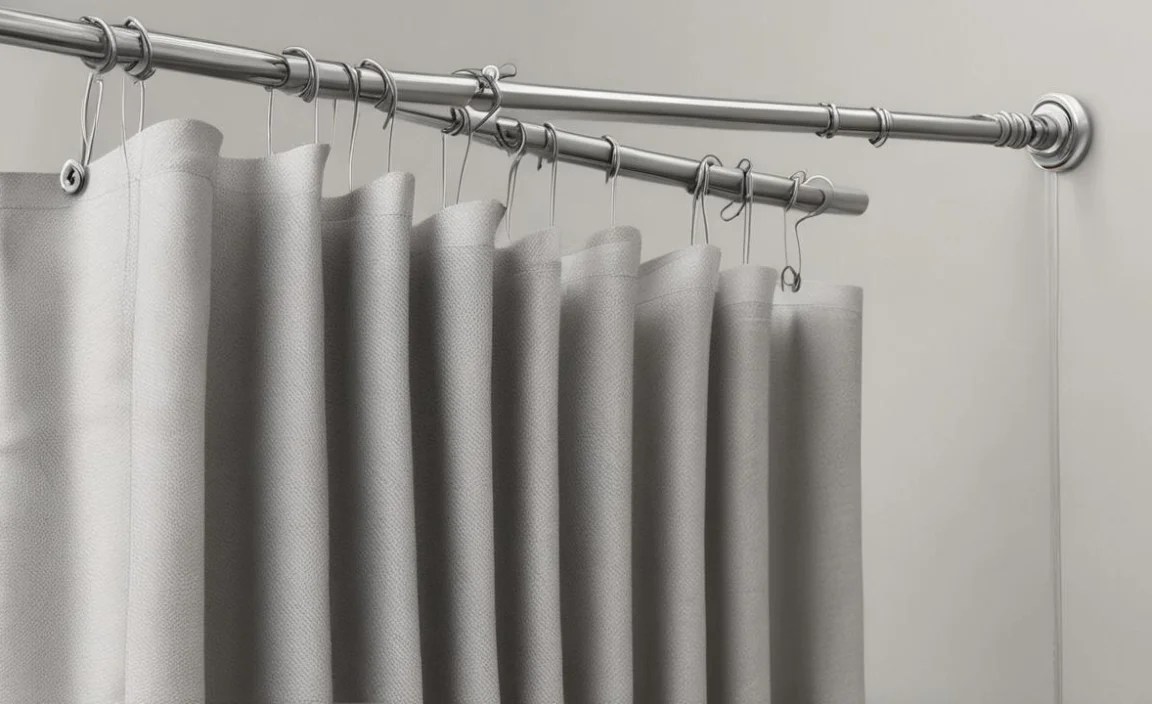
- The Hook: This is the U-shaped or C-shaped piece that physically attaches to the shower curtain liner and the curtain. It’s what makes them slide along the shower rod.
- The Closure: This is how the hook attaches to the curtain and liner. It can be a simple open hook, a clip, or a ring that fastens. Some are designed to glide smoothly, while others are more decorative.
The material and design of these parts significantly affect how well they perform, their lifespan, and their appearance. This is where the “best” hooks come into play, and understanding these basics helps in making the best DIY choices.
Types of Shower Curtain Hooks for DIYers

When we talk about “DIY Shower Curtain Hooks,” it often means you’re either:
- Choosing from diverse, non-standard options that offer more style or functionality than typical big-box store offerings.
- Making simple modifications or crafting unique hooks from common household or craft materials.
Let’s explore some popular categories that fit this DIY-friendly approach:
1. Decorative Metal Hooks
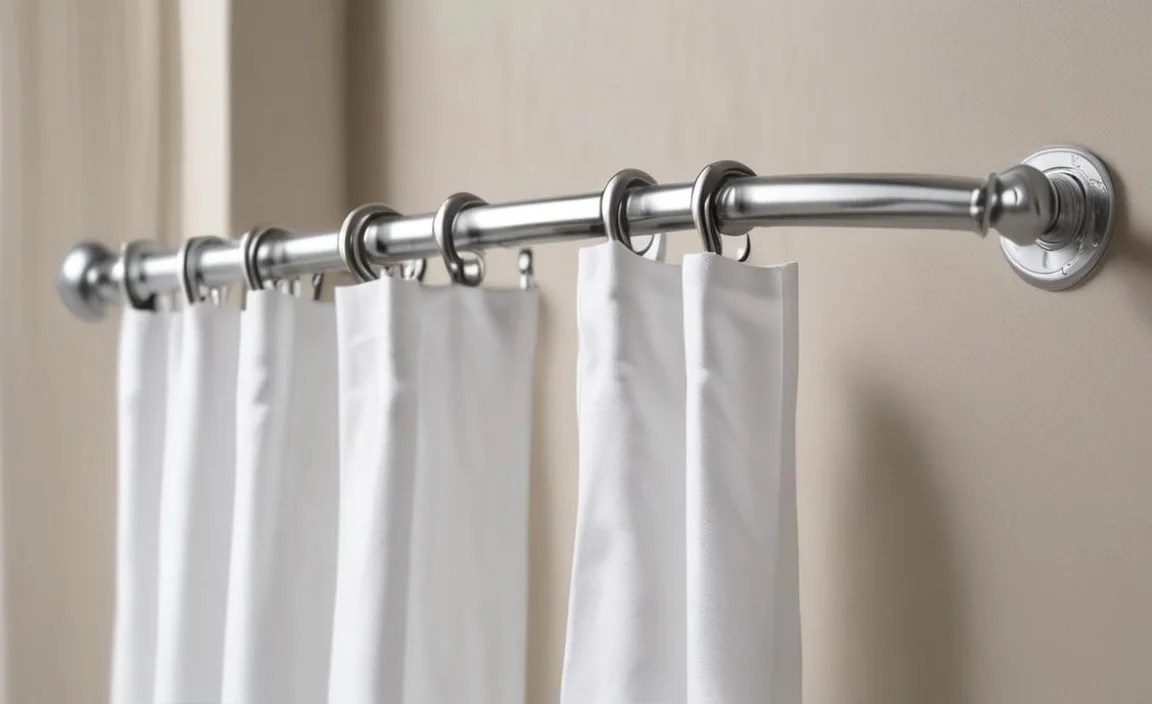
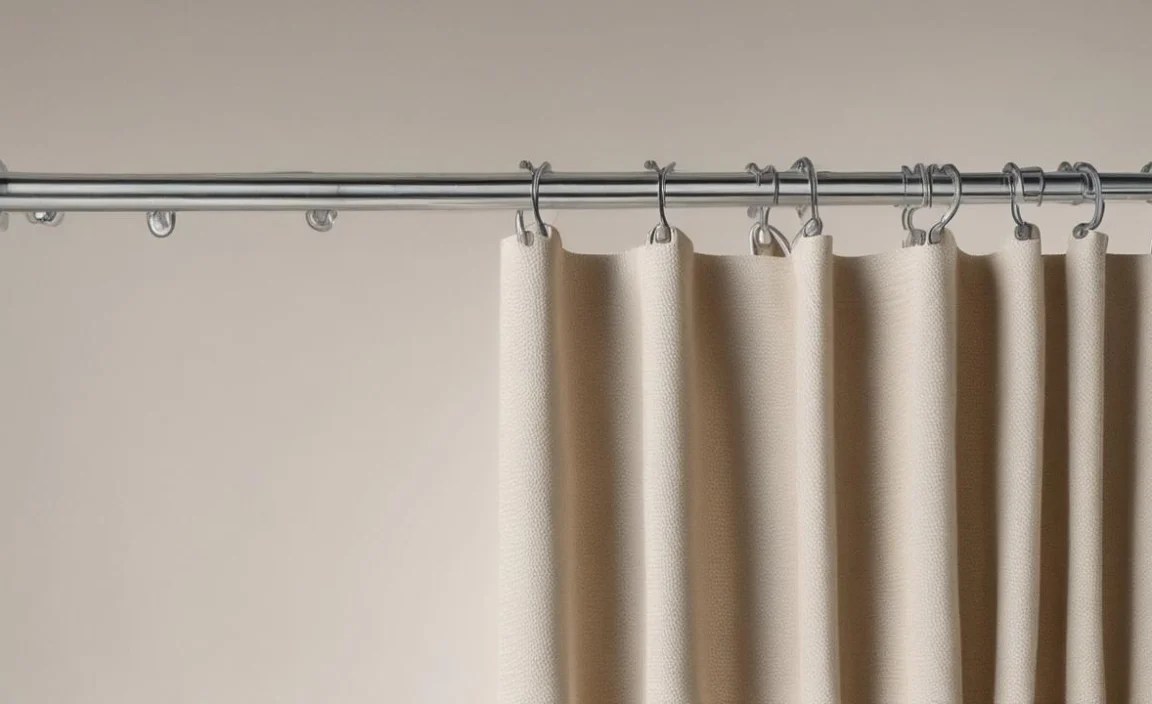
These are often a step up from basic plastic. They come in various finishes like brushed nickel, oil-rubbed bronze, chrome, or even matte black, allowing you to match your bathroom hardware.
Pros:
- Durable and long-lasting.
- Add an elegant or modern touch.
- Wide variety of styles (beaded, scrolled, minimalist).
- Easy to clean.
Cons:
- Can be more expensive than plastic.
- Some finishes can show water spots if not wiped down.
- Heavier hooks might snag on some rods.
DIY Angle: While you can certainly buy these, the “DIY” comes in selecting the perfect style that complements your bathroom. You can also sometimes find plain metal hooks and add your own embellishments, like beads or small charms, to the balls at the end if desired. For a great resource on understanding metal finishes, check out This Old House’s guide to metal finishes.
2. Resin or Acrylic Hooks
These hooks often feature embedded designs, glitter, or clear, bubble-like aesthetics. They offer a way to add a pop of color or a playful element.
Pros:
- Visually interesting and unique designs.
- Generally water-resistant and easy to wipe clean.
- Can be lightweight.
Cons:
- Durability can vary; some can crack or break if dropped.
- Designs might not suit all bathroom decors.
- Can sometimes feel less premium than metal.
DIY Angle: Look for plain clear acrylic hooks and consider adding a personalized touch. You could insert small photos, pieces of colorful paper, or even dried flowers inside the hollow part (if applicable) before sealing them. Be cautious with adhesives and ensure they are waterproof.
3. Wooden Hooks
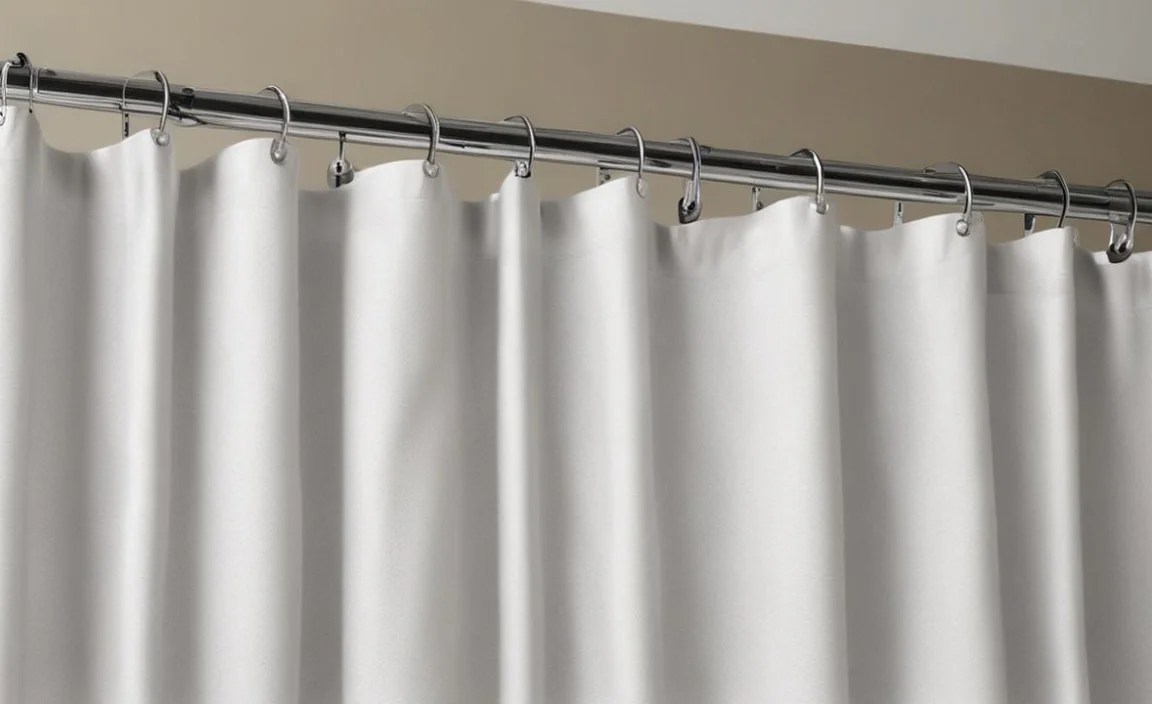
For a natural, spa-like, or rustic feel, wooden shower curtain hooks can be an excellent choice. They often come in bamboo, teak, or unfinished wood.
Pros:
- Adds warmth and natural texture.
- Eco-friendly option, especially bamboo.
- Can be painted or stained to match your decor.
Cons:
- Requires adequate sealing to prevent water damage and mold.
- May not glide as smoothly as metal or plastic.
- Can be harder to find in a wide variety of styles.
DIY Angle: This is prime territory for DIY! You can purchase unfinished wooden beads and string them onto sturdy wire or cord, creating a completely custom look. Alternatively, you can buy plain wooden dowels and shape them into hooks using basic woodworking tools, then seal them thoroughly. Always opt for water-resistant finishes like polyurethane. For tips on working with wood and finishes, the Wood Magazine finishing guide is invaluable.
4. Fabric or Rope Wrapped Hooks
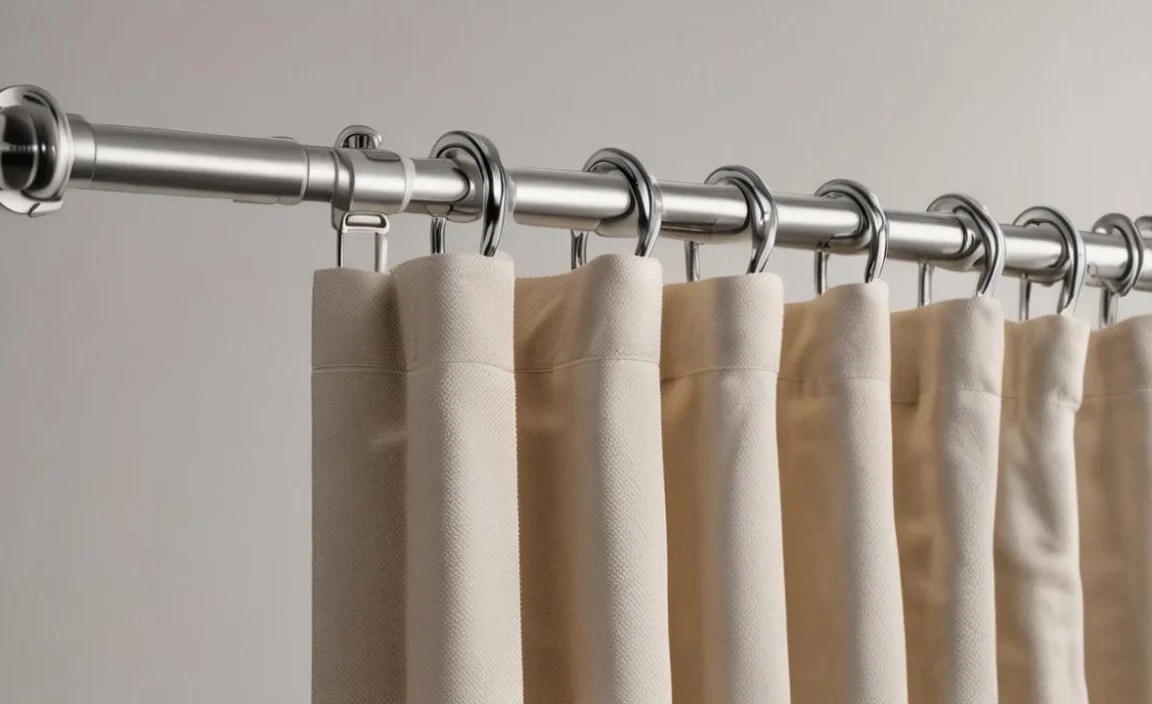
These hooks offer texture and a softer aesthetic. They can be purchased ready-made or created by wrapping existing hooks.
Pros:
- Adds a unique texture and visual interest.
- Can be customized with various fabrics (burlap, cotton, velvet) or ropes (natural jute, colorful twine).
- Softer on the curtain material.
Cons:
- Fabric can absorb water and become prone to mildew/odors if not properly treated or aired out.
- Rope can fray over time.
- May not glide as smoothly as other materials.
DIY Angle: This is a fantastic DIY project! Take plain metal or plastic hooks and wrap them tightly with fabric strips or decorative rope. Secure the ends with strong, waterproof fabric glue or hot glue. Ensure you wrap consistently and cover the entire visible hook for best results and longevity.
5. Clip-On Hooks
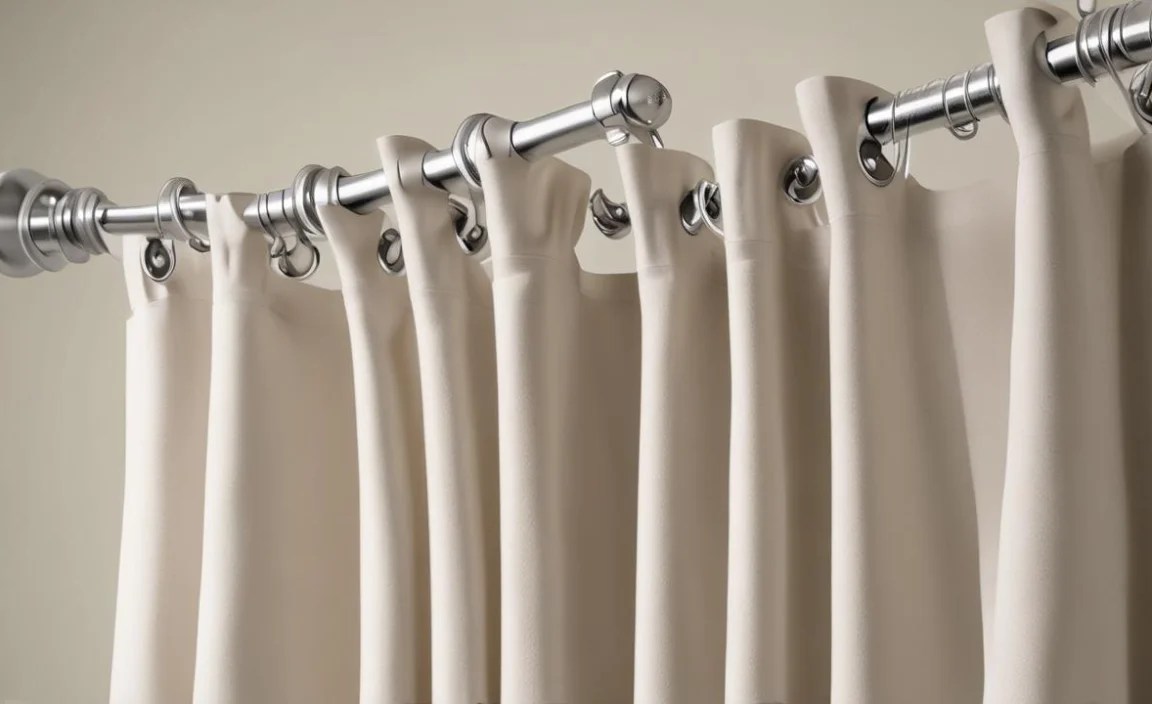
These hooks don’t necessarily attach to a rod with a traditional “hook” shape. Instead, many are designed to clip onto the shower curtain itself and then hang on the rod, or they might be rings that clamp onto the curtain. Some even integrate decorative elements with the clipping mechanism.
Pros:
- Excellent for keeping curtains securely in place.
- Can be easier to attach and detach curtains from.
- Often integrated into decorative elements.
Cons:
- The clipping mechanism can sometimes snag or damage delicate curtains.
- May not fit all shower rod types.
- Can be more expensive.
DIY Angle: You can buy plain clip rings and attach decorative charms or small ornaments to them. Ensure the attachments are secure and won’t fall off into the shower.
DIY Shower Curtain Hooks: Step-by-Step Creation Ideas
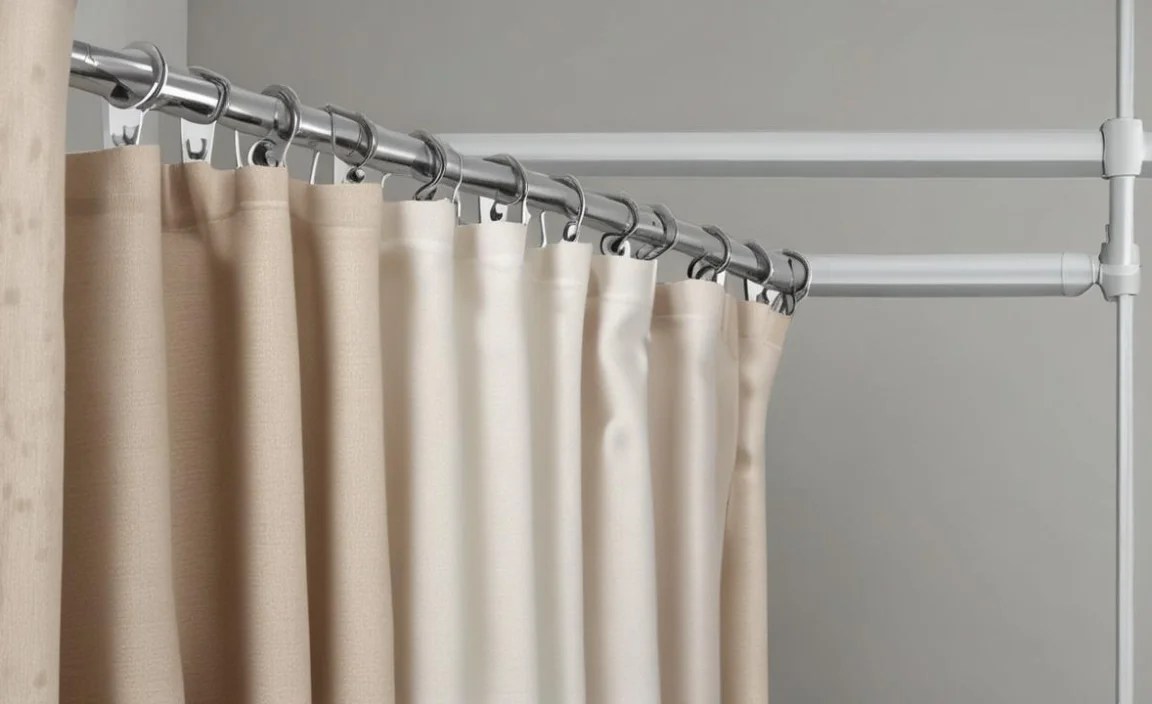
Let’s get hands-on! Here are a few simple DIY projects to create unique shower curtain hooks.
Project 1: Beaded Wonder Hooks
This project involves adding decorative beads to the end of basic metal hooks.
Materials:
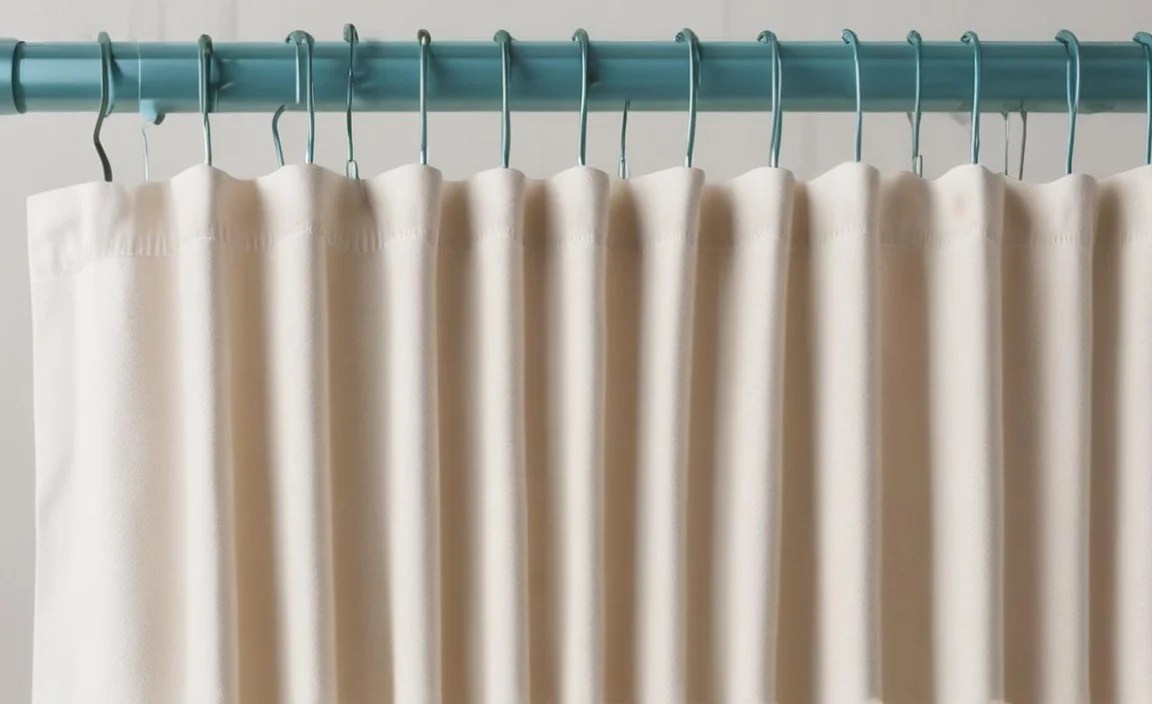
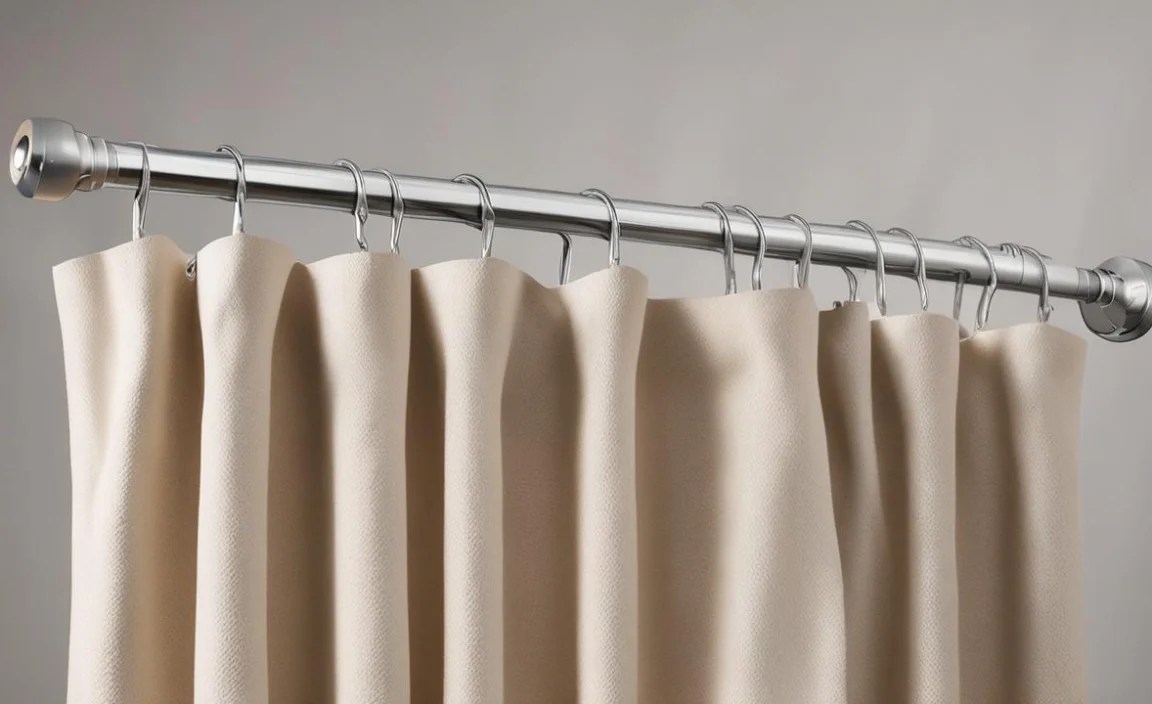
- Basic metal shower curtain hooks (the kind with a small ball on the end)
- Craft beads (choose waterproof materials like glass, stone, or sealed wood)
- Strong, waterproof adhesive (like E6000 or a clear epoxy)
- Optional: Small decorative charms
Tools:
- Pliers (for holding small items)
- Rag or paper towel
Steps:
- Prepare Your Hooks: Ensure the metal hooks are clean and dry. If they have existing balls, you might need to carefully remove them or work around them.
- Select Your Beads: Choose beads that are large enough to be visually appealing but not so large they’ll unbalance the curtain or snag on things. Consider a color scheme that matches your bathroom.
- Adhere the First Bead: Apply a strong bead of waterproof adhesive to the end of the hook (where the ball usually is, or where you want to start).
- Attach the Bead: Firmly press the first bead onto the adhesive. Hold it in place for a minute or two, or until it feels secure.
- Add More Beads (Optional): If you want to create a cluster or a longer beaded design, continue adding beads. You can stack them, string them end-to-end on a very short, thin wire inserted into both beads, or create multiple small attachments for one hook. For a cluster, apply adhesive to the first bead and press the second onto it.
- Add Charms (Optional): If using charms, adhere them securely to the beads or the hook itself.
- Cure Properly: Let the adhesive fully cure according to the manufacturer’s instructions. This usually means leaving them undisturbed for 24-72 hours in a well-ventilated area. This is crucial for durability and to avoid any fumes.
- Test: Once fully cured, gently tug on the beads to ensure they are firmly attached before hanging your curtain.
Project 2: Macrame or Rope Wrapped Hooks
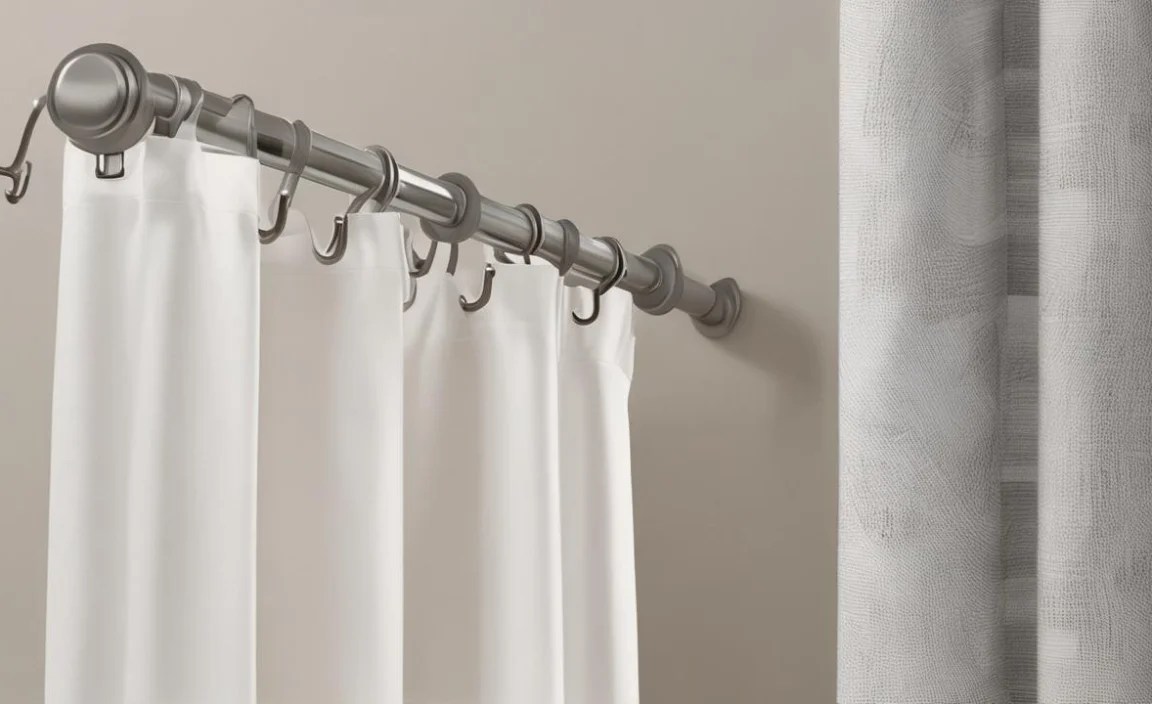
Give your existing hooks a bohemian or nautical flair.
Materials:
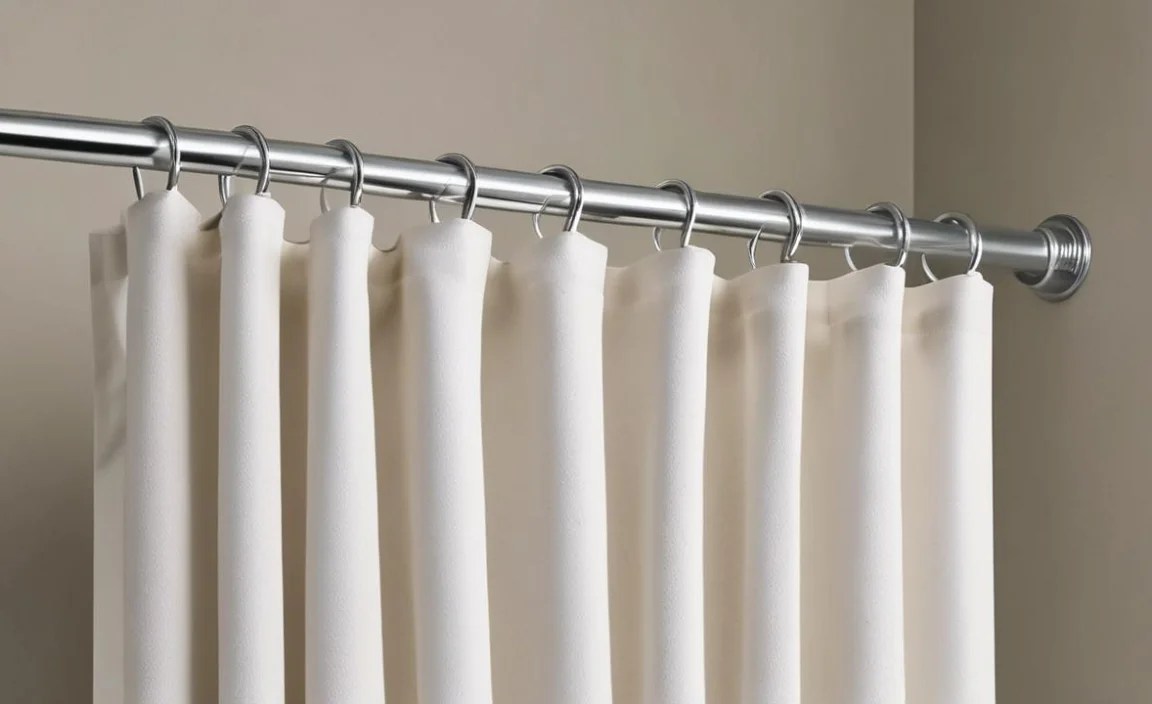
- Plain metal or wooden shower curtain hooks
- Cotton, jute, or synthetic rope/twine
- Strong, waterproof fabric glue or hot glue gun with waterproof glue sticks
- Scissors
Tools:
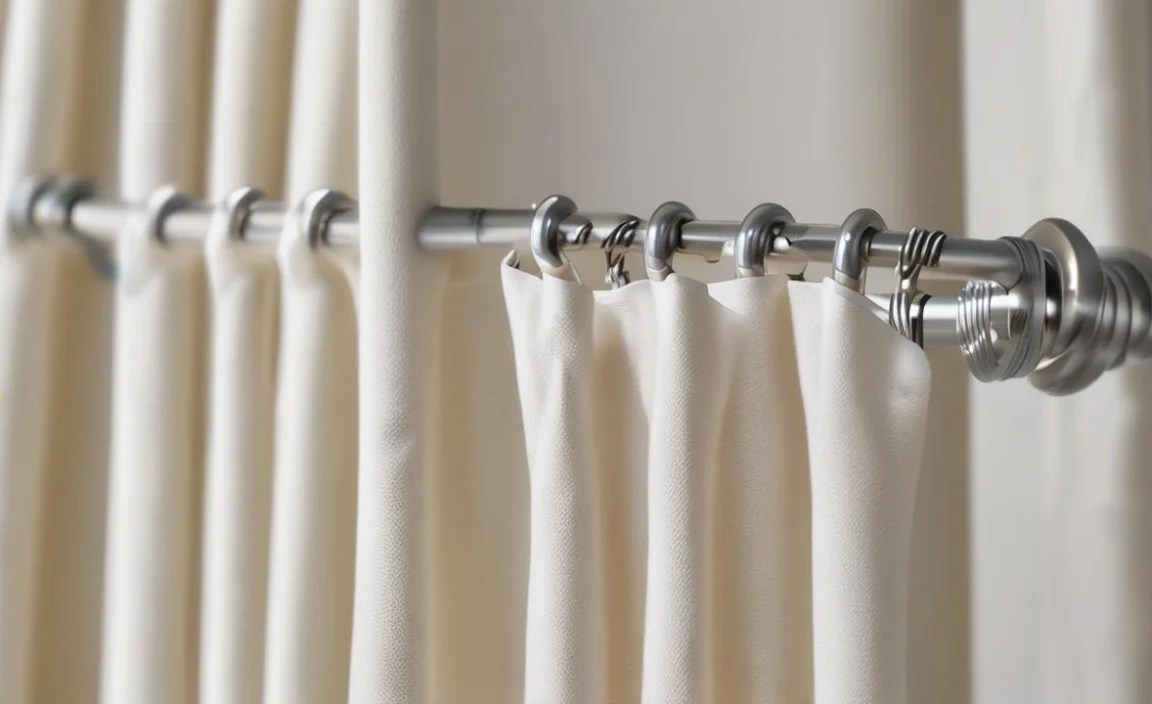
- None required, but tweezers can help with small details.
Steps:
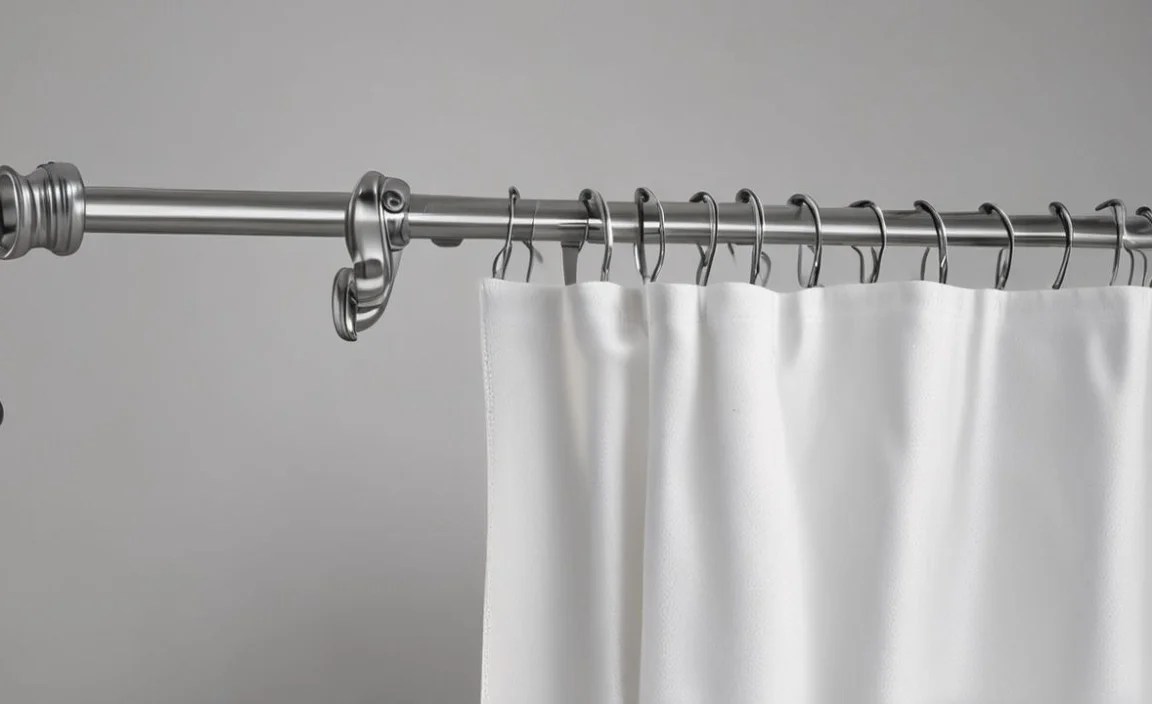
- Prepare the Hook: Make sure the hook is clean and dry.
- Start Wrapping: Apply a small dot of glue at the top of the hook (near the curved part that hangs on the rod). Press the end of your rope or twine into the glue.
- Wrap Tightly: Begin tightly wrapping the rope around the hook, ensuring each wrap sits snugly against the previous one. Work your way down the hook, covering the entire metal or visible part. Keep the tension consistent.
- Maintain Tension: If you’re trying to create patterned wraps (like diagonal lines or knots), pause periodically to ensure the pattern is forming evenly. For a simple wrap, just keep going.
- Finish Wrapping: When you reach the bottom of the hook (or the desired end point), cut the rope, leaving a small tail. Apply a generous amount of glue to the end of the rope and press it firmly into place. You can also add a little glue underneath where the rope ends to secure it further.
- Trim and Secure: Trim any excess rope fibers. If using hot glue, work quickly. If using fabric glue, allow ample drying time.
- Repeat: Create hooks for your entire set.
- Optional: For a more luxurious look, you can use different colored ropes or even thin fabric strips for wrapping.
Project 3: Painted Wooden Hooks
Transform plain wooden hooks into custom art pieces.
Materials:
- Unfinished wooden shower curtain hooks
- Acrylic paints in your desired colors
- Clear, waterproof sealant (polyurethane, acrylic sealer)
- Fine-grit sandpaper (optional, for smoothing)
- Painter’s tape (for creating clean lines)
Tools:
- Paintbrushes (various sizes)
- Paper plates or palette for paint
- Rag or paper towels
Steps:
- Prepare the Wood: If the wooden hooks feel rough, lightly sand them with fine-grit sandpaper for a smoother finish. Wipe away any dust with a clean cloth.
- Prime (Optional): For brighter colors or better adhesion, you can apply a coat of white acrylic primer. Let it dry completely.
- Paint Your Design: Get creative! You can paint them solid colors to match your bathroom, create patterns (stripes, polka dots, abstract designs), or even try a marble effect.
- Use Painter’s Tape: If creating geometric designs or clean lines, use painter’s tape to mask off areas. Apply paint beyond the tape edge for a clean separation when removed.
- Allow Paint to Dry: Ensure each layer of paint is completely dry before adding another color or applying the sealant.
- Seal for Protection: Once your paint design is finished and dry, apply 2-3
thin coats of a clear, waterproof sealant. This is crucial to protect the paint and the wood from moisture in the shower environment. Ensure you cover all painted surfaces. - Cure the Sealant: Let the sealant cure fully according to the product instructions before hanging. This is often 24-72 hours for maximum durability.
Table: Comparing DIY Hook Material Pros and Cons
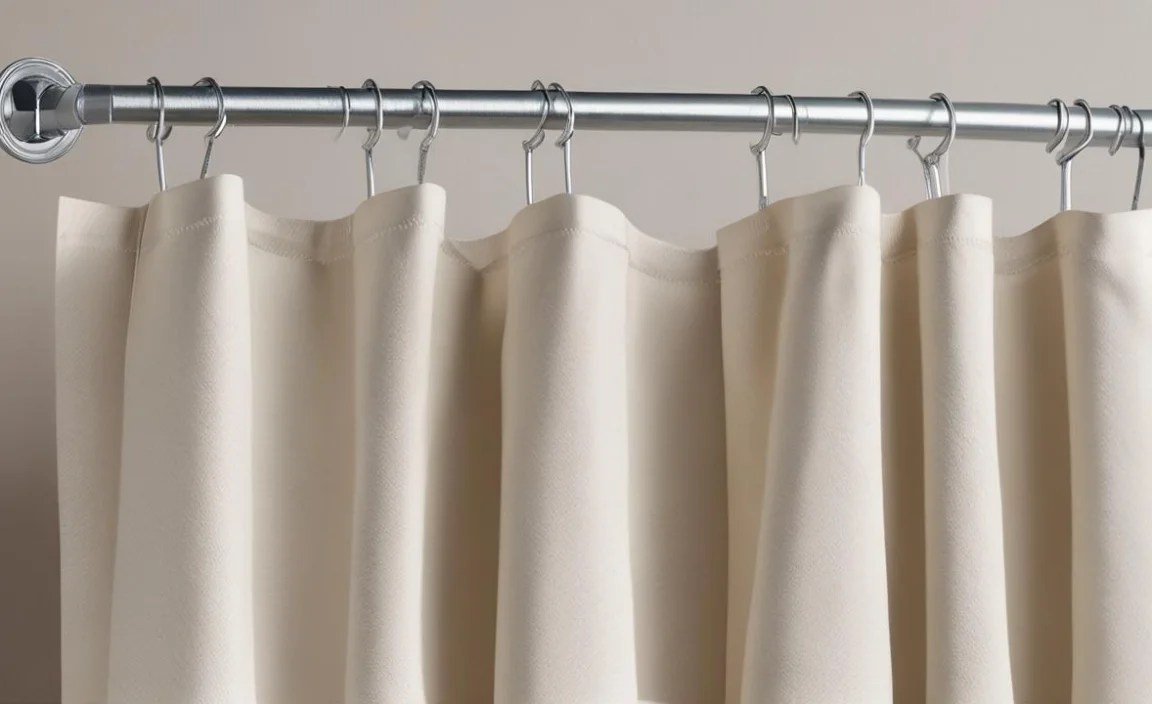
Here’s a quick comparison to help you decide which material might work best for your DIY approach:
| Material | Pros | Cons | DIY Friendliness | Durability | Aesthetic |
|---|---|---|---|---|---|
| Decorative Metal | Durable, elegant, easy to clean | Can be pricey, heavier | High (selection, embellishment) | Very Good | Varies (classic to modern) |
| Resin/Acrylic | Unique designs, visually interesting | Can crack, quality varies | Medium (embellishment) | Good | Varies (fun to artistic) |
| Wood | Natural look, customizable | Needs sealing, potential water damage | High (painting, shaping) | Good (with proper sealing) | Natural, rustic, spa-like |
| Fabric/Rope | Textural, unique, soft | Can absorb moisture, odors | Very High (wrapping) | Good (depending on material & care) | Bohemian, nautical, cozy |
| Clip-On | Secure, easy curtain attachment | Can snag, availability varies | Medium (adding decor to clips) | Good | Functional, can be decorative |
Important Considerations for Your DIY Hooks
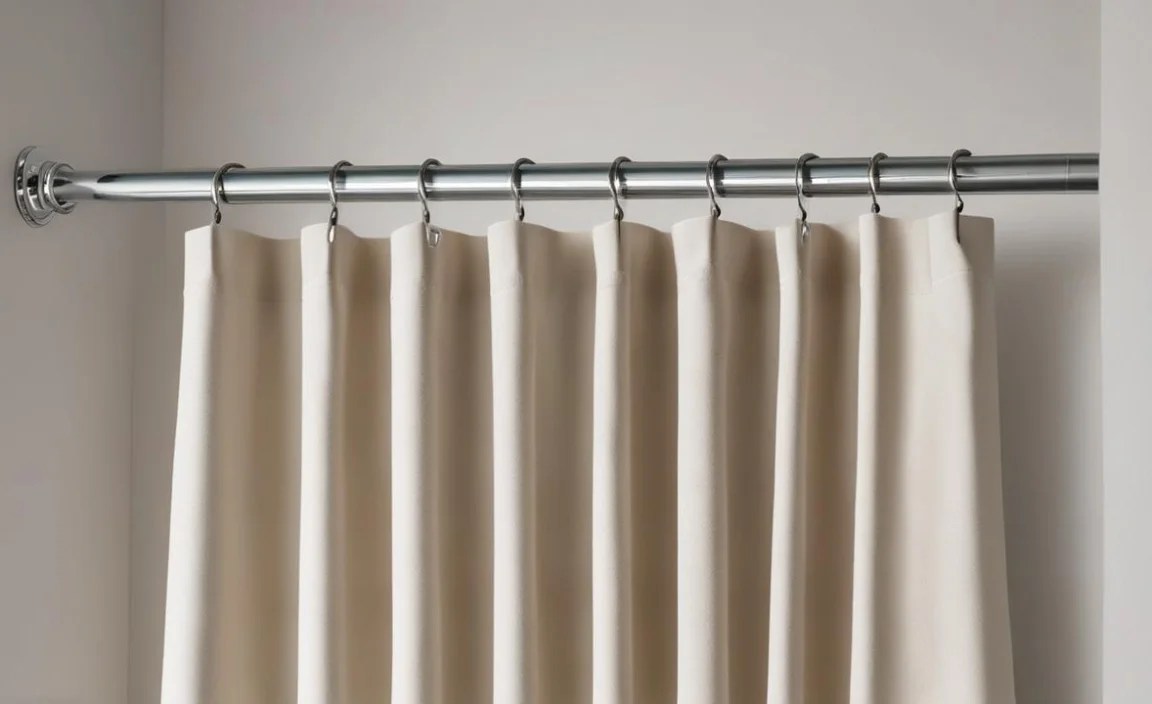
When embarking on your DIY shower curtain hook journey, keep these key points in mind for safety, longevity, and function:
Water Resistance is Key
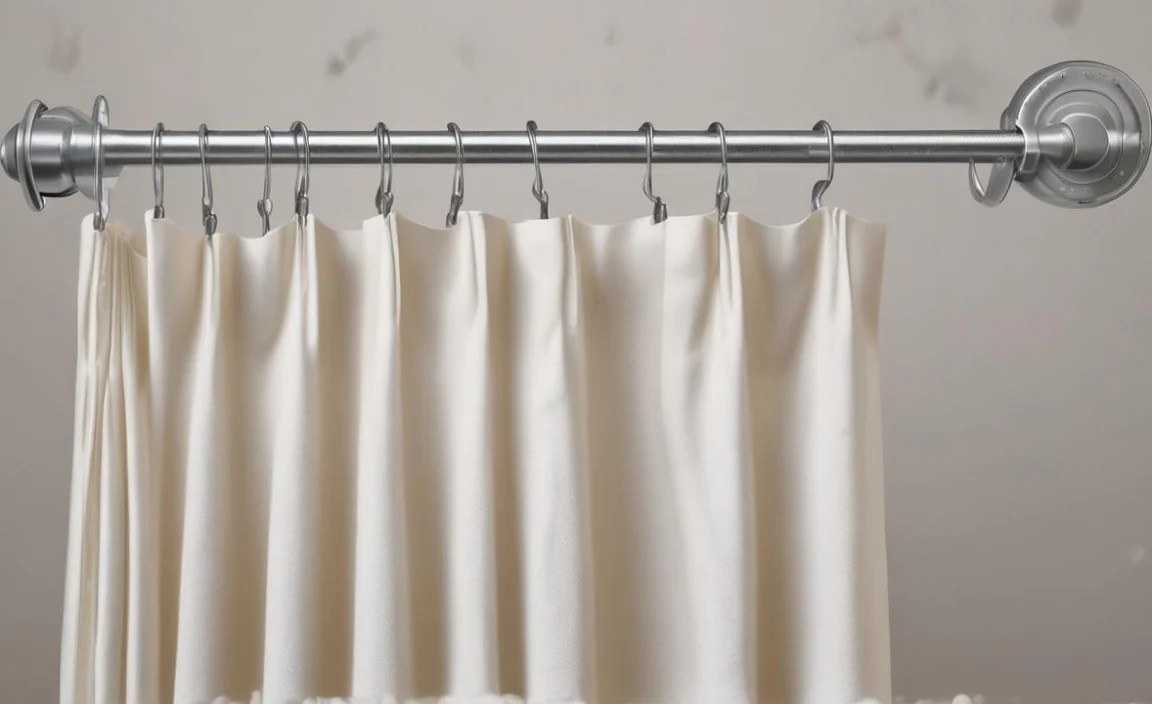
Bathrooms are inherently humid environments. Any material you use that isn’t naturally water-resistant (like most metals or plastics) must be thoroughly sealed. Wood, fabric, and even certain types of paint can be compromised by constant moisture, leading to mold, mildew, or disintegration. Always opt for marine-grade sealants, polyurethane, or waterproof adhesives for any DIY project exposed to water.
Smooth Gliding
Your shower curtain needs to slide smoothly along the rod. If your DIY hooks are too bulky, have rough edges, or don’t have a naturally smooth surface, they can snag, warp, or even damage your shower curtain. Test how easily they glide before committing to hanging your entire curtain.
Weight and Balance
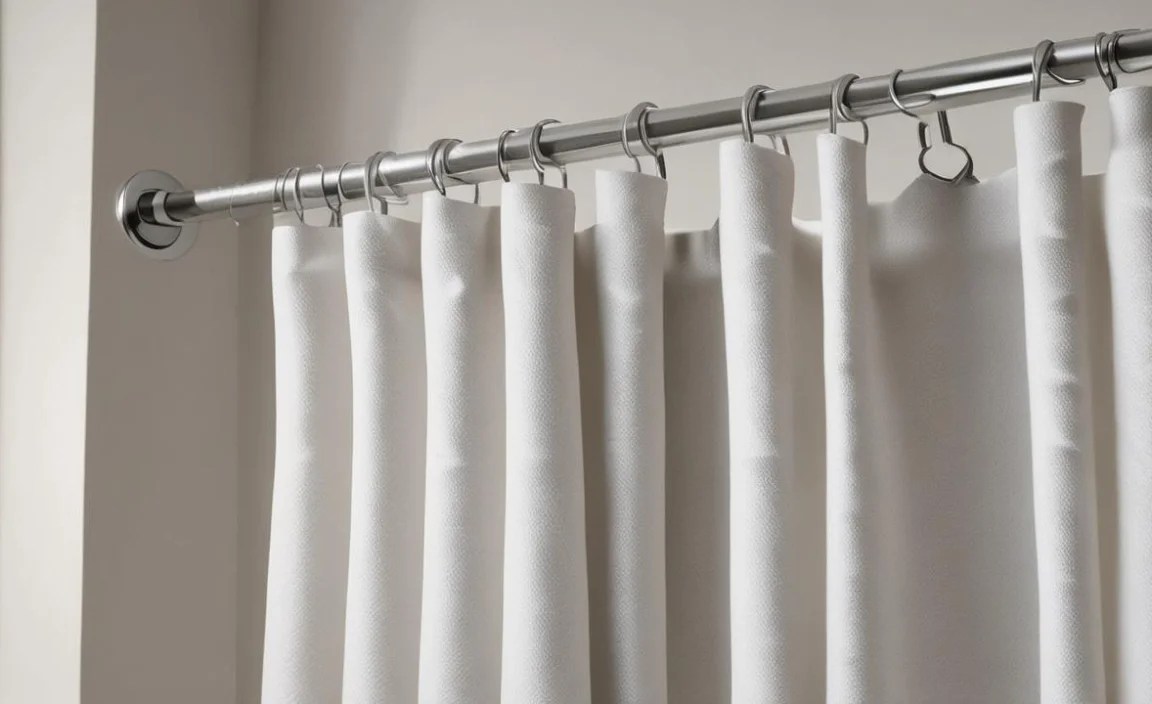
Heavier hooks, especially if made from solid metal or dense wood, can put extra strain on your shower curtain rod or the curtain’s grommets. Ensure your hooks are balanced and not excessively heavy. If
