
Quick Summary
A breakdown of wet room plumbing involves understanding its unique drainage, waterproofing, and ventilation needs. Unlike standard bathrooms, wet rooms require a fully waterproofed space with a sloped floor directing water to a specialized drain, ensuring no leaks into your home’s structure. Proper installation is key to preventing costly damage.
Ever looked at a bathroom and wondered how it stays so dry despite being designed for water? The secret might be a carefully planned plumbing system, especially in a wet room. Wet rooms are becoming popular for their sleek look and accessibility, but their plumbing is a bit different. Don’t worry if it sounds complicated; understanding the basics is simpler than you think. This guide will break down the plumbing essentials of a wet room, making it easy for you to grasp what makes them work and how to keep them in top shape. We’ll cover everything from how the water flows away safely to keeping your bathroom fresh and dry.
Understanding the Core Elements of Wet Room Plumbing

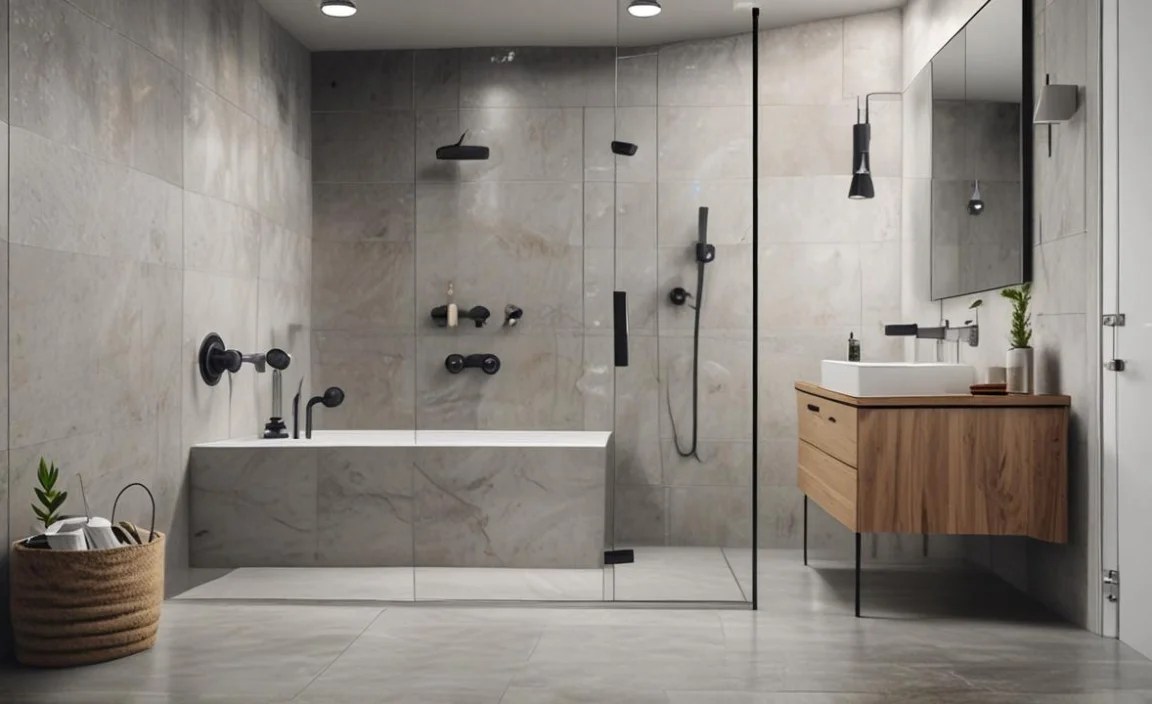
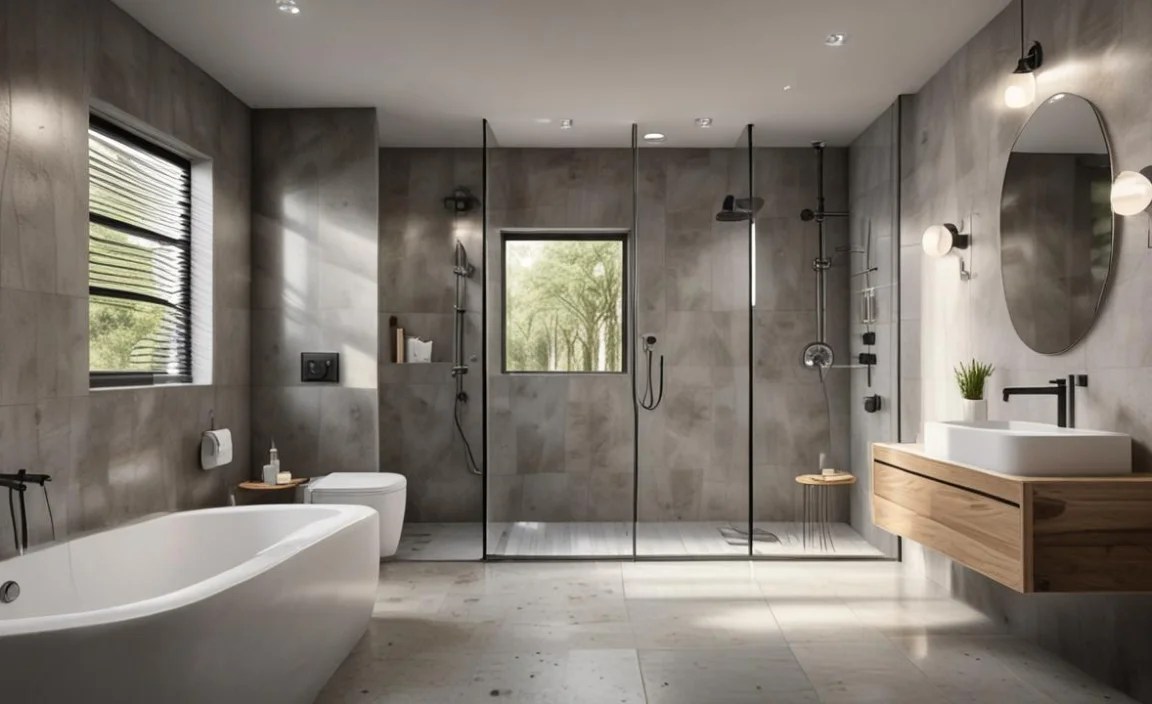
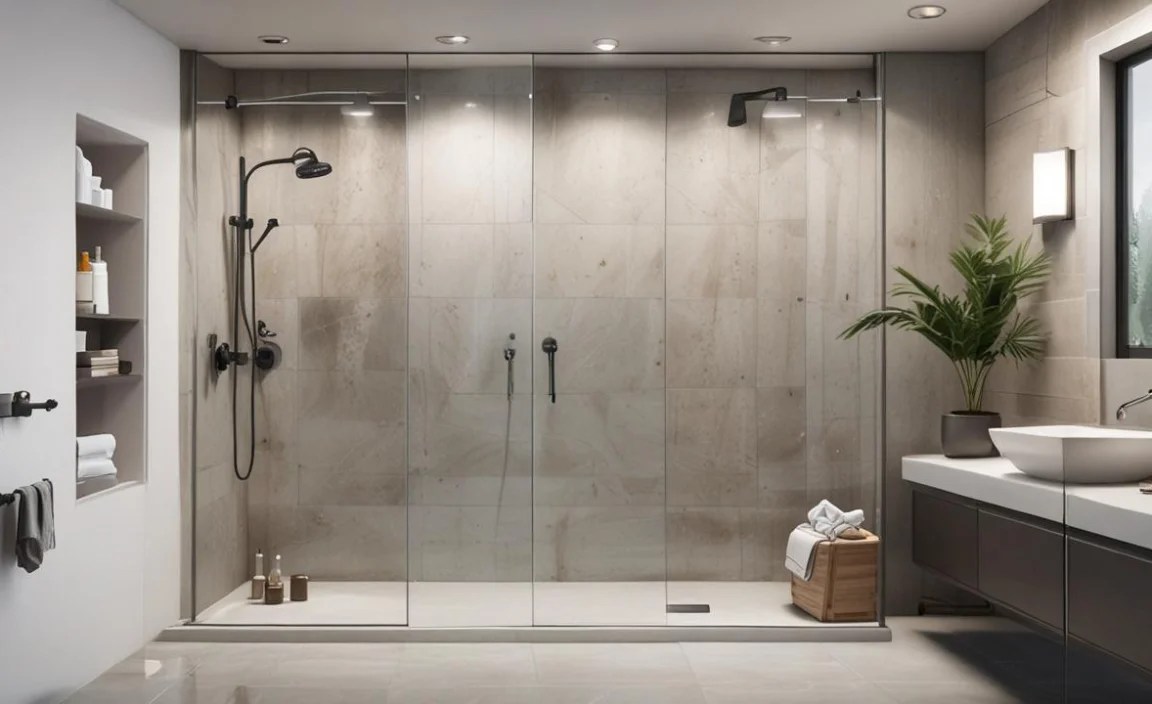
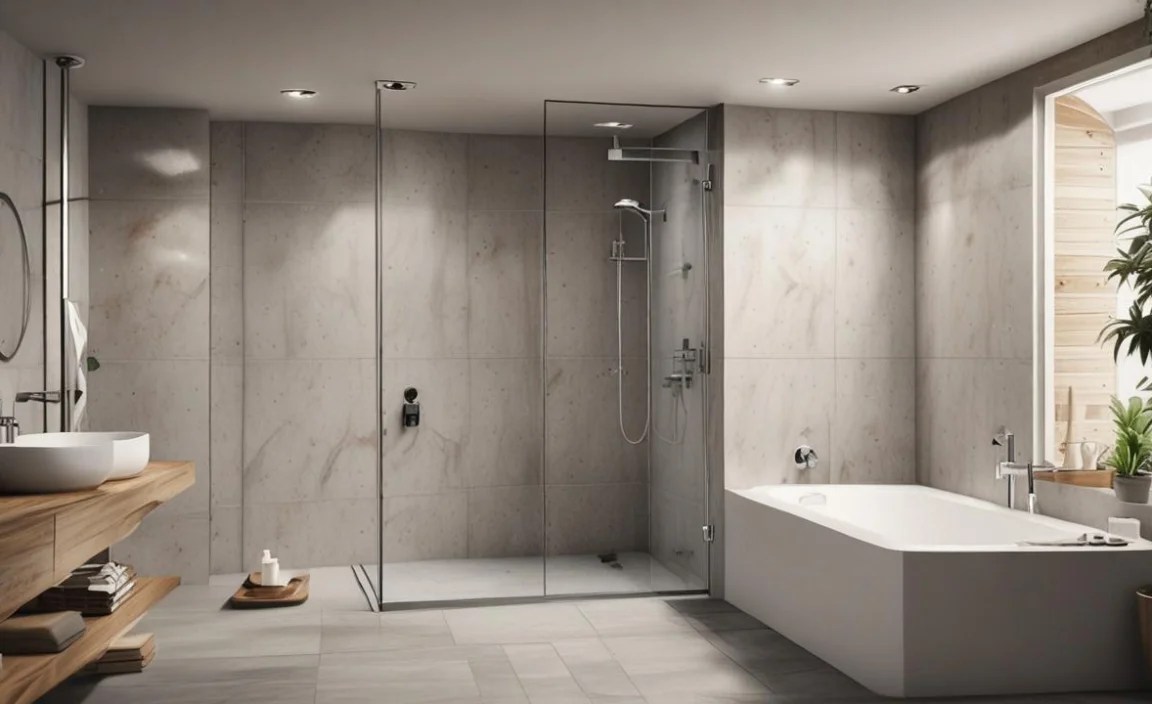
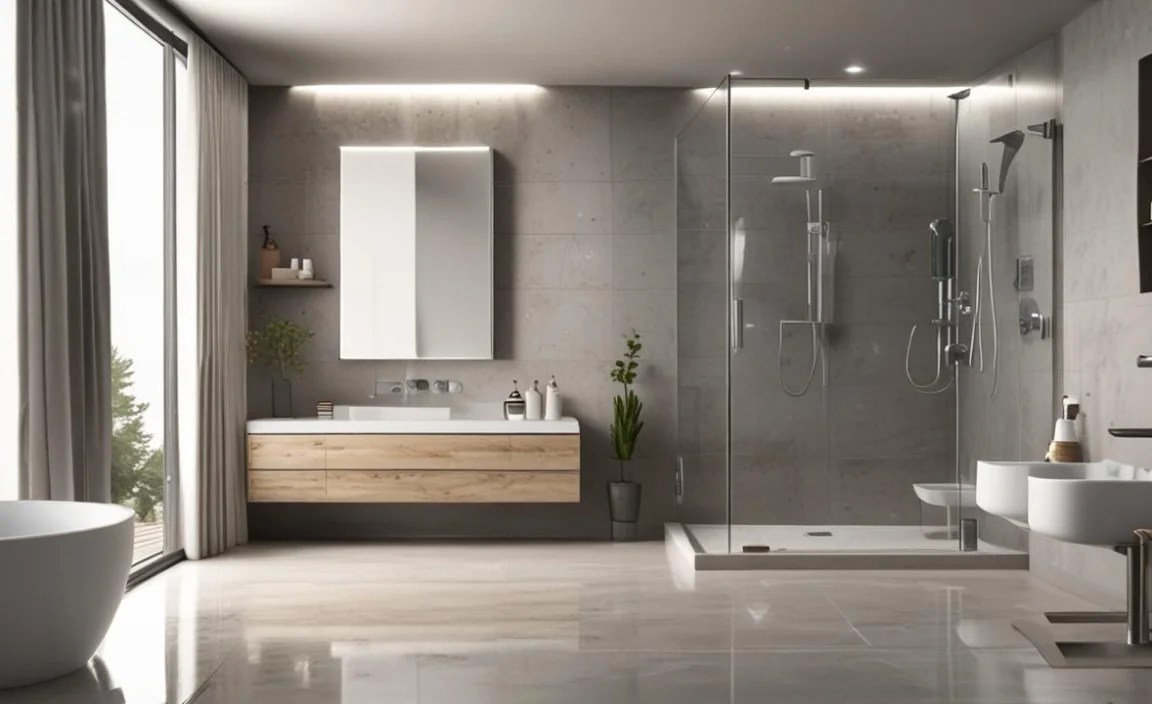
Wet rooms are designed to be a splash zone, meaning the entire bathroom is essentially a shower area. This means the plumbing isn’t just about a showerhead and a drain; it’s about creating a contained, waterproof environment that handles water efficiently and safely. The key components work together to ensure water goes where it’s supposed to – down the drain – and nowhere else. This includes the floor slope, the drainage system, and the thorough waterproofing of walls and floor.
The Importance of a Sloped Floor

Perhaps the most critical, and often overlooked, element of wet room plumbing is the sloped floor. Unlike a conventional bathroom with a shower tray or cubicle, a wet room floor itself needs to guide water. This slope is typically a gentle gradient, usually around 1:100, directing any water towards the drain. Without this subtle tilt, water would pool on the floor, leading to potential leaks and damage over time. The slope ensures that water drains away quickly and effectively, mimicking the function of a shower tray but on a larger scale.
Creating this slope often involves using a specialist floor former. These are pre-formed trays made from rigid insulation materials, designed to be tiled over. They come with the necessary slope built-in, making installation straightforward for DIYers and professionals alike. When choosing a floor former, ensure it’s compatible with your chosen flooring material (usually large format tiles or stone) and has sufficient strength to support it.
The Drainage System: More Than Just a Plug Hole
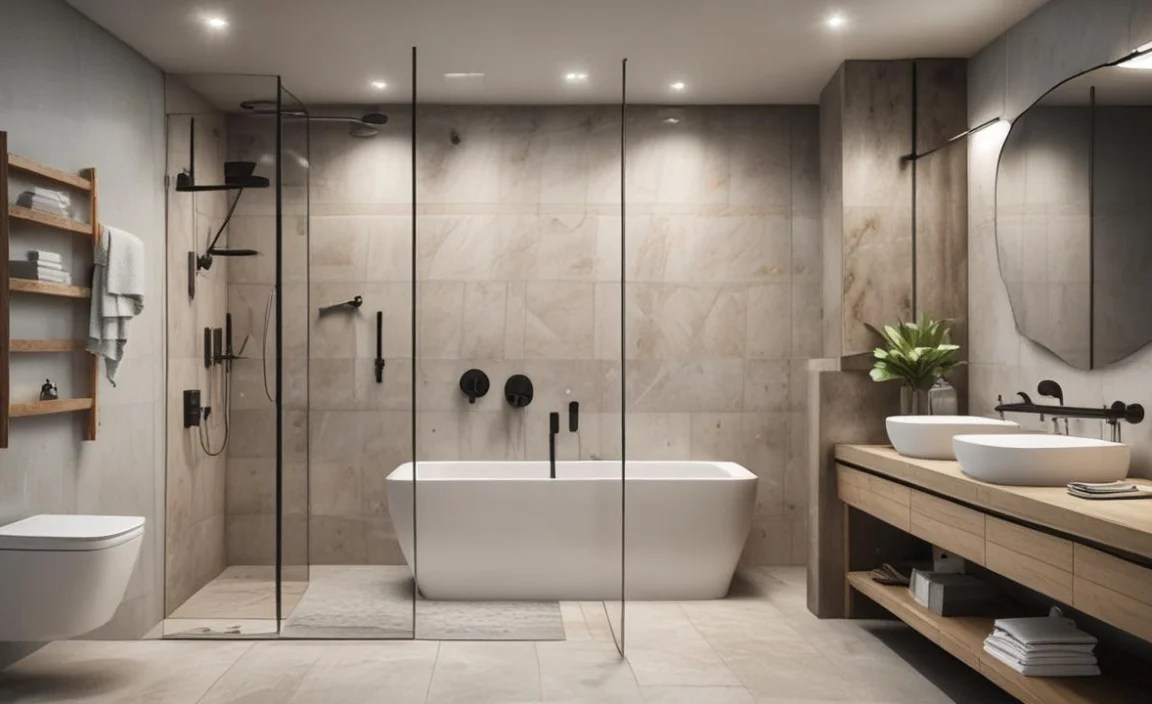
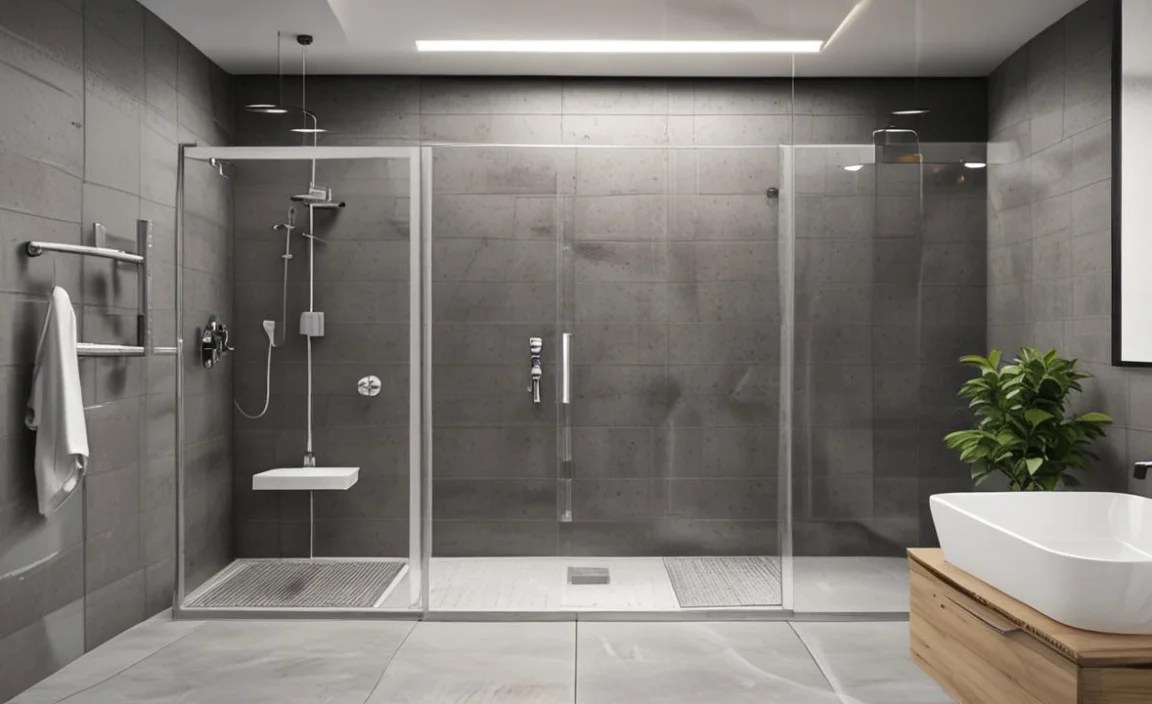
The drain in a wet room isn’t just any drain. It needs to be efficient, able to handle a significant volume of water quickly, and designed for wet room applications. Standard drains might not have the flow rate required for a fully open showering space, which can lead to water backing up on the floor. Wet room drains are often linear or linear channel drains, which are very effective at collecting water across a wider area, especially when placed along one wall or at the entrance to the shower area.
These specialized drains also usually incorporate a water trap to prevent foul odors from escaping the drains and entering the bathroom. The installation of the drain is paramount. It must be perfectly sealed to the waterproof membrane and the subfloor to prevent any water seeping underneath. For peace of mind and optimal performance, it’s crucial to install a drain with a high flow rate. You can check the Uniform Plumbing Code for specific requirements in your area, though local building regulations might also apply.
Waterproofing: The Unsung Hero
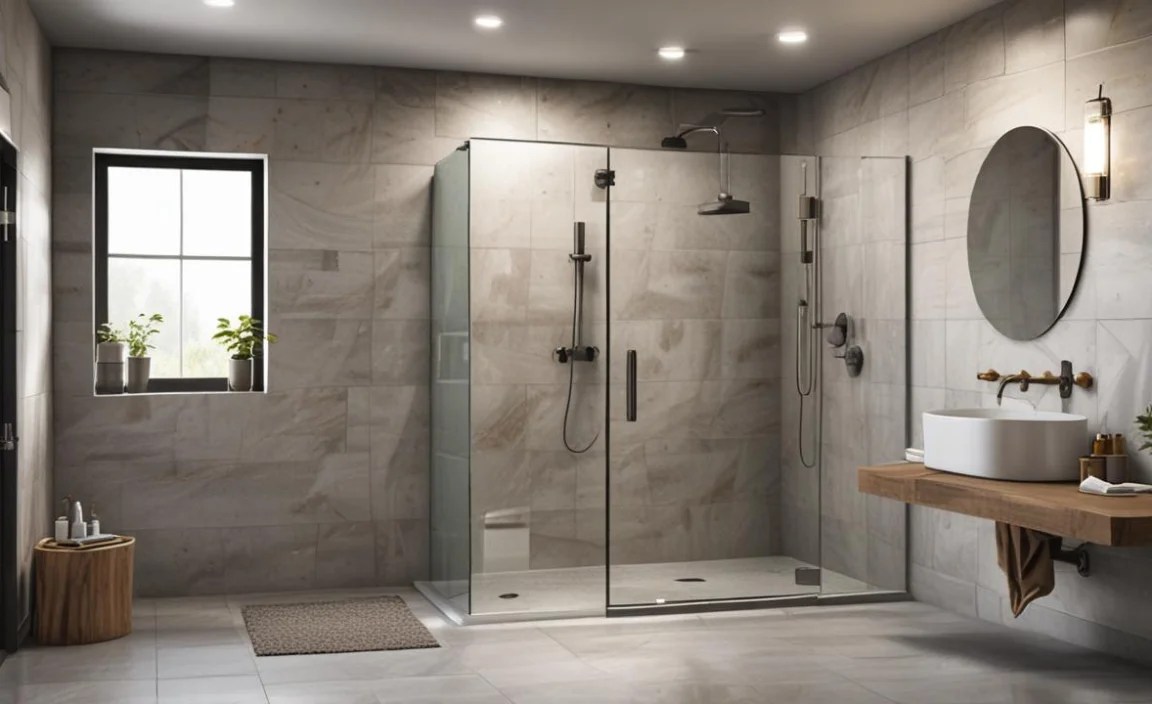
Waterproofing is the absolute bedrock of any successful wet room. Because the entire space is designed to get wet, every surface that could potentially come into contact with water – walls, floor, and even the ceiling in shower areas – needs a robust waterproofing system. This isn’t just about paint; it involves applying specialized liquid membranes, tapes, and seals at all junctions, corners, and around penetrations like pipes and drains.
A typical wet room waterproofing system includes:
- A liquid-applied membrane that creates a seamless barrier.
- Reinforcing tape installed at all corners and edges to prevent cracks.
- Sealing products for pipe penetrations and around the drain.
- Ensuring the membrane extends up the walls (usually to at least 2 meters in shower areas) to create a complete seal.
The effectiveness of the waterproofing directly dictates the longevity and safety of your wet room, protecting the underlying structure from water damage. It’s a step that cannot be rushed or compromised.
Key Plumbing Components Explained
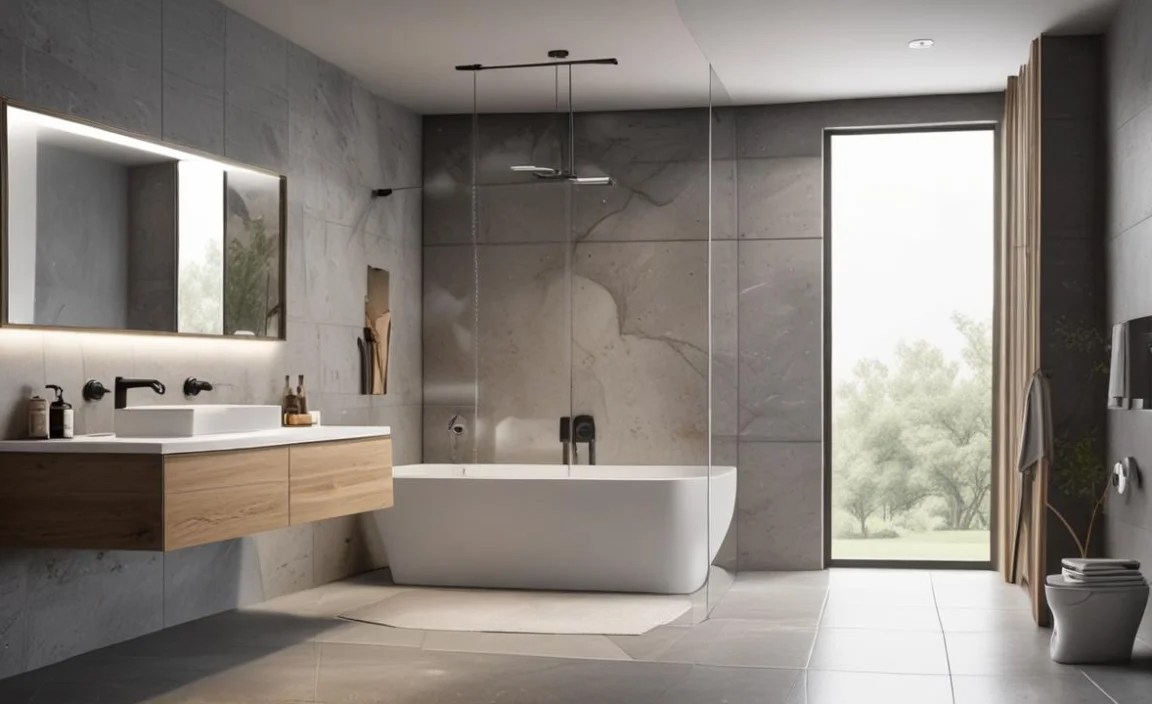
Beyond the fundamental principles, several specific plumbing components are essential for a functional wet room. Understanding these parts will help you appreciate the system as a whole and identify any potential issues.
The Drain Assembly
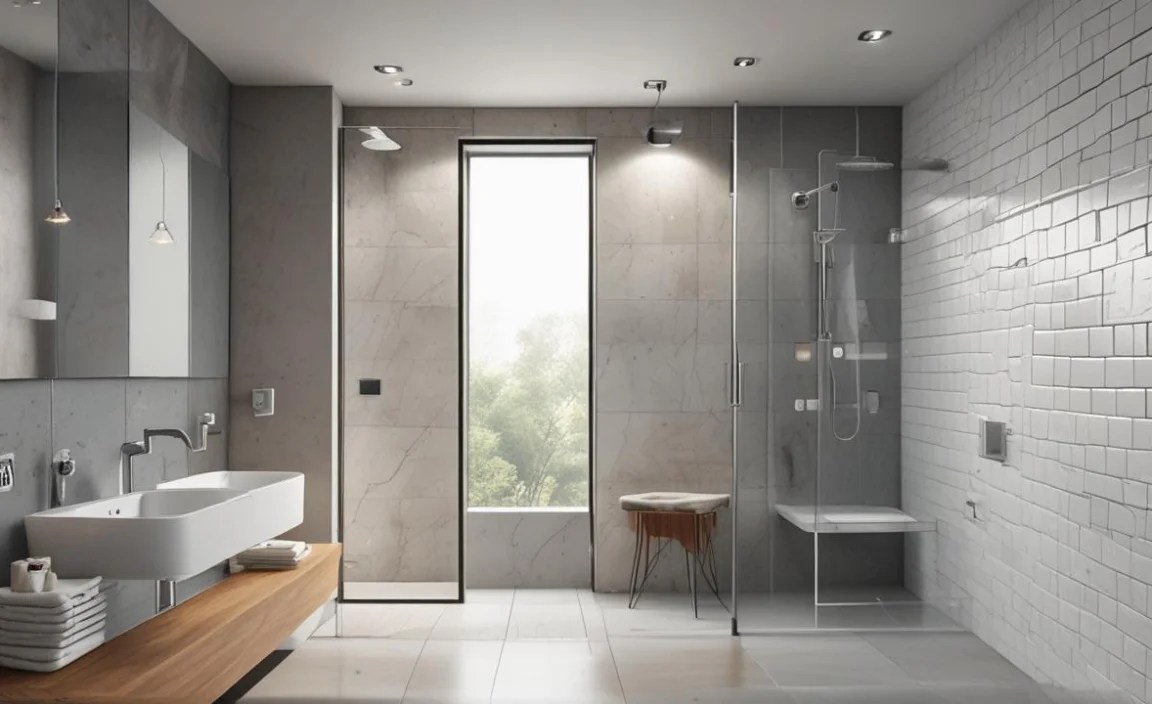
The drain assembly is the visible part of your drainage system. In a wet room, this is usually a linear drain or a slightly larger circular drain designed for high water flow. It typically consists of:
- The Grate: The decorative and functional cover that allows water to enter the drain while preventing larger debris from clogging it.
- The Flange: This is the critical connection point that attaches the drain body to the waste pipe and seals against the waterproofing membrane.
- The Trap: A U-shaped pipe that holds water to create a seal, preventing sewer gases from entering the room.
- The Drain Body: The main housing that connects the flange to the trap and waste pipe.
When selecting a drain assembly, consider its material (stainless steel is durable and resistant to corrosion), its flow rate (measured in liters per minute), and its ability to accommodate different flooring thicknesses.
Waterproofing Membranes and Tapes
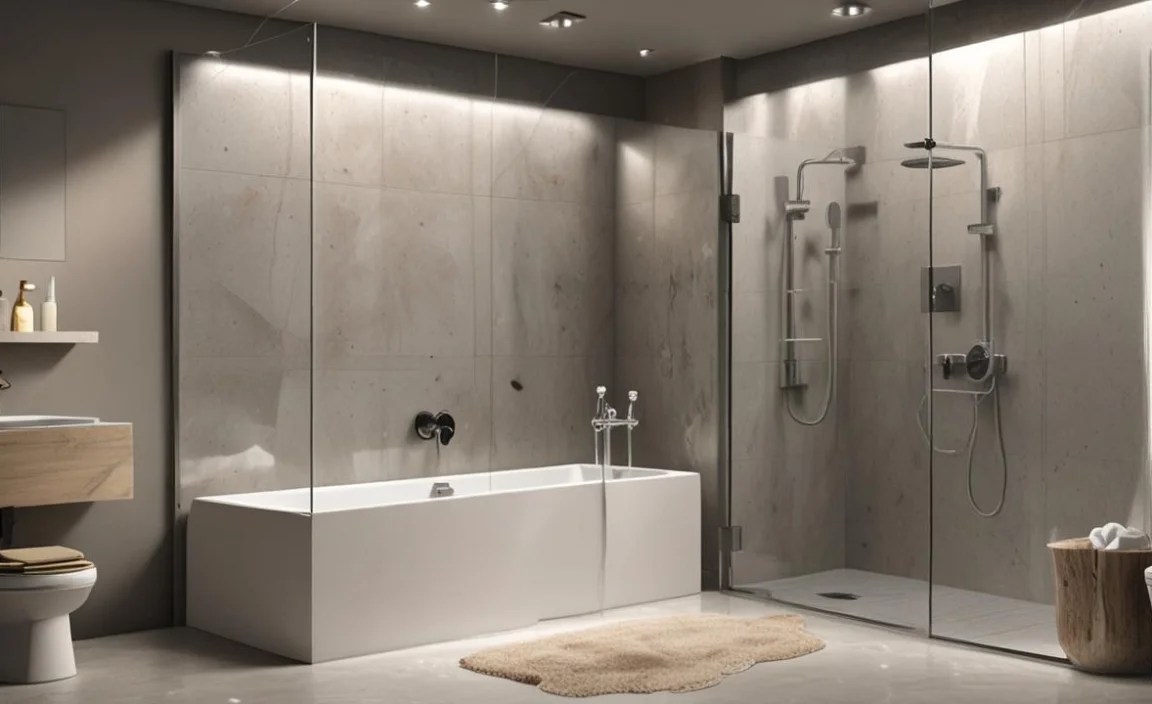
These are the workhorses that keep water contained. There are various types of waterproofing membranes, but liquid-applied ones are popular for wet rooms because they form a seamless, monolithic barrier. Key features include:
- Liquid membranes: Applied with a brush or roller, these cure to form a flexible, waterproof layer. They are ideal for covering large areas and complex shapes.
- Sheet membranes: These are large sheets of waterproof material, often made of rubber or plastic, that are adhered to the subfloor and walls. They are typically used in conjunction with liquid membranes at seams and corners.
- Sealing Tapes: These are reinforced strips of material, usually embedded in a flexible waterproof compound, used to reinforce vulnerable areas like internal and external corners, as well as around pipe penetrations.
Choosing a reputable brand that offers a complete system is crucial. Reputable manufacturers often provide installation guides and warranties that depend on using their full product range.
Pipework and Connections
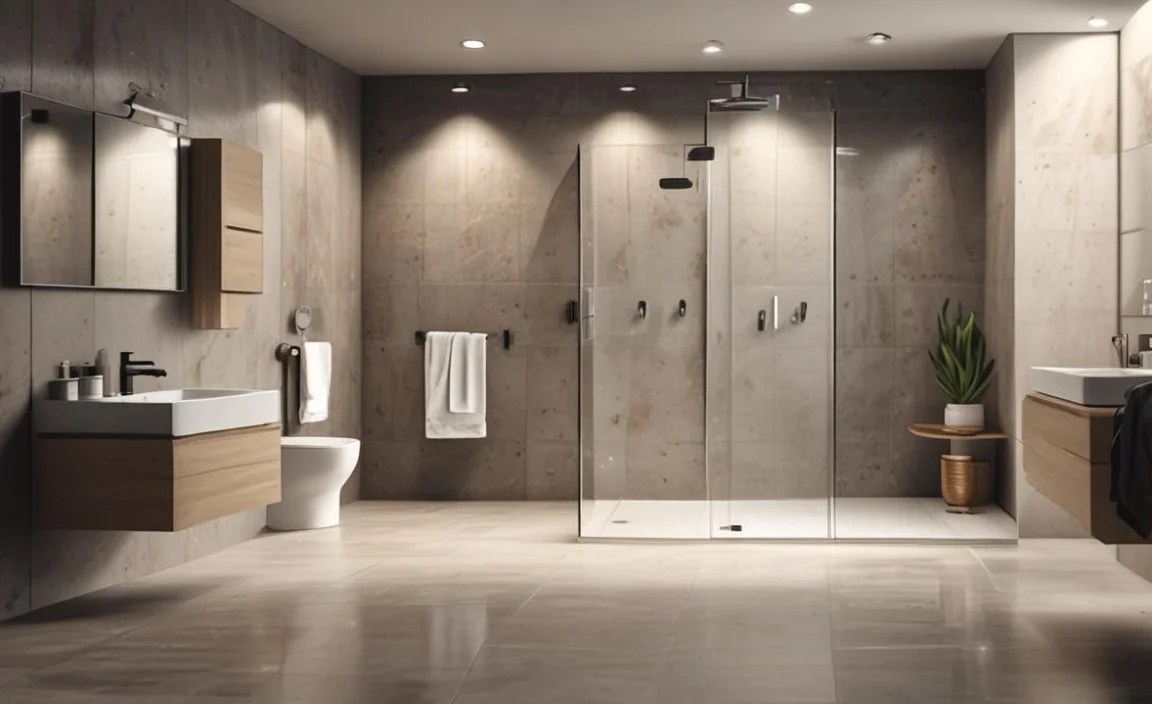
The underlying pipework in a wet room follows standard plumbing principles but needs careful consideration for seal integrity. All pipes that pass through the waterproofed areas must be fitted with specialized seals or collars that integrate directly with the waterproofing membrane. For example, the waste pipe for the drain must be securely connected and sealed to prevent any leaks into the subfloor.
Ventilation of the waste system is also critical to ensure proper drainage. This is typically achieved through a vent pipe connected to your main soil stack, allowing air to enter the system and prevent siphoning of the water trap. Without adequate ventilation, water can drain very slowly or gurgle unpleasantly.
Installation Steps: A Beginner’s Overview
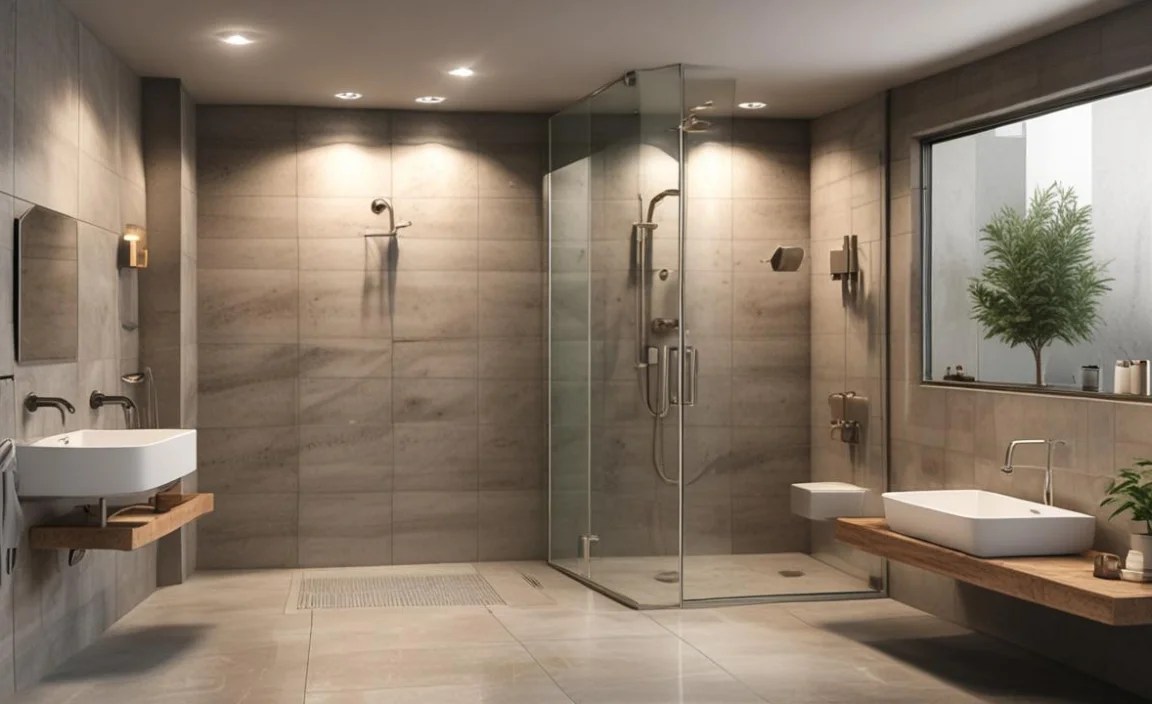
Installing wet room plumbing is a significant undertaking and often best left to professionals, especially for the waterproofing and drainage aspects. However, understanding the process can empower you to supervise or assist. Here’s a simplified breakdown of the key stages:
Preparation and Subfloor Work
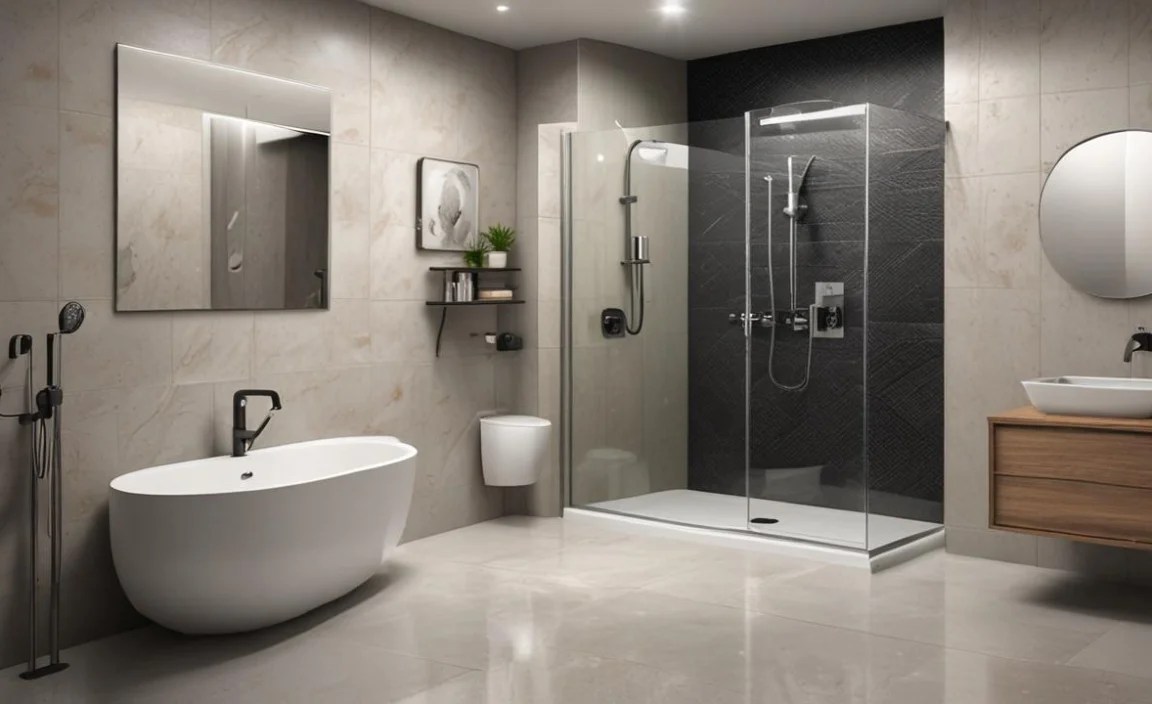
- Layout: Carefully plan the layout of your wet room, including the placement of the drain and shower area. Mark out the slope required for the floor.
- Waterproof Floor Former: If using a floor former, install it according to the manufacturer’s instructions. This will involve securing it to the subfloor and ensuring it’s level and stable.
- Creating the Slope: If not using a pre-formed tray, you’ll need to create the slope using a leveling compound or screed. This is a critical step requiring precision.
- Pipework Installation: Install all necessary waste and water pipes, ensuring they are at the correct height and slope for drainage.
Waterproofing Application
- Clean Surfaces: Ensure all surfaces are clean, dry, and free from dust or debris.
- Apply Membrane to Edges and Corners: Apply waterproofing tape to all internal and external corners, wall-to-floor junctions, and around pipe penetrations.
- Apply Liquid Membrane: Apply the liquid waterproofing membrane in multiple coats as per the manufacturer’s instructions. Pay close attention to ensuring complete coverage, especially at seams and edges. Allow each coat to dry fully before applying the next.
- Seal Around Drain: Carefully integrate the drain assembly with the waterproofing membrane, ensuring a complete seal around the flange.
Drain Installation and Final Connections
- Install Drain Body and Flange: Secure the drain body to the waste pipe and then attach the flange, ensuring it’s flush with the surface ready for tiling.
- Test for Leaks: Before tiling, it’s advisable to perform a flood test. This involves filling the tray or sloped area with water to a specific level for a set period to check for any leaks.
- Connect Fixtures: Once the waterproofing is complete and tested, connect your showerhead, taps, and any other fixtures.
Wet Room Plumbing vs. Traditional Bathroom Plumbing

The differences between wet room plumbing and traditional bathroom plumbing are significant and stem from their fundamental design. Here’s a table highlighting these distinctions:
| Feature | Wet Room Plumbing | Traditional Bathroom Plumbing |
|---|---|---|
| Drainage Area | The entire floor is designed to drain; requires a sloped floor. | Water is contained within a shower tray, cubicle, or bathtub. |
| Waterproofing | Extensive waterproofing of walls and floor is essential. | Waterproofing primarily around shower/bath areas and specific splash zones. |
| Floor Construction | Requires a waterproof floor former or a meticulously sloped screed. | Standard floor construction, with a pre-made tray or bath. |
| Drain Type | High-flow rate drain (linear or large circular) integrated into the floor. | Standard shower trap or bath waste at the bottom of the tray/bath. |
| Installation Complexity | Higher complexity, especially waterproofing and screeding. | Lower complexity, more straightforward installation. |
| Risk of Leaks | Higher risk if not installed perfectly, can affect structural elements. | Lower risk, leaks are usually contained within the tray or cubicle. |
The primary goal in a wet room is to create a fully contained, waterproof environment where water has a clear path to the drain without compromising the building’s structure. Traditional bathrooms focus on containing water within specific fixtures.
Ventilation: Keeping Your Wet Room Fresh
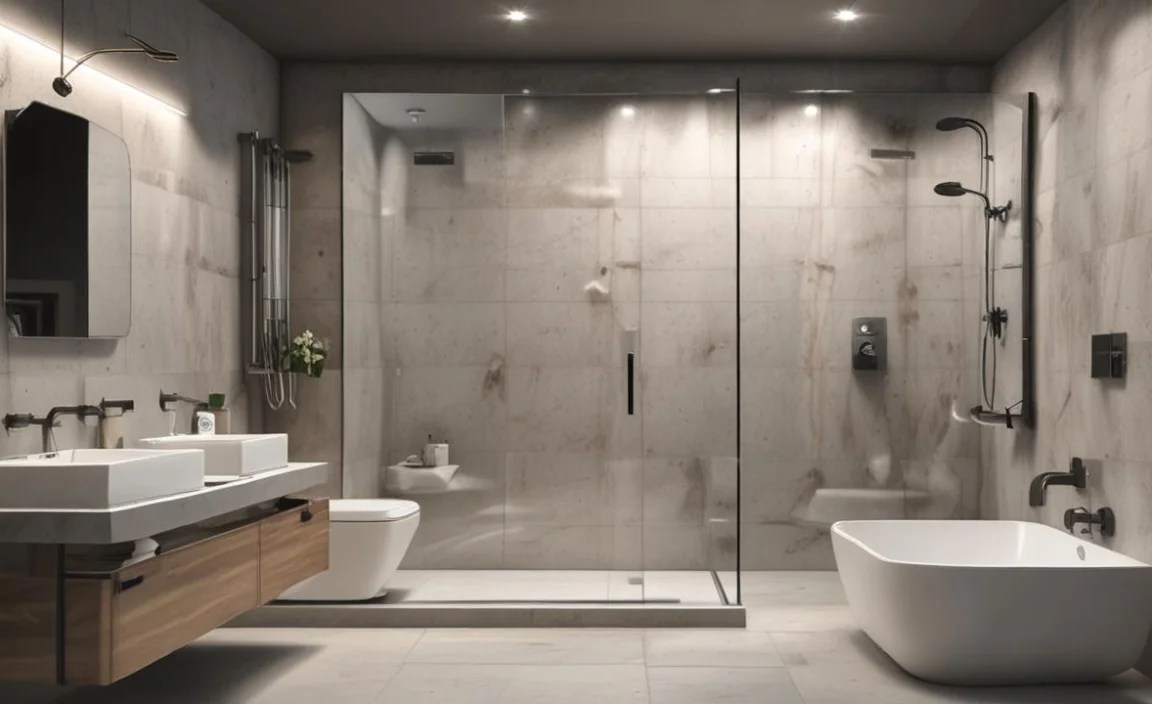
While not strictly plumbing, ventilation is intimately connected to bathroom plumbing and is absolutely crucial for a wet room. The constant moisture in a wet room can lead to condensation, mold, and a general feeling of dampness if not managed effectively. Proper ventilation helps to:
- Remove excess moisture from the air.
- Prevent the growth of mold and mildew.
- Reduce condensation on surfaces like mirrors and tiles.
- Keep the air fresh and pleasant.
There are two main types of ventilation systems for bathrooms:
Natural Ventilation
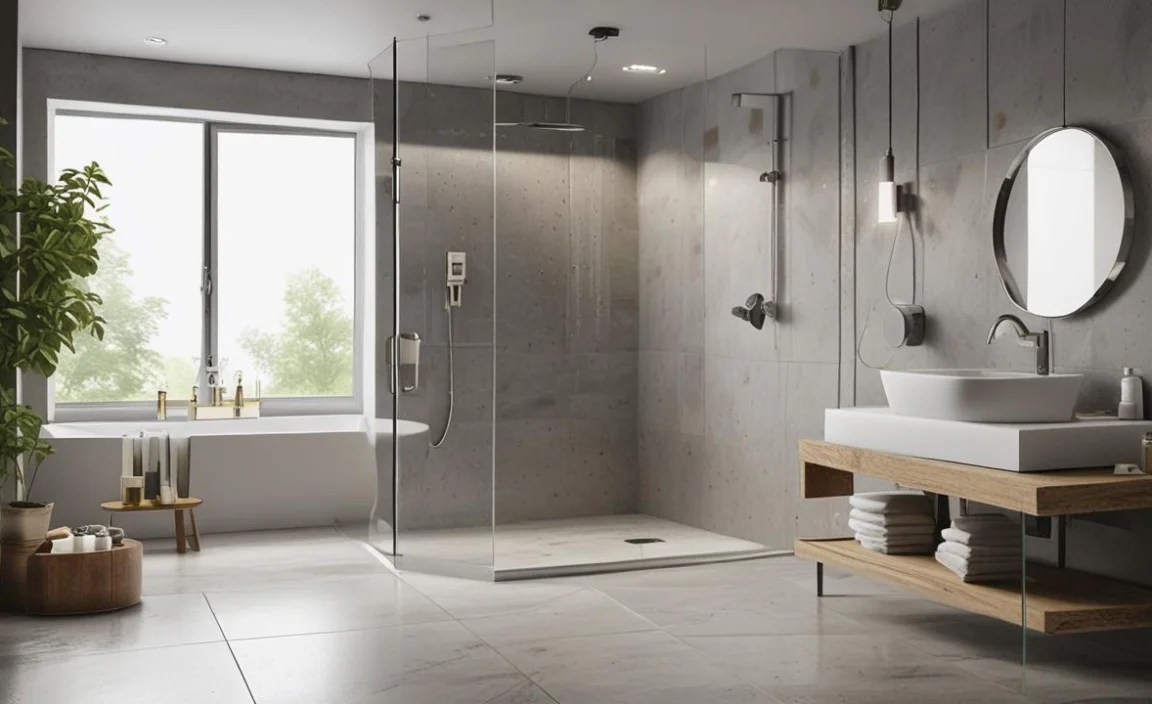
This relies on windows and trickle vents. While a window is good, it’s not always sufficient on its own, especially in smaller, internal wet rooms that lack windows. Trickle vents offer continuous, low-level ventilation but their effectiveness can be limited.
Mechanical Ventilation
This is the most effective solution for wet rooms and involves using powered extraction fans. Options include:
- Axial Fans: Similar to those found in kitchens, these are usually mounted on an external wall or through ducting.
- Centrifugal Fans: More powerful and quieter, these are often used for longer duct runs or when higher airflow is needed.
- Condensation Timer Fans: These fans operate automatically when humidity levels rise and continue to run for a set period after the humidity drops.
- Humidity-Sensing Fans: These are the most advanced, automatically detecting humidity and adjusting fan speed accordingly.
The fan should be rated for wet room use (IPX4 or higher) and properly ducted to the outside to expel moist air away from the building. You can find guidance on ventilation requirements in ENERGY STAR certified bathroom fans, which often provide airflow (CFM) and sound (Sones) ratings to help you choose the right unit.
Troubleshooting Common Wet Room Plumbing Issues
Even with the best installation, plumbing issues can arise. Here are some common problems and how to approach them:
Slow Drainage

Cause: Often due to a partial blockage in the drain or waste pipe, or inadequate ventilation of the waste system.
Solution: Try using a plunger or a drain snake to clear superficial blockages. If the problem persists, it might indicate a deeper issue with the pipework or ventilation, requiring professional assessment. Ensure the water trap isn’t blocked by debris. Regular cleaning of the drain grate is a good preventative measure.
Water Pooling on the Floor
Cause: Insufficient floor slope, or the drain is not positioned correctly or is blocked.
Solution: Check the slope of the floor. If there are areas where water consistently pools, the slope may need to be rectified, which can be a major repair involving the screed or floor former. Ensure the drain is clear of debris.
Bad Odors
Cause: A dry or faulty water trap in the drain, allowing sewer gases to enter the room. This can happen if the wet room isn’t used regularly, causing the trap to dry out.
Solution: Run water down the drain for a minute or two to refill the trap. If the smells persist, the trap itself or its seal might be compromised, requiring inspection.
Leaks
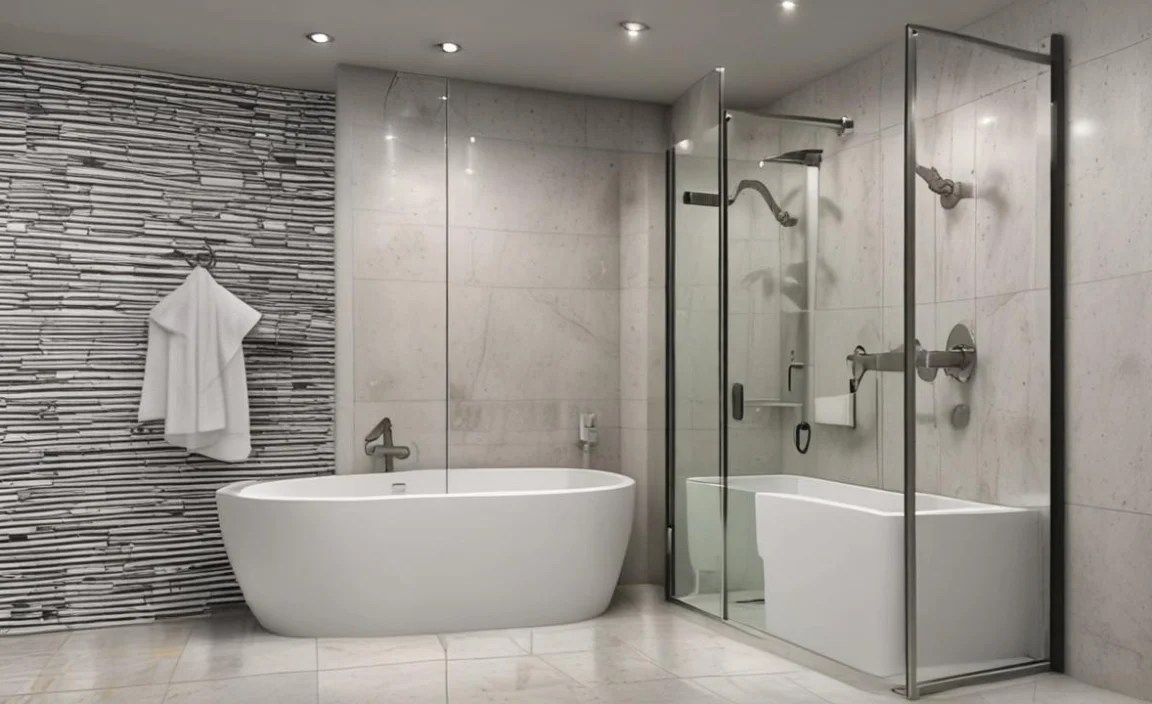
Cause: Failure in the waterproofing system, particularly at seams, corners, or around penetrations. Can also be faulty pipe connections.
Solution: This is the most serious issue. It requires immediate attention to prevent structural damage. You’ll need to identify the source of the leak, which may involve carefully removing wall or floor finishes. Repairing leaks in the waterproofing is complex and often necessitates professional help. A flood test after any repair is essential.
Maintaining Your Wet Room Plumbing
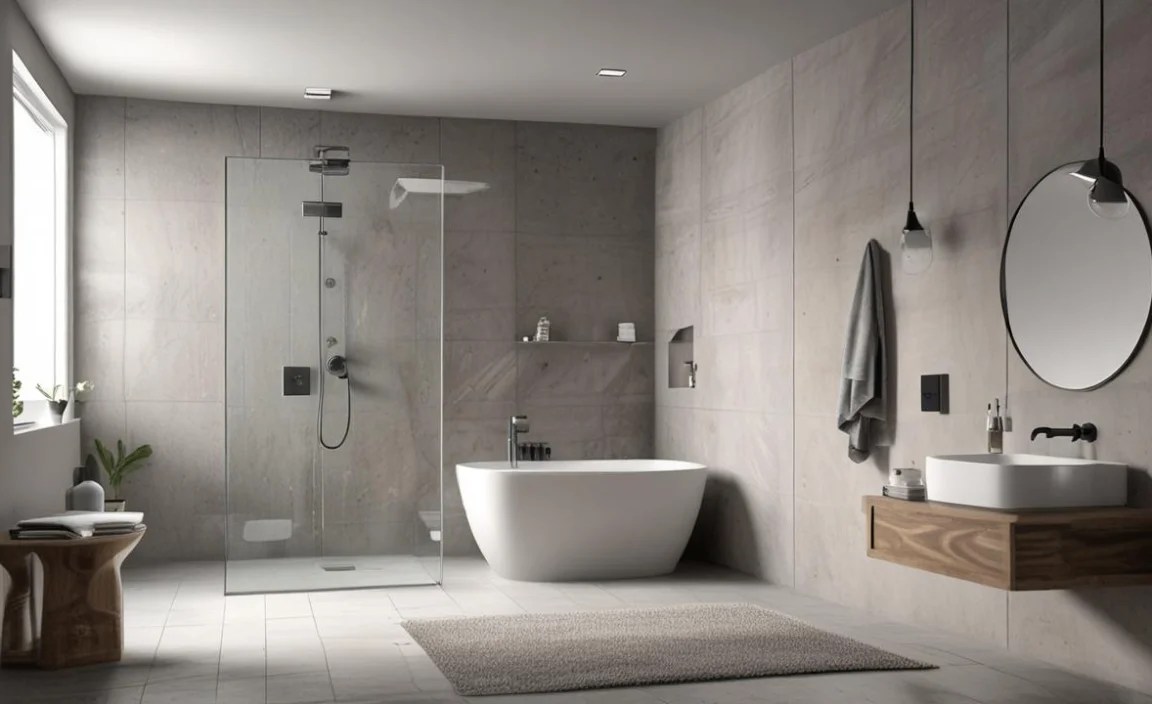
Regular maintenance is key to ensuring your wet room plumbing functions smoothly and lasts for years. Here are some tips:
- Clean the Drain Regularly: Remove any hair, soap scum, or other debris from the drain grate to prevent blockages.
- Run Hot Water: Periodically run hot water down the drain to help dissolve any greasy build-up.
- Check Seals and Grout: Inspect the seals around the drain and any other fixtures for signs of wear or damage. Check grout lines for cracks. Address any issues promptly.
- Ensure Proper Ventilation: Use your extractor fan during and after showering to remove excess moisture. Keep vents clean and unobstructed.
- Refill Dry Traps: If the wet room isn’t used frequently, periodically pour a small amount of water down the drain to ensure the water trap remains functional.
FAQ: Your Wet Room Plumbing Questions Answered
Q1: Do I need a special drain for a wet room?
A1: Yes, it’s highly recommended. Wet room drains are designed for higher water flow rates and integrate seamlessly with waterproofing systems, unlike standard drains.
Q2: How much slope does a wet room floor need?
A2: Typically, a gentle slope of 1:100 is required, meaning a 1cm drop for every 100cm (or 1 meter) of floor space, directing water towards the drain.
Q3: Can I waterproof a wet room myself?
A3: While DIY is possible with careful research and attention to detail, waterproofing is critical. Many homeowners opt for professional installation to ensure it’s done correctly and to benefit from guarantees.
Q4: How do I prevent mold in my wet room?
A4: Excellent ventilation is key. Use your extractor fan consistently, ensure there are no obstructions to airflow, and clean surfaces regularly to prevent mold growth.
Q5: What happens if the waterproofing fails?
A5: Failed waterproofing can lead to significant water damage to
