
Quick Summary: Transform your bathroom on a budget with smart DIY accessories! This guide reveals essential, affordable finds that deliver big style impact without breaking the bank. Get ready for a fresh, updated space you’ll love.
Is your bathroom feeling a little tired? Maybe the fixtures are dated, or the whole space just lacks sparkle. It’s a common frustration, and the thought of renovating can feel overwhelming and expensive. But what if you could give your bathroom a beautiful facelift without a huge cost? You can! With a few clever DIY accessory choices, you can make a dramatic difference. This guide is all about finding those essential, budget-friendly pieces that pack a punch. Get ready to discover how to refresh your bathroom with style and ease, one accessory at a time.
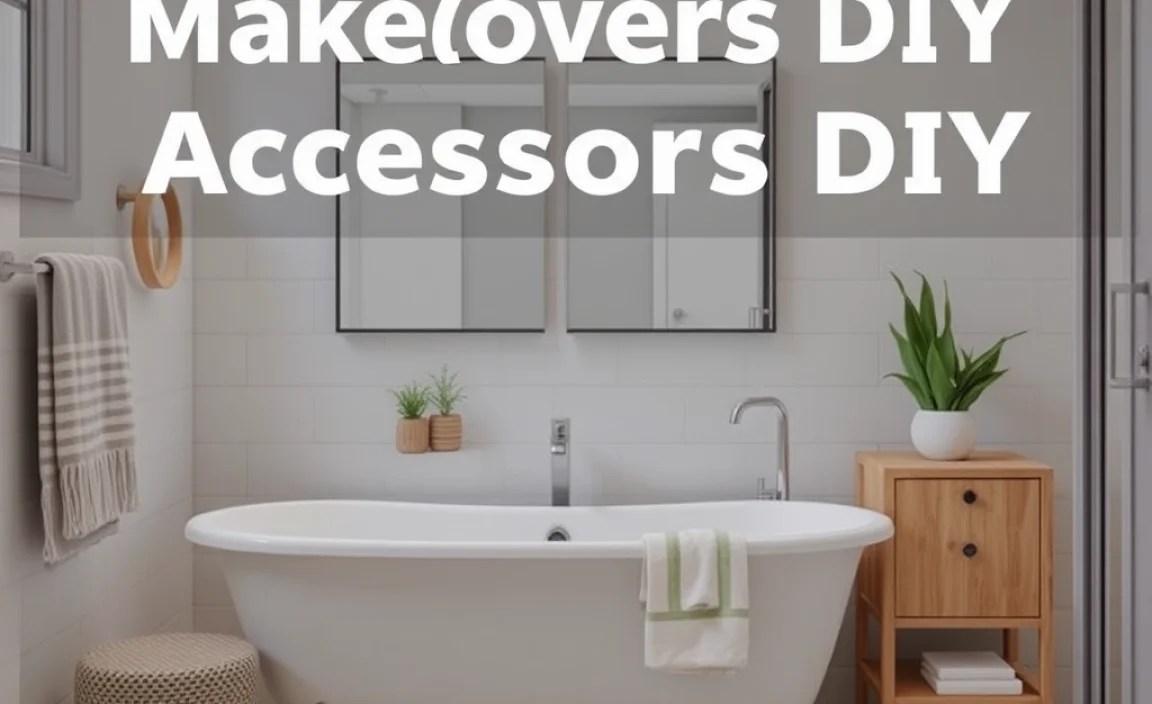
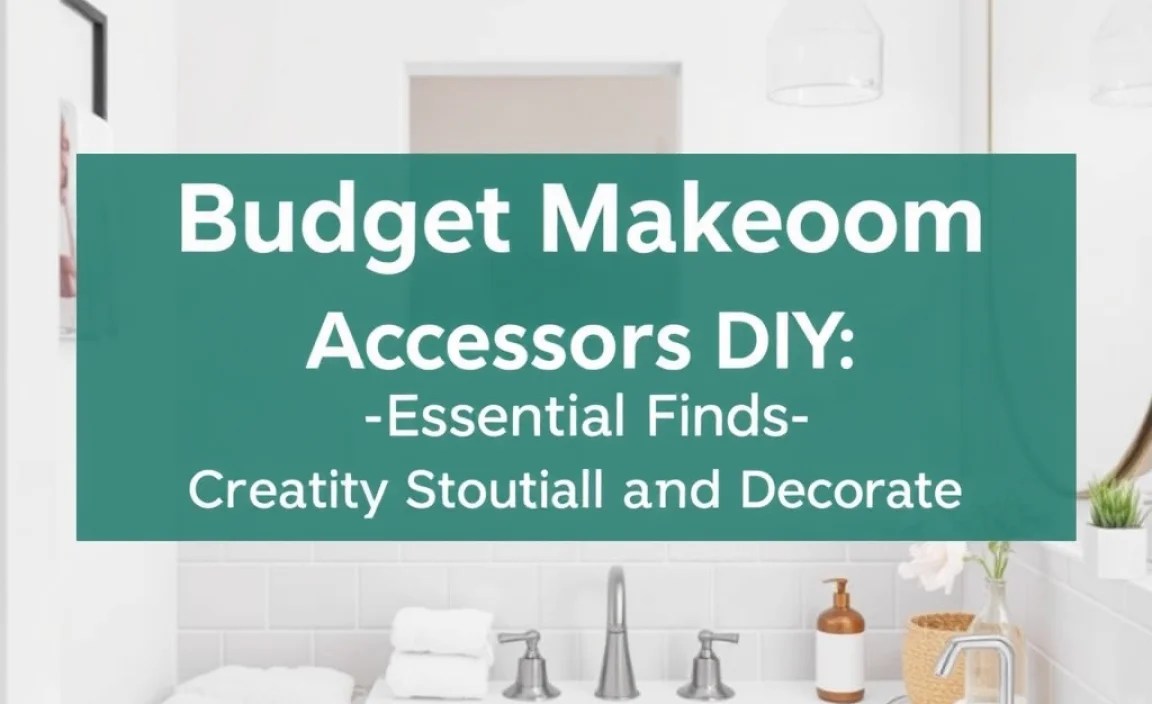
Budget Bathroom Makeover Accessories DIY: Essential Finds for a Fresh Look

Hey everyone, Bryan Lee here! Your go-to guy for tackling home projects with confidence. Today, we’re diving into one of the most used rooms in the house: the bathroom. We’ll explore how to give it a complete refresh using affordable DIY accessories. Forget costly renovations; we’re talking clever tricks and essential finds that make a big impact. Whether it’s your main family bathroom, a small powder room, or an en-suite, these tips are designed for everyone, no matter your DIY skill level.
A bathroom makeover doesn’t always mean tearing down walls or replacing every fixture. Often, it’s the little things that make the biggest difference. Think about it: a stylish new shower curtain, updated cabinet hardware, or a fresh coat of paint can completely change the vibe of a room. When you focus on accessories, you tap into creative solutions that are both cost-effective and highly personal. We’re going to break down the must-have accessories that offer the most bang for your buck and walk you through how to integrate them seamlessly into your space.
Our goal is to empower you to create a bathroom that looks and feels brand new – a space you’ll be proud to show off. We’ll cover lighting, storage, decor, and those finishing touches that bring it all together. Ready to transform your bathroom into a sanctuary without breaking the bank? Let’s get started on this exciting DIY journey!
Understanding Your Bathroom’s Potential
Before we jump into specific accessories, it’s helpful to look at your current bathroom and identify what’s working and what isn’t. This isn’t about pointing fingers at your old fixtures; it’s about seeing opportunities for change. Stand back and observe. Does the lighting feel dim and uninviting? Is storage a constant battle? Are the colors feeling drab?
Think about the feeling you want to evoke in your refreshed bathroom. Do you crave a spa-like retreat, a bright and airy space, or a modern, minimalist haven? Identifying this desired aesthetic will guide your accessory choices. For instance, a spa-like feel might call for natural textures and soft lighting, while a modern look might lean towards sleek lines and bold accents.
Don’t be afraid to get a little creative. Sometimes, a simple shift in perspective can reveal easy solutions. For example, a plain mirror can become a statement piece with a DIY frame, or a bare wall can come alive with some tasteful shelves. The key is to see your bathroom not just as it is, but as what it could be with a little DIY magic.
Essential Budget Bathroom Makeover Accessories: The Big Impact Items

These are the accessory categories that tend to offer the most visual and functional transformation for your DIY budget. Focusing your efforts and funds here will yield the most noticeable results.
1. Lighting Upgrades: More Than Just Brightness
Lighting is arguably the most transformative element you can add or change in a bathroom, and it doesn’t have to involve complex electrical work. Small, smart changes can dramatically improve ambiance and functionality.
- Vanity Lighting: The lights around your mirror are key. If you have an old, outdated fixture, consider replacing it with a modern LED bar light or a set of elegant sconces. Many affordable options are available that simply wire into your existing setup. For even simpler changes, if your current fixture is in good condition but not your style, you can often replace just the shades or globes.
- Accent Lighting: Think about subtle lighting that adds mood. Battery-operated LED strip lights can be placed under cabinets or behind a mirror for a soft glow. Some smart bulbs also allow you to change colors or dimness via an app, adding a touch of modern luxury.
- Natural Light Maximization: If you have a window, ensure it’s clean and free of obstructions. Consider a sheer or frosted film for privacy if needed, which still allows light to permeate.
DIY Tip: Always turn off the power to the fixture at the breaker box before doing any electrical work. If you’re unsure about wiring, consult a qualified electrician. For simple shade replacements or adding battery-operated lights, safety is much simpler.
For more on safe electrical practices, the Occupational Safety and Health Administration (OSHA) provides excellent resources on electrical safety guidelines.
2. Mirror Makeovers: Reflecting Your Style
A mirror can anchor your vanity area and significantly influence the room’s perceived size and style. A dated or basic mirror can be an eyesore, but a beautiful one can be a focal point.
- Framing a Basic Mirror: If you have a builder-grade mirror that’s glued to the wall or has a flimsy frame, you can often add a stylish new frame. Measure your mirror and purchase inexpensive wood molding from a hardware store. Cut it to size, paint or stain it to match your decor, and then attach it around the existing mirror using strong adhesive or small finishing nails.
- Replacing the Mirror: If framing isn’t an option, consider replacing the mirror entirely. Look for oversized mirrors at thrift stores or discount home goods stores. You can then paint or add decorative elements to these finds. Mounting a new, stylish mirror can instantly update the vanity area.
- Adding a Second Mirror: In a larger bathroom or a space that feels a bit bare, consider adding a decorative accent mirror on a different wall to bounce light and add visual interest.
DIY Tip: When adding a frame to a mirror directly on the wall, use a level to ensure your frame is straight. For hanging heavy mirrors, always use appropriate wall anchors or locate wall studs for secure mounting.
3. Hardware Updates: Small Changes, Big Difference
The knobs, pulls, and handles on your cabinets and drawers might seem small, but they’re like the jewelry of your bathroom. Swapping out old, tarnished, or mismatched hardware for something new and stylish can elevate the entire look.
- Cabinet Knobs & Pulls: This is one of the easiest DIY upgrades. Measure the distance between the screw holes on your existing pulls to ensure you buy the correct size. You can find a huge variety of styles, finishes (like brushed nickel, matte black, brass, or glass), and materials at surprisingly affordable prices.
- Towel Bars & Toilet Paper Holders: If yours are old, chipped, or don’t match your new hardware, replace them. This is usually a straightforward screw replacement. Pay attention to the finish to create a cohesive look with your other fixtures.
- Faucet Facelift (Optional): While replacing a faucet is a bit more involved, it can dramatically update a vanity. If your current faucet is functional but dated, consider if different knobs or handles are available, or if a good cleaning and polish can revive it. If it’s truly past its prime, look for budget-friendly modern options.
DIY Tip: Keep your old hardware. Sometimes, a good scrub and a coat of metallic spray paint can give outdated hardware a new lease on life, saving you money!
4. Paint Power: A Fresh Canvas
The simplest and often most impactful DIY for any room is a fresh coat of paint. In a bathroom, paint can cover outdated colors, fix minor wall imperfections, and set the mood.
- Wall Color: Choose colors that make your bathroom feel larger and brighter. Light blues, greens, soft grays, and crisp whites are popular choices. Make sure to use bathroom-specific paint that is moisture-resistant and mildew-resistant.
- Accent Wall: If painting the whole room feels like too much, consider an accent wall. This could be behind the vanity, the toilet, or the bathtub. You could also use a bold color or even a water-resistant wallpaper for this feature.
- Cabinet Painting (Optional): If your vanity cabinets are structurally sound but have a dated finish, you can paint them. This is a more involved process requiring proper prep work (cleaning, sanding, priming) but can yield stunning results.
DIY Tip: Proper ventilation is crucial when painting, especially in a bathroom. Open windows and use fans. Ensure you use a high-quality primer and finish with at least two coats of your chosen paint for durability.
According to the Environmental Protection Agency (EPA), if your home was built before 1978, lead paint might be present. It’s important to check for lead paint and take proper precautions if disturbing painted surfaces during your renovation project.
5. Shower Curtain & Textiles: Adding Texture and Color
Your shower curtain is often one of the largest visual elements in a bathroom, making it a prime candidate for a budget makeover.
- New Shower Curtain: Opt for a fabric curtain instead of plastic for a more luxurious feel. There are thousands of patterns and colors available. Look for mildew-resistant options made from polyester or cotton blends for longevity.
- New Bath Mat & Rugs: Soft, absorbent bath mats and rugs can add comfort and style. Consider coordinating them with your shower curtain or introducing a complementary color.
- Towels: Even if you don’t replace the curtain or mats, refreshing your towels can inject new life into the space. Matching or coordinating towels can make a surprisingly big difference in perceived tidiness and style.
DIY Tip: Hang your new fabric shower curtain liner inside the tub/shower area to prevent water from splashing out. Ensure your bath mats are dried regularly to prevent mildew.
DIY Bathroom Accessory Projects: Step-by-Step

Let’s get hands-on with a couple of popular and impactful DIY accessory projects.
Project 1: DIY Framed Mirror
Difficulty: Easy
Time: 2-4 hours (plus drying time)
Materials Needed:
- Existing bathroom mirror (glued to wall or existing frame)
- Wood molding or trim (enough for all four sides of your mirror)
- Measuring tape
- Miter saw or handsaw with miter box
- Wood glue
- Finishing nails (small)
- Hammer
- Sanding block
- Paint or wood stain
- Painters tape
- Strong adhesive (e.g., Liquid Nails) if attaching to a frameless mirror
Steps:
- Measure Your Mirror: Carefully measure the height and width of your mirror’s viewing area.
- Cut the Molding: Using your miter saw or handsaw with a miter box, cut four pieces of molding. Two pieces should be the length of your mirror’s width, and two should be the length of your mirror’s height. Each cut should be at a 45-degree angle so the corners meet perfectly.
- Dry Fit the Frame: Lay the cut pieces around your mirror to ensure they fit snugly and the corners align. Adjust cuts as needed.
- Assemble the Frame: Apply wood glue to the mitered edges where the pieces will join together. Clasp them together and secure with finishing nails, hammering them gently through the molding and into the adjoining piece. You can also use clamps to hold the frame together while the glue dries.
- Prepare for Finishing: Once the glue is dry and the frame is sturdy, lightly sand any rough edges or seams. Wipe away dust.
- Paint or Stain: Apply your chosen paint or stain. Use painters tape to protect the mirror’s surface if needed. Apply multiple thin coats for an even finish, allowing adequate drying time between coats.
- Attach the Frame:
- For Mirrors on a Wall: If your mirror is directly on the wall and has no existing frame, apply a generous bead of strong adhesive around the back edges of your newly finished frame. Carefully position the frame around the mirror and press firmly. You may need to support it temporarily while the adhesive cures according to the product instructions.
- For Mirrors with a Thin Existing Frame: You might be able to adhere your new frame directly over the old one using wood glue and finishing nails (ensure nails are short enough not to go through the mirror backing).
- Final Touches: Remove any protective tape. Let the adhesive completely cure before cleaning the mirror.
Project 2: DIY Floating Shelves
Difficulty: Medium
Time: 3-5 hours (plus drying time)
Materials Needed:
- Wooden boards (e.g., pine, oak – size depends on your desired shelf dimensions)
- Floating shelf hardware (brackets)
- Stud finder
- Level
- Drill with appropriate drill bits
- Screws (long enough to go through drywall and into studs)
- Sandpaper (medium and fine grit)
- Paint, stain, or sealant
- Measuring tape
- Pencil
Steps:
- Plan Your Shelves: Decide on the size, location, and number of shelves. Consider what you want to store on them.
- Prepare the Wood: Cut your wooden boards to the desired length. Sand them thoroughly, starting with medium-grit sandpaper and finishing with fine-grit for a smooth surface. Wipe away all dust.
- Finish the Wood: Apply your chosen paint, stain, or sealant. Follow the product instructions for application and drying times. This protects the wood and adds aesthetic appeal.
- Locate Studs: Use a stud finder to locate the wall studs where you want to install your shelves. Mark their positions lightly with a pencil. Shelves are most stable when attached to studs.
- Install Brackets: Hold a floating shelf bracket against the wall at your desired height. Use a level to ensure it’s perfectly straight. Mark the screw hole locations on the wall, ensuring they align with the studs you marked. Pre-drill pilot holes into the studs. Securely attach the brackets to the wall using your long screws. Repeat for all brackets needed for the shelf.
- Attach Shelves to Brackets: Slide your finished wooden boards onto the installed brackets. Some floating shelf systems have screws on the underside of the shelf that secure it to the bracket. Others simply rest on the bracket. Ensure the shelf is flush against the wall and secure.
- Test Stability: Gently test the stability of the shelf before placing heavy items on it.
A great resource for understanding how to properly locate wall studs and use anchors for shelves is This Old House.
Creative Storage Solutions: Declutter and Decorate
In a bathroom, especially a smaller one, effective storage is key to maintaining a tidy and functional space. Accessories can help you achieve this without adding bulky furniture.
1. Wall-Mounted & Over-the-Door Organizers
These are lifesavers for maximizing vertical space.
- Over-the-Door Shoe Organizer (with clear pockets): These aren’t just for shoes! They are fantastic for storing toiletries, cleaning supplies, hair products, small towels, or even craft supplies. The clear pockets let you see what’s inside.
- Wall-Mounted Shelves: As mentioned in our DIY project, simple floating shelves can hold extra toiletries, decorative items, or rolled towels.
- Pegboards: A small pegboard mounted on an unused wall can be customized with hooks and small baskets to hold everything from toothbrushes to hair dryers.
2. Baskets and Bins: Stylish Containment
Baskets and bins bring order and style to open shelving, countertops, and even inside cabinets.
- Woven Baskets: Natural materials like seagrass or wicker add warmth and texture. Use them for storing extra toilet paper, lotions, or spare towels.
- Clear Acrylic Bins: Ideal for drawers or cabinets, clear bins allow you to see contents easily and group similar items together (e.g., makeup, first-aid supplies).
- Decorative Trays: A stylish tray on the vanity can corral smaller items like soap dispensers, cotton swabs, and small decorative pieces, keeping the surface tidy and chic.
3. Vertical Storage Solutions
Think upwards to free up floor and counter space.
