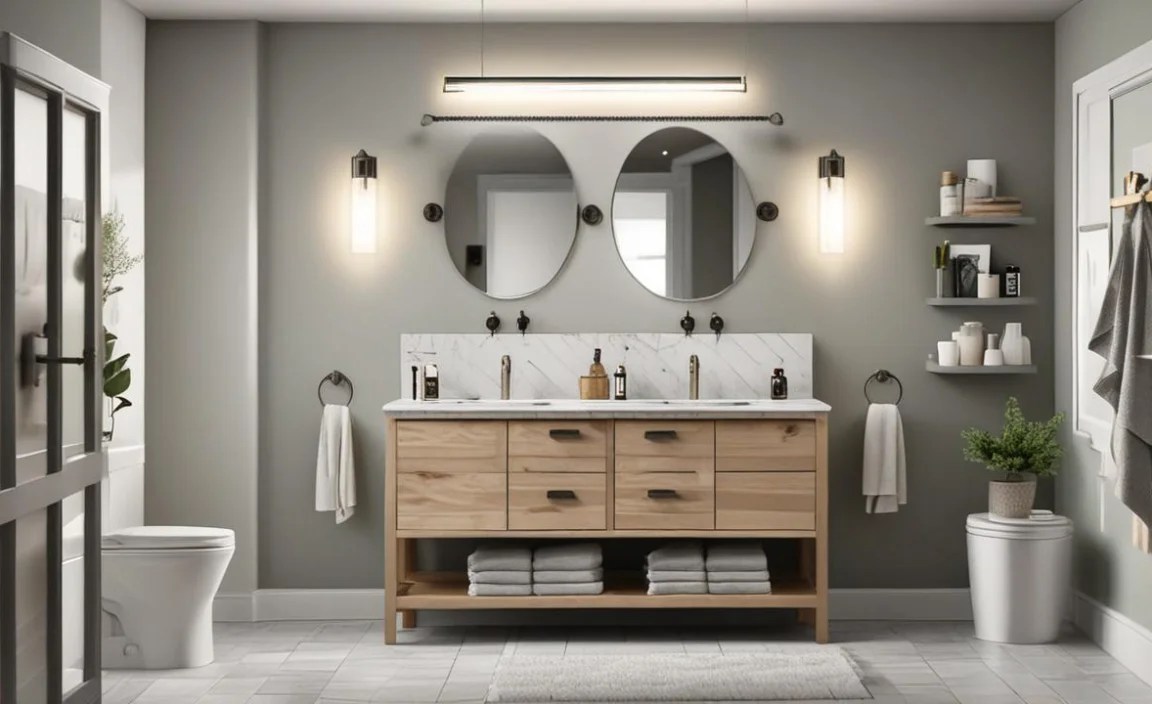
Quick Summary: Transform your bathroom on a budget with space-saving accessories! Discover smart storage solutions and clever essentials that declutter brilliantly, enhance your small space, and boost your bathroom’s style without breaking the bank. Get ready for a functional and beautiful refresh!
Is your bathroom feeling cramped? Do you dream of a space that’s organized and stylish but dread the thought of a costly renovation? You’re not alone! Many of us face the challenge of making small bathrooms feel bigger and more functional, especially when working with a tight budget. The good news is, you don’t need to knock down walls to achieve a fantastic transformation. With the right accessories, you can unlock hidden storage, declutter your essentials, and create a serene, organized haven. We’ll explore smart, budget-friendly options that make a big impact. Get ready to discover the genius of space-saving bathroom essentials!
Why Space-Saving Accessories Are Your Budget Bathroom Hero
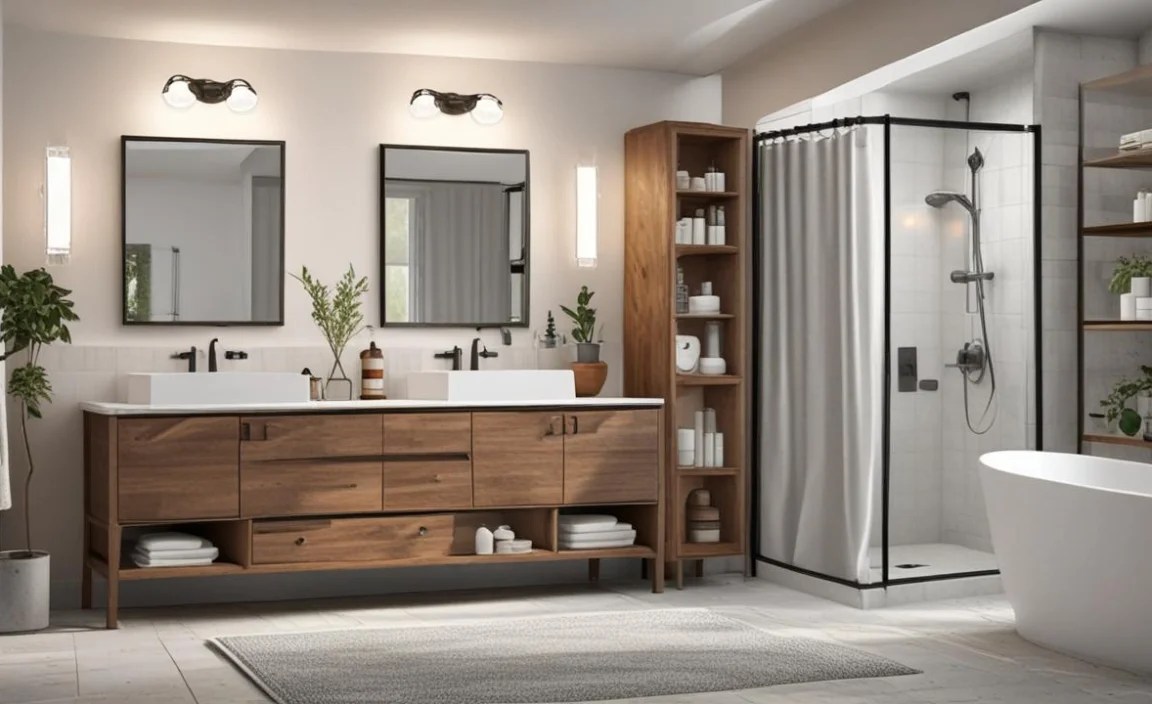
Bathrooms, particularly in older homes or smaller apartments, often present a storage puzzle. Countertops get cluttered, vanity drawers overflow, and precious floor space disappears under piles of towels and toiletries. This isn’t just an aesthetic issue; it can make your daily routine feel stressful and chaotic. A budget bathroom makeover isn’t about grand gestures; it’s about smart choices. And when it comes to small spaces, “space-saving” is the golden rule. These accessories are your secret weapon because they:
- Maximize underutilized areas (like behind the door or the corner of the shower).
- Keep surfaces clear, making the room feel larger and cleaner.
- Organize items efficiently, so you can find what you need quickly.
- Are typically affordable and easy to install, fitting perfectly into a budget makeover.
These aren’t just decorative items; they’re functional workhorses that bring order and calm to your most personal space. Let’s dive into some of the most impactful and budget-friendly options.
The Core Essentials: Decluttering for Dollars
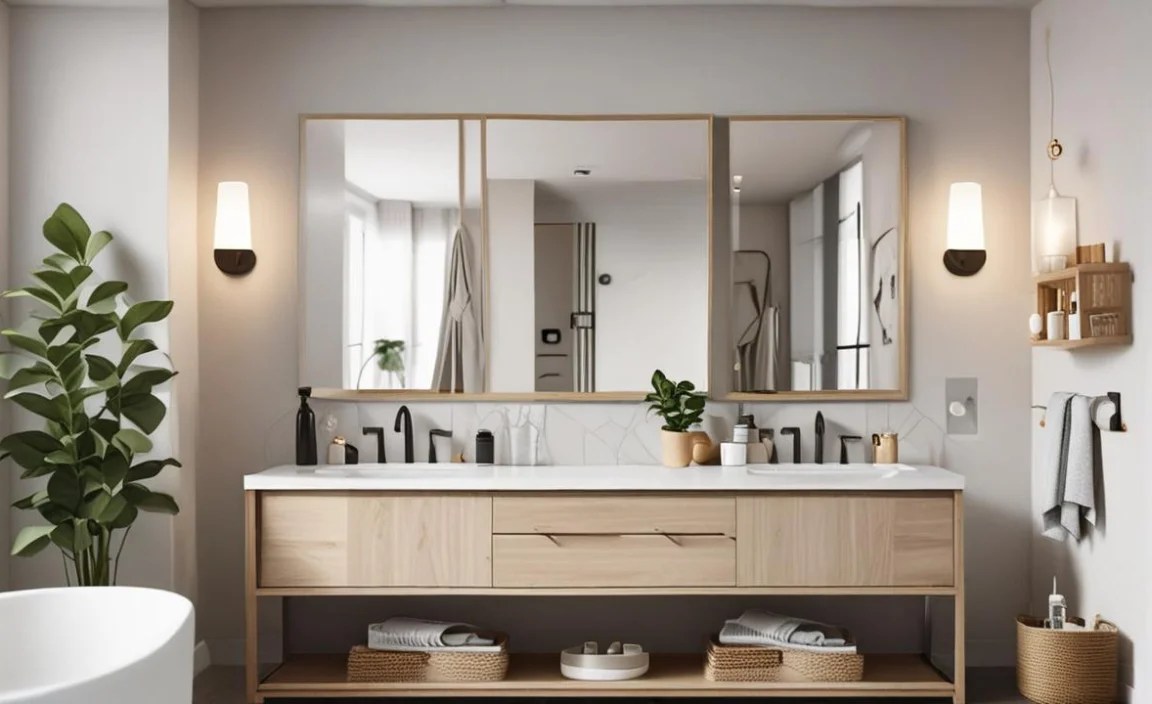
Before you even think about buying new accessories, take a moment to declutter. Seriously, this is the most crucial step for any budget makeover, especially in a small bathroom. Less stuff means less need for storage, and the stuff you keep will be easier to organize. Here’s a quick strategy:
- Empty Everything: Take everything out of your medicine cabinet, under the sink, off the counters, and out of the shower.
- Sort Ruthlessly: Create piles for “Keep,” “Toss,” and “Donate/Relocate.” Be honest with yourself. If you haven’t used it in six months (or a year for seasonal items), it’s probably time to let it go.
- Categorize: Group the “Keep” items logically. Think: daily toiletries, cleaning supplies, towels, medications, personal care items.
Once you’ve decluttered, you’ll have a clearer picture of what storage solutions you actually need. This prevents you from buying organizers for things you don’t even use!
Genius Space-Saving Accessories for Your Budget Bathroom
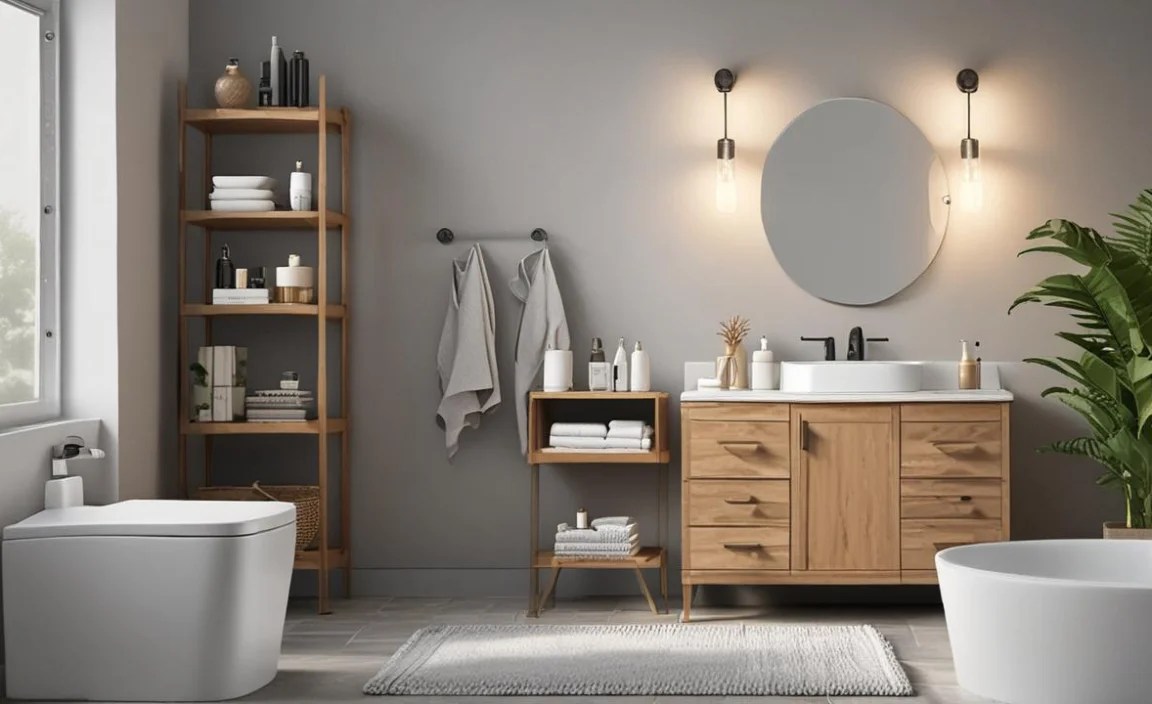
Now for the fun part! These accessories are specifically chosen for their ability to save space and their budget-friendly nature. They’re easy to find at home goods stores, online retailers, and even discount shops.
1. Over-the-Toilet Storage Units

This is a classic for a reason! The space above your toilet tank is often wasted real estate. Over-the-toilet storage units, sometimes called toilet racks or shelves, offer vertical storage without taking up additional floor space.
- Types: They come in various styles, from simple shelves to multi-tiered units with cabinets. Some are freestanding, while others can be mounted to the wall above the tank.
- Benefits: Excellent for storing extra toilet paper, towels, decorative items, or toiletries. Keeps your vanity top clear.
- Budget Tip: Look for simple metal or composite wood designs. You can often find basic models for under $50. Many are designed for easy DIY assembly.
- Installation: Most are relatively simple to assemble and install. For freestanding units, ensure they are stable. Wall-mounted units require basic tools and might need a stud finder for secure attachment.
2. Corner Shelving Units
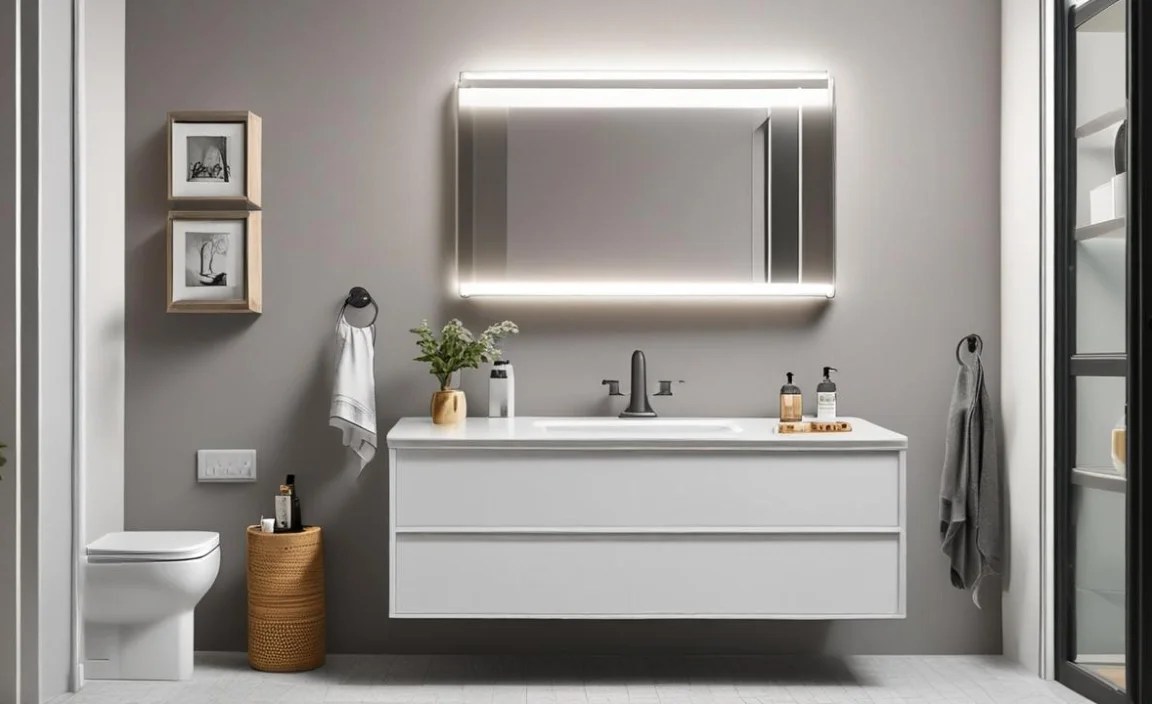
Corners are often overlooked. A slim corner shelving unit can fit neatly into an unused nook, providing valuable storage without protruding too far into the room.
- Types: Available as tension rod corner towers (which often fit in shower corners) or as standalone, narrow shelving units that can tuck beside the sink or in any wall corner.
- Benefits: Great for storing smaller toiletries, decorative items, or even small plants to add a touch of greenery.
- Budget Tip: Plastic or chrome corner tension shelves are very inexpensive. For a more stylish look, search for narrow wood or metal units, which can still be found affordably during sales.
- Consideration: Ensure the unit is stable, especially if it’s freestanding. For shower options, choose materials resistant to moisture and mildew.
3. Wall-Mounted Organizers and Shelves
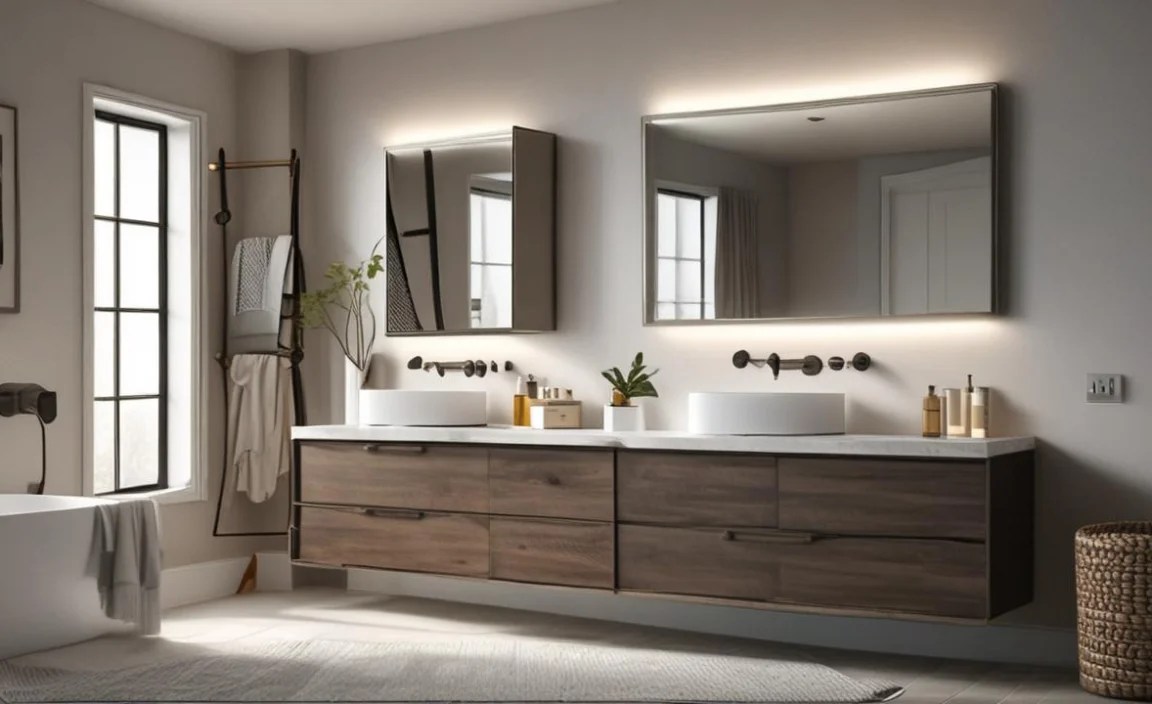
Going vertical on your walls is a game-changer for small spaces. Wall-mounted solutions keep items off surfaces and floors entirely.
- Shallow Wall Cabinets: These are fantastic for storing toiletries, makeup, or first-aid supplies without taking up much visual space. Their shallow depth means they don’t make the room feel smaller.
- Floating Shelves: Simple and stylish, floating shelves can hold small decor items, a stubby towel, or a few favorite products. Their minimalist design makes them feel less bulky.
- Wall-Mounted Baskets & Holders: Think toothbrush holders, soap dishes, and even small baskets that attach to the wall. These keep frequently used items organized and accessible.
- Budget Tip: Look for modular shelving systems or individual shelves made from MDF or basic metal. Often, you can find sleek, paintable options that you can customize to match your bathroom decor. Check out resources like This Old House for inspiration on DIY shelving, which can be incredibly budget-friendly.
- Installation: Requires basic tools like a drill, level, and screwdriver. Always use appropriate wall anchors if not drilling into studs.
4. Shower Caddies and Organizers
The shower itself is a prime location for clutter. A well-chosen shower caddy can transform a messy shower area.
- Tension Rod Corner Caddies: These clever units use tension to stay put, fitting into the corner of your shower. They often have multiple adjustable shelves.
- Hanging Shower Organizers: These drape over the showerhead or hook onto the curtain rod. Look for ones with multiple mesh or fabric pockets for different items.
- Corner Suction Cup Shelves: For lighter items or to hold your soap, small corner shelves that attach with suction cups can be surprisingly effective.
- Benefits: Keeps shampoo bottles, conditioners, soaps, and razors organized and off the shower floor.
- Budget Tip: Mesh, plastic, or basic wire caddies are very affordable. Look for rust-resistant materials.
- Safety Note: Ensure any hanging caddy is securely fastened and doesn’t create a tripping hazard.
5. Over-the-Door Organizers
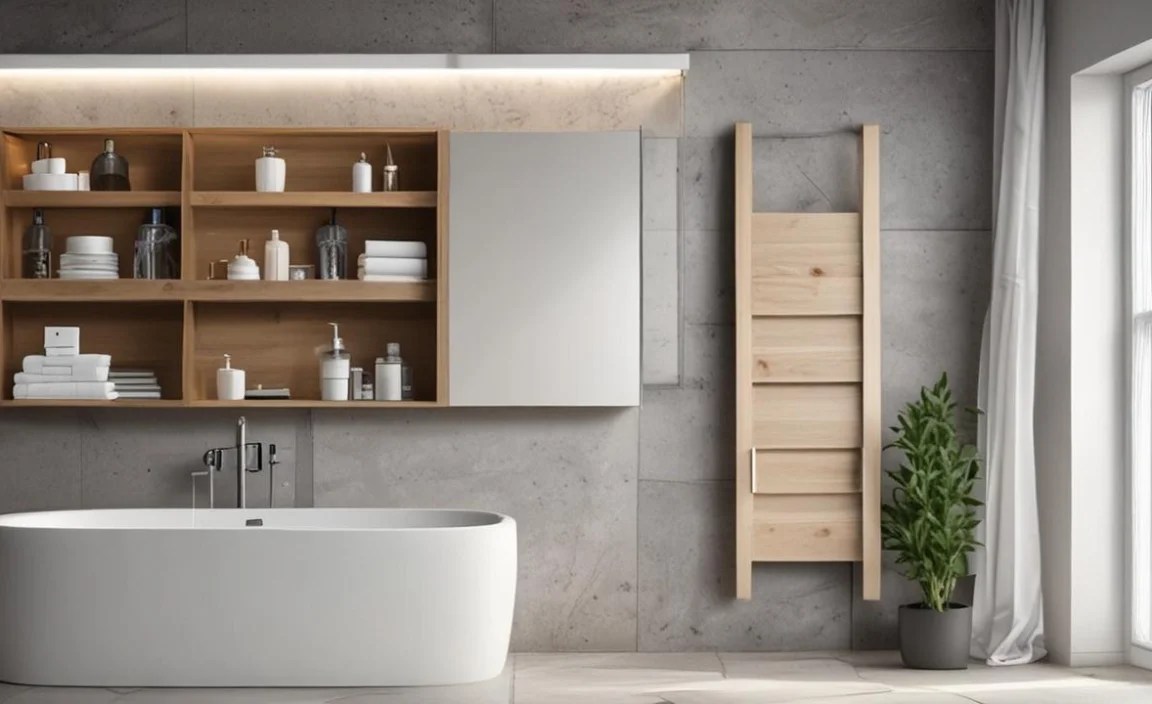
Don’t forget the back of your bathroom door! This is prime, often-neglected space.
- Types: Many options exist, including:
- Pocket Organizers: Fabric or clear plastic organizers with multiple pockets, perfect for toiletries, hair accessories, cleaning supplies, or even shoes if you have a very large door.
- Hook Racks: Simple hooks for hanging towels, robes, or loofahs.
- Small Shelving Units: Some designs include small shelves specifically for storing items.
- Benefits: Adds significant storage without using wall or floor space. Keeps items easily accessible but out of sight.
- Budget Tip: Fabric pocket organizers and simple hook racks are usually very inexpensive and require no tools to install.
- Consideration: Ensure the hooks or mounting brackets won’t damage your door. Measure the door width and thickness to ensure a good fit.
6. Slim Rolling Carts
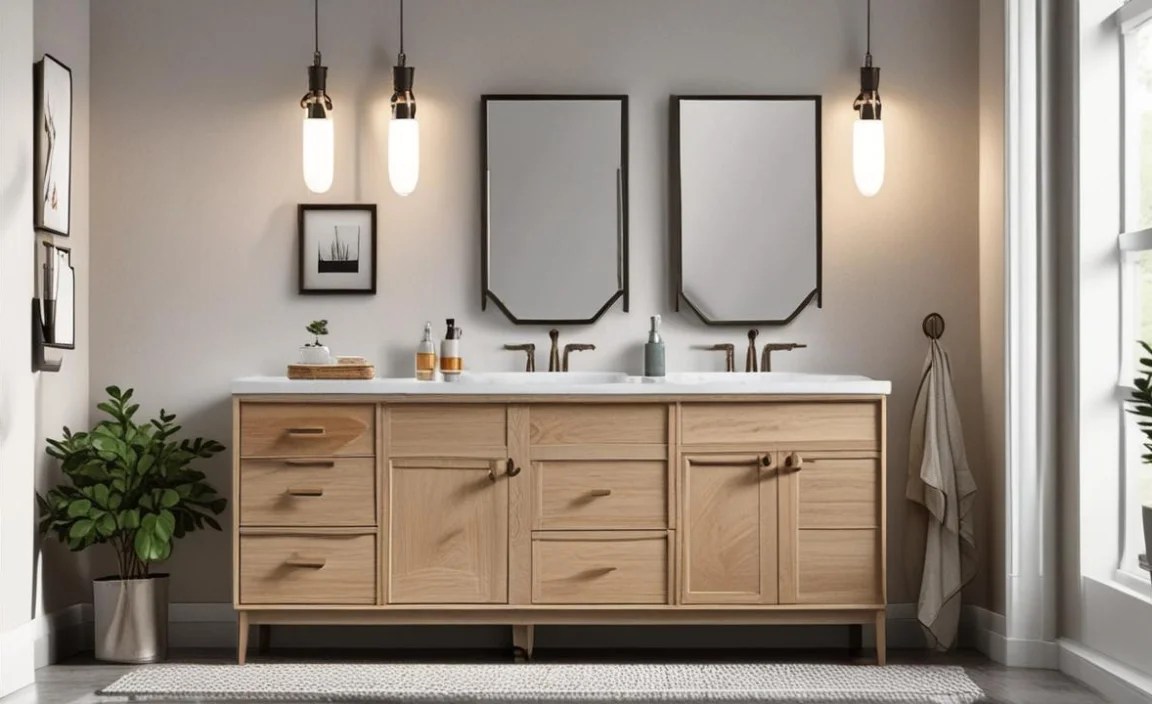
A narrow rolling cart can slide into tight spaces, like between the toilet and the wall, or beside a vanity. They offer accessible storage on wheels.
- Benefits: Great for storing cleaning supplies, extra toilet paper, or personal care items. You can easily pull it out when you need something and slide it back when you don’t.
- Budget Tip: Look for basic plastic or metal carts. They are often found in kitchen or laundry sections but work perfectly in the bathroom.
- Space-Saving Aspect: Their slim profile is key – measure your available gaps carefully before purchasing.
7. Magnetic Strips and Holders
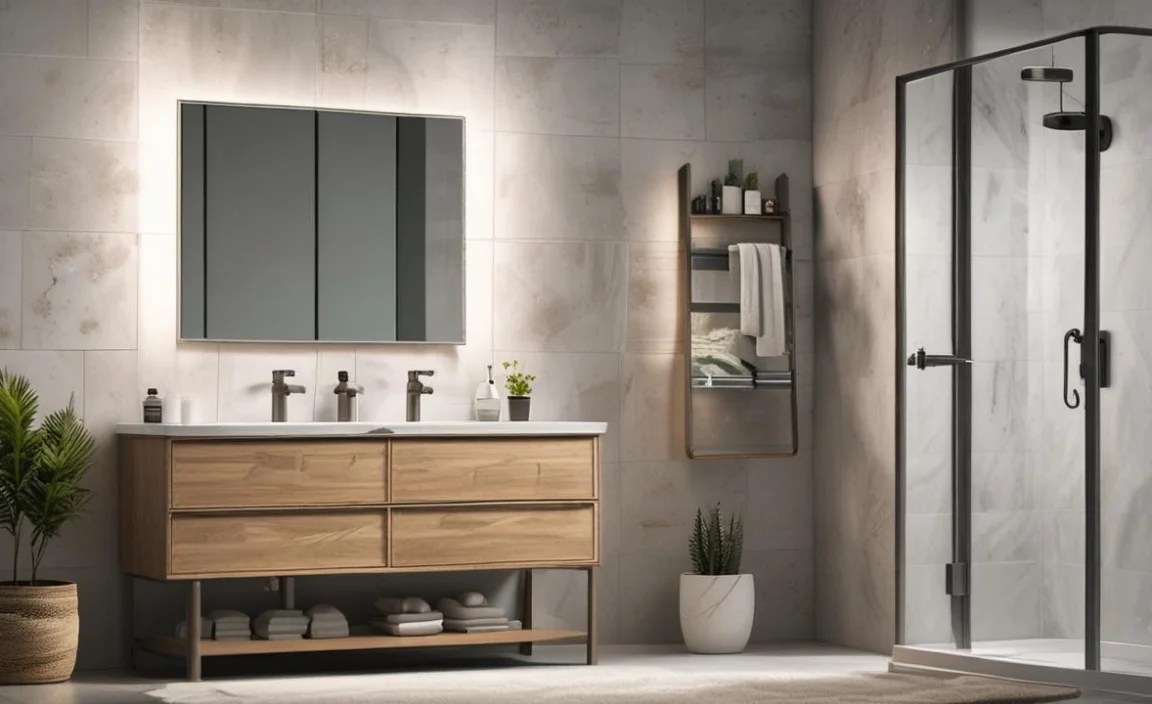
This is a clever, often overlooked solution for small metal items.
- How it Works: Mount a magnetic strip (like those used for kitchen knives) to the wall, or use magnetic containers.
- Use Cases: Perfect for holding tweezers, nail clippers, bobby pins, or small metal hair accessories. You can even find magnetic toothbrush holders.
- Benefits: Keeps small, easily misplaced items organized and off the counter.
- Budget Tip: Magnetic strips are very affordable. You can even repurpose strong magnets from other items.
- Safety: Ensure the strip is mounted securely so it doesn’t fall.
8. Tension Rods Beyond the Shower
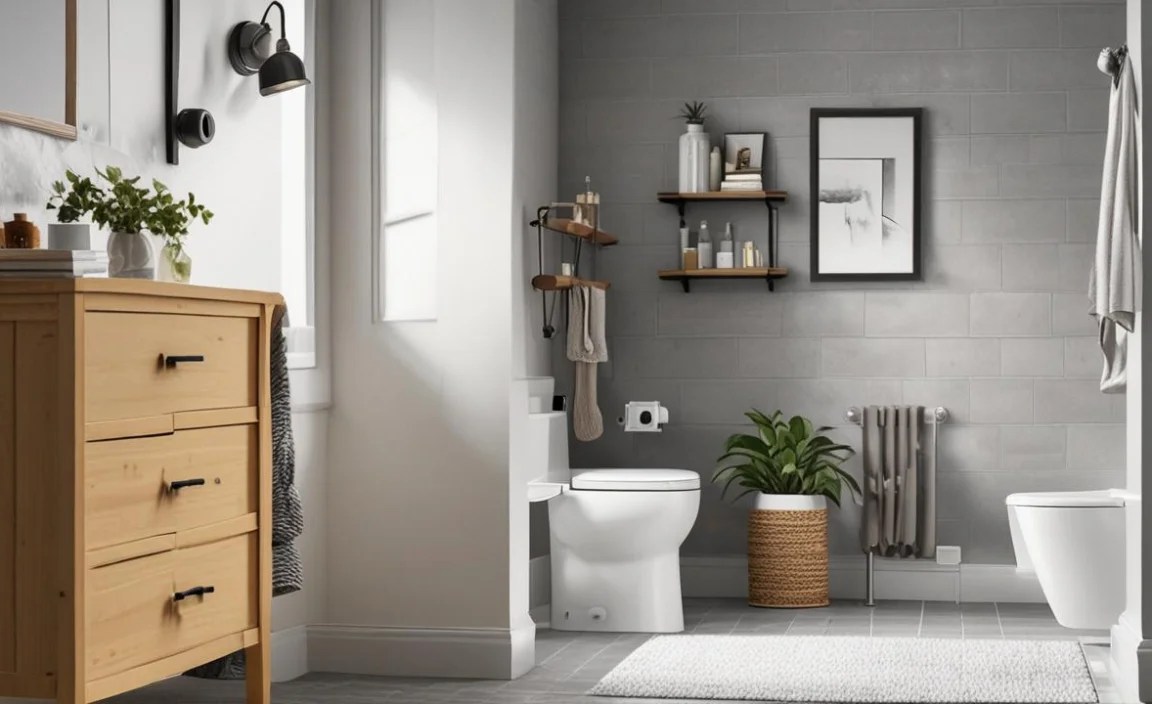
Tension rods aren’t just for shower curtains. They can create instant storage solutions in various spots.
- Under the Sink: A small tension rod can hold a microfiber cloth or a small spray bottle.
- Cabinet Doors: Mount a small tension rod horizontally inside a cabinet door to hang cleaning rags or small brushes.
- Corners: As mentioned, corner tension rod caddies are great for showers.
- Budget Tip: Basic tension rods are incredibly cheap and require no tools.
9. Vertical Towel Racks and Bars
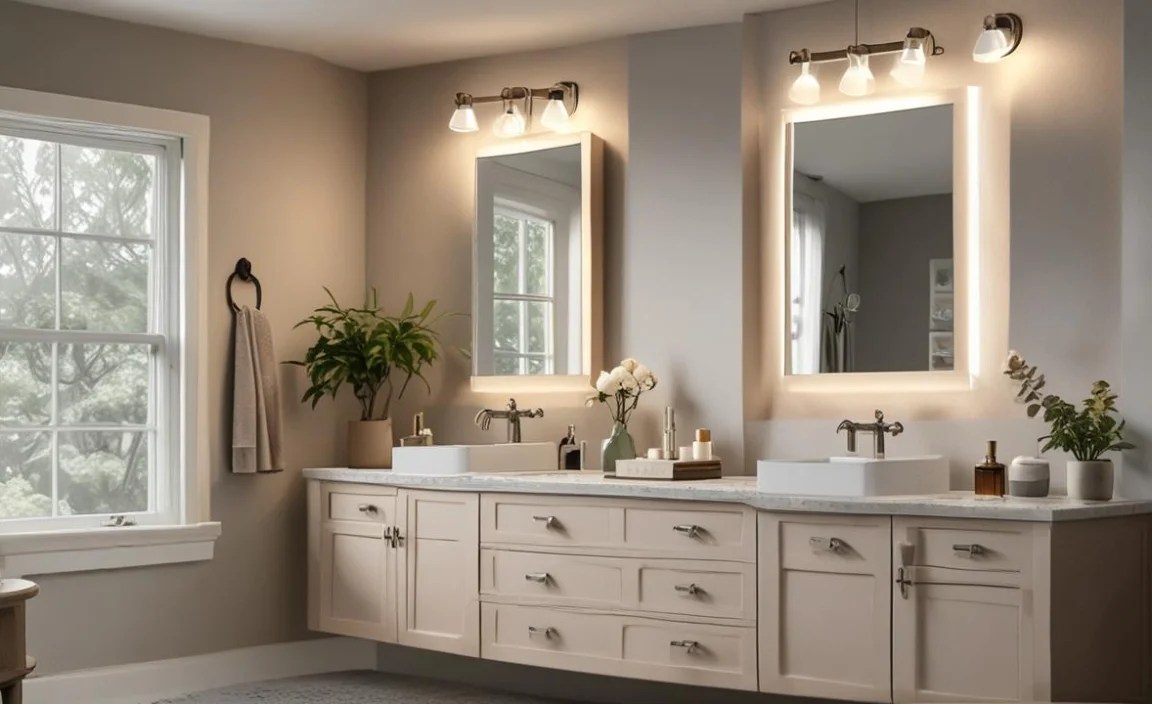
Instead of bulky towel bars that stick out, consider vertical options.
- Over-the-Door Towel Racks: These hang over your bathroom door and provide multiple bars or hooks for towels.
- Ladder-Style Towel Racks: Lean these against the wall. They take up minimal floor space and can hold several towels.
- Wall-Mounted Vertical Bars: Some designs feature a series of parallel bars stacked vertically.
- Benefits: Maximizes drying space for towels without using much horizontal real estate.
- Budget Tip: Simple metal or plastic over-the-door racks are very affordable.
Budget-Friendly Materials and DIY Touches
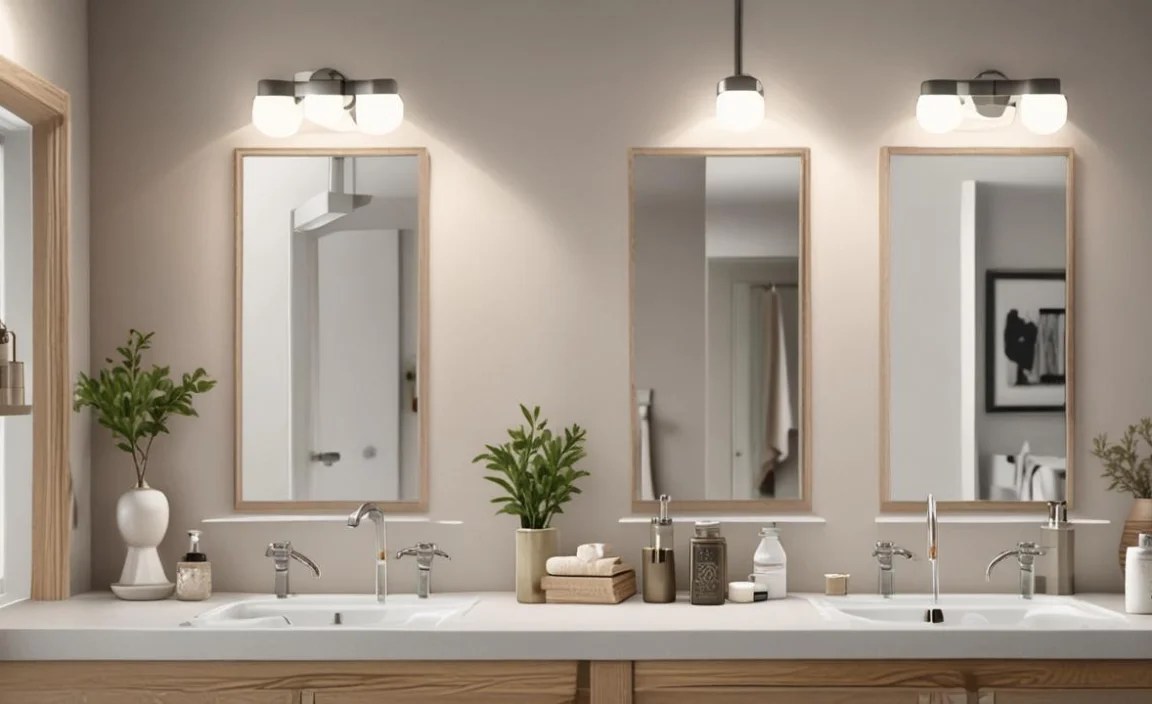
When you’re on a budget, the materials you choose can make a big difference. Here are some affordable options and ways to make them look great:
- Plastic: Lightweight, water-resistant, and very affordable. Look for sturdy, BPA-free plastics in neutral colors.
- Metal (Chrome, Powder-Coated Steel): Durable and modern-looking. Chrome is often a good value. Powder-coated steel can offer a matte finish. Ensure it’s rust-resistant.
- Bamboo/Wood: Can add warmth. Lighter woods or bamboo are often more budget-friendly and naturally water-resistant. Seal them well for bathroom use.
- Fabric/Mesh: Great for pocket organizers, often very inexpensive and flexible.
- DIY Painting: If you find a metal or plastic organizer in a color you don’t love, a coat of spray paint designed for those surfaces can transform it.
- Repurposing: Sometimes, small kitchen organizers or even sturdy baskets can be adapted for bathroom use.
Stylish Organization within Reach: A Table of Ideas

To help you visualize how these accessories fit into your budget bathroom makeover, here’s a quick reference table. It highlights the accessory, its primary space-saving benefit, and typical budget-friendly price points.
| Accessory Type | Primary Space-Saving Benefit | Typical Budget Price Range (USD) | Best For |
|---|---|---|---|
| Over-the-Toilet Storage | Utilizes vertical space above the toilet. | $30 – $70 | Toilet paper, towels, toiletries. |
| Corner Shelving Unit | Fits into unused corners, minimal protrusion. | $20 – $50 | Small toiletries, decor. |
| Wall-Mounted Shelves/Cabinets | Takes items off surfaces and floors. | $25 – $60 per unit | Toiletries, makeup, decor. |
| Hanging Shower Caddy | Organizes shower items without cluttering the floor. | $15 – $40 | Shampoos, soaps, conditioners. |
| Over-the-Door Organizer | Uses the vertical space of the door. | $20 – $50 | Toiletries, cleaning supplies, accessories. |
| Slim Rolling Cart | Slides into narrow gaps, mobile storage. | $30 – $60 | Cleaning supplies, extra products. |
| Magnetic Holders | Keeps small metal items organized and accessible. | $10 – $30 | Tweezers, nail clippers, bobby pins. |
| Tension Rods | Creates instant hanging or shelf space. | $5 – $20 | Towels, cloths, small items. |
| Vertical Towel Rack | Maximizes towel drying space vertically. | $30 – $60 | Towels. |
Choosing the Right Accessories for Your Needs
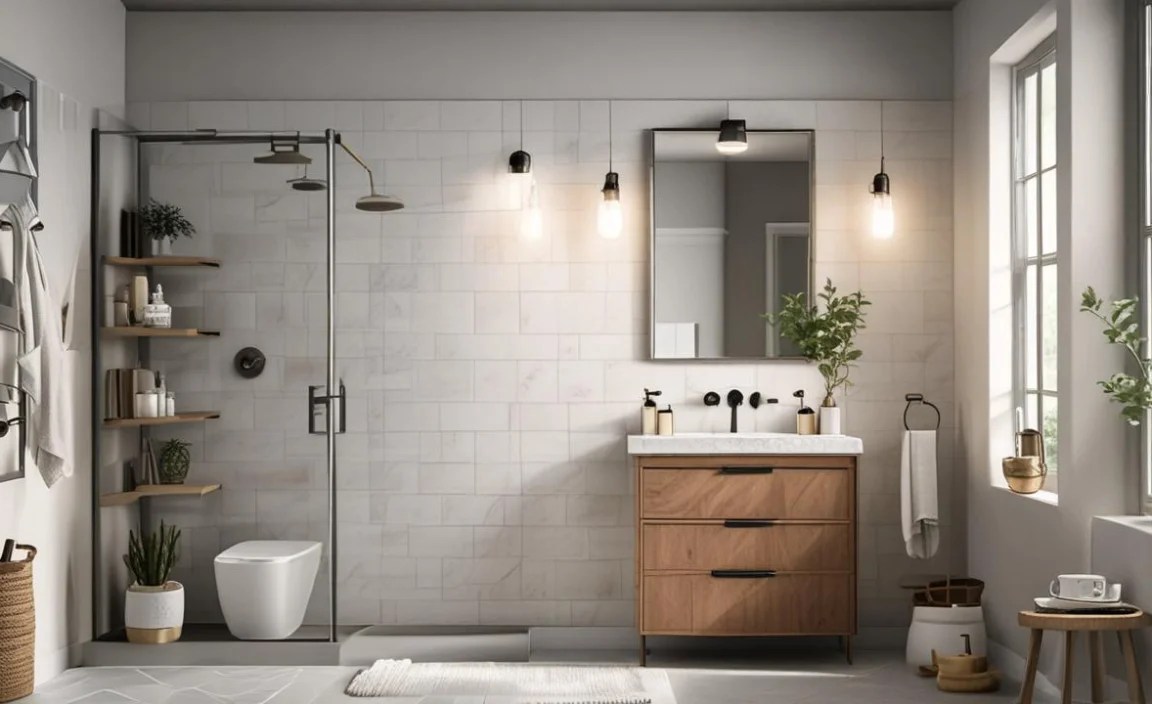
When selecting accessories, consider these factors:
- Measure Carefully: Always measure the space where you intend to place an item. For over-the-door organizers and carts, measure width, depth, and height.
- Consider Your Storage Needs: What do you need to store? Large bottles of shampoo might need deeper shelves than small makeup items.
- Moisture Resistance: Bathrooms are humid environments. Opt for materials that can withstand moisture, or ensure wood/bamboo items are well-sealed, especially in shower areas.
- Ease of Installation: If you’re new to DIY, start with no-tool options like over-the-door organizers or simple tension rods.
- Style Consistency: While on a budget, try to maintain a consistent look. If you have modern fixtures, choose sleek metal or minimalist designs. If your bathroom is more traditional, wood or woven elements might fit better.
For more insights on bathroom design and organization, check out expert advice from sources like the Houzz Magazine, which often features budget-friendly solutions and small-space ideas.
Step-by-Step: Implementing Your Budget Makeover with Accessories
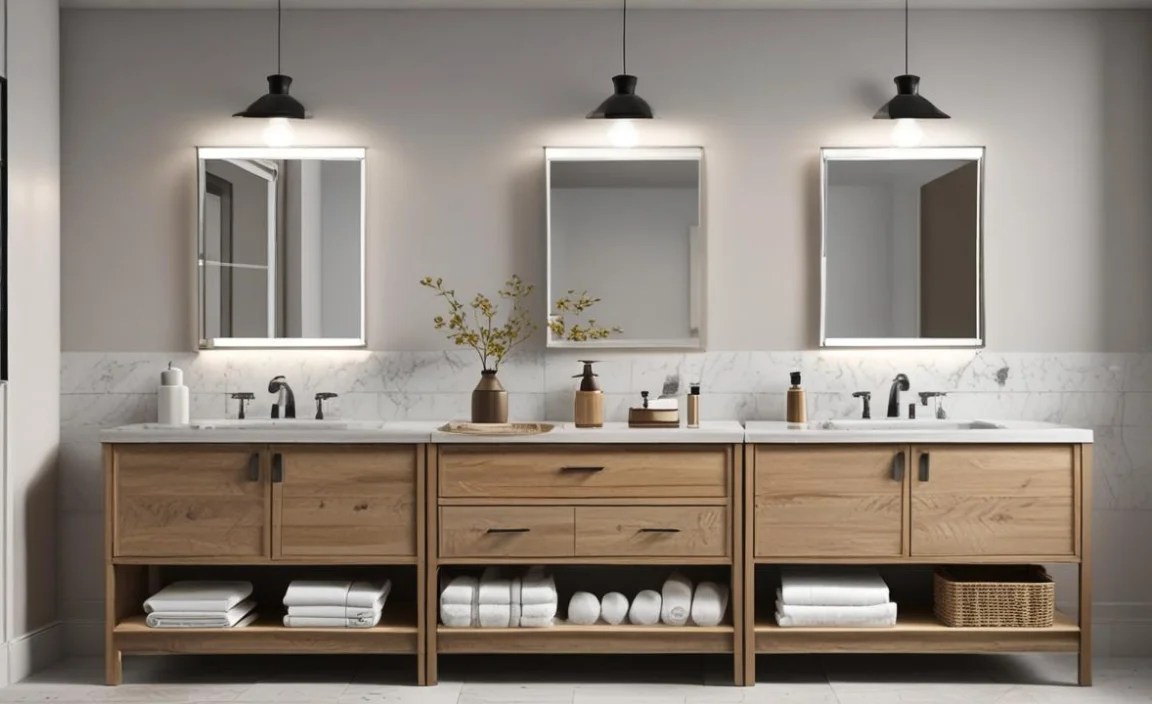
Ready to make it happen? Here’s a straightforward approach to installing your new space-saving accessories:
Phase 1: Preparation (Already Covered!)
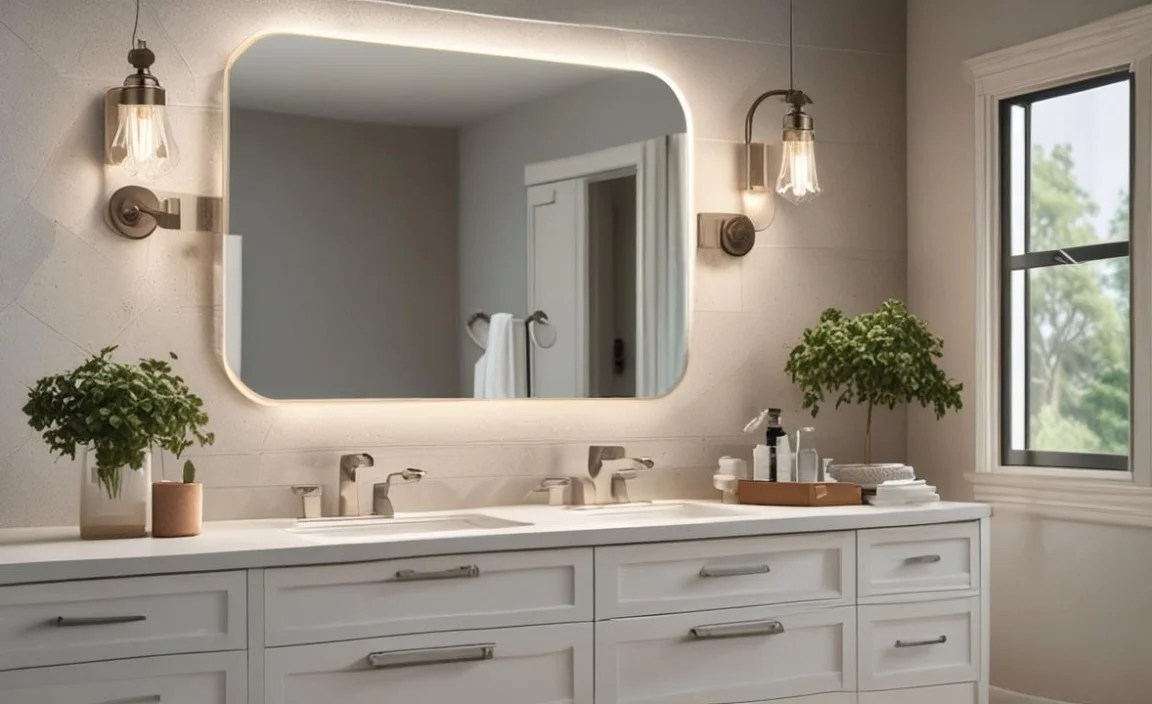
1. Declutter thoroughly.
2. Clean all surfaces where new accessories will go (walls, floors, inside cabinets).
Phase 2: Installation of Key Items
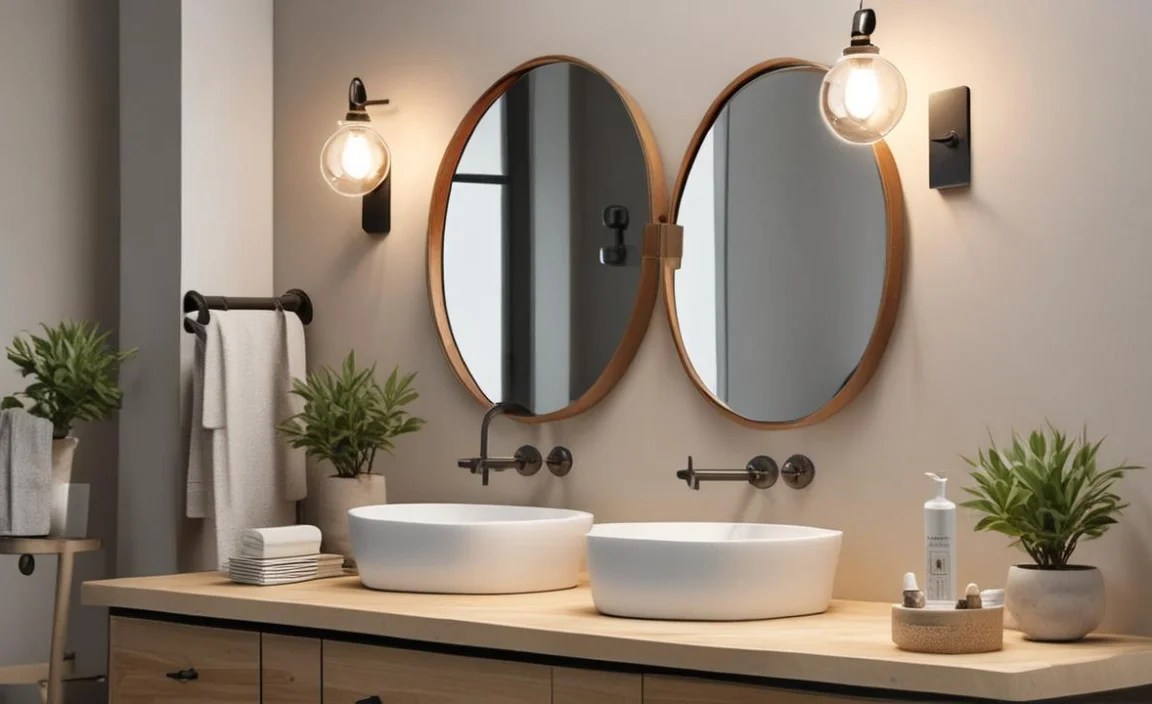
Let’s assume you’ve purchased an over-the-toilet storage unit and a wall-mounted shelf.
Installing an Over-the-Toilet Storage Unit:
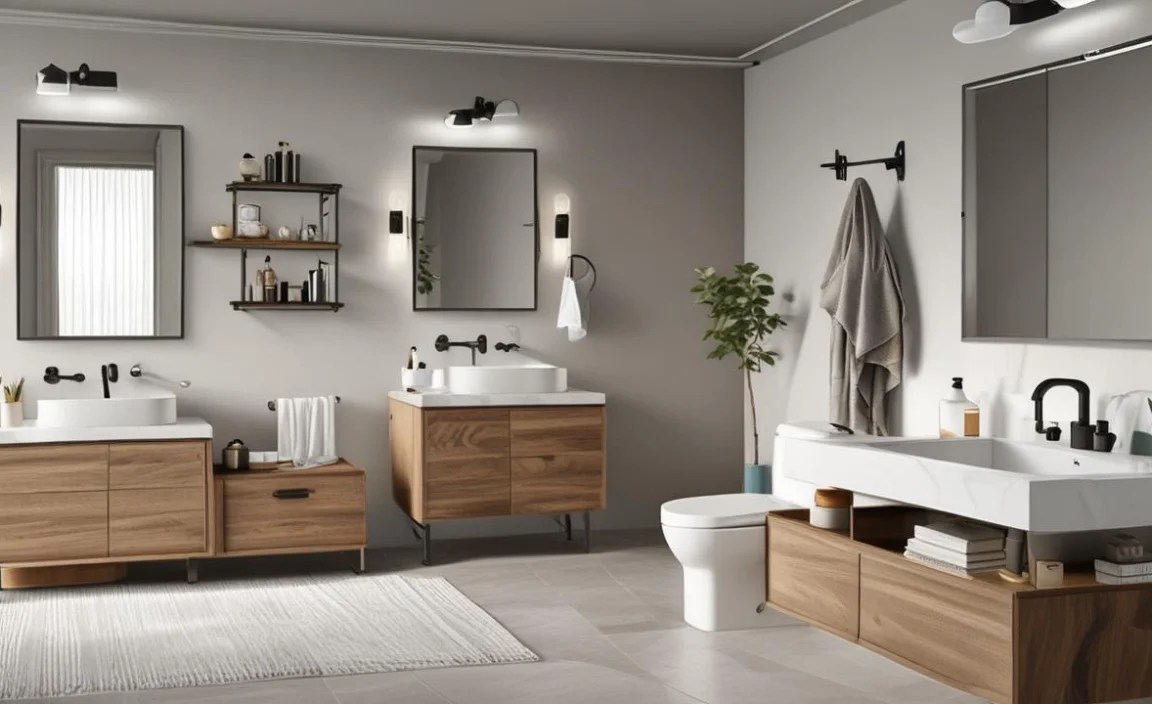
- Unpack and Assemble: Carefully unpack all parts and lay them out. Follow the manufacturer’s instructions to assemble the unit. Typically, this involves attaching shelves to side frames.
- Position the Unit: Gently place the assembled unit over your toilet. Ensure it sits stably and doesn’t interfere with the toilet tank lid or flushing mechanism.
- Secure (If Applicable): Some units come with brackets to secure them to the wall for added stability. If yours does, use a level to ensure it’s straight, mark the holes, and drill as per instructions. Use appropriate wall anchors if you’re not hitting a stud.
- Test Stability: Give the unit a gentle push to ensure it’s secure.
Installing a Wall-Mounted