
Caulking in construction is the process of sealing gaps and joints to prevent air, water, and pests from entering or escaping. It’s a vital step for energy efficiency, structural integrity, and a polished finish in homes and buildings. This guide breaks down what caulking is, why it’s important, and how to get started with confidence.
Caulking Definition In Construction: Your Essential Beginner’s Guide
Ever notice that little rubbery line where your bathtub meets the tile, or around your window frames? That’s usually caulk! In construction, caulking might sound technical, but it’s really just about sealing up small openings. Think of it as the perfect way to stop drafts, prevent leaks, and keep your home tidy and energy-efficient. It’s a small step that makes a huge difference, and you can absolutely master it. This guide will walk you through understanding what caulking is all about and how it helps your home.
We’ll explore why sealing these gaps is so important, what materials form the basis of caulk, and the different types you’ll encounter. By the end, you’ll be ready to tackle those sealing jobs with clarity and confidence, making your home more comfortable and protected.
What Exactly Is Caulking in Construction?
At its core, caulking in construction refers to the application of a sealant material into joints, cracks, and seams. The primary goal is to create a watertight and airtight barrier. This essential practice plays a crucial role in the overall performance and longevity of a building, preventing unwelcome elements from compromising the structure and your comfort within it.
Imagine your home as a puzzle. Caulking fills in those tiny, often overlooked gaps that can let in unwanted guests like rain, wind, or even tiny insects. It’s not just about aesthetics; it’s a functional necessity that protects your investment and keeps your living space comfortable year-round.
The Purpose of Caulking: More Than Just a Seal

The reasons behind caulking go far beyond simply filling a gap. It’s a multi-faceted solution addressing several critical aspects of building maintenance and performance:
- Waterproofing: This is perhaps the most common and vital function. Caulk prevents water from seeping into vulnerable areas like around windows, doors, bathtubs, and sinks, which can lead to rot, mold, and structural damage.
- Air Sealing for Energy Efficiency: Gaps and cracks in your home’s exterior and interior can be major culprits for energy loss. By sealing these, caulk prevents heated or cooled air from escaping, reducing your energy bills and improving comfort. The U.S. Department of Energy emphasizes the importance of air sealing for energy efficiency. You can learn more about home air sealing on their official website.
- Pest Control: Small openings can serve as entry points for insects and rodents. A good caulking job effectively seals these pathways, making your home less accessible to unwanted critters.
- Aesthetics: Caulk smooths out the transition between different materials, such as where trim meets a wall or where plumbing fixtures meet countertops. This creates a clean, finished look and hides unsightly gaps.
- Noise Reduction: While not its primary function, sealing gaps with caulk can contribute to reducing the transmission of sound between rooms or from the outside.
- Structural Integrity: In some applications, particularly for larger joints or where movement is expected, caulk can help accommodate expansion and contraction of building materials due to temperature changes, preventing stress and potential cracking.
Understanding Caulk: The Material Itself
Caulk is a pliable, sealant substance applied from a tube or cartridge using a caulking gun. It comes in various formulations, each suited for different applications based on flexibility, durability, and environmental resistance. The basic components typically include a binder, fillers, plasticizers, and other additives designed to give it specific properties like adhesion, flexibility, and resistance to weathering or chemicals.
When applied, caulk has a wet, paste-like consistency. It cures over time, hardening into a flexible, rubber-like seal. This transformation is key to its effectiveness, allowing it to bond to surfaces and maintain a seal even with minor movement.
Common Caulk Types and Their Uses
Choosing the right caulk is essential for a successful project. Different types are formulated for specific environments and materials. Here’s a breakdown of the most common ones you’ll encounter:
1. Acrylic Latex Caulk (Painter’s Caulk)

What it is: This is one of the most popular and easiest-to-use caulks. It’s water-based, meaning it cleans up with soap and water. It dries relatively quickly and is paintable after curing, making it ideal for interior applications where aesthetics are important.
Key Features:
- Easy to apply and clean up.
- Paintable once dry.
- Good for interior gaps and trim.
- Less flexible than silicone.
- Can shrink over time.
Best for: Sealing gaps around interior trim, baseboards, window and door frames (before painting), and small cracks in walls.
2. Silicone Caulk
What it is: Silicone caulk is known for its excellent waterproofing and flexibility. It’s highly resistant to moisture, temperature changes, and mildew. However, it’s also more difficult to clean up (requiring mineral spirits) and cannot be painted over, as paint won’t adhere to its slick surface.
Key Features:
- Excellent waterproofing and flexibility.
- Resistant to mold and mildew.
- Durable and long-lasting.
- Cannot be painted.
- Can be tricky to clean up.
Best for: Bathrooms, kitchens, around tubs, showers, sinks, countertops, and areas that get a lot of moisture or experience significant temperature fluctuations. Also good for sealing exterior gaps where flexibility is needed.
3. Polyurethane Caulk
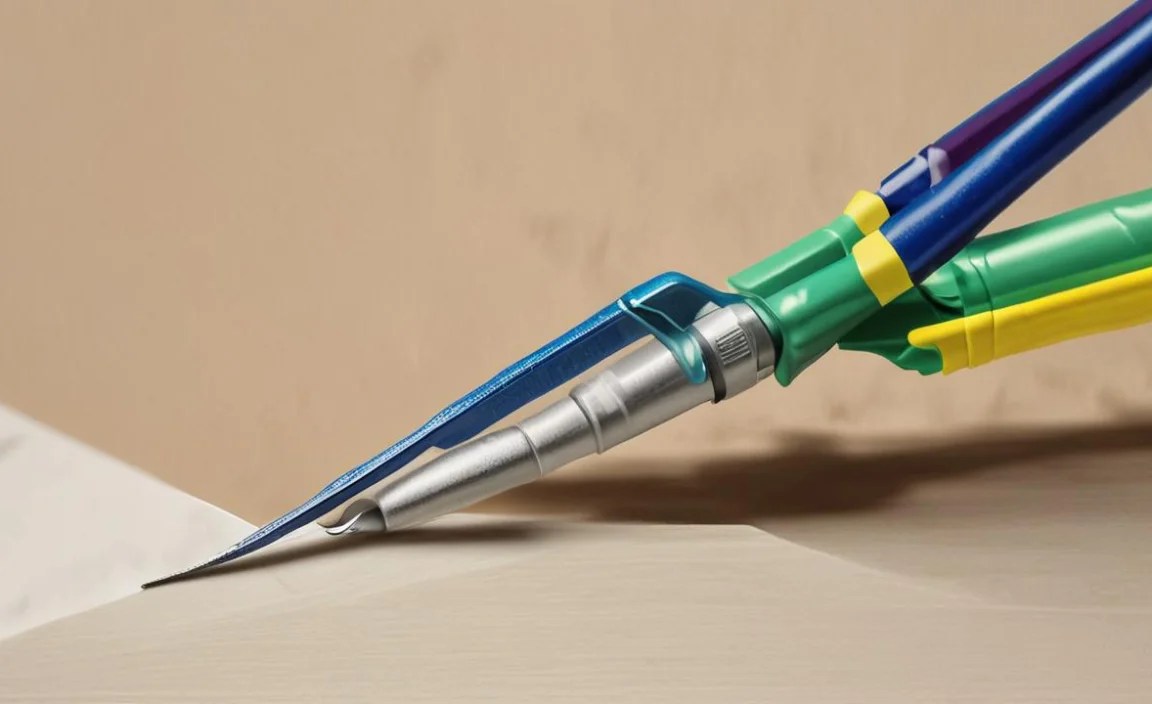
What it is: Polyurethane caulk offers a great balance of durability, flexibility, and adhesion. It’s tougher and more weather-resistant than acrylic latex and can often be painted. It’s also more resistant to UV rays than silicone.
Key Features:
- Very durable and flexible.
- Excellent adhesion to a wide range of materials.
- Good weather and UV resistance.
- Paintable.
- Requires mineral spirits for cleanup.
Best for: Exterior applications like sealing joints between siding and trim, around windows and doors, expansion joints, and areas that require a strong, weather-resistant seal. It’s also good for interior applications where high durability is needed.
4. Siliconized Acrylic Latex Caulk
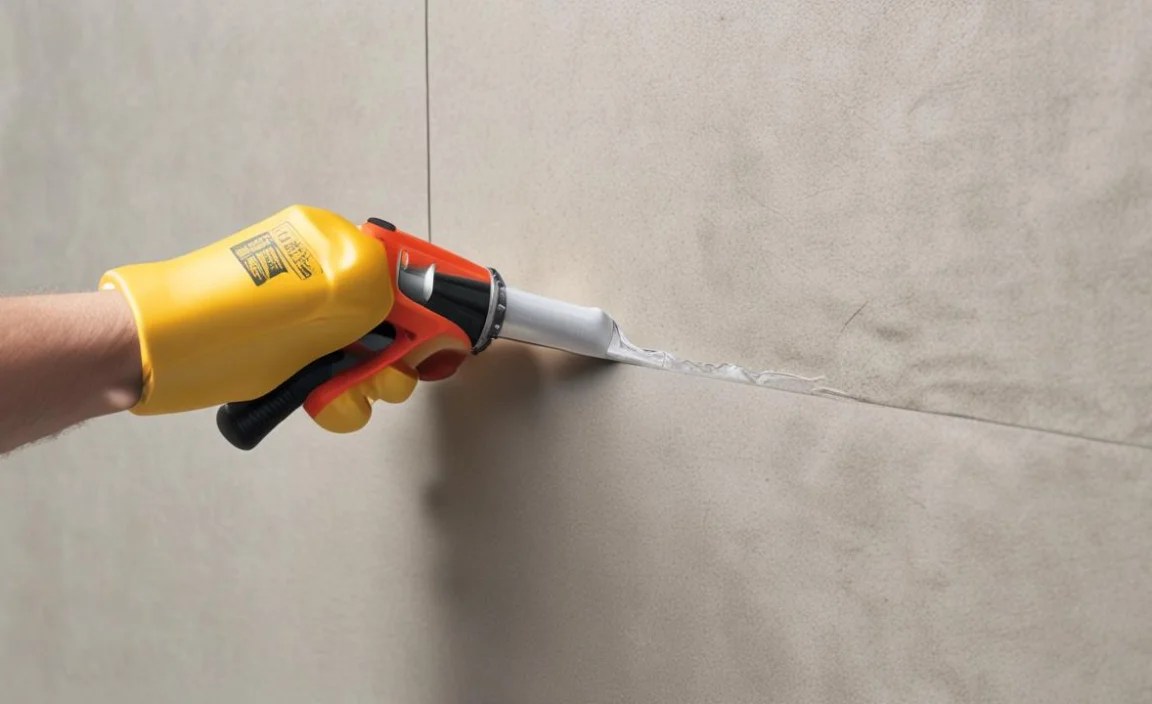
What it is: This is a hybrid that aims to combine the benefits of acrylic latex and silicone. It offers better flexibility and adhesion than plain acrylic latex and is typically paintable. Cleanup is usually with water, though some formulas might require mineral spirits.
Key Features:
- Improved flexibility and adhesion over regular acrylic latex.
- Generally paintable.
- Easier cleanup than pure silicone.
- Good for a variety of interior and exterior uses.
Best for: A versatile option for general-purpose sealing around windows, doors, trim, and siding where a painted finish is desired. It’s a good all-around choice for many DIY projects.
Caulk Features to Consider:
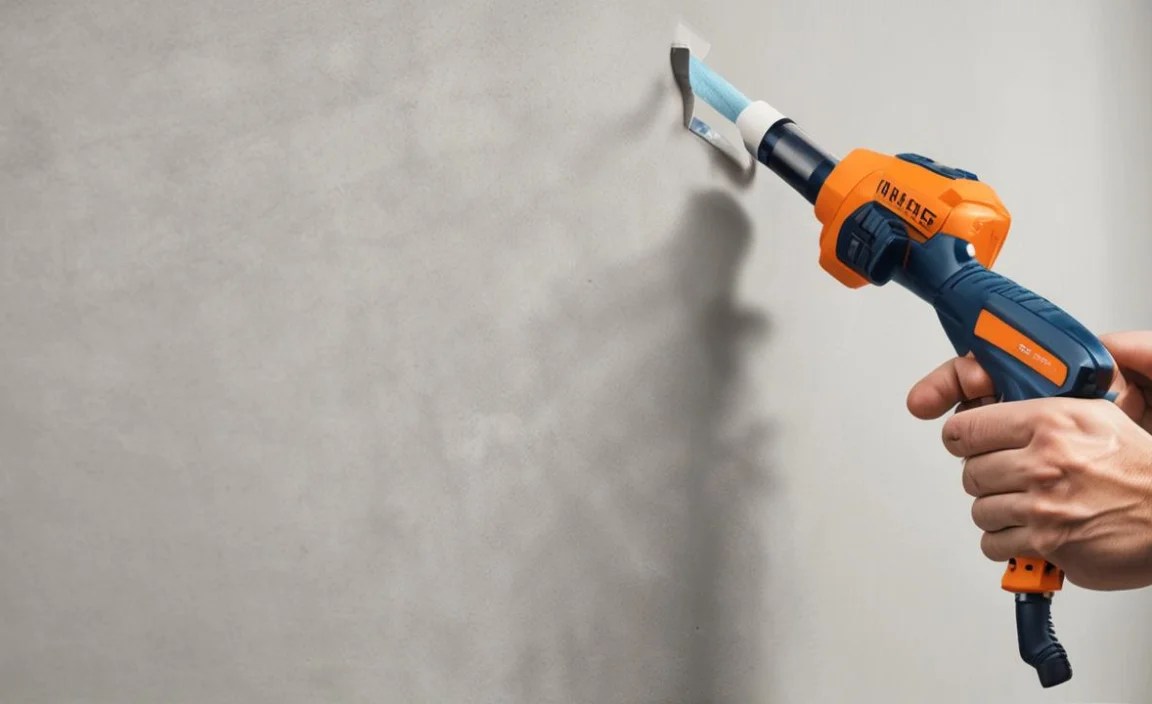
When you’re choosing a caulk, look for these specific features on the label:
- “Paintable”: Essential for interior projects where you want a seamless finish after painting.
- “Waterproof”/”Water-resistant”: Crucial for bathrooms, kitchens, and exterior applications.
- “Exterior Grade” or “Interior/Exterior”: Indicates its suitability for outdoor use and resistance to weather.
- “Flexibility”: Important for joints that might expand or contract, especially in exterior applications or around windows.
- “Mildew-resistant” or “Mold-resistant”: A must-have for damp environments like bathrooms.
- “Adhesion”: Look for labels that mention strong adhesion to the specific materials you’ll be working with (e.g., wood, vinyl, metal, glass).
How Caulking Works: The Science Behind the Seal

Caulking works by adhering to the surfaces surrounding a gap and then curing to form a solid, yet flexible, barrier. The process involves several key stages and properties:
- Wetting and Adhesion: When applied, the liquid or semi-liquid caulk needs to “wet” the surfaces of the gap – meaning it spreads out and makes intimate contact. This is known as adhesion. Good adhesion is the foundation of a lasting seal. The binder in the caulk is responsible for sticking to the substrates.
- Curing: Once applied, caulk undergoes a curing process. This can happen in a few ways depending on the type:
- Evaporation of Solvents/Water: Acrylic latex caulks cure as the water or solvent evaporates, leaving behind the solid polymer.
- Chemical Reaction: Some caulks, like certain silicones or polyurethanes, cure through a chemical reaction with moisture from the air or by mixing components.
- Formation of a Barrier: As the caulk cures, it transforms from a paste into a flexible, rubbery solid. This solid material creates a continuous barrier that blocks the passage of air, water, and other unwanted elements.
- Flexibility and Movement: Many caulks are designed to remain flexible after curing. This allows them to accommodate minor expansion and contraction of building materials due to temperature changes or building settling without cracking or pulling away from the surfaces. The plasticizers in the caulk help maintain this flexibility.
The effectiveness of a caulk seal depends heavily on proper surface preparation, correct application technique, and choosing the right caulk for the job. For authoritative guidance on building sealants and their proper use, you can refer to resources from organizations like the National Roofing Contractors Association (NRCA), which often publishes best practices for building envelope components.
When and Where to Apply Caulk in Your Home

Understanding where gaps likely exist and when they need sealing is key to effective maintenance. Caulking is a versatile tool used both inside and outside your home.
Exterior Caulking Applications:
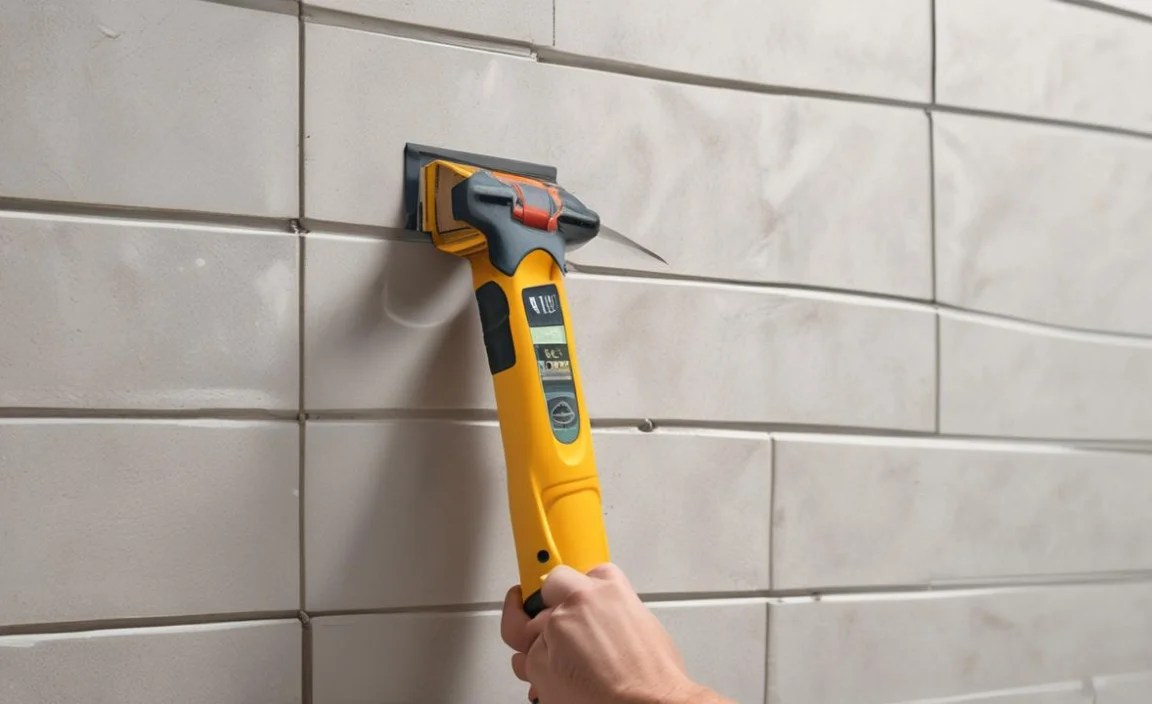
The exterior of your home is constantly exposed to the elements, making it a prime location for caulking needs:
- Window and Door Frames: Seal the gaps between the frame and the siding or brickwork to prevent water and air infiltration.
- Siding Joints: Caulk seams where different types of siding meet, or where siding meets trim, especially if there are any gaps larger than 1/16th of an inch.
- Electrical and Plumbing Penetrations: Seal around any pipes, vents, or conduit that pass through exterior walls.
- Corners of the House: Where two exterior walls meet, there may be expansion gaps that need sealing.
- Foundation Sill Plate: The joint where the house’s foundation meets the wooden framing is a critical area to seal against air and moisture.
- Roofing Details: Small gaps around vents, chimneys, or where roofing meets flashing can be sealed with appropriate exterior-grade caulk or sealant.
Interior Caulking Applications:
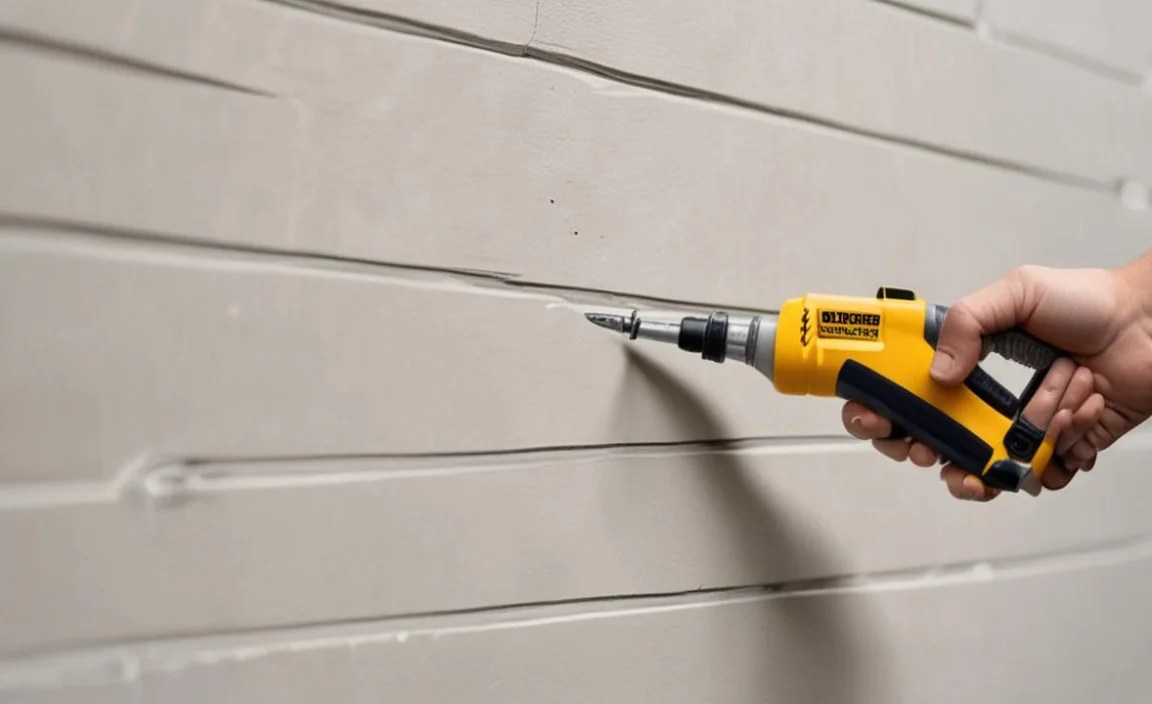
Inside, caulking is often used to improve aesthetics and prevent moisture damage in high-use areas:
- Bathroom and Kitchen Fixtures: Seal around tubs, showers, sinks, toilets, and countertops to prevent water from seeping into gaps and causing damage or mold growth. Use mildew-resistant silicone or siliconized acrylic for these areas.
- Baseboards and Trim: Fill small gaps between baseboards, door casings, window casings, and walls for a smooth, finished look. Acrylic latex caulk is ideal here, as it can be painted.
- Cove Molding: Along the joint where walls meet ceilings, caulk can be used to create a clean, seamless transition.
- Appliance Edges: Small gaps around built-in appliances can be touched up with caulk.
- Drywall Gaps: While larger drywall holes require patching, hairline cracks or gaps along joints can sometimes be addressed with a flexible caulk.
Essential Tools for Caulking
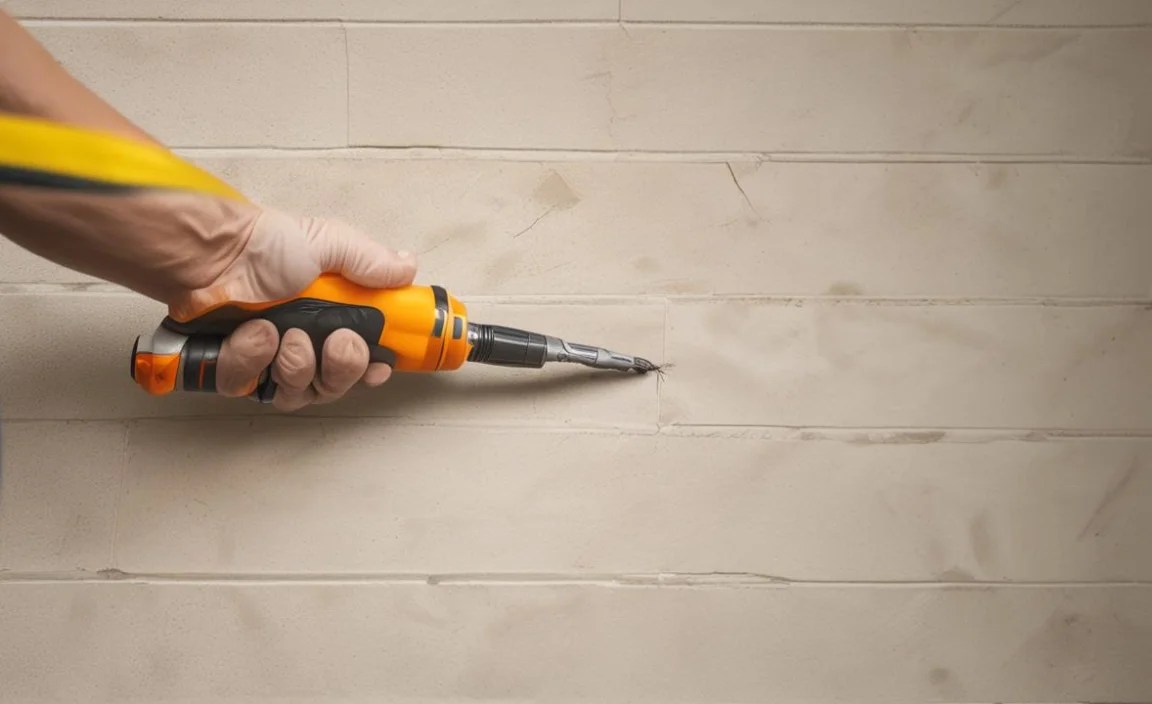
While caulking itself is the star, having the right tools makes the job significantly easier and results in a more professional finish. Here’s what you’ll need:
The Caulking Gun: This is your primary tool. There are several types:
- Standard Caulking Gun: The most common type. You’ll find different sizes and features like a drip-free mechanism and a release trigger.
- Drip-Free Caulking Gun: Automatically stops the flow of caulk when you release the trigger, preventing messy drips.
- Electric or Battery-Powered Caulking Gun: Offers consistent pressure and makes application effortless, especially for large jobs.
Other Helpful Tools:
- Utility Knife or Caulk Removal Tool: For cutting the caulk tube tip at an angle and for removing old caulk.
- Caulk Smoothing Tool or Finger/Spatula: To create a neat, concave bead of caulk. Disposable smoothing tools are great for beginners.
- Masking Tape (Painter’s Tape): To create clean, straight lines and protect adjacent surfaces.
- Gloves: To protect your hands from the caulk.
- Rags or Paper Towels: For wiping excess caulk and for cleanup.
- Rubbing Alcohol or Mineral Spirits: For cleaning up silicone or polyurethane caulk (water and mild soap for latex-based).
- Bucket of Water: For cleaning tools and hands when working with latex caulk.
- Safety Glasses: Always a good idea to protect your eyes.
Step-by-Step Guide: How to Caulk Like a Pro
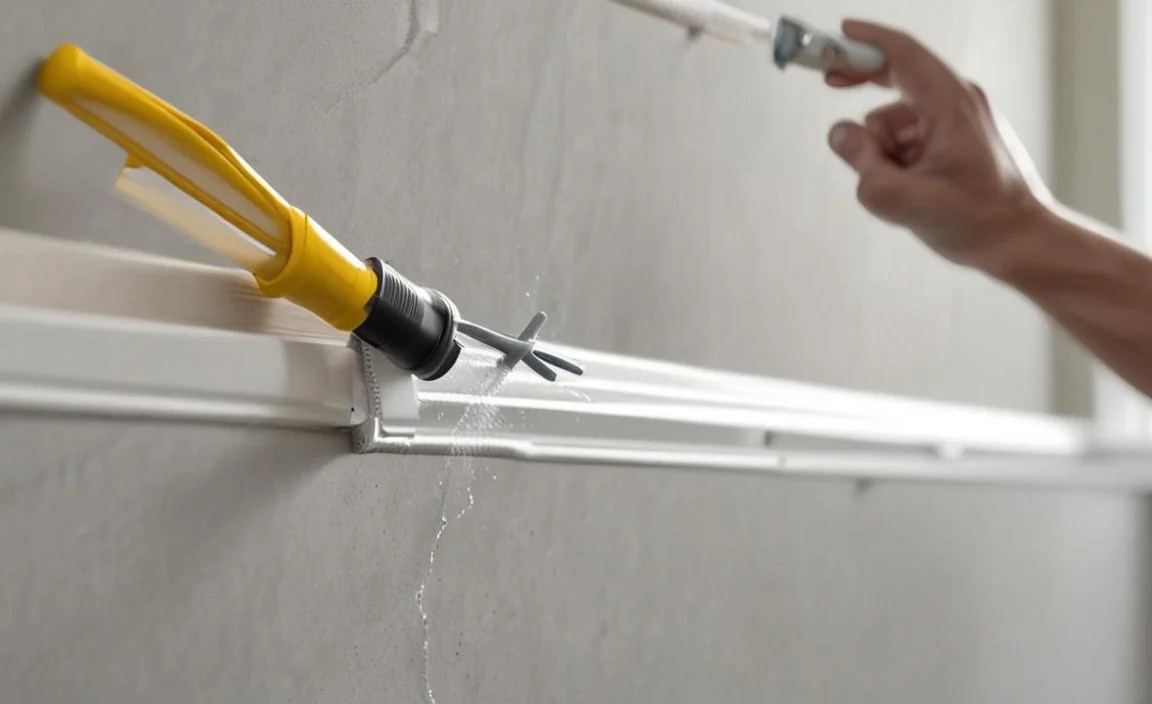
Don’t be intimidated! Caulking is a straightforward DIY task. Follow these steps for a clean, effective seal:
Step 1: Preparation is Key
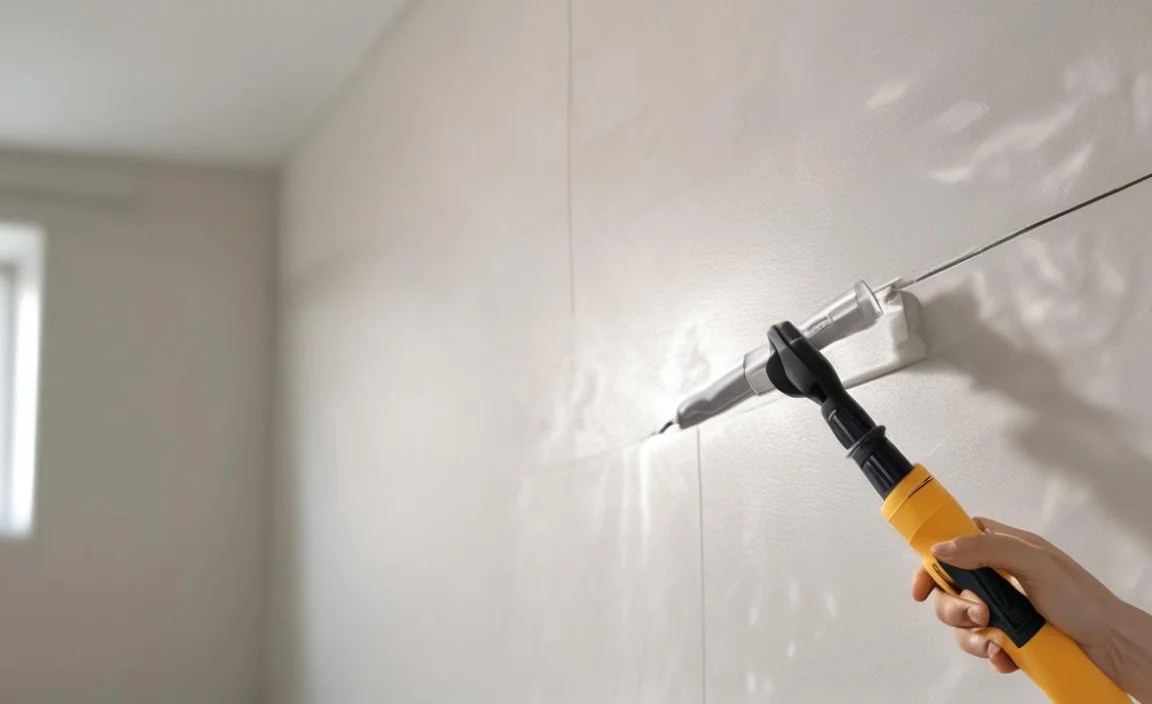
This is the most crucial step for a long-lasting seal. Don’t skip it!
- Clean the Area: Remove all dirt, dust, grease, soap scum, and any loose paint or debris from the crack or joint. Use a stiff brush, scraper, or rag. If you’re working in a bathroom or kitchen, ensure the surface is completely dry.
- Remove Old Caulk: If there’s old, cracked, or peeling caulk, it must be removed. Use a utility knife, a putty knife, or a dedicated caulk removal tool. Scrape the area until it’s smooth.
- Ensure Dryness: The surfaces must be completely dry. Dampness will prevent the caulk from adhering properly. Let the area air dry, or use a fan to speed up the process.
- Masking (Optional but Recommended): For very neat lines, apply painter’s tape along both edges of the gap, about 1/8 to 1/4 inch away from the joint. This creates a clean border for your caulk bead.
Step 2: Prepare the Caulk Tube
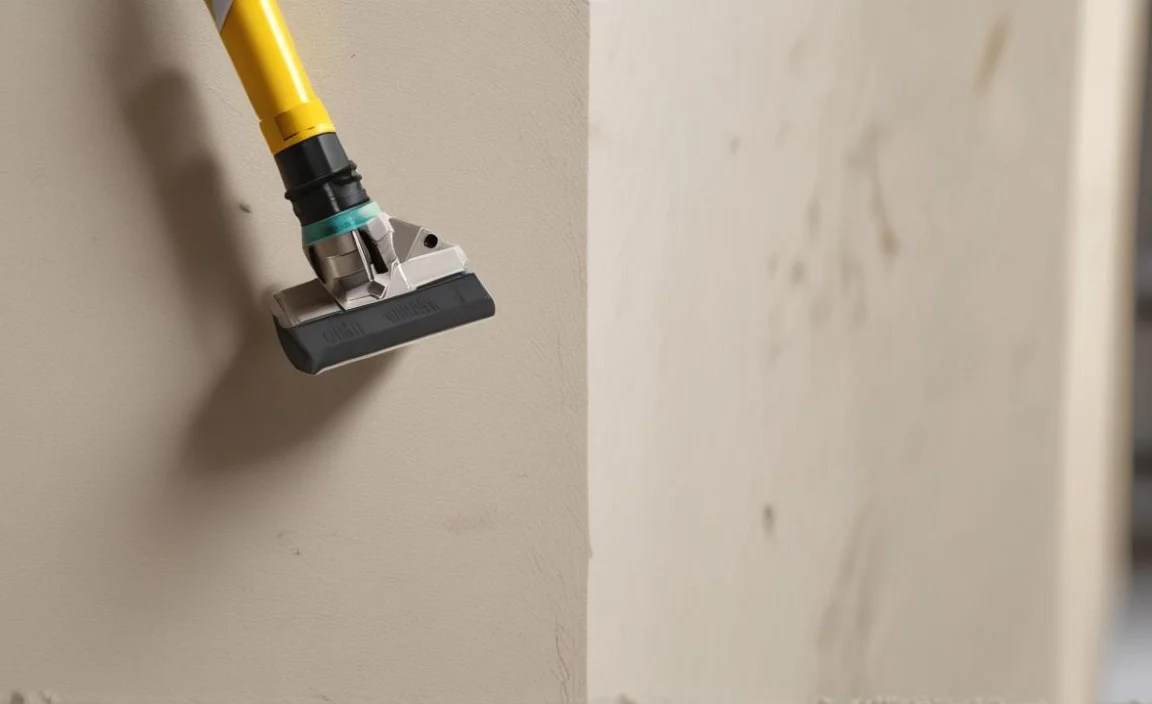
This involves cutting the tip and puncturing the inner seal.
- Cut the Nozzle: Using a utility knife, cut off the tip of the caulk tube nozzle at a 45-degree angle. Start with a small opening – you can always cut more to create a wider bead if needed. The size of the opening should generally match the size of the gap you’re filling.
- Puncture the Seal: Most caulking guns have a long metal rod that you can extend to puncture the inner seal of the caulk tube. Push the rod in and twist to break the seal.
Step 3: Load the Caulking Gun
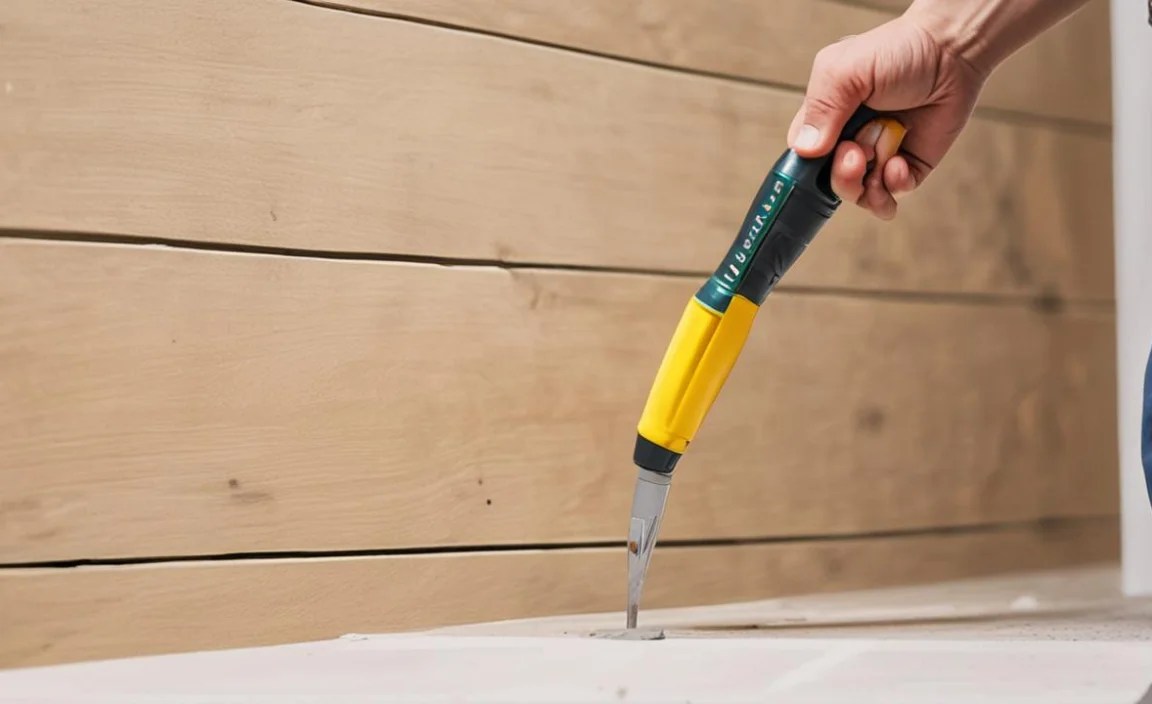
Load the caulk tube into the gun.
- Pull back the plunger rod on the gun.
- Insert the caulk tube, nozzle first.
- Push the plunger rod firmly against the back of the caulk tube.
- Squeeze the trigger a few times until caulk begins to flow through the nozzle. Release the trigger and push the release button (if your gun has one) to stop the flow.
Step 4: Apply the Caulk
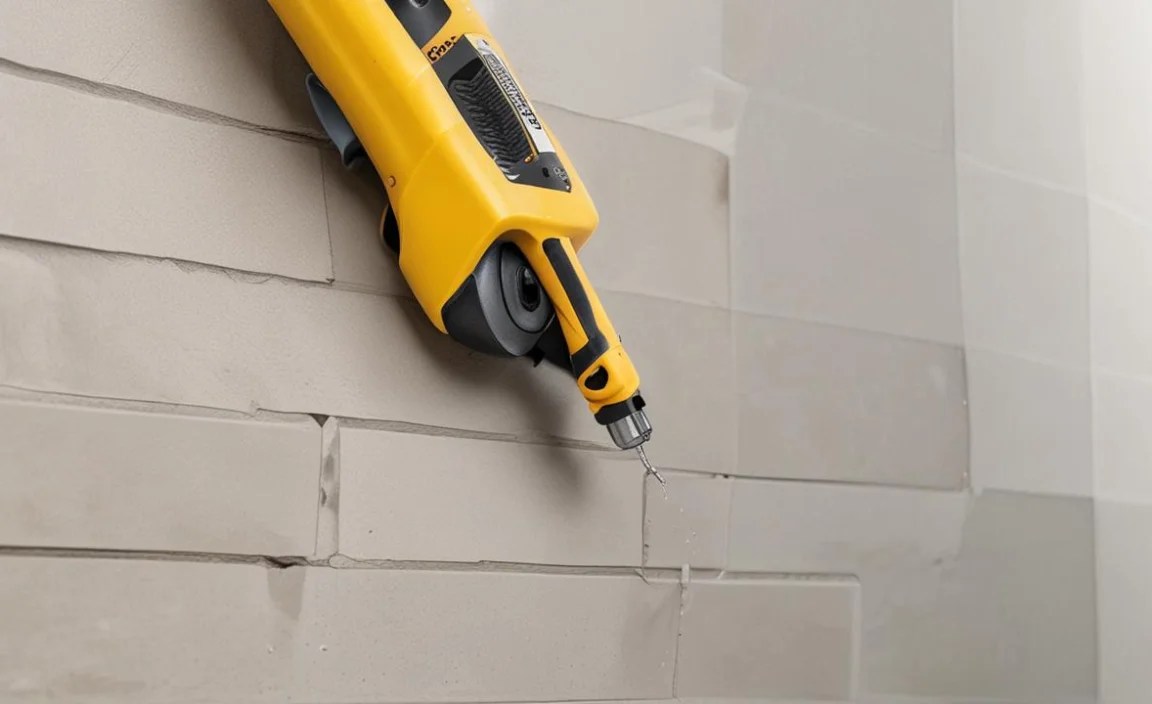
Steady hands and a consistent pace are key here.
- Position the Nozzle: Place the tip of the caulk nozzle into the joint or crack at a 45-degree angle.
- Apply Steady Pressure: Squeeze the trigger of the caulking gun with consistent pressure while moving the gun along the joint at a steady pace. Aim to fill the gap completely with a continuous bead of caulk. Try to keep the bead size uniform.
- Maintain Even Speed: Move the
