
Have you ever wondered what keeps water from leaking in your bathroom? It’s not magic. It’s something called caulking. But what is caulking, and why is it important in plumbing? Let’s explore the caulking definition in plumbing together. Understanding caulking can be fun and helpful. Let’s dive in and learn more!
Key Takeaways
- Caulking prevents water leaks in bathrooms and kitchens.
- It seals gaps between surfaces and fixtures.
- Proper caulking protects homes from water damage.
- Caulking is used in many plumbing projects.
- Caulking definition in plumbing: sealing joints to stop leaks.
Understanding Caulking in Plumbing
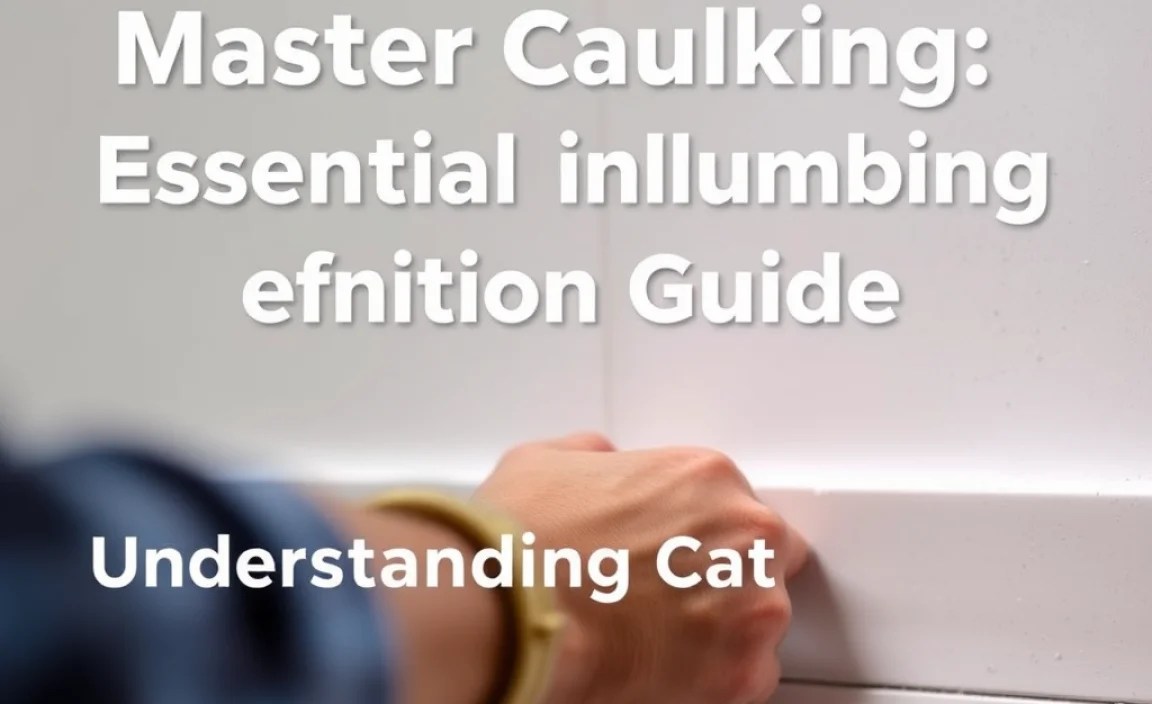
Caulking in plumbing is like a superhero. It stops water from escaping where it shouldn’t. Imagine a superhero that fights leaks! Caulking seals the gaps between your sink and the wall or tiles. It’s like a shield. This shield keeps water from sneaking through tiny cracks. Without caulking, water can damage walls and floors. Caulking is made from special materials. These materials stay strong and flexible even when wet. This makes caulking perfect for bathrooms and kitchens.
- Caulking stops leaks and prevents water damage.
- It’s used around sinks, tubs, and toilets.
- Caulking can be silicone or acrylic-based.
- Proper caulking saves you money on repairs.
- It helps keep your home safe and dry.
Caulking is easy to use, but it needs care and attention. You need to clean the area first. Make sure it’s dry before you start. Then, you apply the caulking neatly. Smear it with a finger or tool to smooth it out. This creates a perfect seal. Regularly check your caulking. Replace it if it starts to crack or peel. This ensures your home stays protected.
Fun Fact or Stats: Did you know ancient Romans used wax for caulking boats?
Why Caulking Matters in Plumbing
What happens if you don’t caulk? Water can sneak into cracks. This causes damage over time. Think of a small drip that never stops. It can soak into wood or plaster. This makes rooms damp and leads to mold. Mold is unhealthy and can cause breathing problems. Caulking stops this by sealing gaps. Imagine it like a strong guard at a gate. It keeps unwanted things out! When you use caulking, you protect your home from water damage and mold. Plus, it keeps your bathroom looking neat and tidy.
The Materials Used in Caulking
Have you ever seen a tube labeled “silicone” or “acrylic” at a hardware store? These are common caulking materials. Silicone is flexible and waterproof. This makes it great for bathrooms and kitchens. Acrylic is easy to paint over. It’s often used in places where you might want to change colors. Choosing the right caulking material depends on where you’ll use it. A good choice means a longer-lasting seal. Caulking materials are affordable and available at most stores. You can even do it yourself!
When to Reapply Caulking
How do you know when it’s time to re-caulk? Look for cracks or peeling. Touch it; if it feels brittle, it needs replacing. Sometimes, mold can grow on old caulking. This is a sign it’s time for new caulking. Reapplying is important. It keeps your home safe from leaks. Checking your caulking regularly can save you from big repairs later. Re-caulking is a simple job. It’s also a great way to practice being a handy helper at home.
How to Apply Caulking Properly
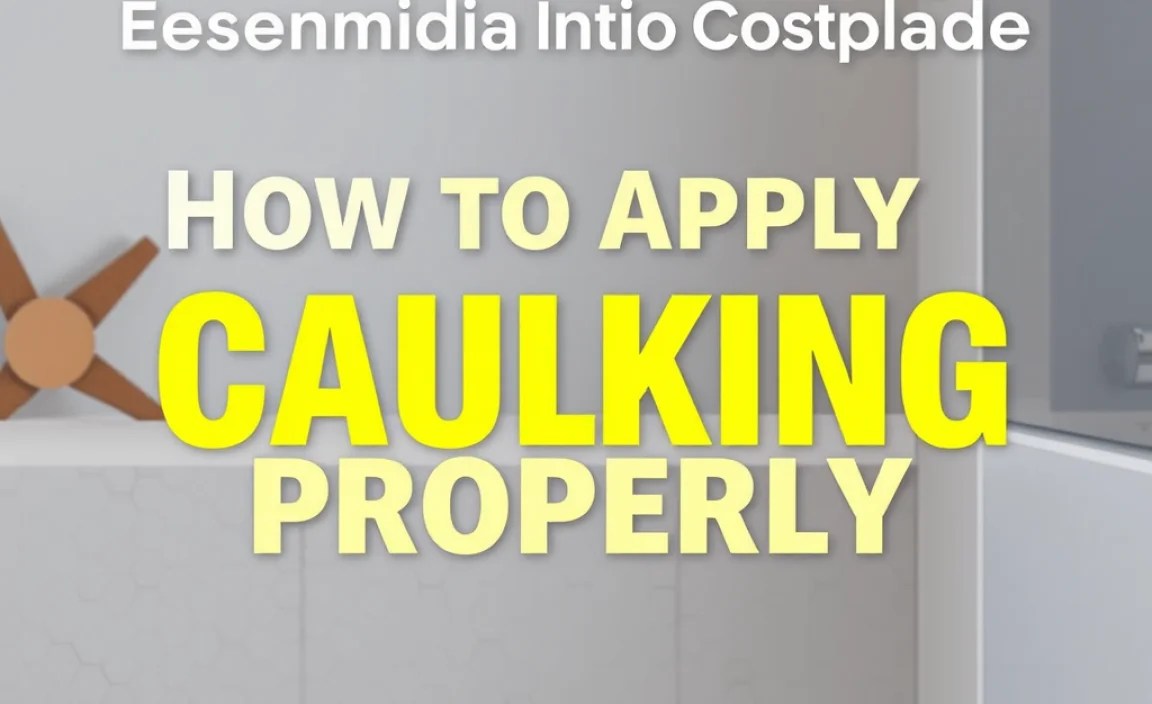
Applying caulking is simple and fun. First, clean the area. Remove any old caulking. Use a scraper or knife carefully. Once it’s clean, make sure it’s dry. Wet surfaces can ruin your caulking job. Next, cut the tip of the caulking tube at an angle. This helps control the flow. Apply the caulking slowly. Follow the line of the gap you want to fill. Use a damp finger or tool to smooth it out. This creates a neat and tight seal.
- Clean the surface thoroughly before starting.
- Ensure the area is completely dry.
- Cut caulking tube tip at an angle.
- Apply caulking slowly and evenly.
- Smooth with a damp finger or tool.
- Let it dry completely before using the area.
Once the caulking is dry, check for any gaps or missed spots. It’s okay to add more if needed. Proper application is key to a lasting seal. Over time, you’ll get better at it. Soon, you’ll be a caulking pro! Remember, practice makes perfect. Caulking is an easy DIY task that anyone can learn. It’s a useful skill for keeping your home safe and dry.
Fun Fact or Stats: Most caulking takes 24 hours to fully dry.
Using Tools to Apply Caulking
Ever wonder what tools you need for caulking? You don’t need much. A caulking gun is the main tool. It holds the caulking tube. It helps control the flow. A scraper or knife is helpful for removing old caulking. A damp cloth or sponge cleans up mistakes. With these tools, you can caulk like a pro. Tools make the job easier and the finish neater. You can find these tools at any hardware store. They’re affordable too!
Choosing the Right Caulking for the Job
Why is choosing the right caulking important? Different jobs need different caulking. Silicone is best for wet areas. It’s waterproof and lasts a long time. Acrylic is great for areas you paint. It’s easy to apply and clean. Knowing what to use helps your caulking last longer. Choosing the right type is like choosing the right tool. It makes the job easier and the results better.
Safety Tips When Applying Caulking
When using caulking, safety is important. Wear gloves to protect your hands. Some caulking can irritate your skin. Work in a well-ventilated area. This keeps fumes from building up. If you’re unsure, ask an adult for help. Safety makes the job more fun and worry-free. Remember, being safe is as important as doing the job right. Always read instructions on the caulking tube. It guides you on how to use it safely.
Common Mistakes to Avoid
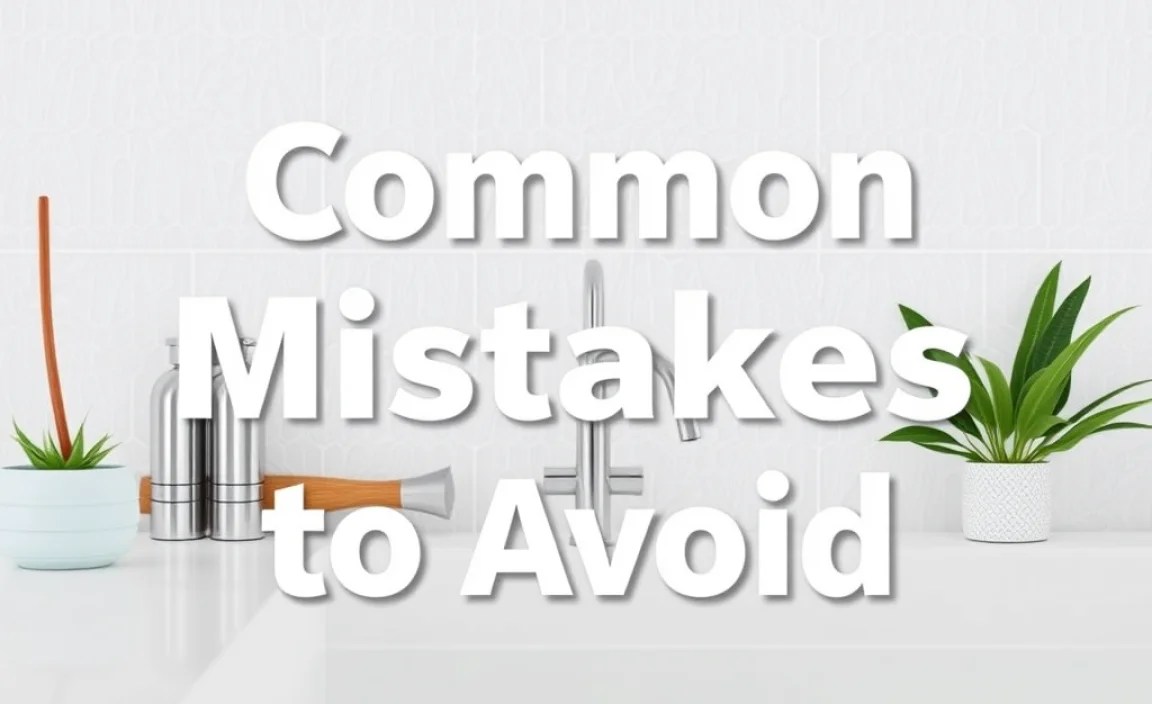
Even experts make mistakes with caulking. But you can avoid them! One mistake is not cleaning the area first. This can stop caulking from sticking. Another mistake is using too much caulking. This can make a mess. Applying it unevenly is also a problem. It can leave gaps or bubbles. Finally, using the wrong type of caulking can be a mistake. Each job needs the right type of caulking.
- Don’t apply to dirty surfaces.
- Avoid using too much caulking.
- Don’t skip smoothing the caulking.
- Avoid using the wrong type of caulking.
- Don’t apply caulking in a hurry.
Learning from these mistakes makes you better at caulking. Take your time. Do it slowly and carefully. Soon, you’ll caulk like a pro! Remember, practice helps you improve. Mistakes are part of learning. With patience, you can get a perfect finish every time.
Fun Fact or Stats: New caulking can make old bathtubs look new!
| Caulking Material | Best For | Advantages | Disadvantages |
|---|---|---|---|
| Silicone | Wet areas | Waterproof, flexible | Hard to paint over |
| Acrylic | Paintable areas | Easy to paint | Less flexible than silicone |
| Polyurethane | Outdoor use | Strong bond | Can be expensive |
| Butyl rubber | Roofing | Very durable | Messy to apply |
Not Cleaning the Surface
Do you know why surfaces need cleaning before caulking? It helps caulking stick. Dirt and grime prevent a proper seal. Always clean with soap and water first. Dry the area completely. This ensures the caulking sticks well. Skipping this step can ruin your work. It’s like painting on a dirty canvas. The result won’t be as good. Taking time to clean helps the caulking last longer. It keeps your home safe.
Using Too Much Caulking
Ever tried squeezing toothpaste out of a tube? Using too much caulking is similar. It can make a mess. It can also create an uneven seal. Too much caulking takes longer to dry. It can crack or peel easily. Less is more with caulking. Apply a thin, even line. Smooth it with a tool or finger. This creates a neat finish. It also saves you from cleaning up a mess later.
Applying Caulking in a Hurry
Why shouldn’t you rush caulking? Hurrying can lead to mistakes. It’s like rushing through homework. You miss important steps. Rushed caulking can leave gaps. These gaps can cause leaks. Taking your time ensures a perfect finish. It makes your work neat and tidy. Caulking needs patience. A slow, steady hand gives the best results. Remember, it’s not a race. Quality matters more than speed. Take your time for a job well done.
Conclusion
Caulking is a superhero in plumbing. It stops leaks and keeps water where it belongs. Understanding the caulking definition in plumbing helps you keep your home safe. With the right materials and techniques, anyone can caulk. It’s a simple job with a big impact. Remember, practice makes perfect. Happy caulking!
FAQs
Question: What is the caulking definition in plumbing?
Answer: The caulking definition in plumbing is sealing joints to prevent leaks. It’s essential for stopping water from causing damage. Caulking fills gaps around sinks, tubs, and toilets. This keeps areas dry and mold-free.
Question: Why is caulking important?
Answer: Caulking is important because it stops water leaks. Leaks can cause damage over time. Caulking protects walls, floors, and fixtures. It prevents mold, which can be harmful. Proper caulking saves money on repairs.
Question: How often should caulking be replaced?
Answer: Check your caulking every year. Replace it if you see cracks or peeling. Mold growth also means it’s time to re-caulk. Fresh caulking keeps your home safe from leaks and damage. Regular checks ensure lasting protection.
Question: What types of caulking are there?
Answer: There are several types of caulking. Silicone is waterproof and flexible. Acrylic is paintable. Polyurethane is strong for outdoor use. Butyl rubber works well for roofs. Choosing the right one depends on the job.
Question: What tools do I need for caulking?
Answer: You’ll need a caulking gun, scraper or knife, and a damp cloth. These tools help you apply caulking neatly. A caulking gun holds the tube and controls the flow. A scraper removes old caulking. A damp cloth cleans up mistakes.
Question: Can kids help with caulking?
Answer: Yes, kids can help with simple tasks. Cleaning the surface or handing tools are good tasks. Always work with an adult and follow safety tips. It’s a great way to learn and help around the house.
