
Quick Summary:
A caulking glossary for beginners breaks down essential terms like sealant, caulk gun, bead, and adhesion, making DIY projects simpler. Understanding these basics empowers you to choose the right caulk, use tools correctly, and achieve professional-looking, long-lasting seals for any home repair or improvement task.
Ever stared at a tube of caulk and felt completely lost? You’re not alone! The world of home maintenance can sometimes feel like a secret language. But when it comes to sealing up gaps, preventing drafts, or waterproofing your bathroom, knowing your caulk terms is key to success. We’re here to demystify it all, making your next DIY project feel achievable and even a little bit fun. Get ready to go from confused to confident!
Your Go-To Caulk Glossary for DIY Success

Getting your DIY projects right often starts with understanding the tools and materials you’re using. Caulking is one of those essential skills that can make a big difference in your home’s comfort and appearance. Let’s break down the most important terms you’ll encounter, so you can confidently tackle any project.
1. Caulk and Sealant: What’s the Difference?
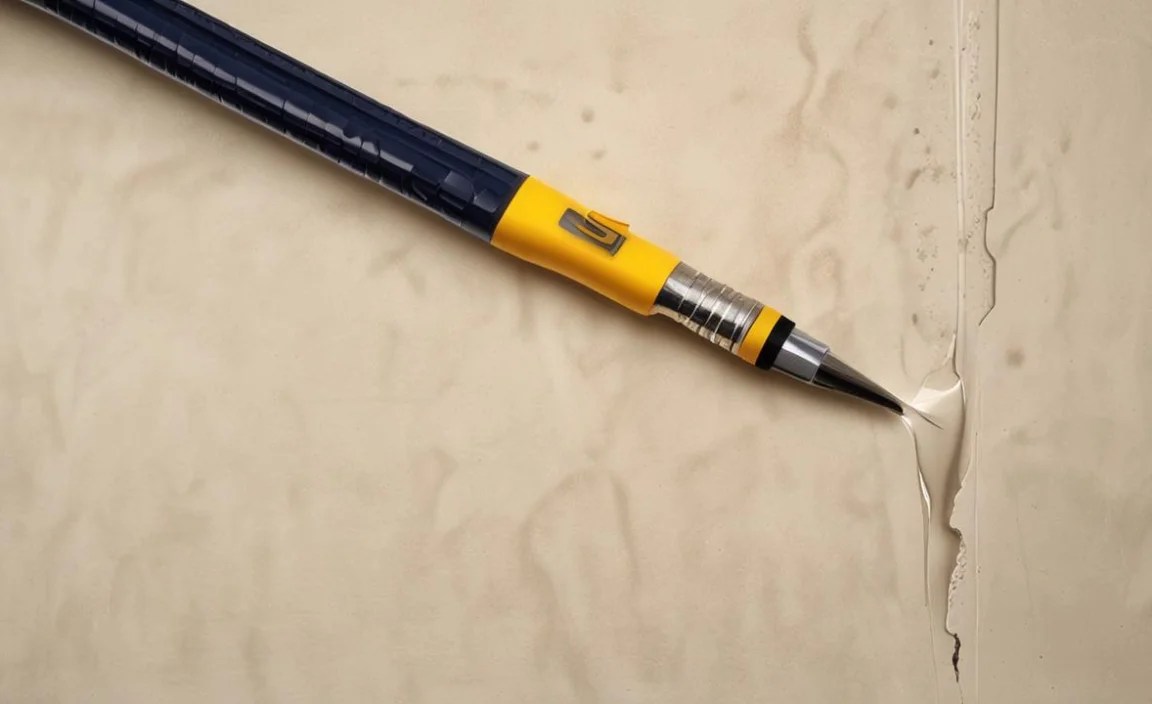
You’ll hear these terms used interchangeably, but there’s a subtle technical distinction. For a beginner, it’s good to know that both are used to fill gaps and prevent leaks.
- Caulk: Traditionally, caulk was made from a paste-like material, often derived from silica (like silicone) or acrylic. Its primary job is to seal small gaps and cracks in areas that don’t require much movement. Think around window frames or baseboards.
- Sealant: Sealants are generally more flexible and durable than caulk. They are designed to withstand more movement, expansion, and contraction, making them ideal for joints that move, like those in bathrooms, kitchens, or exterior siding. Modern products often blend these characteristics, so you’ll find “silicone caulk” or “acrylic sealant.” For beginners, focus on the intended use more than the exact name.
2. The Mighty Caulk Gun
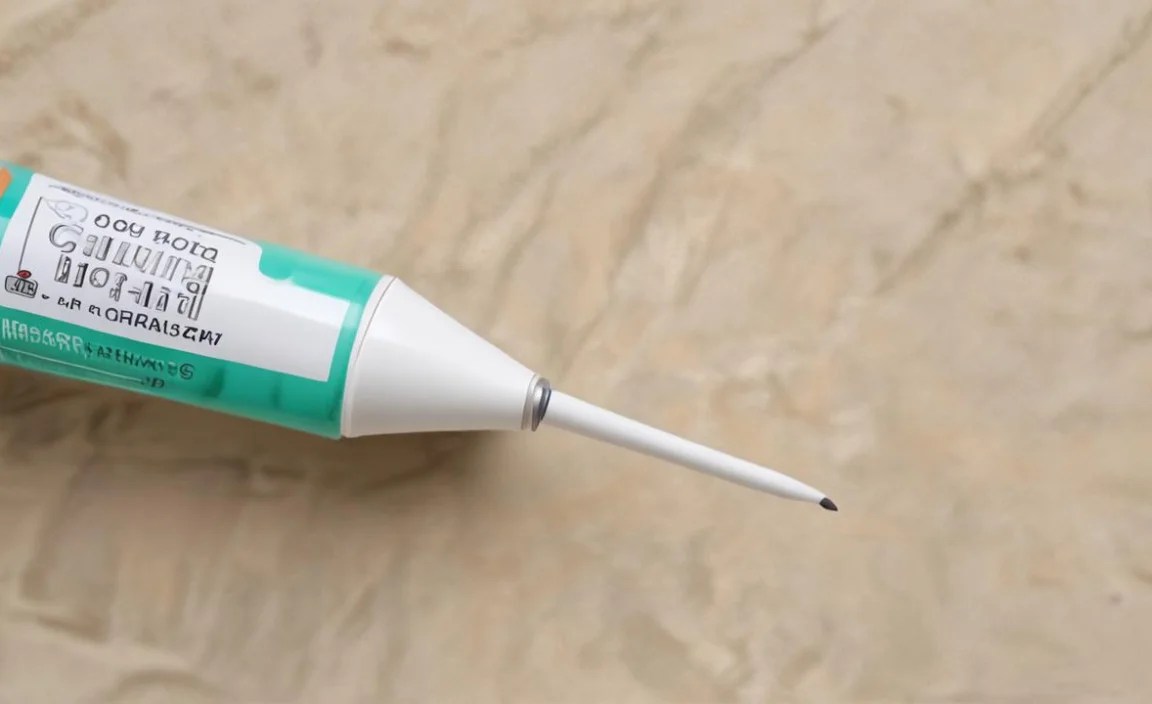
This is your primary tool for applying caulk. It makes dispensing the material smooth and controlled.
- Caulk Gun: A handheld tool designed to hold a caulk tube. You squeeze the trigger to push the caulk out of the nozzle.
- Types of Caulk Guns:
- Drip-Free: These automatically stop caulk flow when you release the trigger, preventing messy drips. Highly recommended for beginners!
- Manual Trigger: The most common type. You control the flow by how hard you squeeze.
- Electric/Cordless: Powered by batteries, these offer consistent, effortless application but are more expensive.
- Plunger/Rod: Located at the back of the gun, this pushes the caulk out of the tube.
- Release Lever/Tab: Use this to stop the flow of caulk and relieve pressure on the tube when you pause or finish.
3. Application Basics: Bead and Adhesion
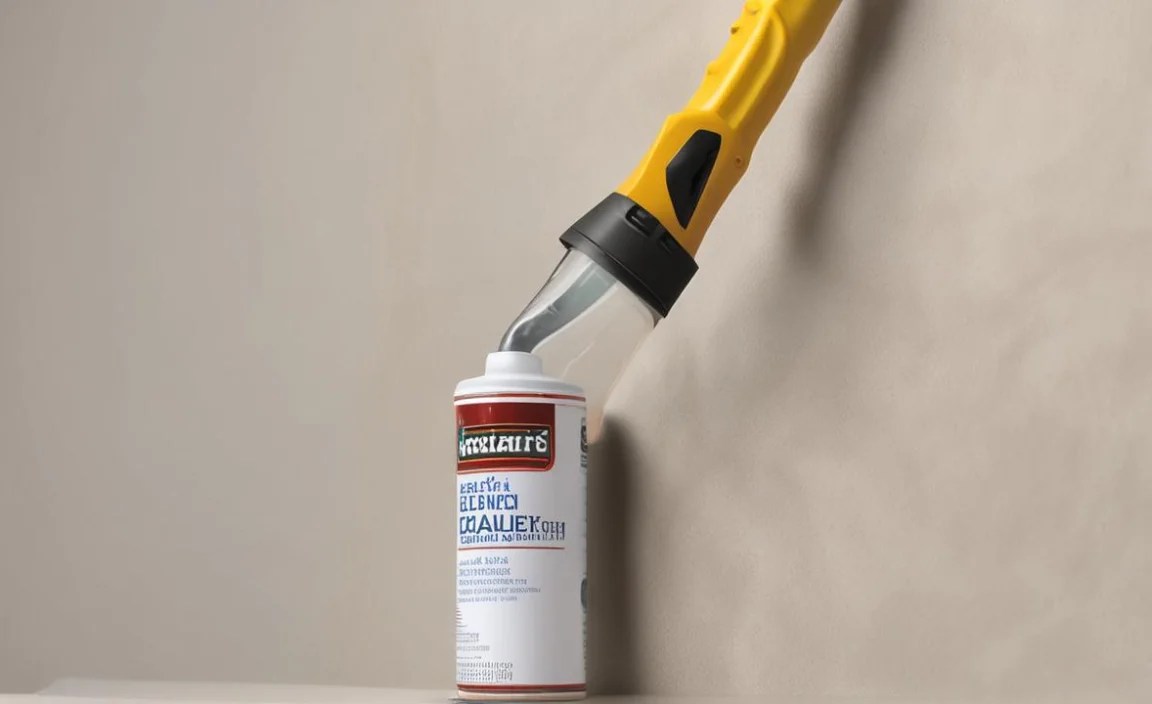
These terms describe how caulk is applied and how well it sticks.
- Bead: This refers to the continuous line of caulk you apply. A nice, even bead is the sign of a professional job.
- Adhesion: This is how well the caulk sticks to the surfaces you’re sealing. Good adhesion is crucial for a long-lasting, waterproof seal.
- Joint: The gap or seam between two materials that you are filling with caulk.
- Movement: The expansion and contraction of building materials due to temperature changes or structural shifts. Sealants designed for movement can stretch and compress without breaking.
- Tooling: The process of smoothing the applied bead of caulk to create a neat, finished look and ensure good contact with the surfaces.
4. Caulk Materials: What Are They Made Of?

The material a caulk or sealant is made of dictates its properties, flexibility, and best uses.
- Acrylic Latex Caulk: The most common and beginner-friendly type. Easy to work with, cleans up with water, and is paintable. Great for interior projects and small gaps that don’t experience much movement.
- Silicone Caulk: Waterproof and very flexible, making it ideal for bathrooms, kitchens, and areas with high moisture or movement. However, it can be trickier to work with, doesn’t adhere well to all surfaces, and is typically not paintable.
- Silicone-Acrylic (Silyl-Modified Polymer/Advanced Silicone): These “hybrid” caulks aim to combine the best of both worlds: flexibility, water resistance, and paintability. They are an excellent choice for many DIY applications.
- Polyurethane Caulk: Very durable, flexible, and strong adhesion. Excellent for high-moisture areas and exterior applications, but can be harder to tool and is often not paintable.
- Butyl Rubber Sealant: Primarily used for exterior applications, especially roofing and foundation sealing, due to its excellent water resistance.
5. Important Caulk Properties
Understanding these properties helps you choose the right product for your needs.
- Waterproof: The caulk resists water penetration. Essential for bathrooms, kitchens, and outdoor use.
- Paintable: The caulk can be painted over once it dries. Acrylic latex caulks are usually paintable.
- Flexible: The caulk can stretch and compress with material movement without cracking. Important for areas that experience temperature changes.
- Adhesive: How well the caulk sticks to different surfaces. Some caulks work best on specific materials (e.g., tile, wood, metal).
- Mildew Resistant: Contains additives to prevent the growth of mold and mildew. Crucial for damp areas like bathrooms.
- VOCs (Volatile Organic Compounds): Chemicals released into the air as the caulk cures. Low-VOC or no-VOC options are better for indoor air quality. You can learn more about VOCs from the U.S. Environmental Protection Agency (EPA).
Essential Tools for Caulking
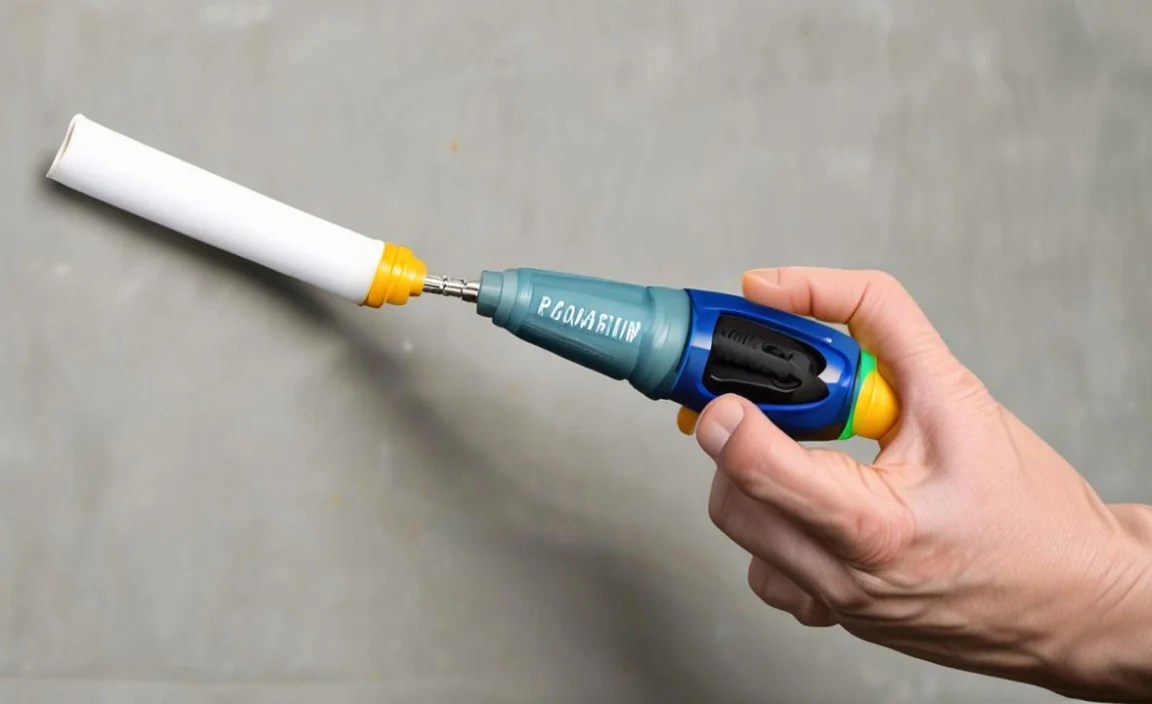
Beyond the caulk gun and the caulk itself, a few other tools will make your job much easier and the results look professional.
1. For Preparation
Getting the surface ready is half the battle!
- Utility Knife or Caulk Removal Tool: To cut open the caulk tube nozzle and to scrape away old caulk.
- Putty Knife or Scraper: To remove stubborn old caulk.
- Cleaning Cloths or Rags: For wiping down surfaces and cleaning up excess caulk.
- Rubbing Alcohol or Mineral Spirits: Depending on the caulk type, to clean surfaces and remove residue. Always check the caulk manufacturer’s instructions.
- Painter’s Tape (Masking Tape): To create crisp, straight lines and protect surfaces you don’t want caulk on.
2. For Application and Finishing
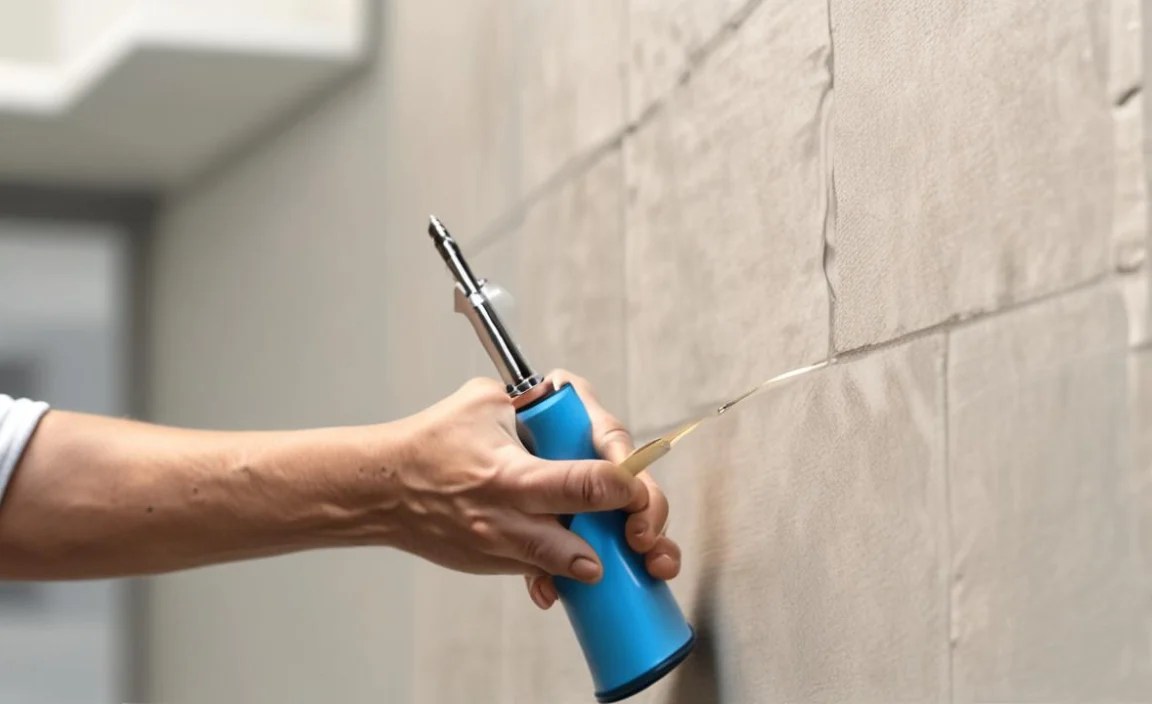
These tools help you achieve that smooth, professional finish.
- Caulk Gun: As discussed, your primary tool.
- Caulking Tool Kit/Finishing Tools: These come in various shapes and sizes to smooth the caulk bead. Some are plastic, some are metal. They create a concave or angled finish.
- Damp Cloth or Sponge: For wiping away excess caulk and smoothing the bead (especially with water-based caulks).
- Gloves: To protect your hands from caulk and cleaning solvents.
Common Caulking Scenarios and the Terms You’ll Use

Let’s put these terms into practice with some common DIY situations.
Scenario 1: Kitchen or Bathroom Sink/Backsplash

You’re sealing the gap between your countertop and the backsplash, or around the edges of your sink.
- Problem: Water seeping behind the backsplash or into the sink seam, causing damage or mold.
- Solution: You need a flexible, waterproof, and preferably mildew-resistant sealant.
- Terms You’ll Use: Apply a consistent bead of silicone-acrylic or silicone sealant. Ensure good adhesion to both the countertop and the tile. Tool the bead for a smooth finish. A drip-free caulk gun is helpful here.
Scenario 2: Window and Door Frames (Interior)
You’re sealing small gaps around your interior window frames or door trim to prevent drafts and improve appearance.
- Problem: Drafts, visible gaps.
- Solution: An easy-to-use, paintable caulk is ideal.
- Terms You’ll Use: Use an acrylic latex caulk. Apply a thin bead along the gaps. Ensure good adhesion to the wood or drywall. You’ll want a paintable caulk so you can match your wall color. Use painter’s tape for a super clean line.
Scenario 3: Exterior Siding or Trim
You’re sealing gaps where siding meets trim or around window/door frames on the outside of your home.
- Problem: Water infiltration, insect entry, drafts, energy loss.
- Solution: A durable, exterior-grade sealant that can withstand weather and some movement.
- Terms You’ll Use: Look for a polyurethane or high-quality exterior-grade silicone-acrylic sealant. It needs to be flexible to handle temperature changes and have excellent adhesion. It must be waterproof.
Understanding Caulk Curing and Longevity
Once applied, caulk needs time to do its job. Here’s what curing means and how long it lasts.
- Curing: This is the process where the caulk hardens and achieves its final properties (like flexibility and water resistance). It’s not just drying on the surface; it’s a chemical change.
- Drying Time: The initial period before the caulk is no longer wet to the touch. This is usually much shorter than the curing time.
- Cure Time: The full duration it takes for the caulk to completely harden and reach its maximum performance. This can range from 24 hours to several days, depending on the product and environmental conditions (humidity, temperature). Always check the product label! Good resources for understanding building materials can be found through organizations like the Building Science Corporation.
- Longevity: How long the caulk bead will effectively perform its function. This depends on the type of caulk, the quality of the application, and the environmental conditions it’s exposed to. A well-applied exterior caulk might last 10-20 years, while an interior bathroom caulk might need refreshing every 5-7 years.
Table: Comparing Common Caulk Types for Beginners
Choosing the right caulk can feel overwhelming, but this table simplifies it:
| Caulk Type | Best For | Pros | Cons | Cleanup | Paintable? |
|---|---|---|---|---|---|
| Acrylic Latex | Interior trim, baseboards, window/door frames (non-wet areas). Small, static gaps. | Easy to use, cleans up with water, paintable, low VOC available. Inexpensive. | Less flexible, not ideal for high moisture or movement areas. Can shrink. | Water | Yes |
| Silicone | Bathrooms, kitchens, around tubs/showers, sinks. Areas with high moisture and movement. | Highly flexible, waterproof, excellent adhesion to non-porous surfaces (glass, tile). Durable. | Tricky to apply smoothly, typically not paintable, can be harder to remove. | Mineral spirits (uncured) | No |
| Silicone-Acrylic (Hybrid) | General purpose interior/exterior. Bathrooms, kitchens, windows, siding. | Good flexibility, waterproof, adheres well to many surfaces, often paintable. Easier to use than pure silicone. | Can be more expensive. Performance can vary by brand. | Water (uncured) | Often Yes |
| Polyurethane | Exterior siding, trim, decks, windows, doors. Joins that experience significant movement or stress. | Very durable, flexible, strong adhesion, excellent weather resistance. | Can be difficult to tool smoothly, often not paintable, requires mineral spirits for cleanup. Strong odor. | Mineral Spirits | No (usually) |
Step 1: Preparing Your Area for Caulking
This step is crucial for a successful and long-lasting seal. Don’t rush it!
- Remove Old Caulk: If you’re working over an existing caulk line, use a utility knife or a specialized caulk removal tool to cut and peel away all the old caulk. You want a clean surface for the new caulk to adhere to.
- Clean the Gap: Remove any dust, dirt, grease, or debris from the gap. A vacuum with a brush attachment can be helpful. For stubborn grime or adhesive, use a rag dampened with rubbing alcohol or mineral spirits (check your caulk’s recommendation for compatibility).
- Ensure the Area is Dry: Caulk will not adhere properly to wet surfaces. Allow any cleaning solutions to dry completely, and make sure the area is free of condensation.
- Apply Painter’s Tape (Optional but Recommended): For perfectly straight lines, apply painter’s tape along the edges of the gap. This creates a clean barrier, so you don’t get caulk on surfaces you don’t want it on. Leave a gap between the tape lines that is slightly wider than the bead of caulk you want to apply (e.g., if you want a 1/4-inch bead, leave a 1/4-inch gap between the tape).
Step 2: Preparing the Caulk Tube
Getting the tube ready is simple but important.
- Cut the Nozzle: Using a utility knife, carefully cut the tip of the caulk tube nozzle at a 45-degree angle. Start with a small opening – you can always cut more if you need a wider bead. The size of the opening determines the size of the bead.
- Puncture the Inner Seal: Most caulk tubes have an inner seal. Your caulk gun likely has a poker on it, or you can use a nail or wire to puncture this seal. This allows the caulk to flow freely.
- Load the Caulk Gun: Pull back the plunger rod on the caulk gun. Place the caulk tube into the gun’s chamber, nozzle first. Push the plunger rod back against the back of the caulk tube.
Step 3: Applying the Caulk Bead
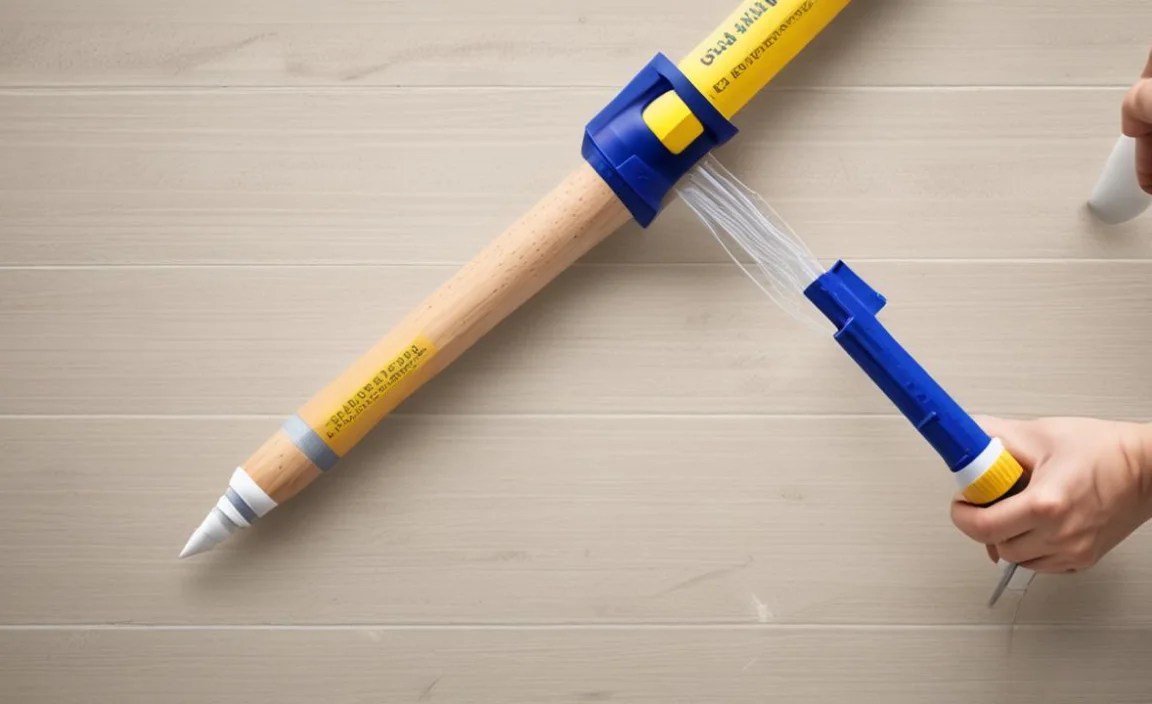
This is where the magic happens!
- Position the Gun: Place the nozzle tip at the beginning of the gap you want to fill, holding the gun at a 45-degree angle relative to the surface of the joint.
- Apply Steady Pressure: Squeeze the trigger of the caulk gun with a smooth, consistent pressure. Move the gun along the joint at a steady pace. Aim for a continuous, even bead of caulk that fills the gap.
- Control the Flow: If you’re not using a drip-free gun, you’ll need to disengage the trigger mechanism periodically by pressing the release lever. Practice makes perfect!
- Overlap Slightly: When you reach the end of a run or need to pause, release the trigger (and engage the drip-free mechanism if you have one). If you need to start a new bead, slightly overlap the end of the previous bead to ensure a continuous seal.
Step 4: Tooling and Finishing the Bead
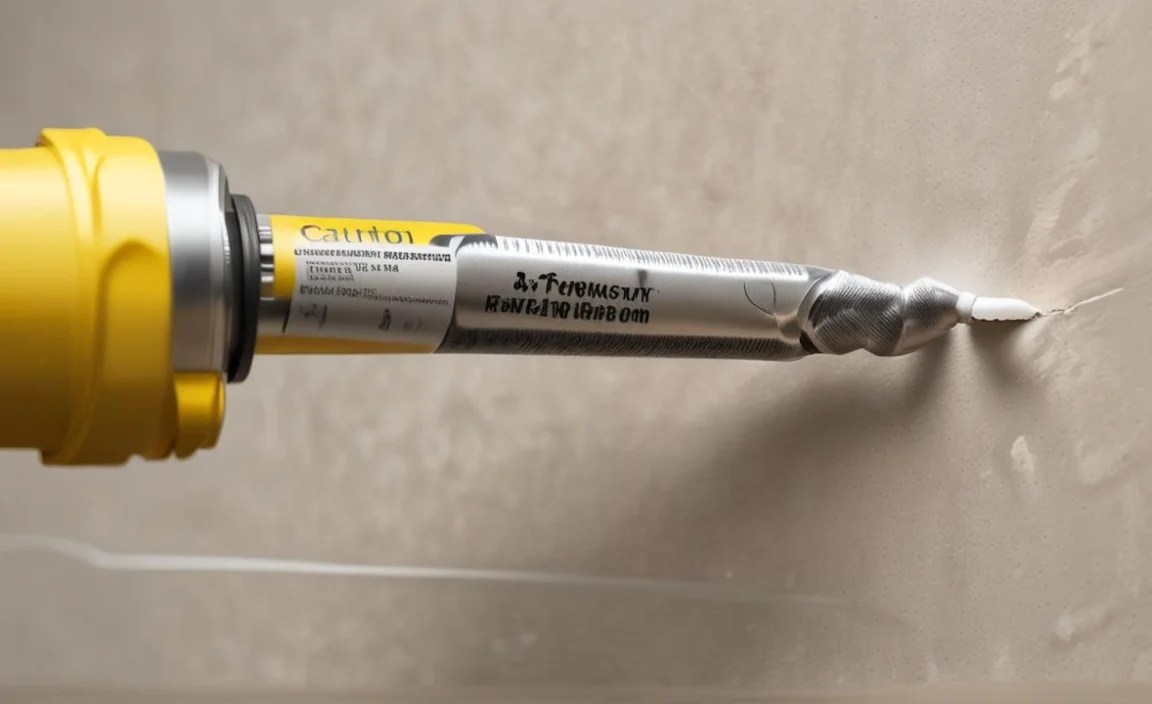
This step creates a professional look and ensures the caulk bonds properly.
- Work Quickly: You usually have about 5-10 minutes to tool the caulk before it starts to skin over.
- Use a Tool or Your Finger:
- Caulking Tool: Many DIYers find specialized caulking tools (often found in kits) excellent for creating a consistent concave bead. Run the tool along the bead at a steady pressure.
- Damp Finger: If using acrylic latex caulk, you can lightly moisten your
