
Quick Summary:
Understand common caulking jargon in construction with this beginner’s guide. We break down key terms like “bead,” “joint,” and “backer rod” into simple language, empowering you to confidently tackle caulking projects and communicate effectively on any job site.
Ever stare at a tube of caulk and feel like you need a translator? You’re not alone! Home improvement projects, especially those involving sealing gaps and cracks, come with their own lingo. Understanding these terms can make a world of difference, from picking the right caulk to confidently chatting with a contractor. This guide is here to demystify that construction chatter. We’ll walk through the essential caulking jargon, breaking everything down so you can feel like a pro. Get ready to transform those confusing phrases into clear, actionable knowledge!
Decoding the Caulking Dictionary: Essential Terms You Need to Know
When you’re looking to seal up those pesky gaps around your windows, doors, or in your bathroom, the world of caulk can seem a bit overwhelming with its own special vocabulary. Don’t worry, we’re going to break it down. Think of this as your friendly neighborhood guide to understanding what all those terms really mean out on the job or in the hardware store. Knowing these basics will save you time, prevent costly mistakes, and help you achieve a professional-looking finish every time.
The Foundation: Understanding Joints and Gaps
Before we dive into the tools and techniques, let’s get clear on what we’re working with. Caulking is all about filling the spaces where two things meet. These spaces are called joints or gaps, and they can appear in various places around your home.
- Joint: This refers to the space where two or more surfaces meet. Think about where your wall meets your countertop, or where your window frame meets the wall. These are all joints that might need sealing.
- Gap: Similar to a joint, a gap is simply an open space or separation between two surfaces. It can be wide or narrow, deep or shallow.
- Seam: This term is often used interchangeably with joint or gap, especially when referring to the line where two pieces of material are joined.
Understanding the type and size of your joint or gap is the first step in choosing the right caulk and preparation method. For instance, a wide gap might need a different approach than a hairline crack. Knowing this helps you select the appropriate materials and ensure a durable, watertight seal. For more on identifying different types of gaps and their causes, resources like Building Science Corporation’s work on air barriers can provide deeper insights into building envelope performance, though we’ll keep our focus on the practical application of caulking here.
The Star of the Show: Caulk and Its Types

Caulk is the sealant itself – the gooey stuff that fills those gaps. But not all caulk is created equal. Different situations call for different types of caulk, each with its own pros and cons.
| Caulk Type | Description | Best For | Pros | Cons |
|---|---|---|---|---|
| Latex/Acrylic Caulk (Water-Based) | A very common and easy-to-use caulk. Cleans up with water. Can be painted over once dry. | Interior trim, baseboards, crown molding, around non-moving joints. | Easy to apply and clean up, low odor, paintable, affordable. | Can shrink over time, not ideal for areas with high moisture or significant movement. |
| Silicone Caulk | Highly flexible and waterproof. Excellent for sealing against moisture. Often has a distinct odor during application. | Bathrooms, kitchens, around sinks and tubs, windows and doors (especially in damp areas). | Extremely waterproof, very flexible, durable, resists mold and mildew. | Difficult to clean up (requires mineral spirits), cannot be painted over, can be tricky to apply smoothly. |
| Polyurethane Caulk | A very durable and flexible caulk that adheres well to many surfaces. Good for both interior and exterior use. | Exterior joints, windows and doors, gutters, siding, concrete. | Strong adhesion, very durable, flexible, paintable, good for high-movement areas. | Can have a strong odor, requires mineral spirits for cleanup, can be more expensive. |
| Spackle/Patching Compound | While not technically caulk, it’s often used for very small cracks and holes in drywall. Not flexible. | Small nail holes, minor drywall imperfections. | Easy to sand and paint, blends perfectly with drywall. | Brittle when dry, shrinks, not suitable for joints or gaps. |
When you’re at the store, you’ll see terms like “100% silicone” or “paintable acrylic latex.” This information is crucial for choosing the right product for your specific project. Always read the label to ensure it’s suitable for the material you’re sealing and the environment it’s in. For instance, using a bathroom caulk with mold-inhibitors is a smart choice where moisture is a concern.
Getting Ready: Tools and Techniques
To get a great caulk job, you need the right tools and a little know-how. Here’s a look at some common terms you’ll encounter when preparing to caulk:
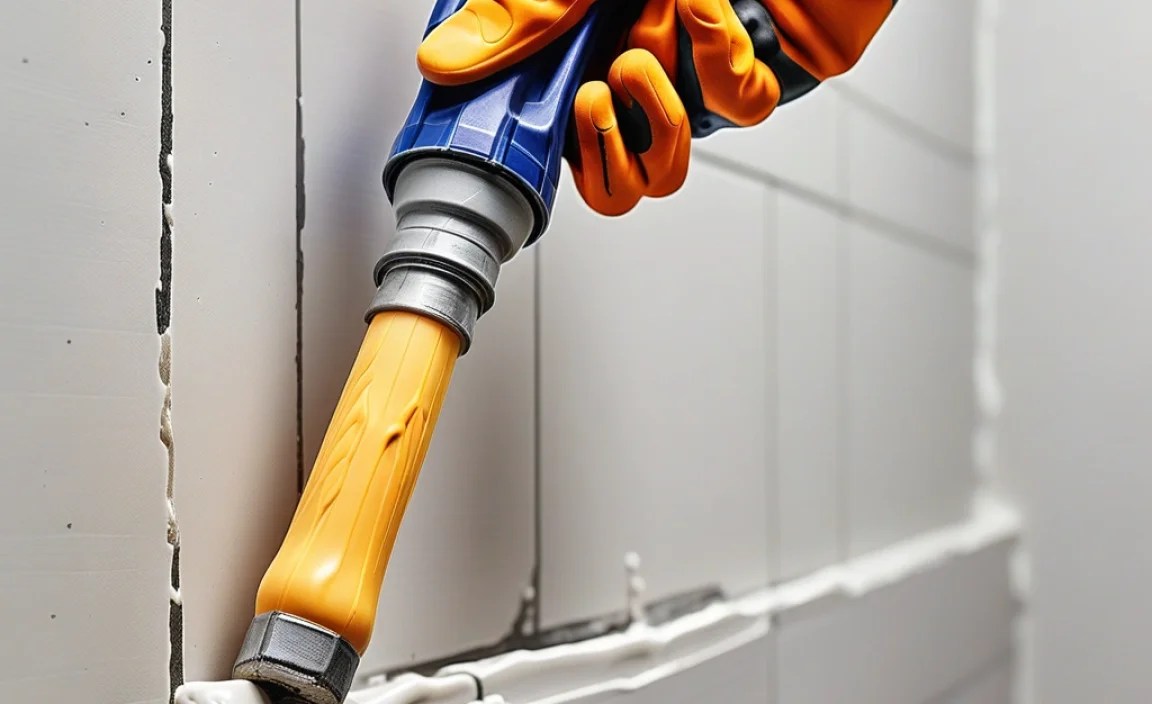
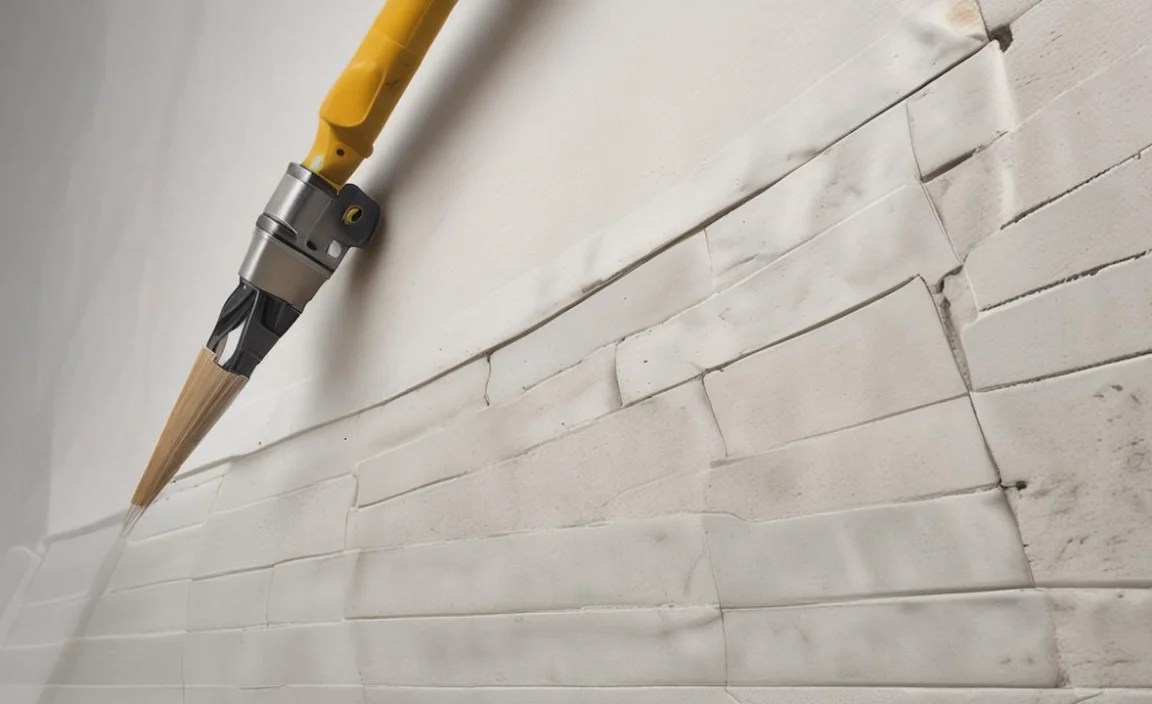
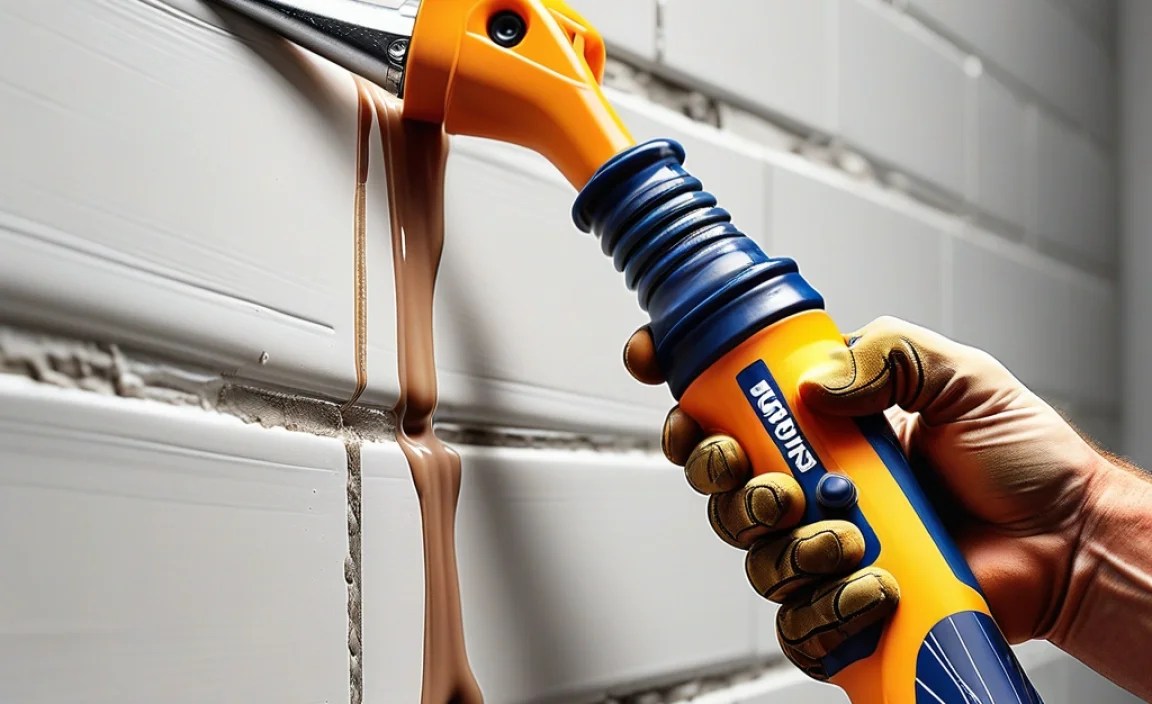
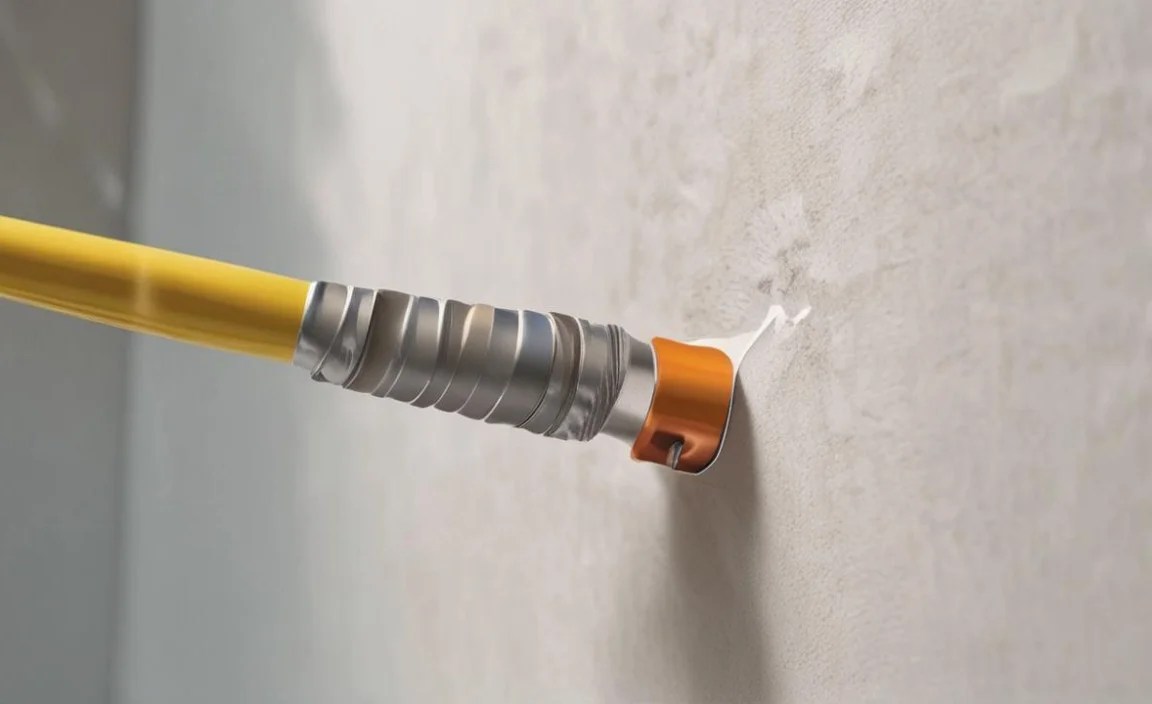
- Caulk Gun: This is the handheld tool that holds the caulk tube and allows you to apply the caulk smoothly and consistently. There are manual versions (you squeeze a trigger) and electric/cordless ones for larger jobs.
- Nozzle: The plastic tip on the caulk tube. You’ll cut this at an angle to control the bead size. The angle and the size of the cut determine how wide your bead of caulk will be.
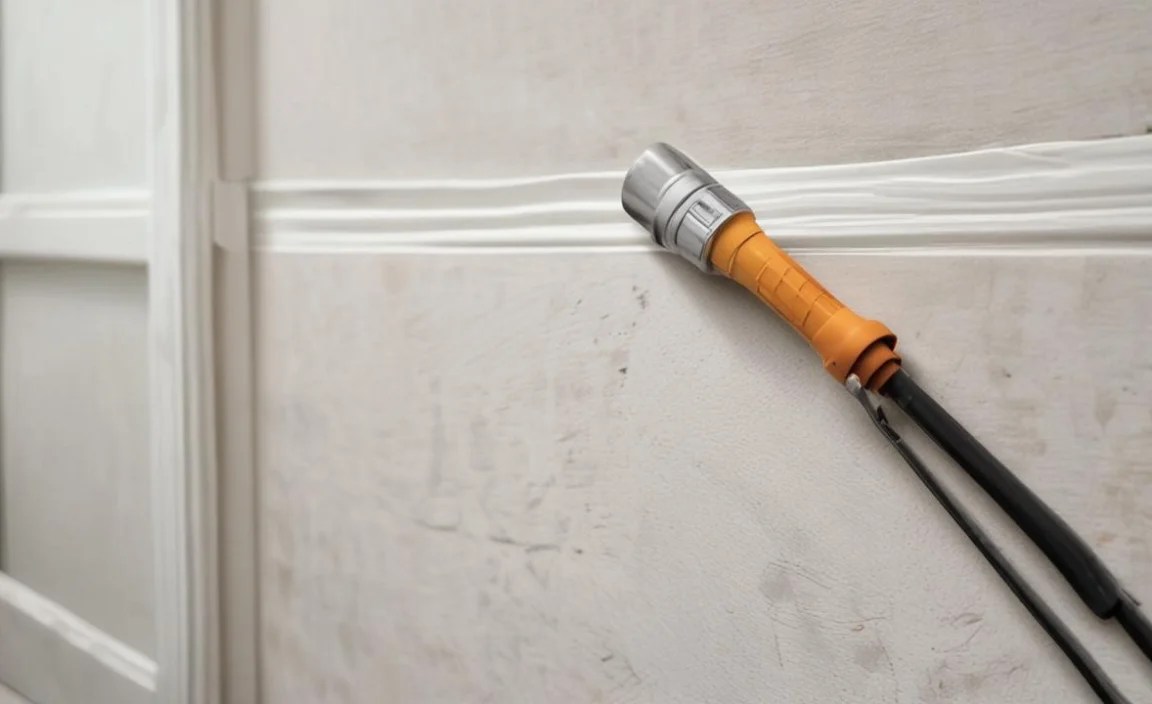
- Bead: This is the continuous line of caulk that you apply into a joint or gap. The goal is to create a consistent, even bead.
- Backer Rod: A flexible foam rope inserted into very deep gaps or joints. It prevents the caulk from sinking too far into the gap, uses less caulk, and helps ensure the caulk can flex properly. Think of it as a backing for your caulk. You can learn more about proper joint design and filler materials at places like the Fine Homebuilding website, which often provides detailed project guides.
- Joint Backer/Tape: For very wide or deep joints, a backer rod is essential. For shallower gaps, sometimes a strip of painter’s tape is applied on either side of the gap to create a clean line and catch any excess caulk, ensuring a neat finish.
- Tooling: After applying the caulk, you’ll “tool” it. This means smoothing the bead with your finger, a putty knife, a plastic caulking tool, or a damp cloth to press the caulk into the gap and create a clean, slightly concave surface that blends seamlessly with the surrounding materials.
- Cuticle/Caulk Removal Tool: A specialized tool designed to cut away old, hardened caulk without damaging the surrounding surfaces.
- Adhesion: This refers to how well the caulk sticks to the surfaces. Proper surface preparation is key for good adhesion.
- Cohesion: This is the internal strength of the caulk itself – how well the caulk material sticks to itself. A caulk with good cohesion won’t tear easily.
The act of “tooling” is super important for a professional look. It’s not just about smearing it; it’s about pressing the caulk firmly into the joint so it makes good contact with both sides, then creating a smooth, uniform finish. A little water on your finger (for latex caulk) or a damp cloth can help with this. For silicone caulk, using a specialized tool or a solvent (like mineral spirits) might be needed, and it’s best to do this quickly before it starts to skin over.
Application Step-by-Step: Making It Happen
Now that you know the terms, let’s look at the process. Here’s a general guide to applying caulk effectively:
- Preparation is Key:
- Remove all old caulk, dirt, dust, and debris from the joint or gap. A caulk removal tool is perfect for this.
- Ensure the surface is completely dry. Caulk won’t stick to wet surfaces.
- If the gap is very deep (more than 1/2 inch), insert a backer rod to fill most of the void.
- For very clean lines, consider applying painter’s tape to the surfaces on either side of the gap, leaving only the gap exposed.
- Prepare Your Caulk Tube:
- Cut the tip of the caulk nozzle at a 45-degree angle. Start with a small opening. You can always cut it larger if needed.
- Puncture the inner seal of the caulk tube with the long metal rod on a caulk gun (or a nail/wire).
- Load the caulk tube into the caulk gun.
- Apply the Caulk Bead:
- Place the nozzle tip at the beginning of the joint at the desired angle.
- Squeeze the caulk gun trigger steadily. Move the gun at a consistent speed along the joint. Aim for a continuous, even bead that fills the gap.
- Try to keep the caulk bead consistent in size and shape. Pull the gun towards you rather than pushing it away for better control.
- Release the trigger pressure to stop the flow of caulk, and pull the gun away.
- Tooling the Bead:
- Immediately after applying the caulk, “tool” the bead. Dip your finger (wear a glove, or use a damp rag for latex caulk) or use a caulking tool.
- Run your finger or tool along the bead, pressing the caulk into the joint and smoothing the surface. This pushes the caulk into all the nooks and crannies, ensuring good adhesion and creating a neat finish.
- Wipe away excess caulk with a damp cloth or paper towel as you go.
- Finishing Up:
- If you used painter’s tape, carefully remove it while the caulk is still wet. Pull it away at an angle, away from the fresh caulk line.
- Clean up any drips or excess caulk immediately according to the caulk manufacturer’s instructions (water for latex, mineral spirits for silicone/polyurethane).
- Allow the caulk to cure (dry) completely before painting or exposing it to moisture. Check the product label for cure times.
The speed at which you move your caulk gun and the pressure you apply are crucial. It takes a bit of practice to get a perfectly consistent bead. Don’t get discouraged if your first attempt isn’t perfect. Many DIYers find that practicing on a piece of scrap wood or cardboard can help them get a feel for the caulk gun and how to control the flow. For more detailed visual guides, check out reputable DIY sites like This Old House, which often feature step-by-step video tutorials.
Common Caulking Challenges and Solutions
Even with the best intentions and the right jargon, caulking can throw a few curveballs. Here are some common issues and how to handle them:
- Gaps are too Wide: If a gap is wider than what your chosen caulk is rated for, you might need a backer rod to fill the bulk of the space. For extremely wide gaps, you might need a more substantial solution like architectural caulk or even a specialized sealant.
- Caulk is Shrinking: Some types of caulk, especially cheaper latex varieties, can shrink as they dry, leaving a small indentation. This often means the gap was too deep for the amount of caulk applied, or the caulk itself isn’t designed for deep fills. Using a backer rod is a good solution here.
- Caulk Won’t Stick: This is almost always a preparation issue. The surface might have been dirty, dusty, greasy, or wet. Re-clean the area thoroughly, ensure it’s bone dry, and try again. If the caulk is old and has gone bad, it might also lose its adhesion.
- Uneven or Messy Bead: This is where practice and tooling come in. Take your time, move the gun consistently, and don’t be afraid to wipe away mistakes and reapply. Using painter’s tape can provide a safety net for a super clean line.
- Old Caulk Won’t Come Off: For stubborn old caulk, a good caulk removal tool is essential. For very tough spots, a heat gun (used carefully!) or a chemical caulk remover might be necessary, but always follow safety precautions and test in an inconspicuous area first.
Remember, patience is a virtue when it comes to caulking. It’s a skill that improves with practice. Don’t be afraid to scrape it off and start over if a section isn’t looking right. It’s better to redo it than to live with a subpar job.
Caulking Jargon: A Quick Reference Table
To help you quickly recall these terms, here’s a handy reference table:
| Term | Meaning |
|---|---|
| Bead | The continuous line of caulk applied into a joint. |
| Joint | The space where two surfaces meet. |
| Gap | An open space or separation between two surfaces. |
| Seam | A line where two pieces of material are joined; often used interchangeably with joint. |
| Caulk Gun | Tool used to apply caulk from a tube. |
| Nozzle | The tip of the caulk tube, which is cut to control bead size. |
| Backer Rod | Foam rope inserted into deep gaps to control caulk depth and movement. |
| Tooling | Smoothing the applied caulk bead for a neat finish. |
| Adhesion | How well the caulk sticks to the surfaces. |
| Cohesion | The internal strength of the caulk. |
| Cure Time | The time it takes for caulk to dry and harden completely. |
Keep this table handy as you tackle your next caulking project. Having these definitions readily available can clear up confusion on the spot and ensure you’re using the right terminology when seeking advice or purchasing materials.
Frequently Asked Questions (FAQs)
Here are some common questions beginners have about caulking jargon:
What’s the difference between caulk and sealant?
While often used interchangeably, “sealant” is a broader term. Sealants are generally more flexible and durable than caulk, designed to handle more movement and extreme conditions (like greater temperature fluctuations or significant joint expansion/contraction). Many products labeled as “caulk” are technically elastomeric sealants. For most DIY home projects, the terms are practically synonymous.
What does “paintable caulk” mean?
Paintable caulk means that once the caulk has fully dried and cured, you can apply paint over it. This is important for interior projects where you want the caulk to blend in with the painted walls or trim. Latex and acrylic caulks are typically paintable, while silicone caulks generally are not.
How do I know which type of caulk to use?

Consider the location and expected movement. For dry interior areas like trim, paintable acrylic latex caulk is usually best. For wet areas like bathrooms, look for silicone or acrylic latex caulk with mold and mildew inhibitors. For exterior use, a durable, flexible caulk like polyurethane or a high-quality siliconized acrylic is recommended. Always check the product label for recommended uses.
What is a “slump” in caulking?
A “slump” refers to caulk that is too soft and runny, causing it to sag or droop downwards, especially in vertical joints. This can happen if the caulk is old, has been exposed to extreme heat,
