
Caulking seals gaps, preventing leaks, drafts, and pest entry in homes. It’s a simple DIY task that boosts energy efficiency and protects against moisture damage. Understanding its uses, benefits (pros), and drawbacks (cons) helps you choose the right type and apply it effectively for lasting results.
Caulking Uses: Essential Pros & Cons Explained for Beginners
Tired of those annoying drafts whistling through your windows? Or maybe you’ve noticed tiny critters finding their way into your kitchen? These common home headaches often stem from small gaps and cracks. But don’t worry, fixing them is usually straightforward! The magic solution is often a tube of caulk. It’s a flexible sealant that acts like a protective barrier, keeping unwanted elements out and comfort in.
This guide will walk you through everything you need to know about caulking. We’ll demystify what it is, why it’s so useful, and the advantages and disadvantages you should consider. By the end, you’ll feel confident tackling those gaps and making your home more comfortable and energy-efficient. Let’s get started on turning those frustrating little problems into easily managed DIY projects!
What is Caulking and Why is it Important?

Think of caulk as the superhero of gaps and cracks around your home. It’s a versatile, pliable material that you can squeeze into those tiny openings where walls meet windows, doors, baseboards, and even around your bathtub or sink. Its primary job is to create a watertight and airtight seal. This simple act has a big impact on your home’s comfort and efficiency.
When you seal up those gaps with caulk, you’re essentially stopping unwanted things from entering. This includes water, which can cause rot and mold, and air, which leads to drafts and higher energy bills. It also helps keep out insects and dust. So, while it might seem like a small detail, proper caulking is a crucial part of home maintenance.
Common Caulking Uses Around the House
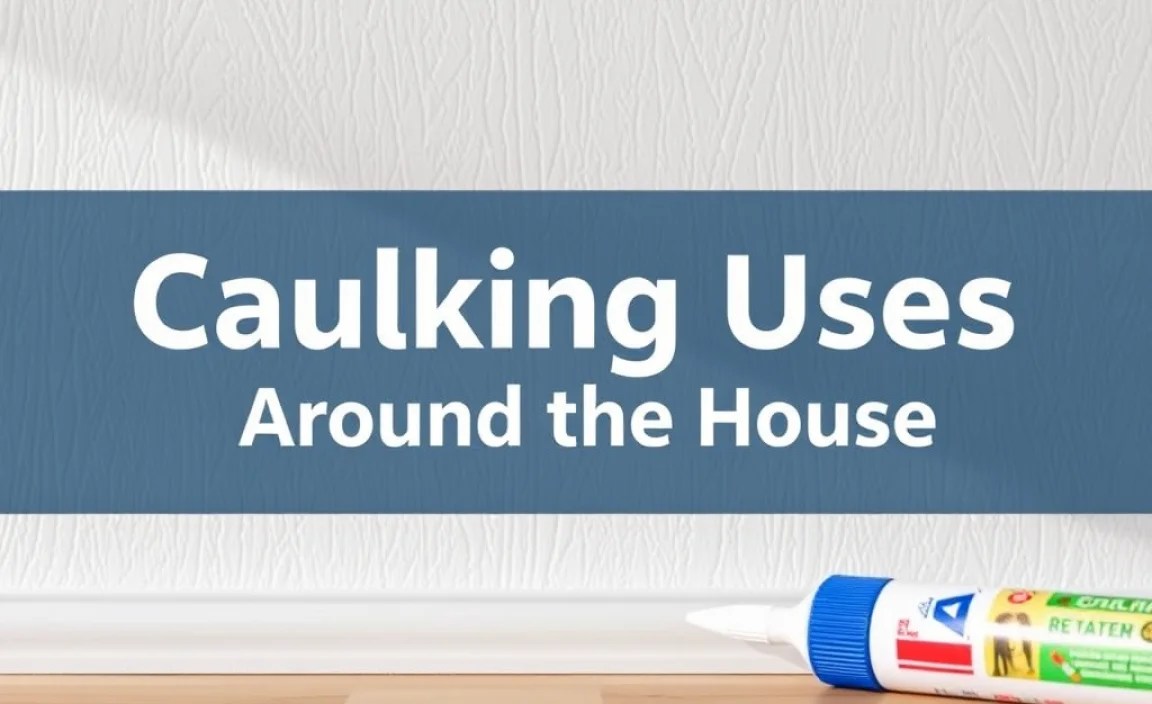
Caulking is a true multi-tasker, appearing in many areas of your home. Understanding these common applications will help you spot where you might need it most. From preventing water damage to improving energy savings, caulk plays a vital role.
1. Sealing Around Windows and Doors
This is perhaps the most well-known use for caulk. Gaps between window frames and the wall, or door frames and the surrounding structure, are prime spots for air leaks. Caulking these areas creates a tight seal, preventing warm air from escaping in the winter and cool air from escaping in the summer. This directly translates to lower energy bills and a more comfortable living environment.
2. Bathroom and Kitchen Sealing
In areas prone to moisture, like bathrooms and kitchens, caulk is essential for preventing water damage. You’ll typically find it used around:
Bathtubs and Showers: Sealing the gap between the tub/shower base and the wall tiles prevents water from seeping behind the walls, which can lead to costly mold and mildew growth.
Sinks and Countertops: Caulking around the edge of a sink where it meets the countertop, or along the seam where a countertop meets a backsplash, stops spills and splashes from getting underneath and causing damage.
Toilets: A bead of caulk around the base of a toilet can help prevent minor leaks from reaching the floor and subfloor.
3. Baseboard and Trim Sealing
When baseboards or decorative trim pieces meet the wall or floor, small gaps can form over time due to house settling or material shrinkage. Caulking these seams not only provides a cleaner, more finished look but also prevents dust and drafts from creeping through. A smooth paint finish over caulk can make baseboards look like they’re part of the wall.
4. Gaps in Siding and Exterior Trim
On the outside of your home, caulk is used to seal joints in siding, around exterior window and door frames, and where pipes or vents enter the house. This exterior caulking is critical for an effective building envelope, preventing water intrusion that can damage the structure and leading to more significant repairs.
5. Repairing Cracks in Walls and Ceilings
While it’s an ongoing maintenance task, caulk can be used to fill small cracks in drywall or plaster. For larger cracks, other repair methods might be more appropriate, but for hairline cracks, caulk can provide a quick and effective fix before painting.
Tools You’ll Need for Caulking Projects
Before you start, gathering the right tools makes the job much smoother. You don’t need a massive toolbox for most basic caulking tasks.
Caulk Gun: This is essential for applying caulk tubes. They come in different styles, but a basic manual one is perfect for beginners.
Caulk Tube: Choose the right type of caulk for your project (more on that later!).
Utility Knife or Caulk Removal Tool: For cutting the caulk tip at an angle and for removing old caulk.
Putty Knife or Scraper: Useful for removing stubborn old caulk.
Rubbing Alcohol (Isopropyl Alcohol) or Mineral Spirits: For cleaning surfaces before applying caulk and for smoothing or cleaning up some types of caulk. Always check the caulk manufacturer’s recommendations.
Painter’s Tape: To create clean, straight lines for a professional finish, especially for beginners.
Damp Cloths or Paper Towels: For general cleanup and smoothing.
* Gloves: To keep your hands clean.
The Pros of Using Caulk

Caulking is a DIY hero for many reasons. Its benefits are tangible and directly impact your home’s comfort, health, and value.
1. Prevents Air Leaks and Improves Energy Efficiency
This is a big one! Drafts coming from windows, doors, or baseboards mean your heating and cooling systems have to work harder. By sealing these gaps with caulk, you create a more airtight home, which means less energy wasted. According to the U.S. Department of Energy, sealing air leaks can reduce your energy bills by 10-20% annually. This simple fix contributes significantly to a more sustainable and cost-effective home.
2. Protects Against Water Damage
Water is a home’s worst enemy when it gets where it shouldn’t. In bathrooms, kitchens, and around exterior openings, caulk acts as a first line of defense against moisture. It stops water from seeping into walls, under floors, or behind tiles, which can lead to mold, mildew, rot, and structural damage. This protection saves you from potentially very expensive repairs down the line.
3. Enhances Aesthetics and Provides a Finished Look
Gaps and cracks can make even the most beautiful rooms look unfinished. A neatly applied bead of caulk can smooth over these imperfections, creating clean lines where different materials meet. This is particularly true for baseboards, crown molding, and around window and door frames. Once painted, caulked seams disappear, giving your home a polished, professional appearance.
4. Deters Pests
Tiny gaps can be highways for insects and even small rodents. Sealing these entry points with caulk effectively blocks pests from getting inside your home, contributing to a healthier and more hygienic living environment.
5. Cost-Effective Solution
Compared to major renovations or professional repairs, caulking is an incredibly affordable way to address common home maintenance issues. A tube of caulk and a basic caulk gun are inexpensive investments that can yield significant returns in terms of comfort, energy savings, and preventing future damage.
6. Easy DIY Project
For most basic applications, caulking is a skill almost anyone can master. With a little practice and the right techniques, you can achieve professional-looking results without needing to hire a contractor. This empowers homeowners to take on their own maintenance and instill confidence.
The Cons of Using Caulk
While caulk is incredibly useful, it’s not without its limitations and potential downsides that every DIYer should be aware of.
1. Limited Lifespan and Degradation
Caulk isn’t a permanent fix. Over time, it can dry out, crack, shrink, or pull away from the surface it’s sealing, especially when exposed to direct sunlight, extreme temperature fluctuations, or constant moisture. This means it needs regular inspection and reapplication, typically every few years, depending on the type and location.
2. Can Be Messy if Not Applied Properly
Applying a smooth, uniform bead of caulk can be challenging for beginners. It’s easy to apply too much, creating a lumpy, uneven mess that looks unprofessional. Cleanup of excess caulk also requires the right method, and if you miss the window of opportunity to wipe it away cleanly, it can harden and become difficult to remove.
3. Requires Surface Preparation
For caulk to adhere properly and last, the surfaces must be clean, dry, and free from old caulk, paint, dust, and grease. This preparation step can be time-consuming, especially if you’re removing old, stubborn caulk. Rushing this process is a common reason for caulking failure.
4. Not Suitable for All Types of Gaps
Caulk is designed for relatively small gaps and cracks, typically no wider than 1/4 to 1/2 inch. For larger gaps, it can sag, shrink excessively, or fail to bond effectively. In such cases, other materials like expanding foam or backer rod with a sealant are more appropriate. A good rule of thumb is that caulk is for sealing, not filling large voids.
5. Choosing the Wrong Type of Caulk
There are many different types of caulk available, each designed for specific applications. Using the wrong type can lead to poor performance, adhesion issues, or premature failure. For example, using interior-only caulk on an exterior window can lead to cracking and leaks. For a detailed understanding of different caulk types, resources like those from the Building Science Corporation delve into the critical nature of building envelope sealing.
6. Can Be Difficult to Remove Old Caulk
Removing old, hardened caulk can be a tedious and sometimes frustrating job. It often requires specialized tools like caulk removal tools or scrapers, and a lot of elbow grease. If the old caulk isn’t removed properly, the new caulk may not adhere well, compromising the seal.
Types of Caulk and Their Uses
Understanding the different types of caulk is key to choosing the right product for your specific job, ensuring longevity and effective sealing.
| Caulk Type | Key Ingredients | Best Uses | Pros | Cons | Cleanup |
|---|---|---|---|---|---|
| Latex (Vinyl-Acetate) Caulk | Water-based (acrylic latex) | Interior trim, baseboards, windows, doors, gaps up to 1/4 inch. | Easy to apply, cleans up with water, paintable, low odor, inexpensive. | Less durable, prone to cracking/shrinking in large gaps, not ideal for high-moisture areas or exterior use (unless specified). | Water |
| Silicone Caulk | Silicone | Bathrooms, kitchens, tubs, showers, sinks, where high flexibility and water-resistance are needed. Good for glass and metal. | Excellent flexibility (stays pliable), highly waterproof, mold/mildew resistant, durable. | Difficult to paint over, strong odor during application, can be harder to apply smoothly, requires mineral spirits for cleanup. | Mineral Spirits |
| Acrylic Latex with Silicone Caulk (Advanced Acrylic or Siliconized Acrylic) | Acrylic Latex + Silicone | Versatile for many interior and exterior applications: trim, windows, doors, bathrooms, kitchens. | Combines ease of use and paintability of latex with some water resistance and flexibility of silicone. Good balance. | Not as durable or flexible as 100% silicone for wet areas. | Water |
| Polyurethane Caulk | Polyurethane | Exterior applications: siding, masonry, windows, doors, roofs. Also for DIY/pro use needing strong adhesion and durability. | Very durable, excellent adhesion, flexible, waterproof, paintable, can adhere to diverse surfaces. | Can be difficult to apply, strong odor, requires mineral spirits or specific cleaners for cleanup, can be more expensive. | Mineral Spirits / Specific Cleaners |
| Butyl Rubber Caulk | Butyl Rubber | Exterior: sealing around chimneys, vents, metal roofing, gutters. Designed for extreme weather. | Excellent waterproofing, adheres well to metal and many construction materials, very durable in outdoor conditions. | Very sticky and difficult to work with, strong odor, difficult to clean up, generally not paintable. | Mineral Spirits / Specific Cleaners |
Note on Paintability: Always check the caulk tube label. Most latex and acrylic-based caulks are paintable, while pure silicone is not.
Step-by-Step Guide: How to Caulk Like a Pro (Beginner Friendly)
Ready to tackle that gap? While it might seem daunting, breaking it down makes it manageable. Here’s a straightforward guide to get you started.
-
Prepare the Area
This is the most crucial step for a good, long-lasting seal.
- Clean the Gap: Remove all dirt, dust, grease, and debris from the gap. Use a damp cloth or a brush.
- Remove Old Caulk: If there’s old caulk, carefully remove it using a utility knife, scraper, or caulk removal tool. Ensure the area is completely clear.
- Ensure Dryness: The area must be completely dry before you apply new caulk. Allow ample drying time, especially in bathrooms.
- Optional: Apply Painter’s Tape: For crisp, straight lines, apply painter’s tape along the edges of the gap, leaving only the gap itself exposed. This acts as a guide and makes cleanup much easier.
-
Prepare the Caulk Gun and Tube
- Cut the Tip: On the caulk tube, use a utility knife to cut the nozzle tip at a 45-degree angle. Start with a small opening. You can always cut it larger if needed.
- Puncture the Seal: Most caulk tubes have an inner seal. Use the long poker on your caulk gun (or a nail) to puncture this seal from the inside.
- Load the Gun: Pull back the plunger on the caulk gun, insert the tube (nozzle first), and release the plunger.
- Release Pressure: After each squeeze, press the small lever on the back of the caulk gun to release pressure on the plunger. This stops the flow of caulk.
-
Apply the Caulk
- Position the Gun: Place the tip of the caulk tube at the beginning of the gap, holding the gun at a 45-degree angle.
- Squeeze and Move: Gently and steadily squeeze the trigger of the caulk gun. Move the gun along the gap at a consistent speed, letting the caulk fill the space. Aim for a continuous bead without breaks.
- Maintain a Steady Flow: Try to apply a consistent amount of caulk. It takes practice, so don’t be discouraged if the first bead isn’t perfect.
-
Smooth the Bead
This is where you refine the look. Choose one method and stick with it for consistency.
- Using a Finger: Some people prefer a damp finger. Lightly moisten your finger (water for latex/acrylic, or a damp cloth for silicone/polyurethane, but check product instructions). Run your finger smoothly over the bead to press it into the gap and create an even surface. Wipe excess caulk from your finger onto a damp cloth or paper towel frequently.
- Using a Tool: A caulk smoothing tool or even the back of a plastic spoon can work. These tools have various curves and often make it easier for beginners to achieve a uniform finish.
- Important: Work in manageable sections. Trying to smooth a large area before the caulk starts to skin over can lead to a messy result.
-
Clean Up
- Remove Painter’s Tape: If you used painter’s tape, remove it immediately after smoothing the caulk. Pull it away at a 45-degree angle.
- Wipe Away Excess: Use a damp cloth (or the appropriate cleaner like mineral spirits for silicone/polyurethane caulk) to wipe away any excess caulk from surfaces or tools.
- Dispose Properly: Seal the caulk tube well once you’re done.
-
Allow Caulk to Cure
- Drying vs. Curing: Caulk will feel dry to the touch fairly quickly, but ‘curing’ (hardening completely) can take much longer – from a few hours to several days, depending on the type of caulk and humidity levels. Check the product instructions.
- Drying vs. Curing: Caulk will feel dry to the touch fairly quickly, but ‘curing’ (hardening completely) can take much longer – from a few hours to several days, depending on the type of caulk and humidity levels. Check the product instructions.
