
Cistern breakdown? Proven fixes for common leaks, clogs, and malfunctions are here! This guide offers simple, step-by-step solutions for DIYers to get your cistern running smoothly and efficiently again, saving you time and money.
Is your cistern acting up? A leaky or clogged cistern can be more than just annoying; it can waste water and even cause property damage. Don’t worry, these issues are usually easier to fix than you might think! We’ll guide you through identifying the problem and implementing straightforward solutions. Get ready to tackle common cistern breakdowns with confidence.
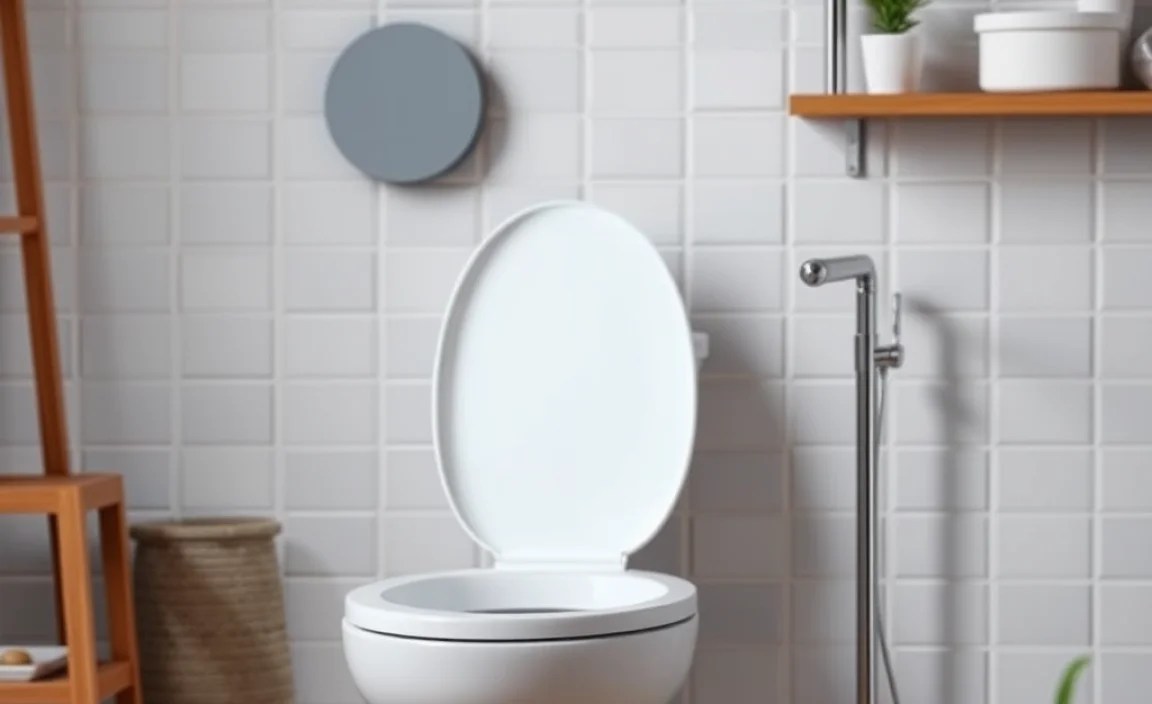
Understanding Your Cistern: The Basics
Before we dive into fixes, let’s get familiar with what a cistern is and why it’s so important. A cistern, in the context of a home’s plumbing, often refers to the tank that stores water specifically for flushing toilets. It’s a key component of your sanitation system. When it malfunctions, it impacts your daily life.
A typical toilet cistern system has a few main parts:
- The Inlet Valve (Fill Valve): This controls how water enters the cistern after a flush and stops when the water reaches the correct level.
- The Outlet Valve (Flush Valve): This is the mechanism at the bottom of the cistern that opens to let water out into the toilet bowl and then seals again.
- The Flapper/Seal: This is a rubber or plastic piece that sits on top of the flush valve seat. It lifts to allow water to flush and then reseals the valve.
- The Cistern Body: The main tank that holds the water.
- The Overflow Pipe: A safety feature that directs excess water into the toilet bowl if the inlet valve fails to shut off.
Understanding these parts is the first step to diagnosing and repairing any cistern breakdown.
Common Cistern Breakdowns and Their Fixes
Cistern problems usually fall into a few categories: leaks, running water, and flushing issues. Let’s break down the most common ones and how to fix them.
1. The Constant Running Water Symphony: Leaky Inlet Valve
This is perhaps the most common cistern breakdown. You’ll hear water constantly refilling the cistern, even when the toilet hasn’t been flushed. This usually means the inlet valve (fill valve) isn’t shutting off properly.
Diagnosing the Issue:
Listen closely. If you hear a continuous hiss or trickle of water entering the tank, the inlet valve is the likely culprit. Another sign is when the water level in the cistern rises above the overflow pipe.
Proven Fixes:
- Turn off the water supply: Behind the toilet, usually near the wall, you’ll find a small valve handle. Turn it clockwise until it stops. This prevents more water from entering the system while you work.
- Flush the toilet: This will empty the cistern.
- Remove the inlet valve: Most inlet valves have a retaining nut or clip underneath the cistern. Unscrew the nut or release the clip and lift the valve out. Consult your toilet’s manual if you’re unsure how your specific valve is secured. Many modern valves are a simple twist-and-pull mechanism.
- Inspect and Clean: Check the valve for any debris, sediment, or worn seals. Sometimes, a good clean is all that’s needed. Rinse the parts thoroughly.
- Replace worn parts or the whole valve: If seals are brittle, cracked, or stretched, they need replacing. Often, it’s easier and more effective to replace the entire inlet valve. They are relatively inexpensive and readily available at hardware stores. When buying a replacement, take the old one with you or note its brand and model to ensure compatibility.
- Install the new valve: Fit the new valve, ensuring it’s securely fastened. Refer to the valve’s instructions for proper installation.
- Turn the water supply back on: Slowly turn the water supply valve counter-clockwise. Let the cistern fill and check for leaks around the valve and at the correct water level.
Pro Tip: Some inlet valves have an adjustment screw or lever to set the water level. Ensure this is set correctly according to the manufacturer’s recommendations. If the water level is too high, it will flow out of the overflow pipe, causing waste.
2. The Stealthy Water Thief: Leaky Flapper/Seal
This is a silent but deadly cistern breakdown. You might not hear any running water, but you’ll notice the toilet requires frequent flushing or that your water bill is unusually high. This often points to a worn-out flapper or a problem with the flush valve seal.
Diagnosing the Issue:
The “food coloring test” is a great way to detect a slow leak from the flapper. Add a few drops of food coloring to the cistern water (not the bowl). Wait about 15-30 minutes without flushing. If colored water appears in the toilet bowl, the flapper or flush valve seal is leaking.
Proven Fixes:
- Turn off water supply: As before, locate the shut-off valve behind the toilet and turn it clockwise.
- Empty the cistern: Flush the toilet to drain the tank.
- Inspect the flapper: Examine the flapper at the bottom of the cistern. Is it cracked, brittle, or covered in mineral deposits? Is it the correct size and type for your flush valve? Flappers can degrade over time.
- Clean or Replace the Flapper: If the flapper looks okay but might be dirty, try cleaning its seating area within the cistern. If it’s visibly damaged or stiff, it’s time for a replacement. You can often buy universal flappers, but matching the type to your existing one is best.
- Check the Flush Valve Seat: The flapper seals against a “seat” at the bottom of the flush valve. Gently run your finger around this seat. If it feels rough, chipped, or has debris, the flapper won’t be able to create a watertight seal. Clean it carefully or use a flush valve seat repair kit if there’s damage. These kits often come with a tool to resurface the seat.
- Test the Flush Valve Seal: Some toilets have a large rubber seal at the base of the flush valve assembly (where it connects to the cistern body). If this seal is damaged, it can cause leaks into the toilet bowl from the cistern. This is less common than flapper issues but worth checking if the flapper seems fine.
- Turn water back on and test: Re-open the water supply valve slowly. Let the cistern fill. Wait a while and perform the food coloring test again to ensure the leak has stopped.
Tip: The chain connecting the flush lever to the flapper should have a little slack – not too tight, not too loose. If it’s too tight, it can lift the flapper slightly, causing a slow leak. If it’s too loose, it might not lift the flapper enough for a full flush.
3. The Weak Flush or No Flush: Clogged Flush Valve/Passages
When your toilet doesn’t flush properly, or the flush is weak, it could be due to a clog within the flush valve mechanism or the passages leading from the cistern to the bowl.
Diagnosing the Issue:
Does the water level in the cistern drop, but only a little? Does the flush seem to sputter or stop halfway? These are signs of a blockage preventing full water flow.
Proven Fixes:
- Turn off water supply: Shut off the valve behind the toilet.
- Empty the cistern: Flush to drain.
- Inspect the flush valve and flapper: Sometimes, a piece of debris can get caught in the flush valve opening or around the flapper. Remove the flapper and clear any visible obstructions.
- Check the rim jets and siphon jet: Look at the underside of the toilet rim where the water comes out to fill the bowl. These small holes (rim jets) can get clogged with mineral deposits. Similarly, the main jet at the bottom of the bowl can become blocked. A stiff brush or a thin wire can help dislodge these. You can also use white vinegar to soak and dissolve mineral deposits.
- Clean the overflow tube: Debris can sometimes accumulate in the overflow tube, hindering efficient flushing. Use a bottle brush or a piece of wire to gently clear it.
- Flush Valve Assembly: If the entire flush valve assembly seems old or heavily corroded, replacing it might be the best bet. This is a more involved repair but still manageable for DIYers.
- Reassemble and test: Once cleared, reassemble everything, turn the water back on, and test the flush.
Safety Note: Be careful when cleaning out passages to avoid damaging plastic or porcelain parts.
4. The Dripping Cistern: Worn Outlets or Cracked Cistern
While less common, a persistent drip from the cistern itself (not into the bowl or from the valves) can indicate a more serious issue. This could be a worn outlet connected to the flush valve or, in rare cases, a crack in the cistern body.
Diagnosing the Issue:
Visually inspect the cistern for any signs of moisture outside the tank that isn’t related to condensation or the valves. Pay attention to the base of the cistern and where the flush valve assembly is attached.
Proven Fixes:
- Turn off water and empty cistern.
- Inspect the Tank-to-Bowl Seal: If your cistern is partially detached from the toilet bowl (more common in two-piece toilets), a worn seal between them can cause leaks. To replace this, you’ll need to unbolt the cistern, lift it off, replace the large rubber gasket, and re-seal. This is a more involved DIY task.
- Check the Flush Valve Body: Ensure the large nut securing the flush valve assembly to the cistern body is tight (don’t overtighten!). Check the seal on this assembly as well.
- Inspect the Cistern Body: For cracks, especially at the base or around fixing points, this is a serious issue. Tiny hairline cracks can sometimes be temporarily sealed with a waterproof epoxy specifically designed for porcelain or ceramic. However, for significant cracks, replacing the entire cistern (or even the whole toilet) is usually the safest and most reliable long-term solution. A cracked cistern can fail catastrophically.
- Consult a Professional: If you suspect a cracked cistern or are uncomfortable working with the tank-to-bowl seal, it’s best to call a plumber.
Key Takeaway: A cracked cistern is a safety hazard and a significant water damage risk. Don’t delay in addressing this.
Essential Tools for Cistern Repairs
You don’t need a massive toolbox for most cistern repairs. Here are the essentials:
| Tool | Purpose | Why You Need It |
|---|---|---|
| Adjustable Wrench / Pliers | Tightening/loosening nuts and fittings. | Crucial for securing inlet and flush valves. |
| Screwdriver Set (Phillips & Flathead) | Removing specific screws on some mechanisms. | Some cistern mechanisms might use screws. |
| Bucket | Catching residual water. | Keeps your bathroom floor dry during repairs. |
| Old Towels/Rags | Soaking up spills and drying parts. | Always handy for plumbing work. |
| Food Coloring | Testing for slow leaks. | An easy diagnostic tool. |
| Wire Brush / Old Toothbrush | Cleaning sediment and mineral deposits. | Ensures clean seals and parts. |
| Gloves (Optional but Recommended) | Protection and grip. | Keeps hands clean and offers better grip. |
| Replacement Parts (Flapper, Inlet Valve) | Directly used to fix the problem. | Have these on hand or be ready to purchase. |
When to Call a Professional
While many cistern breakdowns are DIY-friendly, it’s wise to know when to step back and call in an expert.
- You’re uncomfortable or unsure: If at any point you feel out of your depth, it’s okay to stop. Pushing through can lead to bigger problems.
- Significant damage: A large crack in the cistern, a severely damaged flush valve assembly, or persistent leaks after multiple attempts all warrant professional attention.
- Main plumbing lines are involved: If the issue seems to extend beyond the toilet itself, like a problem with the main water supply line to the toilet, a plumber is needed.
- You lack the right tools: Sometimes, specific tools are required that a homeowner might not have.
- Time constraints: If you’re short on time and the problem is urgent, calling a plumber can be the quickest solution to get your bathroom back in full working order.
For more information on common plumbing issues and how to approach them, the Federal Trade Commission offers great consumer advice.
Maintaining Your Cistern for Longevity
Preventative maintenance can save you from many common cistern breakdowns. Here are a few simple tips:
- Regular Inspection: Make it a habit to glance at your toilet cistern every so often. Listen for unusual sounds. Do a quick “food coloring test” every few months.
- Gentle Cleaning: Avoid harsh cleaning chemicals that can damage seals and plastic parts. Use mild cleaners or vinegar solutions for mineral deposits.
- Don’t Force It: If the flush lever feels stiff, don’t yank it. Investigate why it might be sticking.
- Address Small Issues Promptly: A small drip or a slightly weak flush can escalate into a bigger problem if ignored.
By understanding your cistern and performing basic checks, you can keep it in good working order for many years.
Conclusion
Fixing a cistern breakdown doesn’t have to be a daunting task. With a little knowledge and the right approach, you can tackle most common issues yourself, saving money and the frustration of a malfunctioning toilet. From silent leaks caused by a worn flapper to continuous running from a faulty inlet valve, we’ve covered the key problems and their proven fixes. Remember to always turn off the water supply before you begin, use the right tools.
Frequently Asked Questions About Cistern Breakdowns
Q1: How often should I service my toilet cistern?
Regular inspection, perhaps annually, for leaks or wear and tear is recommended. Beyond that, you typically only need to service it when a problem arises. Keeping an eye on your water bill can help spot issues early.
Q2: Can I use a stronger flush mechanism in my cistern?
While there are high-efficiency flush valves available, it’s best to replace your existing valve with one designed for your toilet model or a compatible universal type. Using a mechanism that is too powerful or doesn’t fit correctly can cause damage or lead to leaks.
Q3: I have hard water. How does this affect my cistern?
Hard water, rich in minerals, can lead to mineral buildup (scale) on cistern components, especially the valves and seals. This buildup can cause parts to wear out faster and prevent seals from working correctly. Regular cleaning and using descaling solutions can help mitigate these effects. If mineral buildup is severe, replacement of affected parts is often necessary.
Q4: My toilet is constantly making a “gurgling” sound. What could it be?
Gurgling sounds can indicate a few things. It could be related to air being pushed back through the pipes, sometimes from a partially blocked main drain line or even an issue with the vent stack on your roof. In some cases, it might be related to the cistern’s refill process if the inlet valve is sputtering. If the gurgling is accompanied by slow draining or other plumbing noises, it’s worth investigating further, potentially with a plumber.
Q5: How do I know if I need a new toilet cistern or just a part?
If the cistern body itself is cracked or severely damaged, you’ll likely need a new cistern or toilet. For most other issues – running water, leaks into the bowl, weak flushes – replacing the internal components like the inlet valve or flapper is usually sufficient and much more cost-effective.
Q6: Can I adjust the water level in my cistern?
Yes, most modern inlet valves have an adjustment mechanism. This could be a screw, a clip system, or a specific lever. Check the manual for your fill valve or toilet model for instructions on how to adjust the water level. The ideal water level is usually just below the overflow pipe.
