
A cistern installation for beginners is achievable with this guide, outlining essential steps, tools, and safety tips to help you set up a functional water storage system efficiently and correctly.
Ever thought about collecting rainwater? It’s a smart way to save water and money! Sometimes, understanding how to set up a system to store that water, called a cistern, can feel a bit… complicated. You might worry about where to put it, how big it should be, or if you can even do it yourself. Don’t let those thoughts stop you! This guide is here to break down cistern installation into simple, easy-to-follow steps. We’ll cover everything you need to know, from choosing the right spot to safely connecting your new water saver. Get ready to feel confident and capable as we walk through this project together!
Why Install a Cistern? The Smart Homeowner’s Edge

Installing a cistern is more than just being eco-friendly; it’s a practical upgrade for any home. Think of it as your personal water reserve. This stored water can be a lifesaver during dry spells or when municipal water restrictions kick in. It’s also fantastic for your garden, providing perfectly soft, natural water for your plants. Using collected rainwater can significantly reduce your reliance on treated tap water, leading to noticeable savings on your water bills. Plus, it’s a fantastic way to reduce stormwater runoff, which is good for the environment.
Benefits at a Glance:
- Water Conservation: Reduce your use of treated, potable water.
- Cost Savings: Lower your monthly water bills.
- Gardening Boost: Rainwater is ideal for plant health.
- Emergency Preparedness: Have a water source during shortages or outages.
- Environmental Impact: Decrease stormwater runoff and strain on water treatment facilities.
Choosing Your Cistern: Size, Type, and Location Matters

Before you even think about digging, you need to decide on the right cistern for your needs. This involves three key decisions: size, type, and location.
Cistern Size: How Much Water Do You Need?
The size of your cistern depends on a few factors:
- Rainfall: How much rain does your area typically get?
- Roof Size: A larger roof collects more water.
- Water Usage: How much water do you plan to use from the cistern (e.g., for gardening, flushing toilets)?
A good starting point for a typical home garden might be a 500-gallon (approximately 1,900-liter) to 1,000-gallon (approximately 3,800-liter) tank. For larger needs, you’ll obviously want something bigger. It’s often better to slightly overestimate to ensure you have enough during dry periods.
Cistern Types: Above Ground vs. Below Ground
Your two main options are above-ground and below-ground cisterns. Each has its pros and cons:
| Feature | Above-Ground Cisterns | Below-Ground Cisterns |
|---|---|---|
| Installation | Easier and less intrusive. No major excavation. | Requires significant excavation and proper bedding. |
| Access | Easier to inspect, clean, and access for maintenance. | Less accessible, requiring more effort for maintenance. |
| Cost | Generally less expensive initially due to simpler installation. | Higher initial cost due to excavation, materials, and labor. |
| Temperature Stability | Water temperature can fluctuate more with ambient air. | More stable water temperature due to insulation from soil. |
| Aesthetics | Can be visually prominent; may require screening or landscaping. | Hidden from view, offering a cleaner aesthetic. |
| Space | Requires visible surface space. | Saves surface space. |
| Durability | Susceptible to UV degradation and potential damage if not protected. | Protected from elements; can be more durable long-term if installed correctly. |
For beginners, above-ground cisterns are often the go-to due to their simpler installation and easier maintenance. You can find them in various materials like food-grade plastic (polyethylene), fiberglass, or galvanized steel.
Location, Location, Location!
Choosing the right spot is critical. Consider these factors:
- Foundation: The ground must be firm, level, and able to support the significant weight of a full cistern (water weighs about 8.34 pounds per gallon or 1 kg per liter). A concrete pad is often recommended, especially for larger tanks.
- Proximity to Downspouts: It should be close enough to your roof’s downspouts for efficient collection but not so close that overflow causes foundation issues.
- Overflow Management: Where will excess water go? Plan for a proper overflow pipe that directs water away from your home’s foundation.
- Access: Ensure you have space to access the cistern for cleaning and maintenance.
- Sunlight: While not essential, placing it in a shaded area can help keep the water cooler and prevent algae growth.
- Local Regulations: Always check local building codes and regulations. Some areas have specific rules about cistern placement and installation. You can often find this information on your local government’s planning or building department website. For instance, the U.S. Environmental Protection Agency (EPA) provides resources on stormwater management which can offer guiding principles regarding runoff and storage.
Essential Tools and Materials
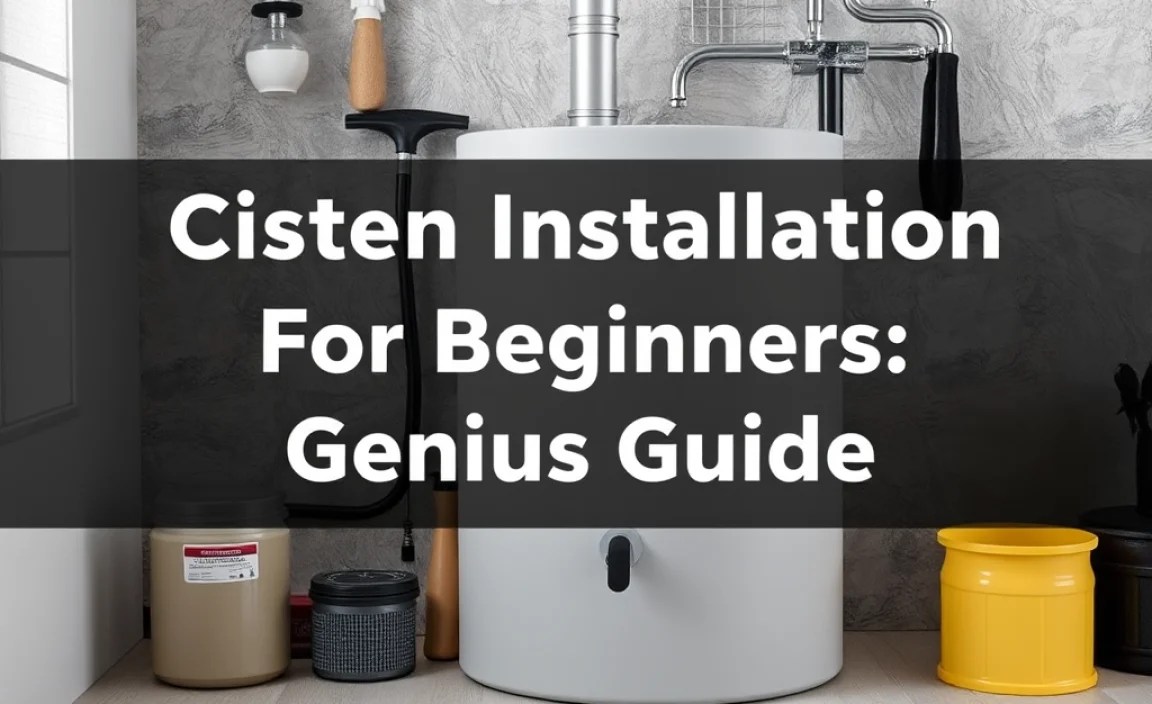
Gathering everything you need before you start will make the process smoother and safer. Here’s a checklist:
Tools You’ll Likely Need:
- Shovel and spade: For any minor excavation or ground leveling.
- Level: To ensure the cistern sits perfectly level.
- Measuring tape: For accurate placement and pipe measurements.
- Drill and appropriate bits: For creating inlet, outlet, and overflow holes.
- Wrench set: For tightening fittings and securing connections.
- Pipe cutter: If you’re working with PVC or other plastic piping.
- Safety glasses and gloves: Always protect yourself!
- Wheelbarrow: For moving soil or gravel.
- Screwdriver set.
Materials for Your Cistern System:
- The Cistern Tank: Choose one appropriate for your needs (size, type, material).
- Inlet Filter/Screen: Catches debris from the roof before it enters the tank.
- Piping (PVC, PEX): For connecting downspouts to the cistern and for the outlet.
- Fittings and Connectors: Adapters, elbows, unions, and valves as needed.
- Sealant/Primer (if using PVC cement): For creating watertight pipe joints.
- Gravel and Sand: For creating a stable base, especially for above-ground tanks.
- Concrete Mix (optional): If you decide to pour a concrete pad.
- Overflow Pipe and Fittings: To safely manage excess water.
- Leaf Guards/Gutter Screens: To minimize debris entering your gutters.
Step-by-Step: Installing Your Cistern (Above-Ground Focus)
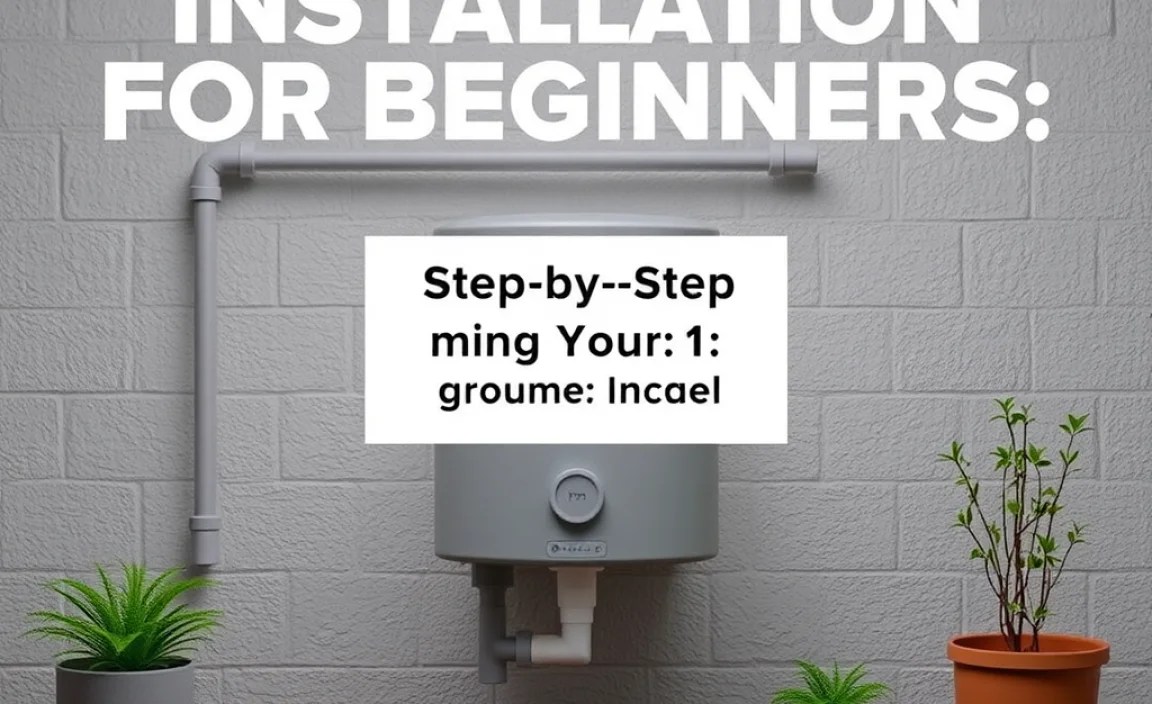
We’ll focus on an above-ground installation as it’s generally more beginner-friendly. Below-ground systems involve more complex excavation and structural considerations, often best left to professionals.
Step 1: Prepare the Base
This is arguably the most important step for stability. Your cistern will become incredibly heavy when full.
- Clear the Area: Remove any grass, weeds, or debris from the chosen location.
- Level the Ground: Use your shovel and level to create a perfectly flat and firm surface. The ground should be compacted well.
- Add a Gravel/Sand Base: Spread a layer of compacted gravel (about 3-6 inches) followed by a layer of sand (about 1-2 inches) over the leveled area. This provides drainage and a stable, slightly forgiving base.
- Install a Concrete Pad (Recommended): For maximum stability and longevity, pour a concrete pad. Ensure it’s the correct dimensions for your cistern and is perfectly level. Allow it to cure fully according to the concrete mix instructions (usually several days).
Step 2: Position the Cistern
Carefully move your empty cistern into its final position on the prepared base. Ensure it is perfectly level in all directions. Many cisterns have designated spots or instructions for their placement.
Step 3: Connect the Inlet (Downspout to Cistern)
This is where rainwater enters your tank.
- Modify Downspout: You might need to cut your existing downspout to reroute it towards the cistern. Use appropriate connectors and piping.
- Install Inlet Screen: Fit a mesh screen or leaf diverter at the point where the downspout enters the cistern. This is crucial for preventing leaves, twigs, and other debris from clogging the tank and contaminating the water. Some cisterns come with built-in inlets designed for this.
- Secure Connections: Ensure all pipe and fitting connections are secure and watertight. If using PVC, follow the primer and cement instructions carefully.
Authority Link: For guidance on rainwater harvesting systems, including collection and storage, the U.S. Environmental Protection Agency (EPA) offers valuable information and best practices.
Step 4: Install the Outlet
This is where you’ll draw water from the cistern.
- Drill Outlet Hole (if not pre-drilled): If your cistern doesn’t have a pre-drilled outlet, carefully drill a hole at the desired height (usually a few inches from the bottom). Use a hole saw bit that matches your chosen outlet fitting.
- Install Outlet Fitting: Screw in a bulkhead fitting or threaded adapter, ensuring a watertight seal. You may need to use silicone sealant or rubber gaskets.
- Attach Outlet Pipe: Connect a pipe to the outlet fitting. This might be for a hose bib, a pump feed, or a direct connection to a plumbing system (which requires advanced plumbing knowledge and permits). Add a valve here if you want to be able to shut off the water supply from the cistern.
Step 5: Install the Overflow Pipe
This is vital for managing excess water and preventing damage.
- Drill Overflow Hole: Drill a hole at the maximum desired water level in the cistern. This should be at least a few inches below the top rim to prevent splashing.
- Install Overflow Fitting: Fit an overflow pipe connector.
- Route the Overflow: Connect a pipe to the overflow fitting and run it downhill and away from your home’s foundation. Ensure it discharges to a safe area, like a storm drain, a swale, or a designated soakaway pit. Check local regulations for proper overflow discharge.
Step 6: Connect to Gutters (If Not Directly Rerouted)
If you’re not directly rerouting a downspout, you might use a diverter system that connects multiple downspouts or utilizes a roof washer.
- Follow the manufacturer’s instructions for your specific gutter connection system. Ensure all connections are secure and elements like leaf guards are in place to keep debris out.
Step 7: Test and Inspect
Once everything is connected and any sealants or cements have cured:
- Wait for Rain: The best test is a natural rainfall.
- Check for Leaks: Inspect all connections – inlet, outlet, and overflow – for any drips or leaks. Tighten fittings as needed.
- Monitor Overflow: Ensure the overflow pipe functions correctly when the cistern is full.
Important Considerations for a Safe and Reliable System
Safety and reliability are paramount when setting up any water system.
Water Quality
Rainwater collected from your roof is generally considered non-potable unless specifically treated. For drinking water, you’ll need a robust filtration and purification system. For garden use or toilet flushing, basic filtration is usually sufficient. Always consider installing a first-flush diverter, which diverts the initial, dirtiest water from the roof away from your main storage.
Learn More: For detailed information on rainwater harvesting and water quality, resources like the EPA WaterSense program offer excellent, easy-to-understand advice.
Maintenance
Regular maintenance is key to a long-lasting and efficient cistern system:
- Clean Gutters and Filters: Regularly remove debris from gutters and inlet screens.
- Inspect the Tank: Periodically check the cistern for sediment buildup, cracks, or damage.
- Clean the Cistern: Depending on your system and the amount of debris, you may need to drain and clean the tank every few years to remove accumulated sediment.
Winterization (If applicable)
If you live in a climate with freezing temperatures, you’ll need to winterize your cistern system. This usually involves draining the tank and pipes to prevent ice damage. Consult your cistern manufacturer’s guidelines for specific winterization procedures.
Conclusion: Your Water Independence Awaits!
There you have it! Installing a cistern for beginners might seem daunting at first, but by breaking it down into manageable steps and focusing on preparation and safety, it’s a project you can absolutely tackle. An above-ground cistern is an excellent starting point, offering a practical and rewarding way to conserve water, save money, and become more self-sufficient.
Remember to choose the right size and location, build a solid base, and ensure all your connections are secure and your overflow is properly managed. With a little effort, you’ll soon have your very own reliable water reserve, ready for your garden, your eco-projects, or just peace of mind. Congratulations on taking this smart step towards a more sustainable home!
FAQ: Your Cistern Installation Questions Answered
Here are some common questions beginners have about cistern installation.
Q1: Do I need a permit to install a cistern?
A1: It depends on your local regulations. Some areas require permits, especially for larger systems or if you plan to connect the cistern to your home’s plumbing. Always check with your local building department before you start.
Q2: How much does a cistern typically cost?
A2: Costs vary widely based on size, material, and whether you install it yourself or hire professionals. Small above-ground plastic cisterns can start a few hundred dollars, while larger or underground systems can cost several thousand dollars.
Q3: Can I connect a cistern to my house for drinking water?
A3: Yes, but it’s a complex process. It requires advanced filtration, purification, and potentially a pressure pump. Connecting to your potable water supply also requires strict adherence to plumbing codes and often professional installation and permits to ensure safety and quality.
Q4: What’s the best material for an above-ground cistern?
A4: Food-grade polyethylene (plastic) tanks are popular for beginners because they are lightweight, relatively inexpensive, and UV-resistant. Fiberglass and coated steel are also durable options.
Q5: How do I prevent mosquitos from breeding in my cistern?
A5: Ensure your cistern is completely sealed, with no gaps where insects can enter. Use fine mesh screens on all openings, including the inlet and overflow, and make sure no parts of the tank are exposed to stagnant water on the outside where they can lay eggs.
Q6: What if my yard isn’t perfectly level?
A6: You absolutely need a level surface. If your yard slopes, you’ll either need to build up a compacted gravel and sand base or pour a concrete pad to create a perfectly level foundation for the cistern.
Q7: How much maintenance does a cistern really need?
A7: Basic maintenance involves cleaning gutters and inlet screens a couple of times a year. Deeper cleaning of the tank itself might be needed every 3-5 years, depending on how much debris gets in and how you use the water.
