
Quick Summary:
A soap holder in construction, while seemingly simple, comprises essential components that ensure its stability and functionality. Understanding these parts, from the mounting plate to the actual holder, is key for proper installation and long-term performance in bathrooms and kitchens. This guide breaks down each component for DIYers.
Ever noticed a tiny detail in your bathroom that makes a big difference? That’s often the soap holder! When it’s installed right, it’s a no-brainer. But when it loosens or just doesn’t hold up, it can be a real headache, leaving soap scum everywhere else. Don’t worry, though! Understanding the different parts that make up a soap holder in construction is simpler than you think. This knowledge will help you install it correctly or even fix it if it’s acting up. We’re going to walk through each piece, so you’ll feel confident tackling this project. Get ready to learn just what goes into making your soap holder stay put!
Understanding the Basics: Why Soap Holder Components Matter
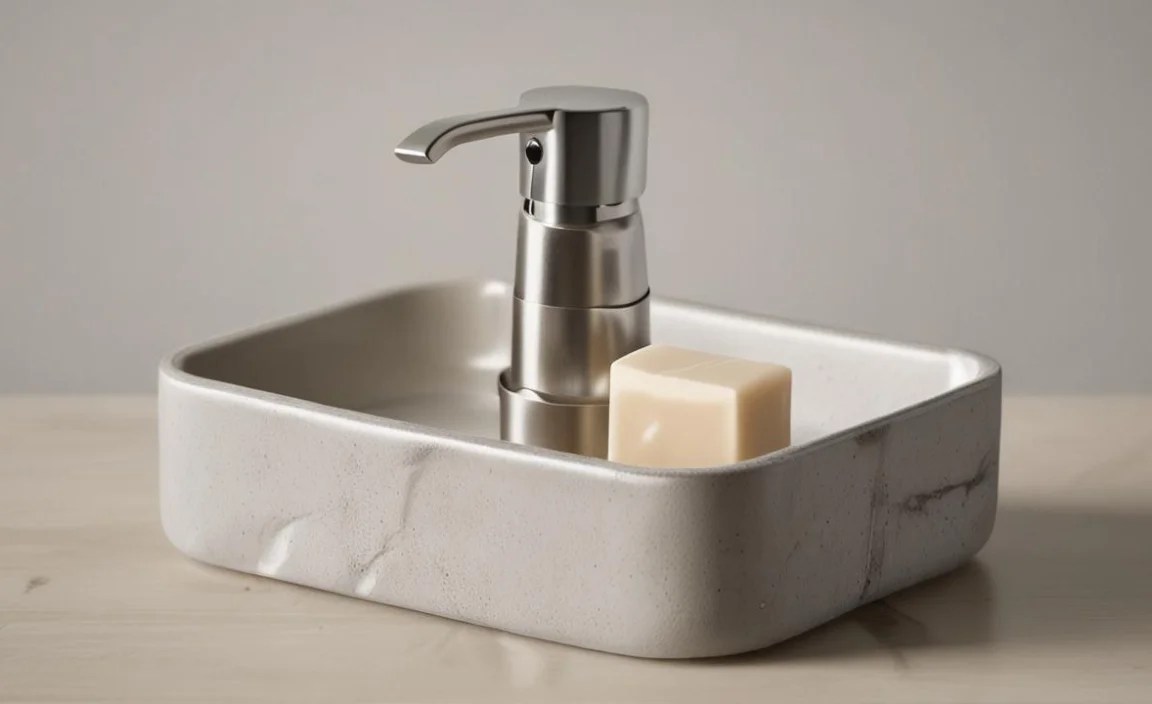
Think of a soap holder as a small but mighty hero in your bathroom or kitchen. Its main job is to keep your bar soap handy and away from surfaces where it can turn into a gooey mess. But for it to do its job effectively, every single component needs to be just right. From the way it attaches to the wall to the very shape that cradles your soap, these parts work together. In the world of construction and home renovation, even the smallest fixtures are designed with purpose. Knowing these purposes means you can choose the right kind of soap holder for your needs, install it like a pro, and ensure it lasts for years to come. It’s about building a more functional and tidy space, one small piece at a time.
The durability and aesthetic appeal of a bathroom often hinge on these small, overlooked elements. A well-constructed soap holder not only serves its primary function but also contributes to the overall design and hygiene of the space. Understanding the nuts and bolts, or in this case, the screws and brackets, behind these everyday objects empowers homeowners and DIY enthusiasts to make informed decisions during renovations or simple repairs. It’s a fundamental step in home maintenance that can prevent future frustrations and enhance the living environment.
Key Components of a Soap Holder in Construction

When we talk about soap holders in construction, we’re usually referring to the built-in or wall-mounted types commonly found in showers and near sinks. These aren’t just simple plastic cups; they are engineered parts designed for durability and ease of use. Let’s break down the essential components that make up these fixtures.
1. The Holder Itself (The Receptacle)
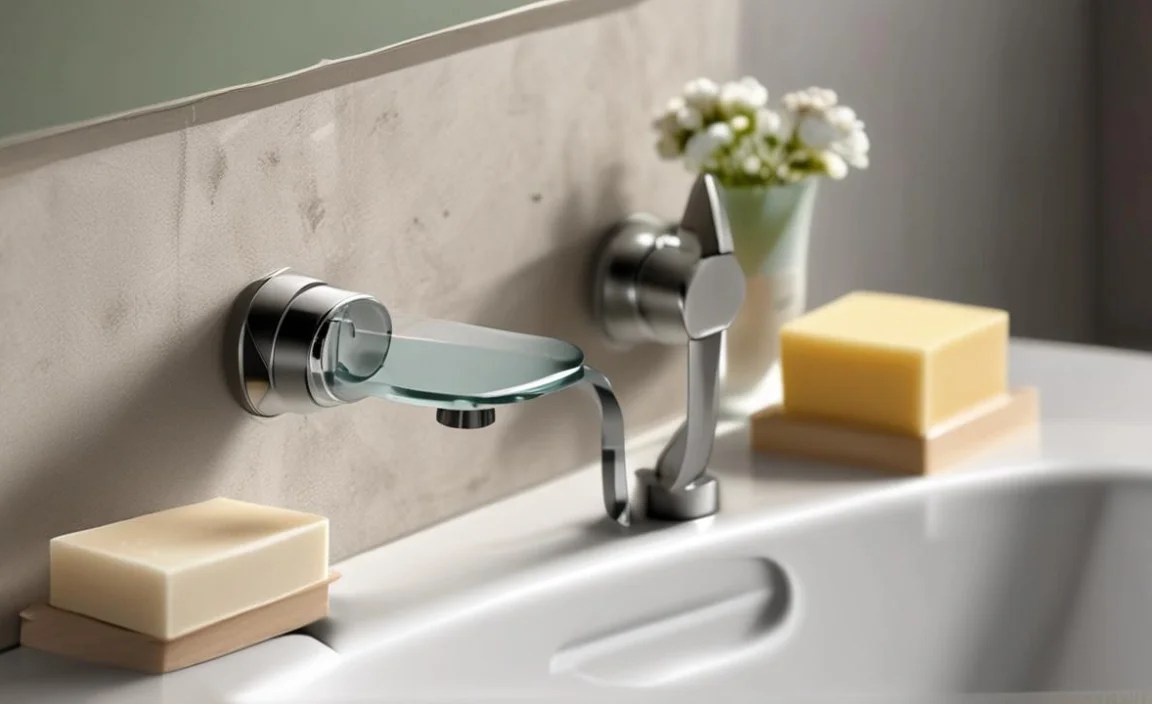
This is the part you see and interact with daily. Its primary function is to hold the bar of soap securely. The design of the receptacle can vary greatly, influencing both its appearance and its practicality.
- Material: Holders can be made from a range of materials, including ceramic, stainless steel, brass, plastic, and even glass. Each material offers different aesthetic qualities and levels of durability. For example, ceramic holders often have a classic look and are easy to clean, while stainless steel is known for its resistance to rust and corrosion, making it ideal for wet environments like a shower.
- Design Features: Some holders have a simple, flat surface, while others include raised edges or drainage holes to allow water to escape, preventing the soap from becoming mushy and prolonging its life. Some might have a slight incline or groove to help water run off. The depth and width are also important, ensuring different sizes of soap bars can fit comfortably.
- Aesthetics: The design of the holder is a significant component of the overall bathroom decor. Styles range from minimalist and modern to ornate and traditional, fitting into various interior designs.
2. Mounting Mechanism
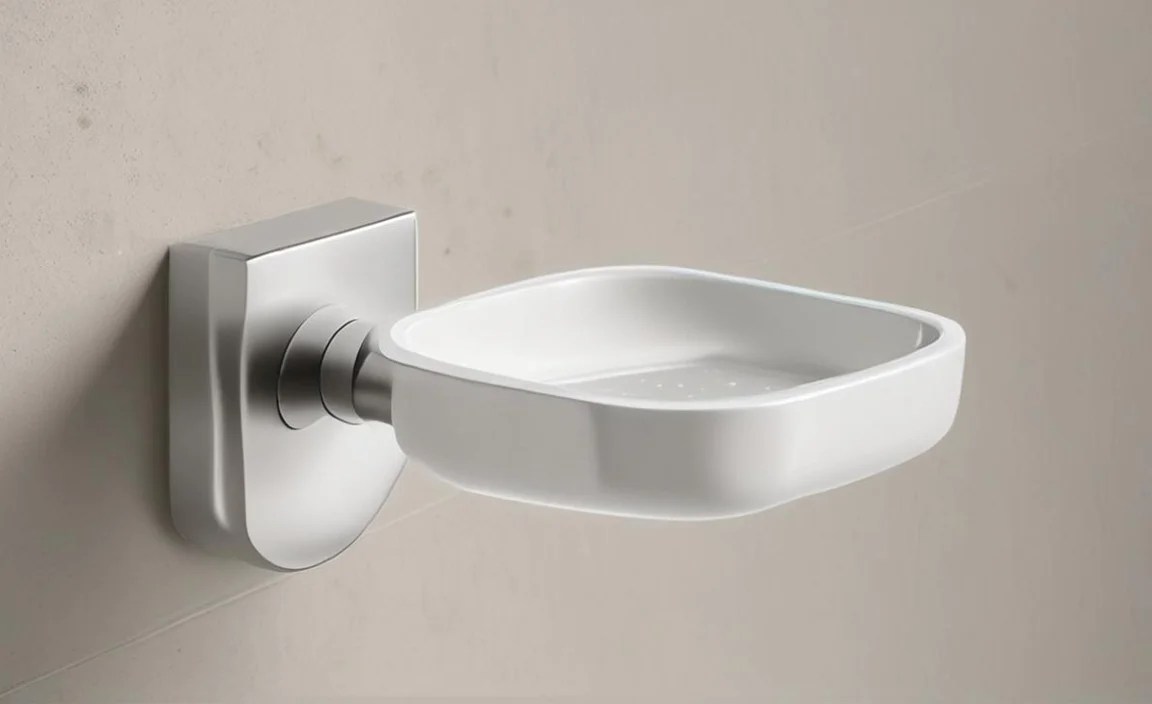
This is the critical part that securely attaches the soap holder to the wall. Without a robust mounting mechanism, the holder would be useless and potentially fall off, causing damage and a mess. The specific type of mounting mechanism often depends on the construction of the wall (e.g., drywall, tile, concrete) and the design of the soap holder.
Common mounting mechanisms include:
- Screws and Wall Anchors: This is the most traditional and often the most secure method for wall-mounted soap holders. Screws go directly into wall studs or through a solid backing. For walls without studs in the right place (like drywall), wall anchors are used to provide a strong grip. Common anchors include plastic expansion anchors, toggle bolts, and screw-in anchors. The type of anchor needed depends on the wall material and the weight the holder is expected to bear. For instance, a heavy ceramic soap dish might require stronger anchors than a lightweight plastic one.
- Adhesive Mounting: Some modern soap holders, especially those made of lighter materials or designed for temporary installation, use strong waterproof adhesives. These are often found in kits that include a mounting plate and the adhesive strip. While convenient for renters or for avoiding drilling, their long-term durability can be a concern, and they may not be suitable for very heavy holders or in areas with extreme moisture.
- Suction Cups: Less common for permanent fixtures but found on some temporary or portable soap holders. These rely on creating a vacuum seal with the wall surface. They are easy to install and remove but often lack the stability and lasting power of screw-mounted options, especially in steamy shower environments.
3. Support Brackets or Plates
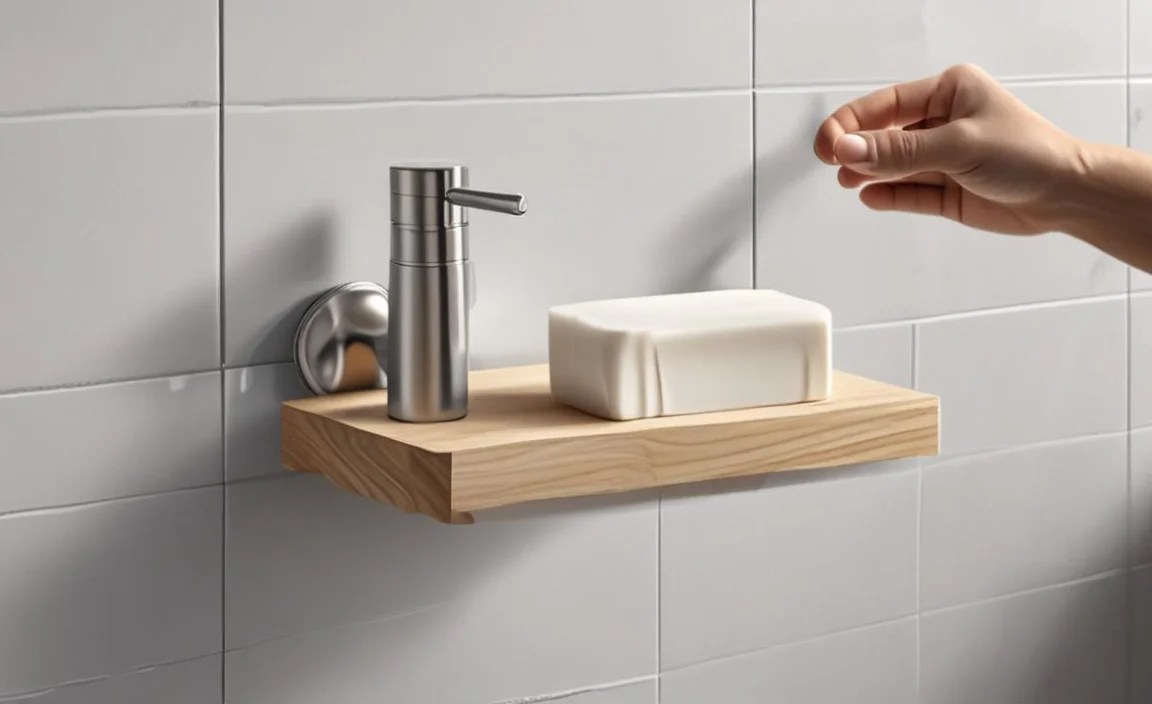
These are the intermediary components that connect the receptacle to the wall. They distribute the weight and provide a stable base for the holder.
Examples include:
- Flanges: Often seen in built-in ceramic or metal soap dishes, a flange is a flared edge that is typically grouted or sealed into place within a tiled wall niche or opening. It’s a seamless way to integrate the holder into the wall structure.
- Backplates/Mounting Plates: For wall-mounted holders, a backplate or mounting plate is a piece that is first attached to the wall. The receptacle then screws into or slides onto this plate. This design often allows for easier installation and replacement, as the plate can remain fixed to the wall while the holder itself is detached. This is common for metal or plastic accessories.
- Arms or Rods: In some designs, especially for shower caddies or soap baskets that hang over shower heads or doors, arms or rods are part of the mounting system. These might extend from a wall-mounted bracket or directly interface with the shower fixture.
4. Fasteners (Screws, Anchors)
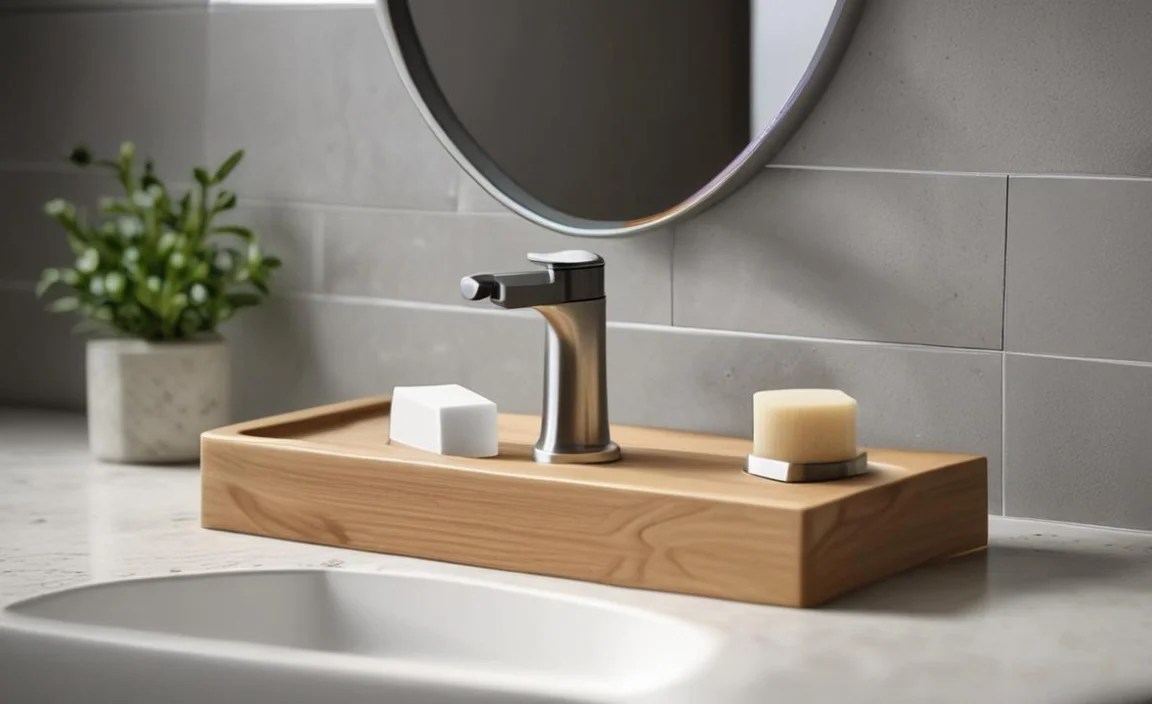
These are the small but vital pieces that actually hold everything together. The type and quality of fasteners are crucial for the longevity and security of the soap holder.
- Screws: Typically made of stainless steel or brass to resist corrosion in bathroom environments. They come in various lengths and head types (e.g., Phillips, flathead) to suit different mounting plates and tools.
- Wall Anchors: As mentioned earlier, these are essential for drywall or other hollow wall materials. They expand behind the wall to create a strong anchor point for the screws. The choice of anchor (plastic, metal, self-drilling) depends on the wall type and weight load.
- Grout or Sealant: For built-in soap holders or those installed in tiled areas, specialized grout or silicone sealant is used to fill gaps, provide a waterproof seal, and help secure the fixture to the surrounding tile and wall.
5. Decorative Cover Caps or Escutcheons
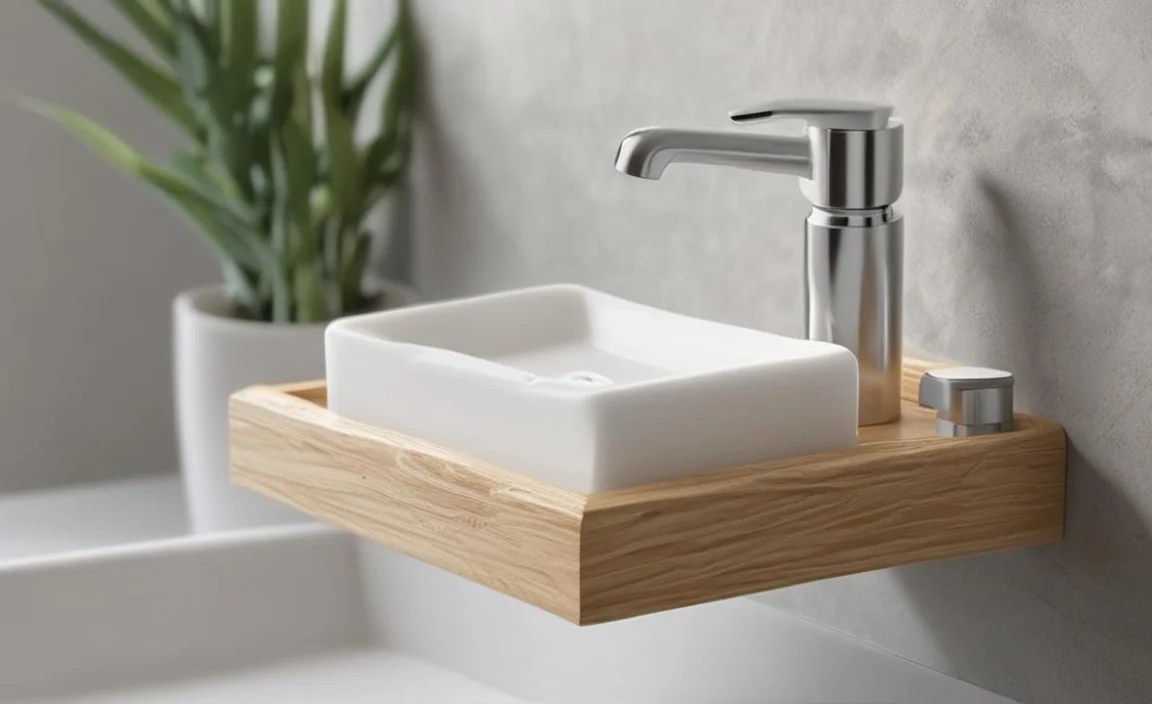
These are often found on screw-mounted soap holders. Once the holder is secured to the wall with screws, these caps are snapped or screwed into place to cover the visible screw heads. They provide a clean, finished look and enhance the overall aesthetic of the fixture.
- Material: Usually made from the same material as the soap holder (e.g., polished chrome, brushed nickel, matte black) to ensure a cohesive look.
- Function: Their primary role is decorative, hiding unsightly fasteners. Some designs might also help to further secure the holder or protect the screw head from moisture.
Types of Soap Holders and Their Components
The components can vary slightly depending on the type of soap holder you’re dealing with. Here’s a look at some common types and how their components differ:
1. Built-in (Recessed) Soap Holders
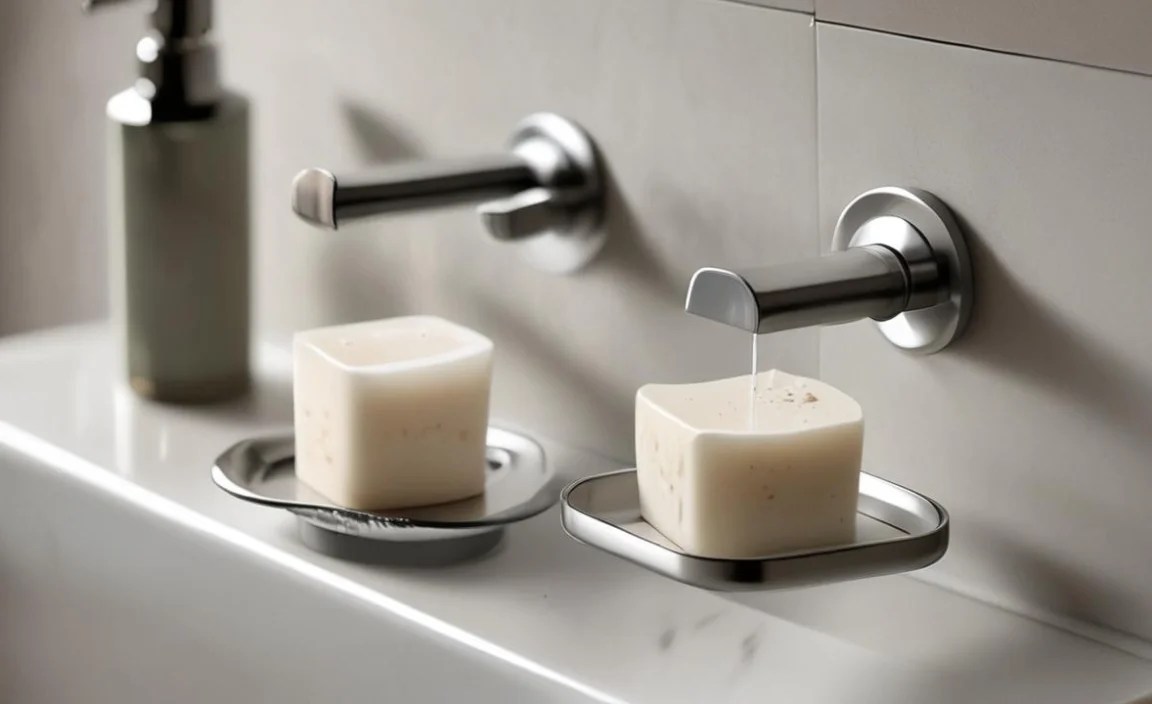
These are integrated directly into the wall, often within shower niches. They give a very clean, seamless look.
- Receptacle: Usually made of ceramic, glass, or stainless steel. It’s a dish or shelf that fits into a pre-formed opening in the wall.
- Flange/Rim: An edge that extends outwards from the receptacle, designed to be set into the wall and usually covered with tile and grout. This is the primary securing component, making it part of the wall structure itself.
- Sealant/Grout: Used around the flange to create a waterproof seal between the holder and the tile or wall material.
2. Wall-Mounted Soap Holders
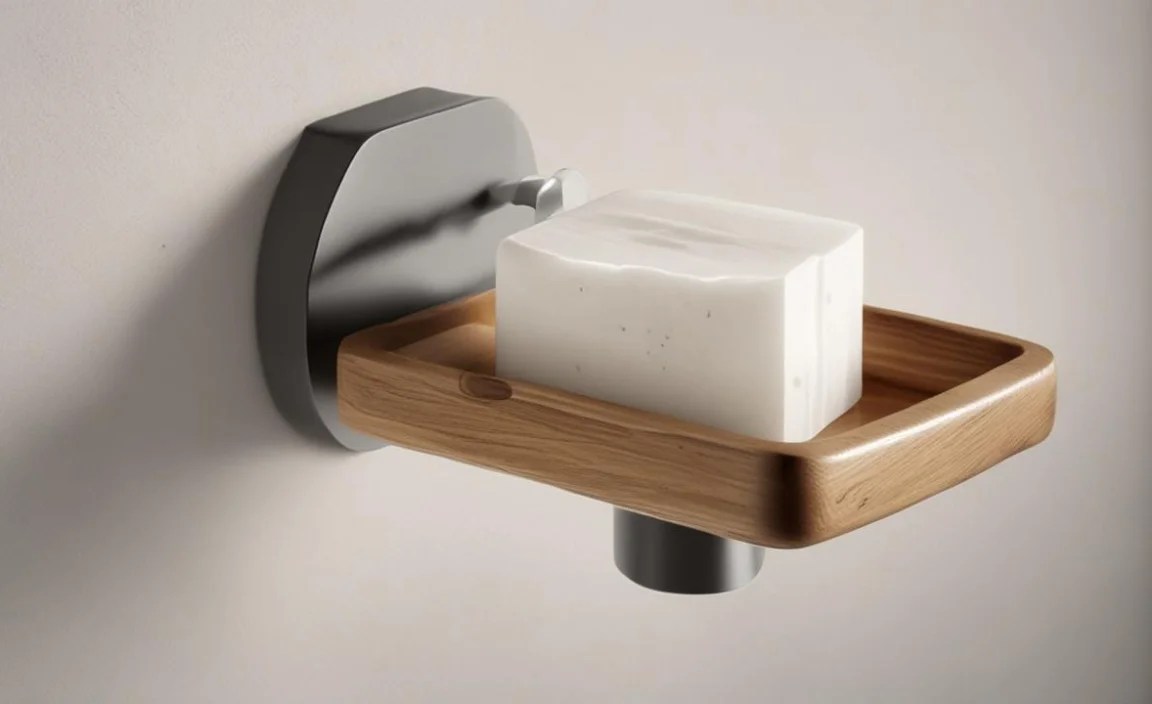
These are attached to the exterior surface of the wall. They are very common and come in many styles.
- Receptacle: Can be a dish, a basket, or a simple bar. Materials range from plastic and metal to ceramic.
- Mounting Plate/Backplate: A base piece that is first screwed into the wall. The receptacle attaches to this.
- Arms/Posts: Often, the receptacle is connected to the mounting plate via decorative arms or posts. These can be single or double.
- Screws and Anchors: Essential for securing the mounting plate to the wall.
- Cover Caps: Used to hide the screw heads for a neat finish.
3. Countertop Soap Dishes
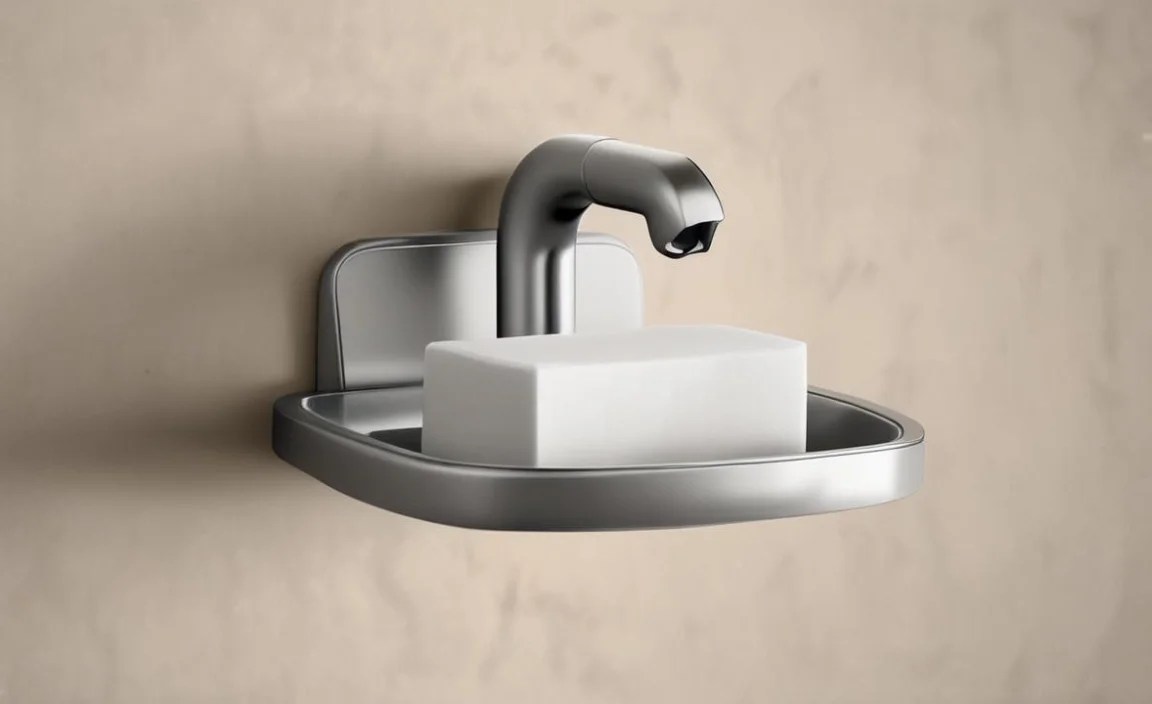
These are not typically considered “construction” components as they don’t involve permanent wall mounting, but they are worth a mention for completeness. They are simply placed on the counter.
- Receptacle: The dish itself.
- Base: Often integrated into the dish, providing stability. Materials vary widely (wood, stone, plastic, ceramic).
- Features: May include drainage holes or raised edges to keep soap dry.
4. Shower Caddies/Organizers with Soap Holders

These are larger units that often include a dedicated soap-holding area, along with shelves or hooks for shampoo and other toiletries.
- Framework: The main structure, usually made of metal or plastic.
- Soap Holder Component: A tray or basket integrated into the framework.
- Mounting System: This can vary greatly. Some hang over shower heads or doors, others are tension-rod mounted between the floor and ceiling of the shower, and some may even have wall-mounted components.
Materials Used in Soap Holder Components
The choice of material for each component affects durability, aesthetics, and maintenance. It’s good to understand these so you can pick the best option for your bathroom.
| Component | Common Materials | Pros | Cons |
|---|---|---|---|
| Receptacle/Holder | Ceramic, Stainless Steel, Brass, Chrome-Plated Metal, Plastic, Glass |
|
|
| Mounting Plate/Brackets | Zinc Alloy, Stainless Steel, Brass, Plastic |
|
|
| Fasteners (Screws, Anchors) | Stainless Steel, Brass, Nylon (for anchors) |
|
|
| Cover Caps | Matching metal (chrome, nickel, brass), Plastic | Provide a finished look, hide fasteners. | Can be lost easily, may not match perfectly if not from the same set. |
When choosing a soap holder, consider the environment it will be in. For a shower, materials resistant to moisture and corrosion like stainless steel or good quality plated brass are excellent choices. For a powder room or a less humid area, ceramic or decorative plastics might be perfectly suitable.
Installation Considerations Based on Components
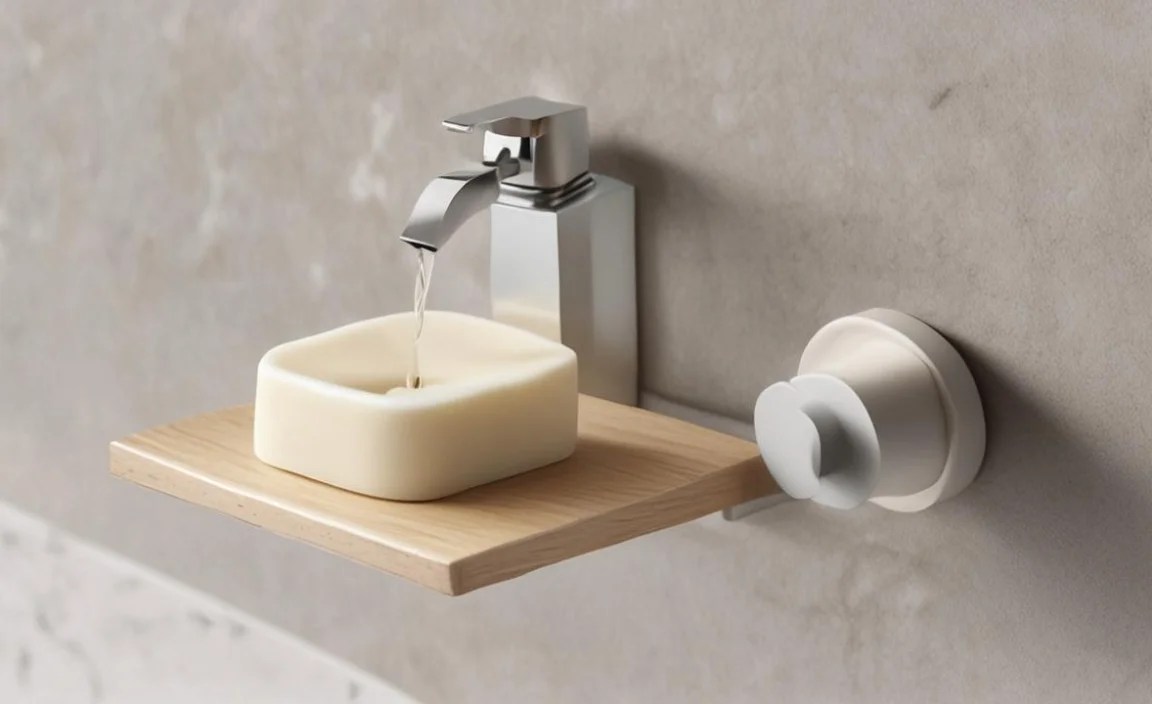
Understanding the components helps in planning the installation. For example, knowing you have a mounting plate means you’ll need to attach that first, then the holder. If it uses screws, you’ll need a drill and the right drill bits.
When installing a wall-mounted soap holder, here are some typical steps and component-related considerations:
- Locate Studs or Solid Backing: Use a stud finder if possible. Attaching to a stud is the most secure method. If studs aren’t accessible, you’ll rely on appropriate wall anchors. The type of wall (drywall, plaster, tile over concrete board) dictates the best anchor. For expert advice on wall types, the BuildingGreen resource offers insights into wall assembly structures.
- Mark Mounting Points: Hold the mounting plate or template against the wall and mark where the screws will go. Ensure it’s level!
- Drill Pilot Holes: Drill pilot holes for screws. If using anchors, drill holes of the size specified for the anchor and then insert the anchor into the wall.
- Attach Mounting Plate: Secure the mounting plate to the wall using the provided screws and anchors. Make sure it’s flush and firm.
- Attach Soap Holder Receptacle: This step varies. Some holders screw directly into the mounting plate, others may slide on and then be secured with a small set screw, often located underneath.
- Add Cover Caps: Snap or screw on the decorative caps to hide the screws.
- Seal (If Necessary): For holders installed in tiled areas, especially near water sources, a bead of high-quality bathroom silicone sealant around the edges can add an extra layer of waterproofing and prevent water from seeping behind the holder.
For built-in holders, the installation is usually part of the tile work or wall construction. The flange of the holder is positioned, and then tiles are laid around it, with grout filling the gaps to secure it. This requires precision during the framing and tiling stages.
The selection of components also dictates the tools you’ll need. A simple adhesive holder might only need a clean surface, while a screw-mounted one will require a drill, drill bits, a screwdriver, a level, and possibly a stud finder. Understanding these needs beforehand prevents trips back to the hardware store.
Common Issues and How Components Relate
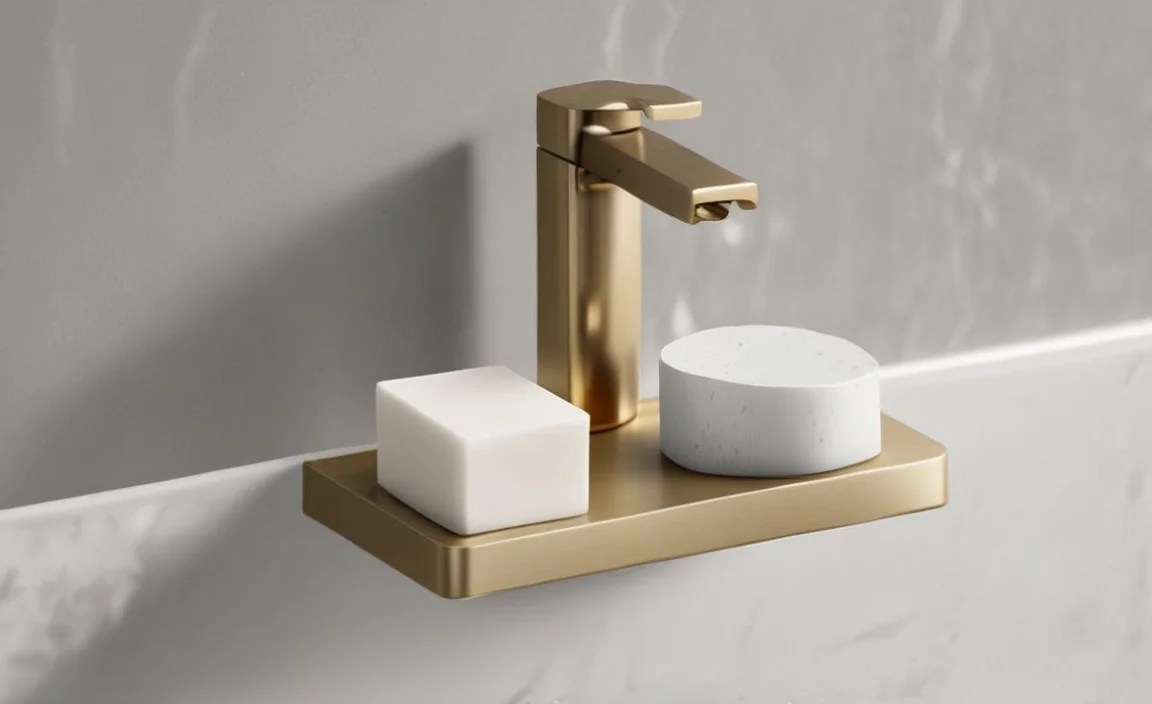
Many common soap holder problems can be traced back to specific components or their installation.
- Wobbly Holder: This is almost always an issue with the mounting mechanism or fasteners. Either the screws are loose, the anchors have failed, or there wasn’t a solid backing to begin with. The mounting plate or bracket might also be loose.
- Falling Off the Wall: A more extreme version of wobbling. This indicates a complete failure of the chosen mounting system. For adhesive types, the adhesive may have lost its bond, often due to moisture or insufficient surface preparation. For screw types, anchors may have pulled out, or the wall material itself might have failed.
- Rusting or Corrosion: This points to the material choice. If a “brass” holder shows rust, it’s likely a cheaper alloy or has a poor-quality plating that has worn off, exposing base metal
