Quick Summary: Caulking is a flexible sealant for filling gaps, preventing leaks, and improving insulation. While effective, alternatives like foam sealant offer quicker expansion for larger voids, weatherstripping provides a removable seal for doors and windows, and epoxy putty delivers a rigid, durable fix for cracks and holes. Choosing the right method depends on the gap size, location, flexibility needed, and desired permanence.
Ever stared at a tiny crack or a gaping hole around your home and wondered what’s the best way to seal it up? It’s a common frustration! Gaps can lead to drafts, water damage, and energy loss. The good news is, there are simple solutions. We’ll break down what caulking is and explore other handy alternatives that can help you tackle these common home maintenance challenges with confidence. Get ready to seal the deal on your DIY projects!
Understanding Caulking: Your Go-To Gap Filler

Before we compare caulking to its alternatives, let’s get a good handle on what caulking actually is. Think of caulking as a flexible, paste-like material that you squeeze from a tube (usually with a caulk gun) into joints, cracks, and seams. Its main job is to create a watertight, airtight seal. This is super important for keeping out water, preventing air leaks, and generally making your home more comfortable and energy-efficient.
Caulking is fantastic for smaller, tighter gaps. You’ll often find it used around windows, doors, baseboards, and where your bathtub meets the tile. It’s designed to be a bit flexible after it dries, which is great because buildings can shift and settle slightly over time. If a rigid material were used, it might crack under this movement.
What Makes Caulking a Win?
- Versatility: Comes in many types (acrylic, silicone, latex) for different surfaces and needs.
- Ease of Use: With a caulk gun, it’s relatively simple to apply neatly.
- Cost-Effective: Generally one of the most budget-friendly sealing options.
- Adhesion: Sticks well to most common building materials.
- Appearance: Dries to a smooth finish that can often be painted over (depending on the type).
Where to Use Caulk

- Sealing gaps around window and door frames (both inside and outside).
- Filling the space between countertops and backsplashes.
- Sealing seams in bathrooms like around sinks, tubs, and showers.
- Patching small cracks in walls or ceilings.
- Caulking baseboards to walls for a clean finish.
For more detailed information on different caulk types and their applications, resources like This Old House’s guide to caulk types can offer helpful insights.
Caulking vs. Alternatives: When Do Other Options Shine?
While caulk is a superhero in many DIY scenarios, it’s not always the best tool for every job. Sometimes, the gap is too big, the surroundings are too rough, or you need a more specialized solution. That’s where alternatives come in handy. Let’s explore some popular options and see when they might be a better fit than traditional caulk.
Alternative 1: Expanding Foam Sealant
Expanding foam sealant, often called spray foam, is a completely different beast. It comes in an aerosol can and expands significantly as it cures, filling large voids and gaps that caulk simply can’t handle. It’s ideal for insulating and sealing larger openings.
One of the biggest advantages of spray foam is its incredible expansion power. A small nozzle application can foam up to fill a cavity several inches wide. It hardens into a rigid, cellular structure that provides excellent insulation and blocks drafts effectively. It’s often used in situations where you need to seal around pipes, vents, or in wall cavities.
When Foam Sealant Wins:
- Large Gaps: Perfect for voids larger than about half an inch where caulk would shrink or crack.
- Insulation Needs: The foam has excellent insulating R-value, helping to keep your home warmer in winter and cooler in summer.
- Irregular Shapes: It flows into and seals awkward or irregularly shaped holes.
- Blocking Pests: Its rigid, sealed structure can help prevent insects and rodents from entering through larger openings.
Things to Consider with Foam Sealant:
- Messy Application: It can be VERY messy if not applied carefully. Overspray is common and hard to clean once cured.
- Not Paintable: Most spray foams cannot be easily painted.
- Difficult to Remove: Once hardened, it’s tough to remove if you make a mistake or need to access something later.
- Curing Time: Some foams require specific humidity and temperature conditions to cure properly.
- Requires Protection: It can degrade in direct sunlight, so it often needs to be covered or painted if exposed.
For larger gaps, especially in basements or attics where insulation is key, expanding foam can be a game-changer. You can often find it at hardware stores with different expansion levels and uses, such as Window & Door foam which is designed to be less expansive than general gap filler. A good resource for understanding its properties is the Fine Homebuilding article on spray foam insulation.
Alternative 2: Weatherstripping
Weatherstripping is a strip of material, usually foam, rubber, or vinyl, that’s applied to the edges of doors and windows. Instead of filling a gap, it creates a seal when the door or window is closed, preventing air from passing through. It’s a more temporary or removable solution compared to caulk or foam.
The beauty of weatherstripping lies in its simplicity and its direct impact on energy efficiency for common areas of heat loss. You simply stick it to the frame or the door/window itself where it makes contact, effectively closing the gap when the opening is shut.
When Weatherstripping Wins:
- Doors and Windows: Its primary and most effective use is around the movable parts of doors and windows.
- Temporary or Removable Seals: Ideal for situations where you might need to open or adjust the seal later.
- Preventing Drafts: Excellent at stopping drafts around older, less-tightly sealed windows and doors.
- Easy Installation: Most types are self-adhesive and require no special tools.
- Cost-Effective for Large Areas: Can be more economical than caulking large perimeters.
Things to Consider with Weatherstripping:
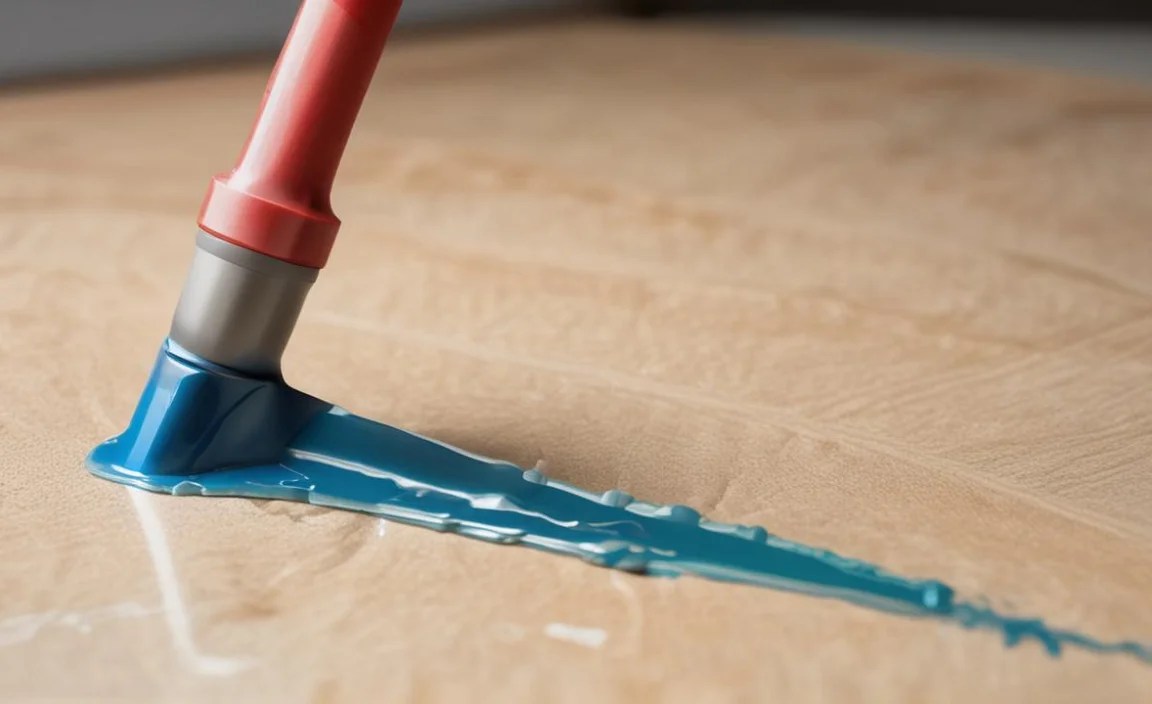
- Not for Gaps/Cracks: It doesn’t fill cracks in walls or stationary gaps; it only seals the closing edges of moving parts.
- Durability: Can wear out over time and may need replacing every few years, especially foam types.
- Aesthetics: Some types are more visible than caulk and might not suit every decor.
- Proper Fit is Crucial: Needs to be applied precisely to ensure good contact and effective sealing.
When you’re looking to upgrade your home’s energy efficiency by tackling those drafty doors and windows, weatherstripping is your go-to. You can find a variety of styles and materials at most home improvement stores. Check out Energy.gov’s guide on weatherstripping and caulking for more on its role in saving energy.
Alternative 3: Epoxy Putty
Epoxy putty is a two-part, moldable material that, when mixed, cures into a hard, durable, and often rigid substance. It’s fantastic for repairing cracks, filling holes, and even reattaching small, broken pieces where a strong, permanent bond is needed. Think of it as super-powered modeling clay that hardens like steel.
Epoxy putty is excellent for situations where you need something strong and structural, or where the material will be exposed to moisture or stress and can’t be painted. It’s often used for repairing plumbing fixtures, filling cracks in concrete, or even fixing ceramic items.
When Epoxy Putty Wins:
- Permanent, Rigid Repair: Creates a very hard, durable, and inflexible bond.
- Structural Repairs: Useful for filling cracks that need structural integrity, like in concrete or wood.
- Waterproof Applications: Many epoxies are waterproof once cured, making them great for bathrooms or outdoor fixes.
- Non-Shrinking: It doesn’t shrink as it cures, maintaining the shape and size of the filled area.
- Can Be Machined/Drilled: Once fully cured, it can often be sanded, drilled, or tapped.
Things to Consider with Epoxy Putty:
- Not Flexible: Its rigidity means it’s not suitable for areas that experience movement or flexing.
- Application Time: You have a limited working time after mixing before it starts to cure.
- Appearance: Often comes in gray or white and can be hard to blend seamlessly with surroundings if not painted.
- Requires Thorough Mixing: Proper mixing is essential for the epoxy to cure correctly.
- Can Be Prone to Staining: Depending on the brand and surface, it might discolor over time.
Epoxy putty is a robust solution for repairs where strength and permanence are paramount. You’ll find it in handy stick form where you cut off what you need, mix it by kneading, and then apply. For more on the science of epoxies, sites like Master Bond’s technical articles provide in-depth explanations.
Putting It All Together: A Comparison Table
To help you quickly decide which option might be best for your DIY project, here’s a table summarizing the key differences between caulking, expanding foam, weatherstripping, and epoxy putty.
| Feature | Caulking | Expanding Foam Sealant | Weatherstripping | Epoxy Putty |
|---|---|---|---|---|
| Best For | Small to medium gaps, joints, seams. Watertight/airtight seals. | Large voids, irregular holes, insulation. | Draft sealing around doors and windows. | Rigid repairs, cracks, holes, structural fixes. |
| Flexibility (After Curing) | Medium to High | Low to Medium (hardens) | Low (only seals when compressed) | Very Low (rigid) |
| Ease of Application | Moderate (requires caulk gun) | Moderate (can be messy) | Easy (self-adhesive) | Easy to Moderate (requires mixing) |
| Durability | Good | Good (if protected from UV) | Fair to Good (can degrade) | Excellent |
| Insulation Value | Low | High | Low | Very Low |
| Paintable? | Often Yes (check product) | Rarely | Rarely/Difficult | Often Yes (after sanding) |
| Removable? | Difficult | Very Difficult | Yes | Nearly Impossible |
| Typical Cost | Low | Moderate | Low to Moderate | Moderate |
Step-by-Step Guide: Choosing and Using the Right Sealant
Let’s walk through a simple process to help you pick the best material for your repair and get it done right. Remember, safety first! Always wear safety glasses and gloves when working with sealants and adhesives.
Step 1: Assess the Gap
Take a good look at the area you need to seal. Ask yourself these questions:
- How big is the gap? Is it a hairline crack, a quarter-inch void, or a several-inch hole?
- Where is it located? Is it indoors, outdoors, in a wet area (like a shower), or a dry area?
- What is the gap between? Are you sealing wood to drywall, metal to concrete, or something else?
- Will the area move? Will the two surfaces expand or contract significantly due to temperature changes or building movement?
- What is the goal? Are you primarily trying to stop water, prevent drafts, improve insulation, or make a strong structural repair?
Step 2: Match the Material to the Need
Based on your assessment, choose the best material:
- For small cracks and joints (under 1/2 inch) around fixtures, trim, or where water might get in: Use Caulking. Pick a type suited for the location (e.g., bathroom caulk for showers).
- For large, irregular holes (over 1/2 inch) or areas needing insulation: Use Expanding Foam Sealant. Be prepared for its expansion and potential mess.
- For drafts around the moving edges of doors and windows: Use Weatherstripping. Choose a self-adhesive type for easy application.
- For permanent, rigid repairs of cracks, holes, or broken pieces where strength is key (like concrete, ceramic, or metal): Use Epoxy Putty.
Step 3: Prepare the Area
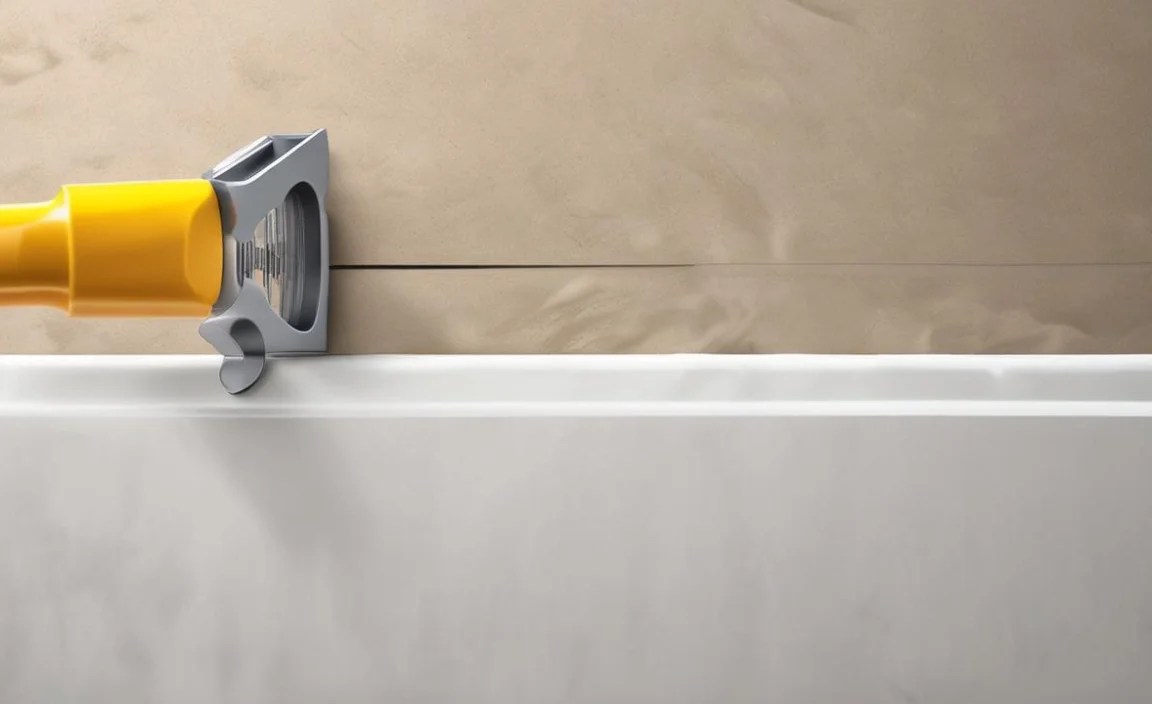
This step is crucial for any sealant to work effectively and last:
- Clean the surfaces: Remove all dirt, dust, grease, soap scum, loose paint, and old sealant. A putty knife, wire brush, or damp cloth might be needed. The surfaces must be clean and dry for most sealants to adhere properly.
- Remove loose material: For cracks or holes, ensure there isn’t crumbling debris that will prevent a solid bond.
- Masking (Optional but Recommended): For caulking, use painter’s tape on either side of the gap to create clean lines and make cleanup easier. For foam, mask off areas you don’t want it to spray onto.
Step 4: Application
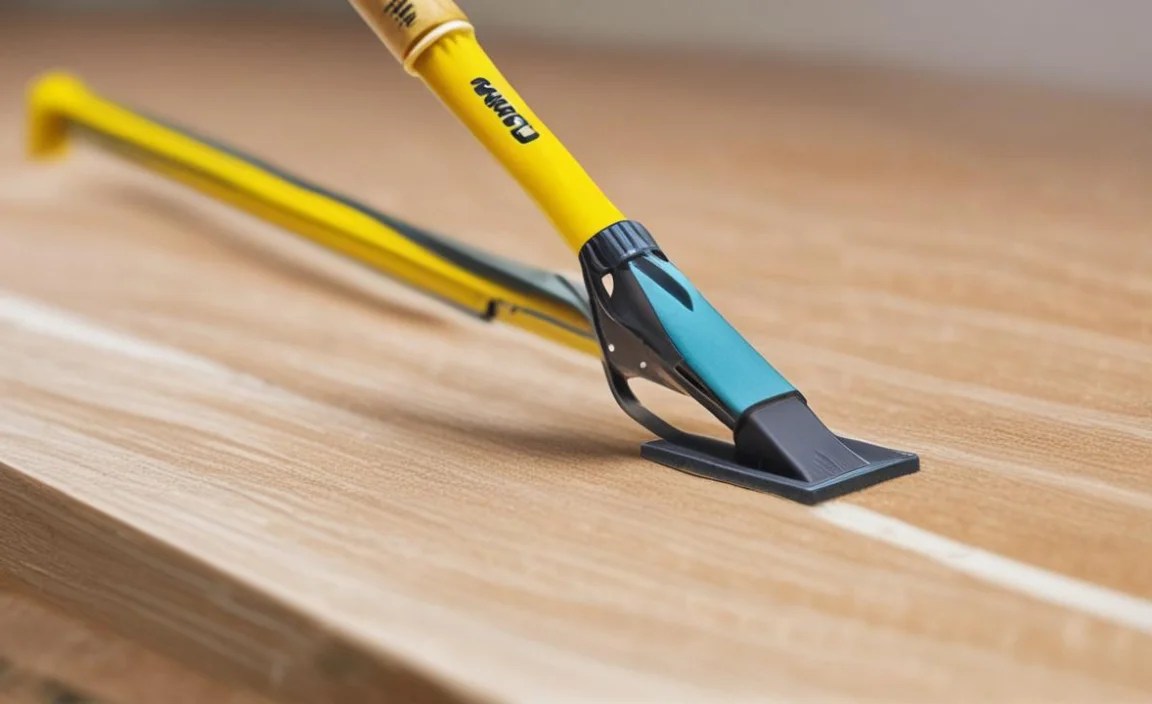
This is where you actually apply the chosen material. Always follow the manufacturer’s specific instructions on the product packaging.
Applying Caulking:
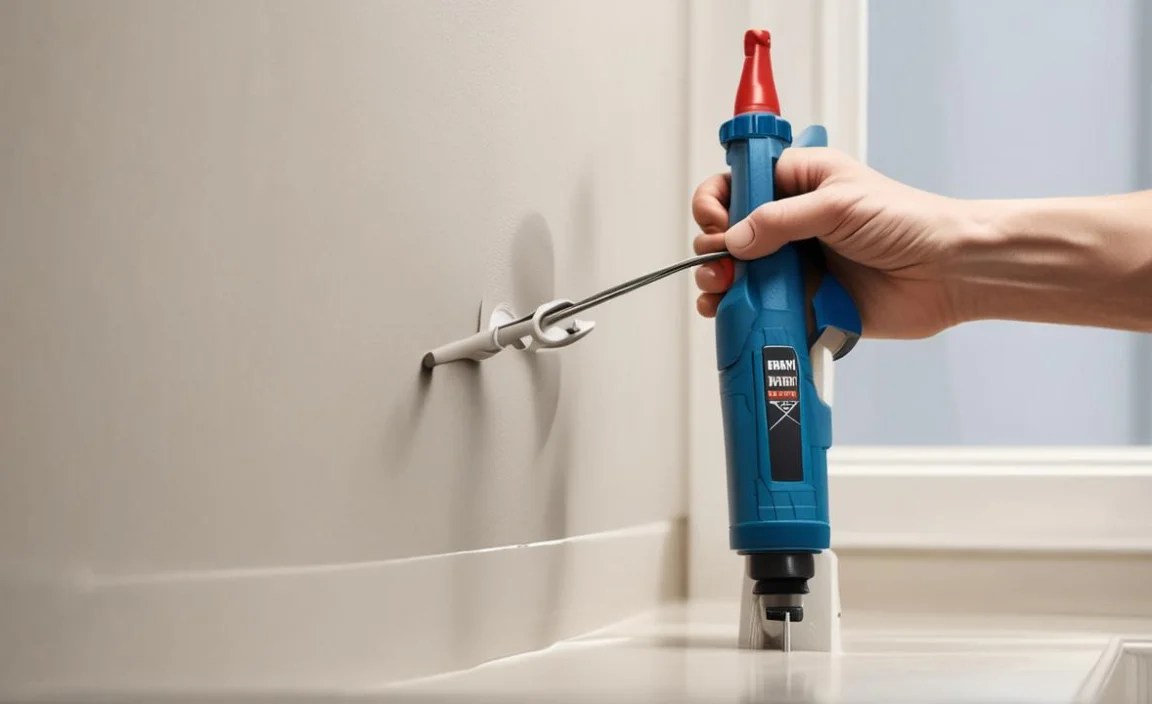
- Load the caulk gun: Cut the tip of the caulk tube at a 45-degree angle to create a bead size that matches your gap. Insert the tube into the caulk gun.
- Puncture the seal: Use the gun’s release trigger or a nail to puncture the inner seal of the tube.
- Apply the bead: Place the tip of the caulk tube at the edge of the gap. Apply steady pressure to the caulk gun trigger and move the gun smoothly along the joint, keeping the tip at a consistent angle and pressure. Aim for a continuous bead that fills the gap.
- Smooth the bead: Immediately after applying a section, use a damp cloth, a specialized caulking tool, or your finger (wear a glove!) to gently smooth the bead, pressing it slightly into the gap for a good seal and a neat appearance. Remove excess caulk. If you used tape, remove it carefully while the caulk is still wet.
Applying Expanding Foam Sealant:
- Shake the can: Thoroughly shake the can vigorously for at least 30 seconds.
- Test spray: Do a test spray on scrap cardboard to get a feel for the spray pattern and pressure.
- Dispense foam: Carefully aim the nozzle into the gap. Do not overfill. The foam will expand significantly (often doubling or tripling in size). Fill the gap only about 30-50% to allow for expansion, unless the product specifically states otherwise. Apply in short bursts if necessary.
- Cure: Let the foam cure completely. This can take several hours to a full day, depending on the product and conditions. It will harden and expand.
- Trim excess: Once cured, use a sharp utility knife to trim away any excess foam that has expanded beyond the surface.
Applying Weatherstripping: