
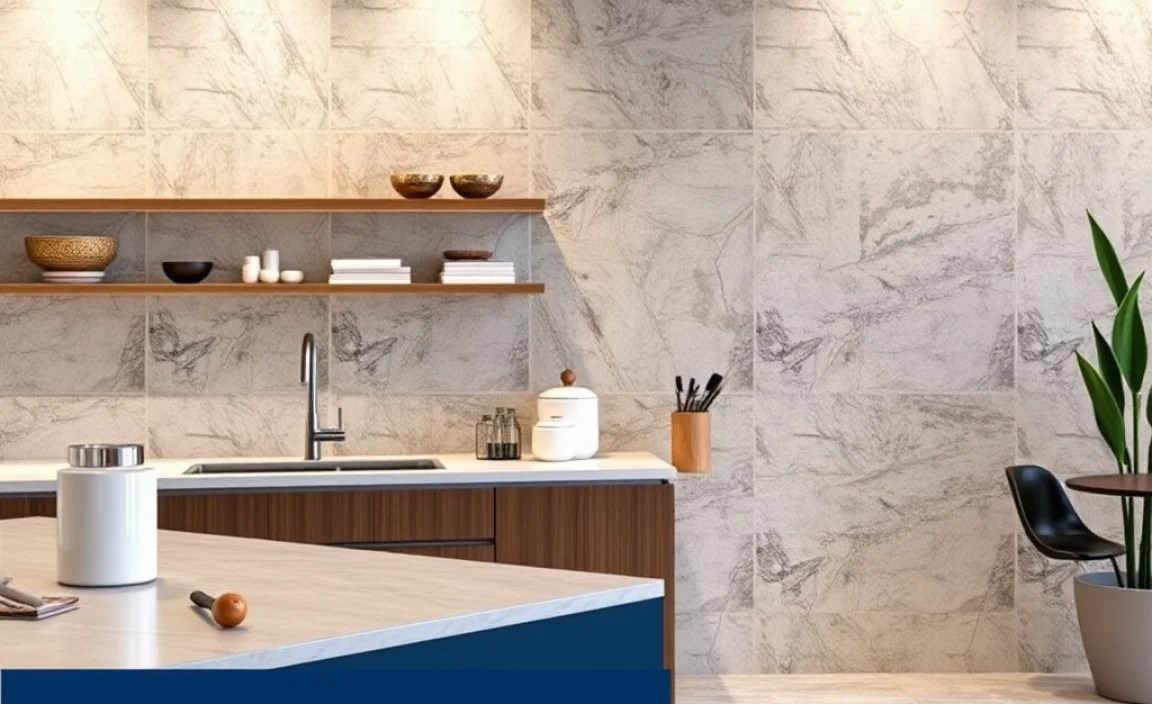
What is grout? Grout is a special cement-like material used to fill the gaps between tiles. It’s essential for securing tiles, preventing water and dirt from getting underneath, and giving your tiled surfaces a finished, professional look. Understanding grout types and how to use them is key for any DIY tiling project.
Ever stared at a beautifully tiled backsplash or floor and wondered what that colorful, solid stuff is between the tiles? That’s grout! If you’re new to home improvement or DIY tiling, the word “grout” might sound a little technical. But don’t worry, it’s much simpler than it seems, and understanding it is a big step in keeping your home looking great. From preventing wobbly tiles to stopping pesky mold, grout plays a vital role. This guide will break down everything you need to know about grout in easy-to-understand terms, so you can tackle your next tiling project with confidence.
What Exactly is Grout and Why is it So Important?

Think of grout as the unsung hero of your tiled surfaces. It’s a mixture, typically made from cement, water, and additives, that hardens to fill the spaces between tiles. But it’s not just there for looks! Grout has some seriously important jobs:
- Secures Tiles: Grout helps to lock your tiles in place, preventing them from shifting or becoming loose over time.
- Prevents Water Damage: By filling the gaps, grout creates a barrier that stops water from seeping beneath your tiles, which can cause mold, mildew, and structural damage. This is especially crucial in wet areas like bathrooms and kitchens.
- Keeps Out Dirt and Debris: A well-grouted surface is easier to clean because there are fewer tiny spaces for dirt, dust, and grime to hide.
- Enhances Appearance: Grout can complement or contrast with your tiles, significantly impacting the overall aesthetic of your tiled area. It provides a clean, finished look.
Without grout, your tiles would be vulnerable and messy. It’s the finish that makes the tile job truly complete and functional!
Common Grout Types for Beginners

When you start looking into grout, you’ll notice there are a few main types. They each have their own strengths, so choosing the right one is important for your project. Here’s a look at the most common ones:
1. Cementitious Grout
This is the most traditional and widely used type of grout. It’s cement-based and usually comes in a powder form that you mix with water. There are two main sub-types:
a) Sanded Grout
What it is: Sanded grout contains fine sand mixed into the cement. The sand adds strength and durability.
When to use it: It’s ideal for grout lines that are 1/8 inch wide or larger. The sand helps prevent shrinkage and cracking in wider gaps. It’s a great choice for most floor tiles and larger wall tiles where you have consistent, wider grout joints.
b) Unsanded Grout (or Non-Sanded Grout)
What it is: Unsanded grout is a finer mixture without sand.
When to use it: This type is best for very narrow grout lines, typically less than 1/8 inch wide. It also works well with delicate tiles like glass, metal, or cracked tiles, as the sand in sanded grout could scratch them. It’s often used for mosaics and some wall tile applications.
2. Epoxy Grout
What it is: Epoxy grout is made from epoxy resins and a hardener, and it doesn’t typically contain cement. It’s a two-part system that you mix before use.
When to use it: Epoxy grout is extremely durable, stain-resistant, and waterproof. It’s fantastic for high-traffic areas, kitchens, bathrooms, showers, and anywhere you need maximum protection against moisture and stains. It’s also less prone to cracking or shrinking than cementitious grout. However, it can be trickier to work with for beginners due to its fast setting time and potential to leave a hazy residue if not cleaned properly.
3. Pre-Mixed Grout
What it is: As the name suggests, this grout comes ready to use right out of the container. It’s a great convenience option for DIYers.
When to use it: Pre-mixed grouts are convenient and generally good for smaller projects or touch-ups. They are often acrylic-based and can be a good choice for wall tiles or low-traffic floor areas. Note that they might not be as durable or as resistant to stains and moisture as epoxy grout, and they also have a shelf life.
| Grout Type | Best For | Pros | Cons |
|---|---|---|---|
| Sanded Cementitious | Grout lines 1/8″ and wider; floors, most wall tiles | Durable, less shrinkage, cost-effective | Not for narrow joints, can be porous if not sealed |
| Unsanded Cementitious | Grout lines < 1/8″; delicate/small tiles (glass, mosaic) | Good for narrow joints, won’t scratch delicate tiles | Can shrink/crack in wider joints if not careful, less durable than sanded |
| Epoxy | High-traffic areas, kitchens, showers, bathrooms; maximum stain/water resistance | Extremely durable, waterproof, stain-proof, resistant to cracking | Difficult to mix and apply (fast-setting), can be messy, more expensive |
| Pre-Mixed | Small projects, quick repairs, wall tiles, low-traffic floors | Convenient (no mixing), easy to use | Can be less durable than cementitious or epoxy, shorter lifespan, limited color options sometimes |
Key Grout Characteristics to Understand
Beyond the basic type, there are a few other things you’ll encounter when choosing grout:
1. Color
Grout color can dramatically change the look of your tile. You can go for a grout that blends in with your tiles for a seamless look, or choose a contrasting color to make your tiles pop. Always test a small, inconspicuous area first to see how the color looks when dry, as it can often appear lighter than when it’s wet.
2. Additives
Some grouts come with added features to improve performance. For example,:
- Latex or Polymer Additives: These can be mixed into powdered cementitious grout to improve flexibility, adhesion, and water resistance. Many modern cementitious grouts already have these additives.
- Antimicrobial Additives: These help resist mold and mildew, which is a great benefit, especially in wet environments like showers.
3. Grout Sealers
Once your grout is installed and cured, applying a grout sealer is often recommended, especially for cementitious grouts. Sealers penetrate the porous grout and create a barrier, making it more resistant to stains and moisture. Think of it like a protective coat for your grout. You’ll find both penetrating sealers and topical sealers, each with slightly different application methods and benefits.
For more information on grout and its properties, the Building Science Corporation offers in-depth research on building materials, including grout performance and durability.
How to Choose the Right Grout for Your Project

Selecting the right grout might seem like a big decision, but it comes down to a few key factors:
- Tile Type: Is it ceramic, porcelain, glass, stone, or metal? Delicate tiles need unsanded grout.
- Grout Joint Width: For joints 1/8 inch or wider, sanded grout is usually the best bet. For narrower joints, opt for unsanded.
- Location: Is it a high-moisture area (shower, backsplash) or high-traffic area (kitchen floor)? These areas benefit from more durable and stain-resistant options like epoxy or sealed cementitious grout.
- Appearance: What look are you going for? Subtle or bold? Consider grout color carefully.
- Your Skill Level: Epoxy grout offers superior performance but is harder to work with. Sanded or unsanded cementitious grout, or pre-mixed options, might be more forgiving for beginners.
Tools You’ll Need for Grouting
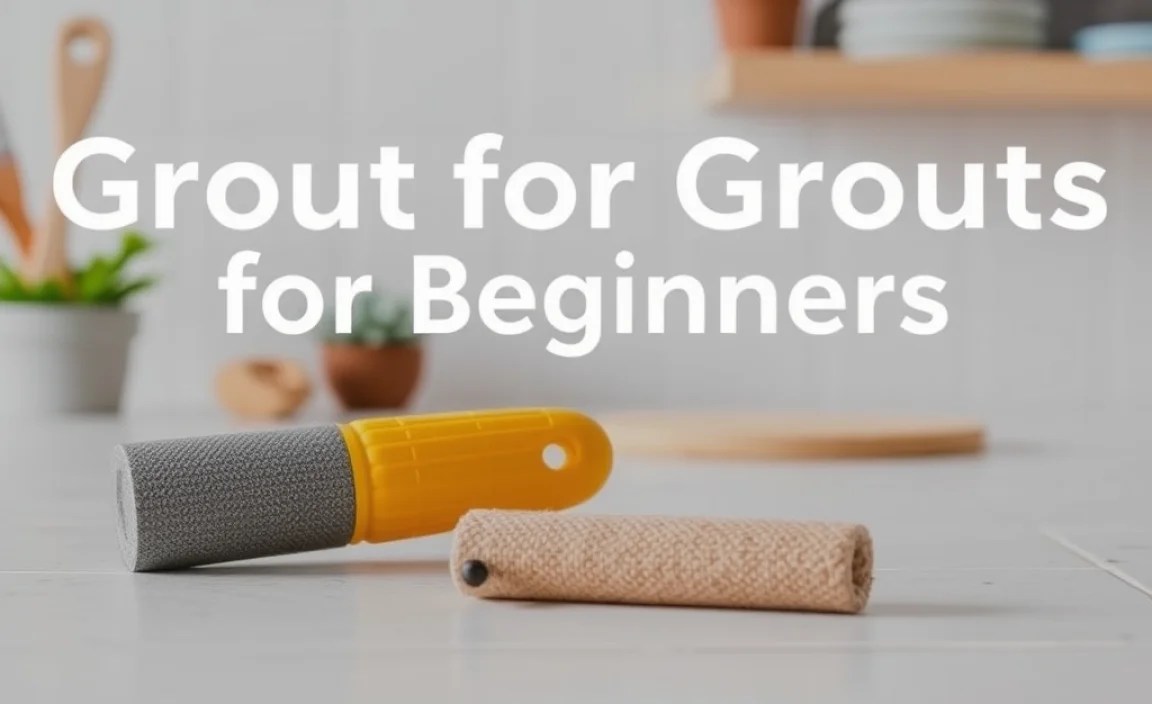
Before you even think about mixing grout, make sure you have the right tools. Having everything ready will make the process smoother:
- Bucket(s): You’ll need one for mixing grout and at least one for rinsing your sponge.
- Grout Float: This is a specialized trowel with a rubber base used to spread and press grout into the joints.
- Large Grout Sponge: A dense, firm sponge is essential for cleaning excess grout and smoothing the surface.
- Clean Cloths or Microfiber Towels: For final buffing and grout haze removal.
- Utility Knife or Grout Saw (Optional): Useful for removing old grout or cleaning up edges.
- Mixing Paddle and Drill (Optional, for larger batches): For thoroughly mixing powdered grout.
- Gloves: Protect your hands from the alkaline grout mixture.
- Safety Glasses: Crucial for avoiding eye irritation from grout dust or splashes.
- Grout Colorant (Optional): If you want to adjust the color after it dries.
- Grout Sealer (Optional but Recommended): For protecting the cured grout.
Step-by-Step Guide: How to Apply Grout (Beginner-Friendly)
Applying grout might seem intimidating, but by following these steps, you can achieve a professional finish. This guide focuses on cementitious grout, which is most common for DIYers.
Step 1: Prepare Your Workspace and Tiles
Ensure your tiles have been set for at least 24-48 hours, or according to the tile adhesive instructions. The tiles should be firmly in place and the adhesive should be fully cured. If any adhesive has squeezed up between the tiles, scrape it out so the grout has a clean space to fill.
Clean the tile surfaces to remove any dust or debris. You can use a damp sponge or cloth for this.
Step 2: Mix the Grout (if using powder)
Read the grout manufacturer’s instructions carefully. If you’re using powdered grout, mix it in a clean bucket according to the directions. You want a consistency like thick peanut butter or toothpaste – it should hold its shape but be spreadable. Don’t mix more than you can use within about 20-30 minutes, as it starts to harden.
Pro Tip: Add water slowly! It’s easier to add more water than to fix grout that’s too thin. Too much water can weaken the grout.
Step 3: Apply the Grout
Dip your grout float into the grout mixture. Scoop out a generous amount and spread it onto the tiles, holding the float at about a 45-degree angle. Work the grout into the joints, moving the float diagonally across the tiles. The goal is to press the grout firmly into every gap, ensuring there are no air pockets. Work in small sections, covering the area with grout.
Don’t worry about getting grout on the tile faces; you’ll clean that up later. Just focus on filling those gaps completely.
Step 4: Remove Excess Grout
Once you’ve filled the joints in a section, hold the grout float at a steeper angle (around 90 degrees) and scrape off the excess grout from the tile faces. Again, work diagonally across the tiles to avoid pulling grout out of the joints.
Step 5: Begin the First Spongeing (Initial Clean)
Wait about 10-15 minutes for the grout to begin setting slightly. This is the “flashing” stage. Dampen your grout sponge (wring it out thoroughly – it should only be damp, not wet!) and make light, sweeping passes diagonally across the tiles. This initial pass removes the bulk of the excess grout and starts to smooth the grout lines.
Rinse your sponge very frequently in a separate bucket of clean water. You want to keep your rinse water as clean as possible, changing it when it gets too cloudy. A dirty sponge will just spread grout residue around.
After the first few passes, you might notice a slight haze on the tiles. This is normal.
Step 6: Second Spongeing (Smoothing and Cleaning)
After another short waiting period (another 10-15 minutes), repeat the spongeing process. Use lighter pressure this time, still working diagonally. The goal is to knock down any high spots, further smooth the grout lines, and remove more of the haze from the tile faces. Continue rinsing your sponge frequently.
Step 7: Final Buffing (Removing Grout Haze)
Once the grout has set for a couple of hours, or as recommended by the manufacturer, you’ll likely see a chalky haze on the tiles. This is grout haze. Take a clean, dry cloth or microfiber towel and buff the haze off the tiles. Work in a circular motion. If the haze is stubborn, you can use a slightly damp cloth, but be careful not to wet the grout lines too much.
Some tougher haze might require a specific grout haze remover, but for most beginner projects, careful buffing will do the trick.
Step 8: Cure and Seal
Allow the grout to cure completely according to the manufacturer’s instructions. This can take anywhere from 24 hours to several days. During this time, avoid getting the tiles wet or walking on floors. Once cured, apply a grout sealer. Follow the sealer manufacturer’s instructions for application and drying times. This step is crucial for protecting your new grout from stains and moisture, especially in kitchens and bathrooms.
For detailed information on tiling and grouting, resources like The Ceramic Tile and Stone Association often provide consumer guides that are very helpful.
When to Call a Professional
While many tiling and grouting jobs are achievable for DIYers, there are times when hiring a professional is the smarter choice:
- Large or Complex Projects: If you’re tiling an entire bathroom floor, a large kitchen, or intricate patterns, the scope might be too much for a beginner.
- Exotic or Expensive Materials: Tiling with delicate natural stone, glass, or other high-value materials might require specialized handling that a pro can provide.
- Waterproofing is Critical: For showers and tub surrounds, ensuring proper waterproofing behind the tile and grout is paramount. A professional can guarantee this is done correctly.
- Dealing with Existing Issues: If you’re repairing a tiled area with underlying structural damage or extensive old grout removal, it’s often best left to experts.
- Uncertainty or Lack
