Grout in plumbing refers to sealing compounds used around pipes where they enter walls or floors, crucially preventing water leaks and pest entry. Understanding grout types, application, and maintenance ensures a secure, watertight seal. This guide explains everything a beginner needs to know.
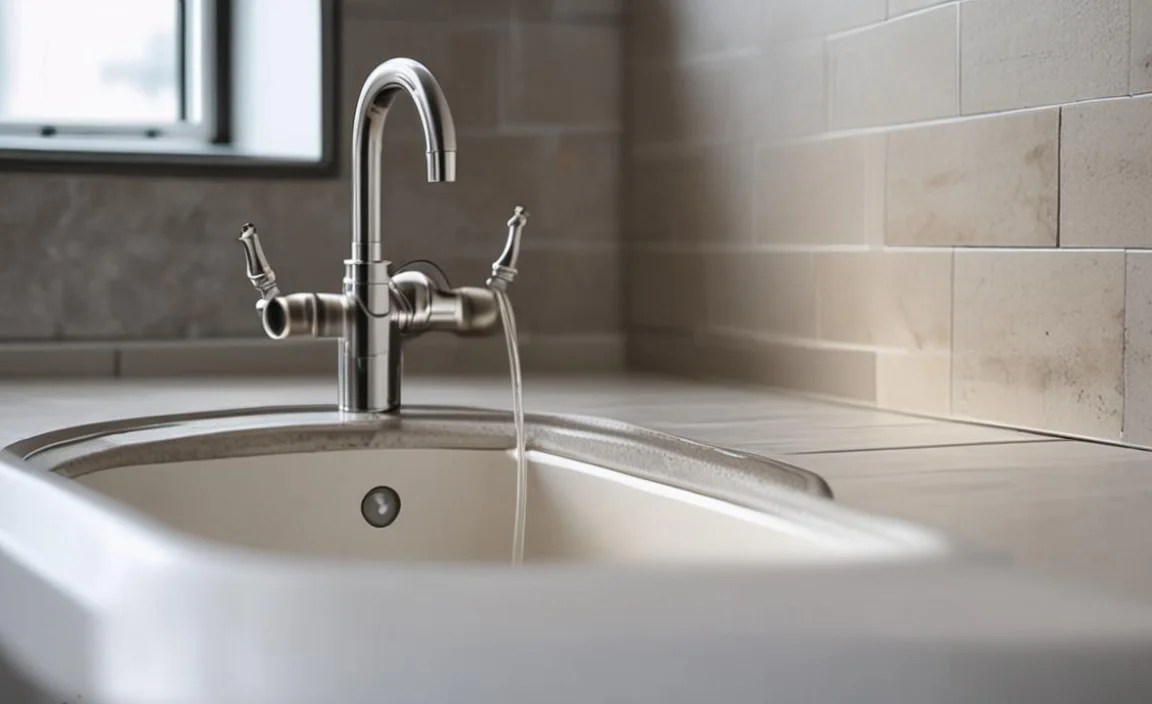
Are you puzzled by those little seams around your pipes in the bathroom or kitchen? Ever wondered what that stuff is called and why it’s there? You’re not alone! Many homeowners find plumbing details a bit mysterious. That sealing material, often a cement-like substance, is called grout. It’s a super important player in keeping your home dry and safe.
While it might seem small, a properly sealed grout line in your plumbing setup is a big deal. It stops water from seeping where it shouldn’t, which can cause damage, mold, and even attract unwanted guests like insects. Don’t worry if it sounds complicated; we’re going to break it down. This guide will walk you through everything you need to know about plumbing grout, from what it is to how to make sure it’s doing its job perfectly. Let’s get your plumbing looking and working its best!
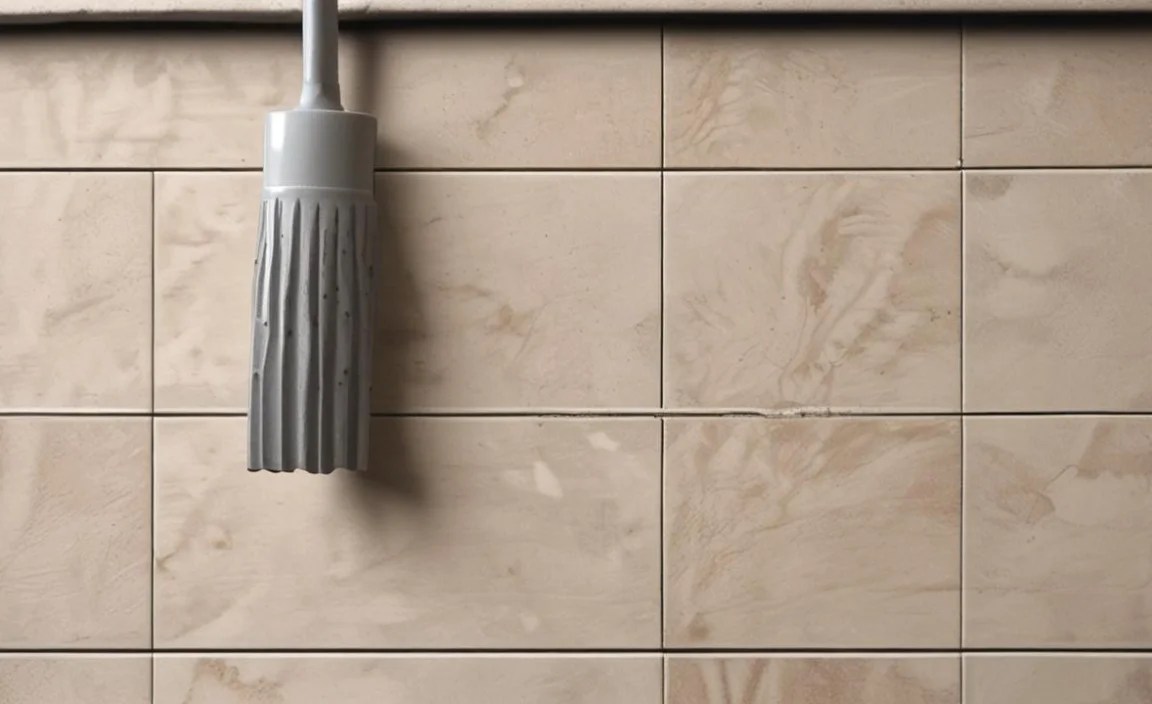
What Exactly is Grout in Plumbing?

In the world of plumbing, “grout” isn’t just for tiling. It’s a special type of material used to fill the gaps or spaces between a pipe and the surface it passes through, like a wall, floor, or ceiling. Think of it as the final seal of protection. Its primary job is to create a watertight barrier, preventing water from leaking out of the pipe’s entry point and damaging your home’s structure. It also plays a role in preventing drafts and keeping pests from crawling through these openings.
This plumbing grout is typically made from a mix of cement, water, and sand, but specialized additives can be included to give it particular properties, like flexibility or resistance to certain chemicals. The exact type of grout used often depends on the specific plumbing scenario, like whether it’s exposed to water, temperature changes, or needs to withstand movement.
Why is Grout Important in Plumbing Systems?
The importance of grout in plumbing cannot be overstated. It acts as a critical barrier in several key ways, protecting your home and ensuring the longevity of your plumbing system. Here’s a breakdown of its vital roles:
- Waterproofing: This is its most crucial function. Grout seals the opening around pipes, preventing any leaks or condensation from escaping. Without it, water could drip down walls, beneath floors, or into electrical cavities, leading to costly water damage, rot, and mold growth.
- Structural Integrity: While not its primary purpose, grout can offer some support to pipes, especially in larger openings. It helps to secure the pipe in place, preventing excessive movement that could stress connections and lead to future leaks.
- Pest and Draft Prevention: Gaps around pipes can be entry points for insects, rodents, and even drafts. Sealing these spaces with grout keeps your home more comfortable, energy-efficient, and free from unwanted critters.
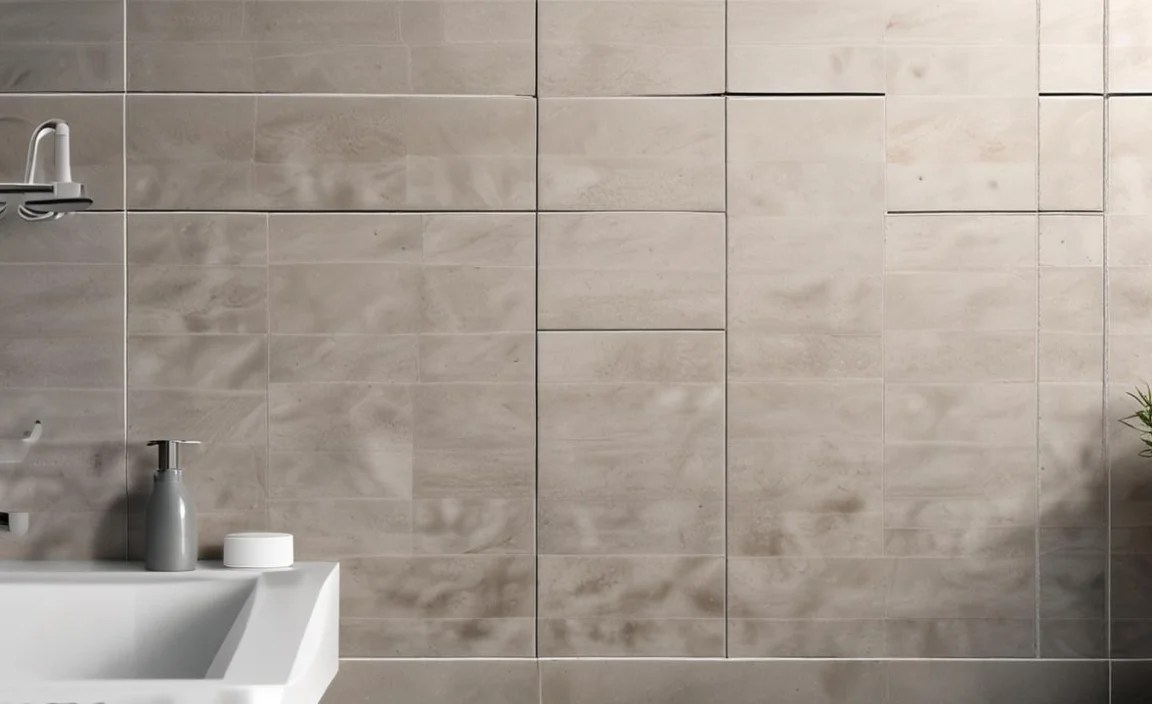
- Sanitation: In areas prone to moisture, like bathrooms and kitchens, unsealed gaps can become breeding grounds for bacteria and mold. Grout creates a smooth, cleanable surface, contributing to a more sanitary environment.
- Aesthetics: While often functional, grout also provides a cleaner, more finished look where pipes emerge from surfaces. It hides the rough edges of the hole and creates a neat transition.
Types of Grout Used in Plumbing

Not all grout is created equal, and plumbers choose different types based on the specific application. The material needs to handle moisture, potential movement, and, in some cases, temperature fluctuations. Here are the most common types you’ll encounter:
1. Cementitious Grout

This is the most traditional and common type of grout used in various applications, including plumbing. It’s a mixture of Portland cement, sand, and water. Sometimes, polymers are added to improve its performance, making it more resistant to cracking and shrinkage.
- Pros: Affordable, readily available, good compressive strength.
- Cons: Can be prone to shrinking and cracking if not mixed or applied correctly, less flexible than other types, can be porous if not sealed.
- Common Uses: Sealing around pipes where there’s minimal movement, general-purpose sealing in dry or occasionally wet areas.
2. Epoxy Grout
Epoxy grout is a two-part system consisting of epoxy resin and a hardener. It forms a highly durable, non-porous, and chemical-resistant bond. It’s known for its strength and resistance to staining.
- Pros: Extremely durable, waterproof, stain-resistant, excellent chemical resistance, very strong.
- Cons: More expensive than cementitious grout, can be trickier to work with due to its fast setting time and stickiness, can discolor over time in direct sunlight.
- Common Uses: Areas requiring heavy-duty sealing, like around industrial pipes, or where exposure to chemicals or high moisture is expected.
3. Silicone Sealant/Caulk
While not always called “grout,” silicone sealant is a very common material used to seal gaps around plumbing fixtures and pipes, especially where they meet finished surfaces. It’s flexible, waterproof, and mildew-resistant.
- Pros: Highly flexible, excellent waterproofing, mildew and mold resistant, easy to apply with a caulk gun, available in many colors.
- Cons: Not as structurally strong as cementitious or epoxy grout, can degrade over time and require reapplication, can be difficult to paint over.
- Common Uses: Sealing around bathtubs, sinks, toilets, and especially where pipes enter cabinets or walls in kitchens and bathrooms where some movement is expected.
4. Hydraulic Cement Grout
This is a special type of cement that expands slightly as it cures. This expansion helps to create a very tight, watertight seal and minimizes shrinkage, making it ideal for scenarios where water pressure might be an issue or where a very robust seal is needed quickly.
- Pros: Expands to fill gaps tightly, excellent for stopping active water leaks, quick setting time, durable.
- Cons: Can be difficult to work with due to its rapid hardening, less flexible than other options once cured, requires precise mixing.
- Common Uses: Sealing leaks in concrete structures, around basement pipes, or any situation where a fast-acting, strong seal is needed against water ingress.
5. Specialized Polymer Grouts

These are advanced cementitious grouts that contain polymers and other additives to enhance their properties. They offer improved flexibility, bond strength, and water resistance compared to standard cement grouts.
- Pros: More flexible than standard cement grout, better bonding, improved water and stain resistance, less prone to cracking.
- Cons: Can be more expensive than basic cementitious grout.
- Common Uses: Applications where there might be minor expansion and contraction of building materials, offering a more reliable seal.
Here’s a quick look at how these types compare:
| Grout Type | Key Characteristics | Best For | Considerations |
|---|---|---|---|
| Cementitious Grout | Cement, sand, water; can be fortified with polymers. | General sealing, stable pipe entries. | Can shrink/crack, porous if unsealed. |
| Epoxy Grout | Epoxy resin and hardener; very strong, non-porous. | High-moisture areas, chemical exposure. | Expensive, harder to apply. |
| Silicone Sealant/Caulk | Flexible, waterproof, mildew-resistant. | Fixtures, flexible joints. | Less structural, needs reapplication. |
| Hydraulic Cement Grout | Expands upon curing, fast-setting. | Stopping active leaks, high pressure. | Difficult to work with, not flexible. |
| Specialized Polymer Grouts | Enhanced flexibility and bond strength. | Areas with minor movement. | More expensive than basic cement. |
Where is Grout Used in Plumbing Installations?

You’ll find grout playing its crucial role at various points in your home’s plumbing system, often where pipes transition from one area to another or where they connect to fixtures. Identifying these spots is key to understanding where potential leaks might occur and where maintenance might be needed.
1. Pipe Penetrations Through Walls and Floors

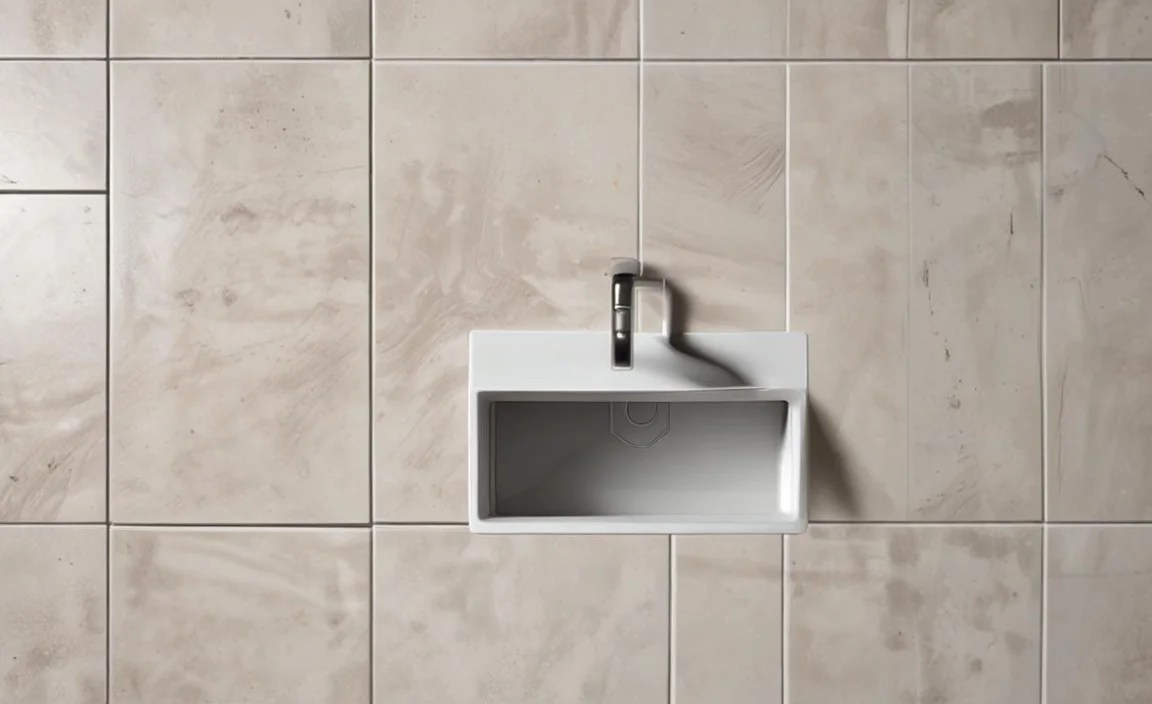
This is perhaps the most common place. When a water supply pipe (like for a sink or toilet) or a drainpipe passes through a wall or floor, the gap around it needs to be sealed. Grout provides this seal, preventing water from seeping into the wall cavity or subfloor.
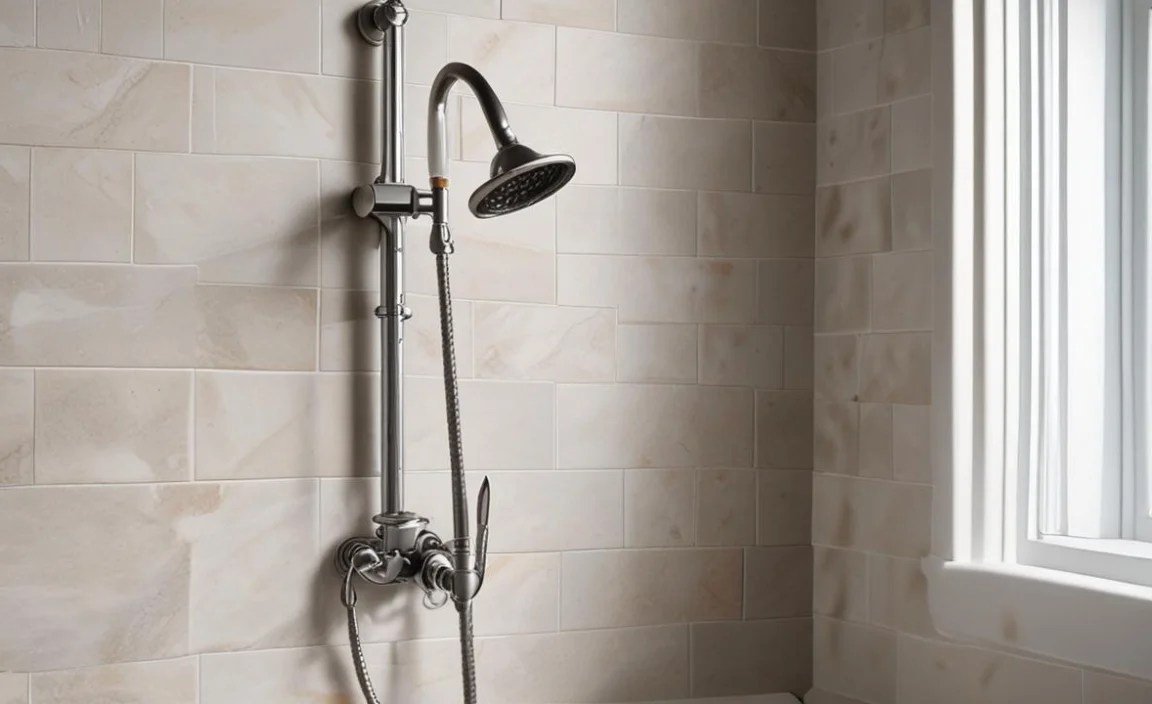
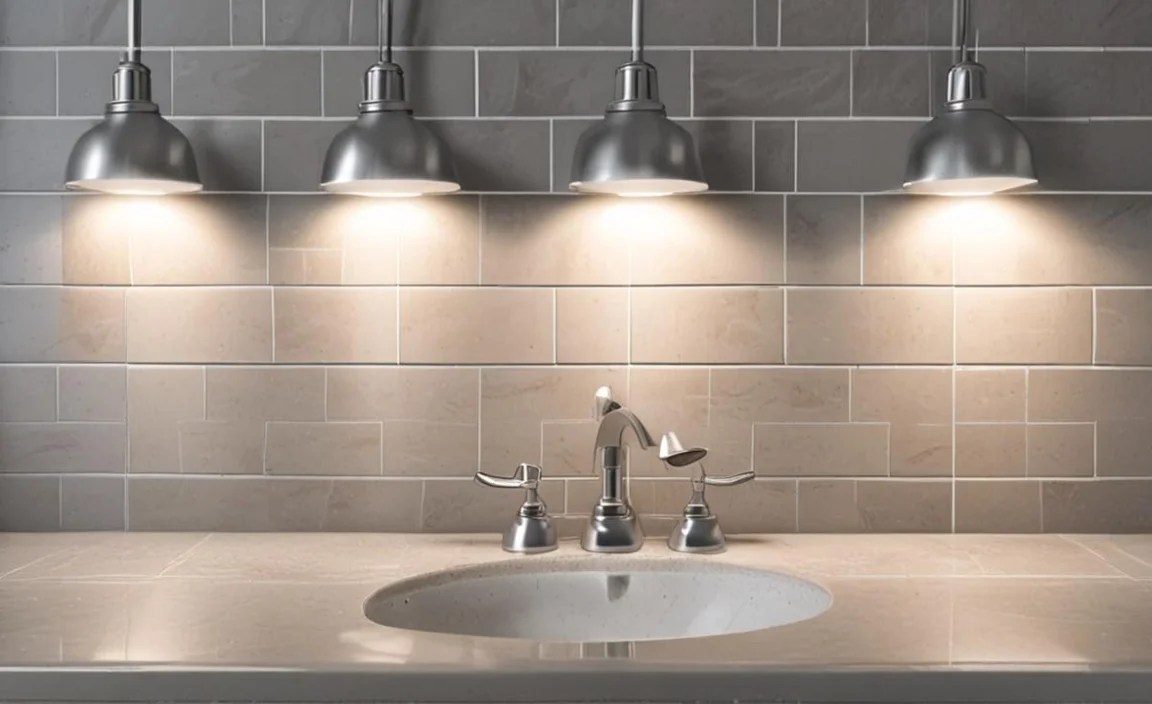
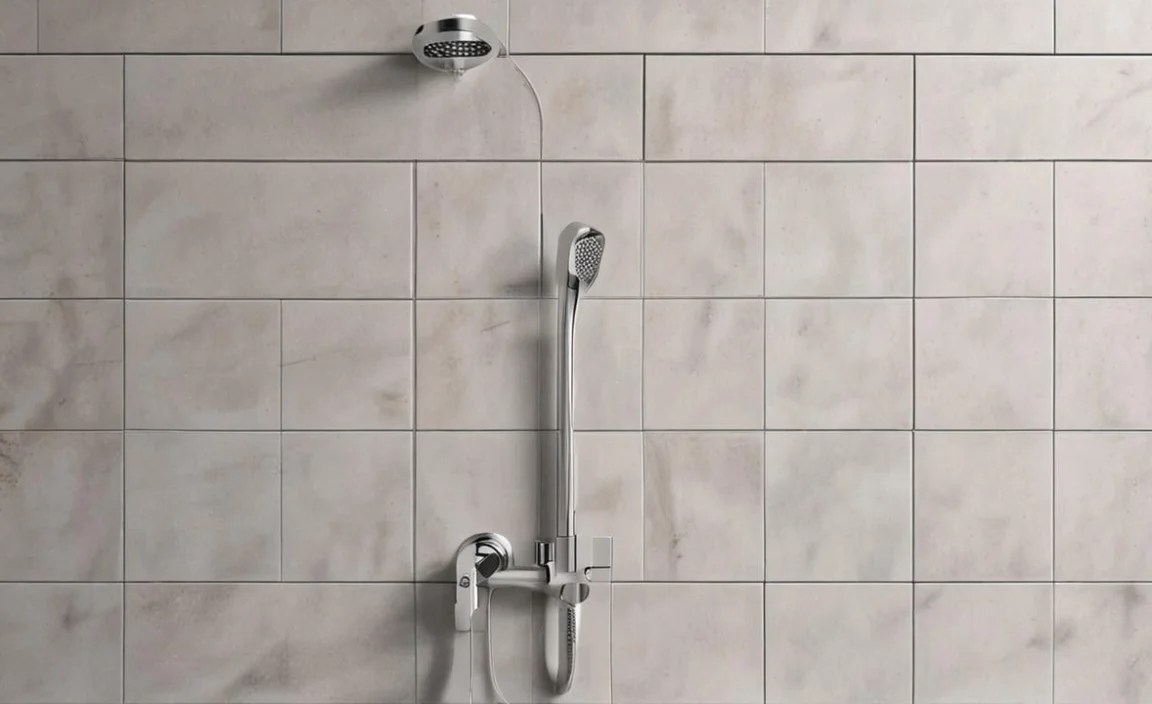
2. Around Tubs and Showers
While tiles in tubs and showers are grouted, the plumbing connections themselves also need sealing. Where the drain pipe meets the floor or where shower valves exit the wall, grout or a flexible sealant is used to ensure water stays within the intended confines.
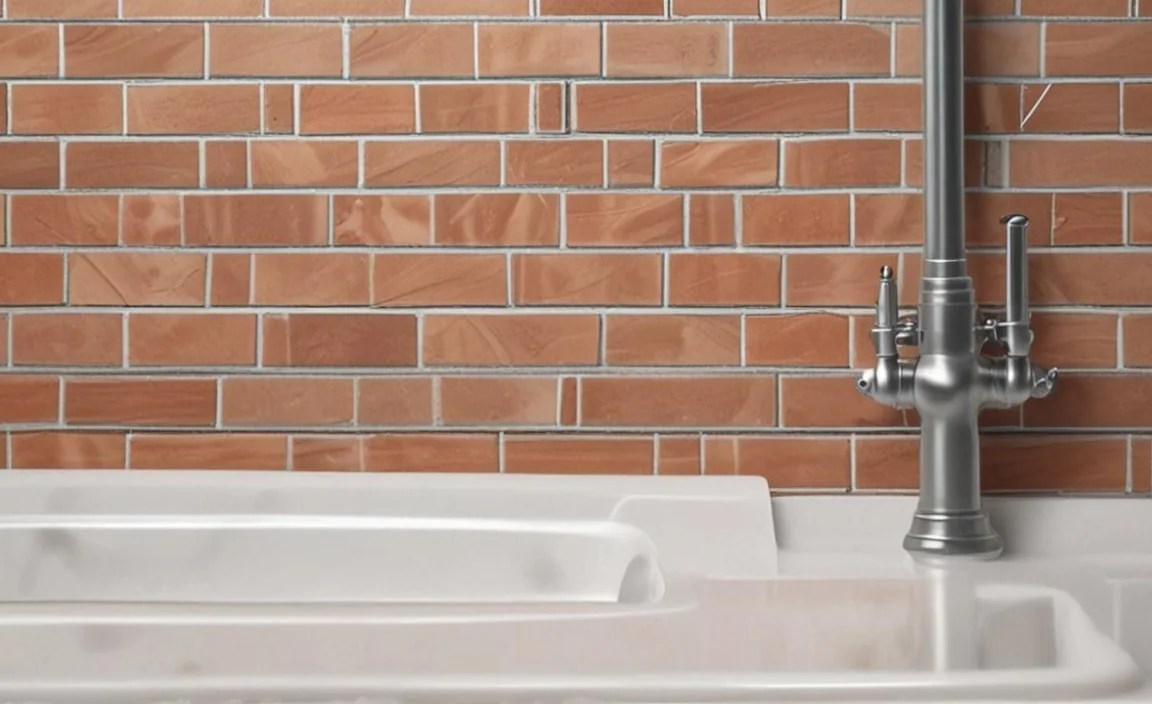
3. Under Sinks and Toilets
The supply lines connecting to your faucet and the main water line entering your toilet are prime examples. Where these pipes are secured and pass through the floor or behind the wall, grout or caulk is applied to seal the opening.
4. Around Drains
The drainpipe itself, especially where it connects to a floor drain or passes through a floor, needs a secure, watertight seal. Grout helps to ensure no wastewater escapes into the surrounding structure.
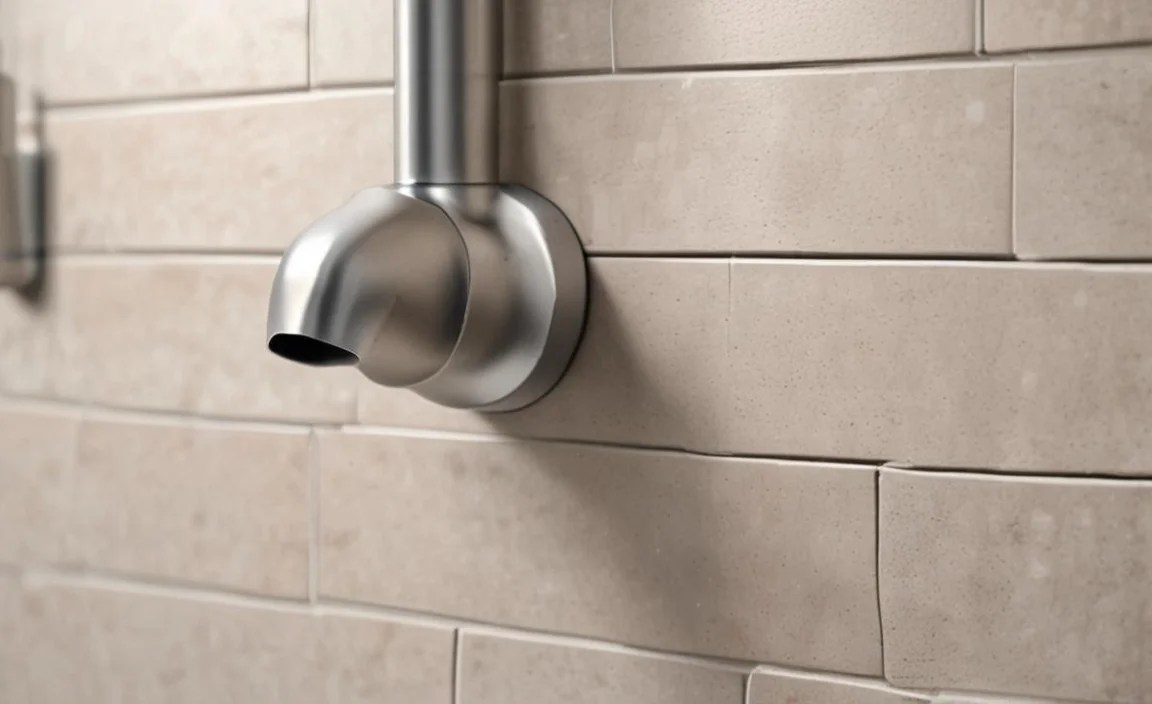
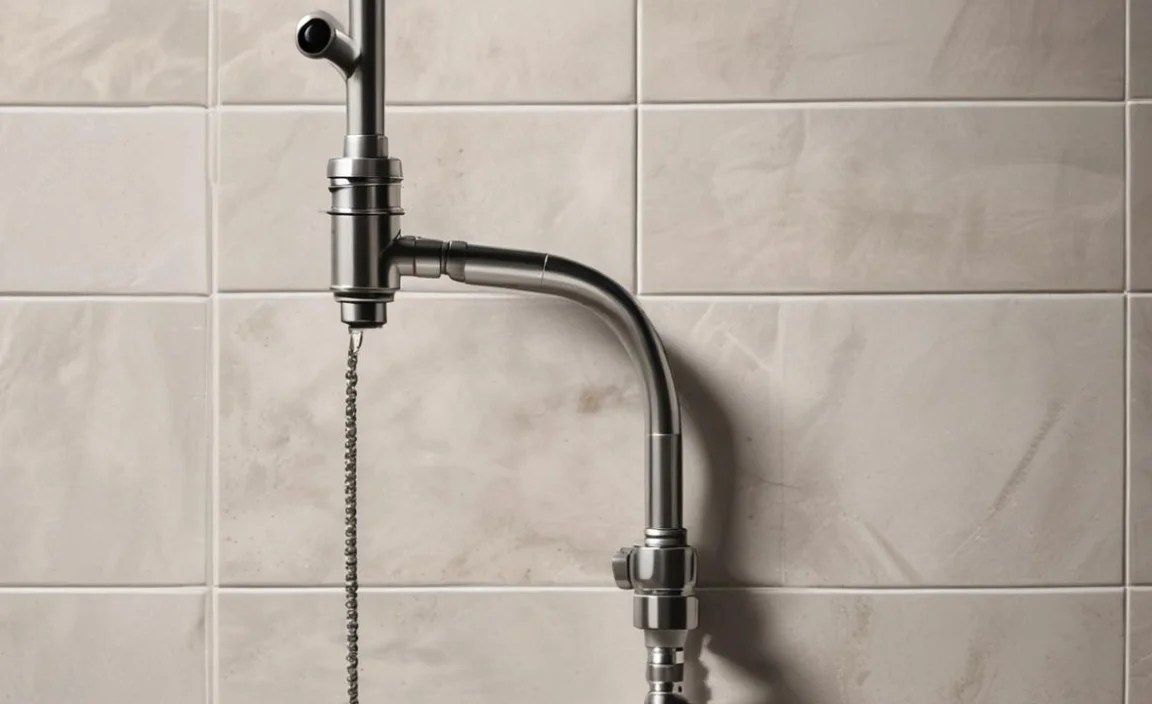
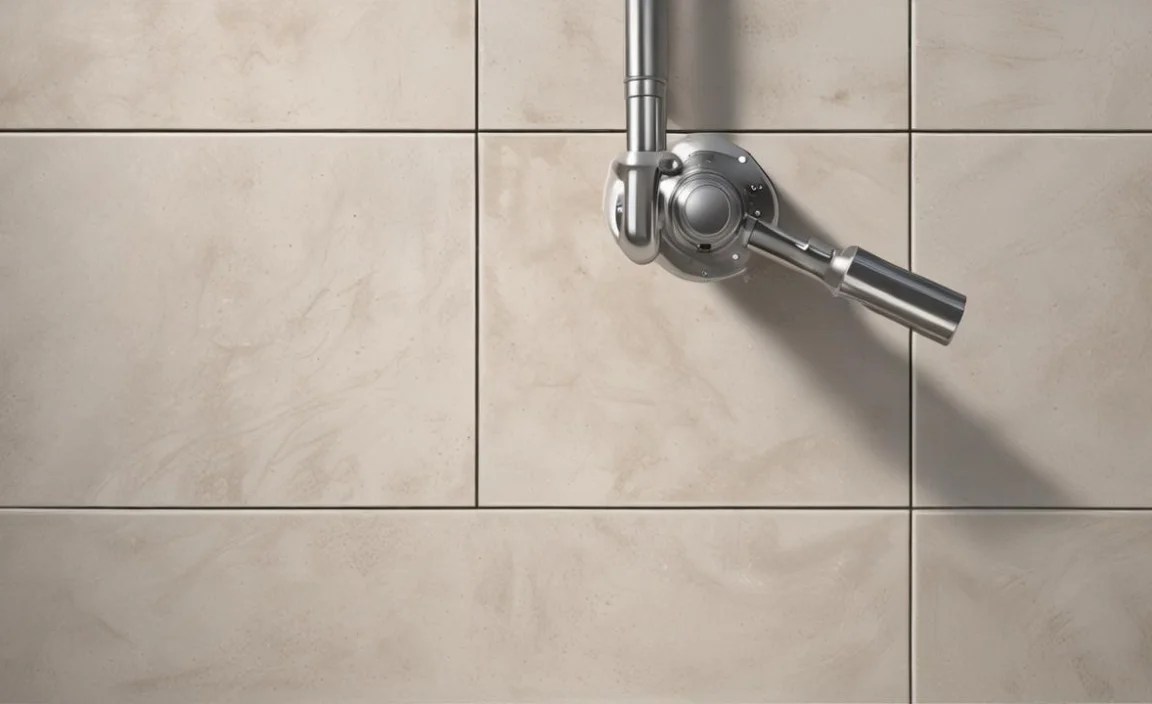
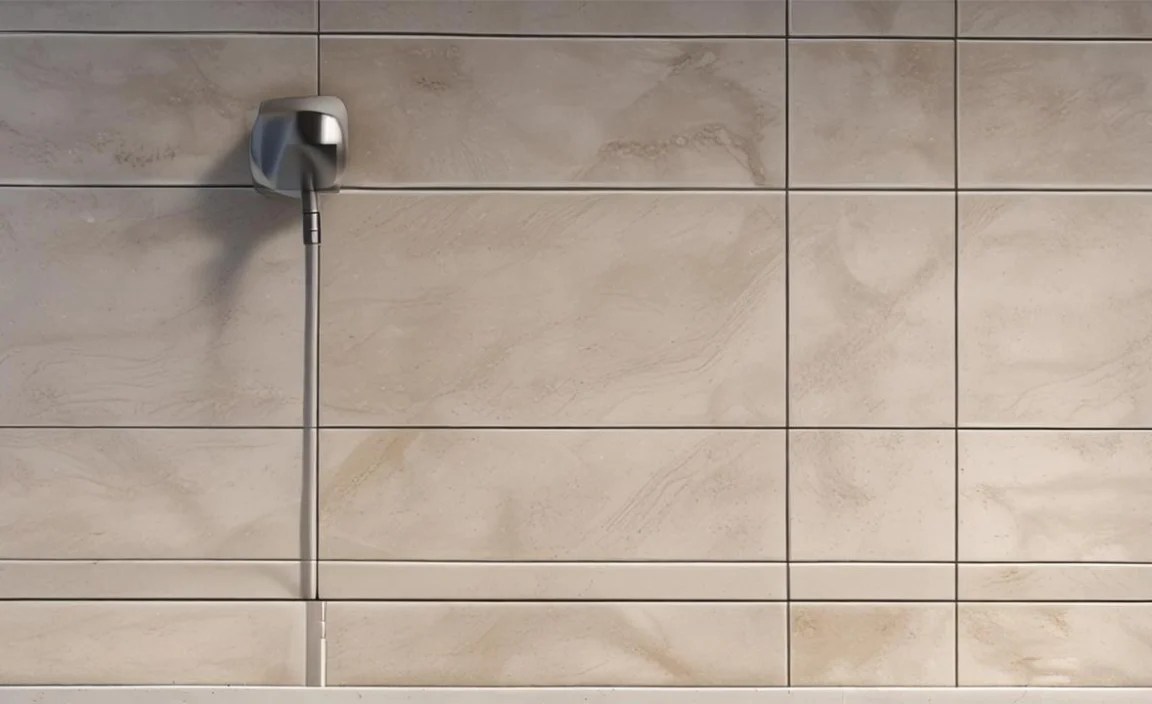
5. Exterior Faucets (Hose Bibs)

Even your outdoor faucet needs a good seal where it penetrates the exterior wall. This prevents water from entering the wall cavity during use or in freezing conditions.
In essence, any point where a pipe passes through a solid surface, and where water might be present or could potentially escape, is a candidate for grouting. This proactive sealing is a fundamental part of proper plumbing installation and maintenance.
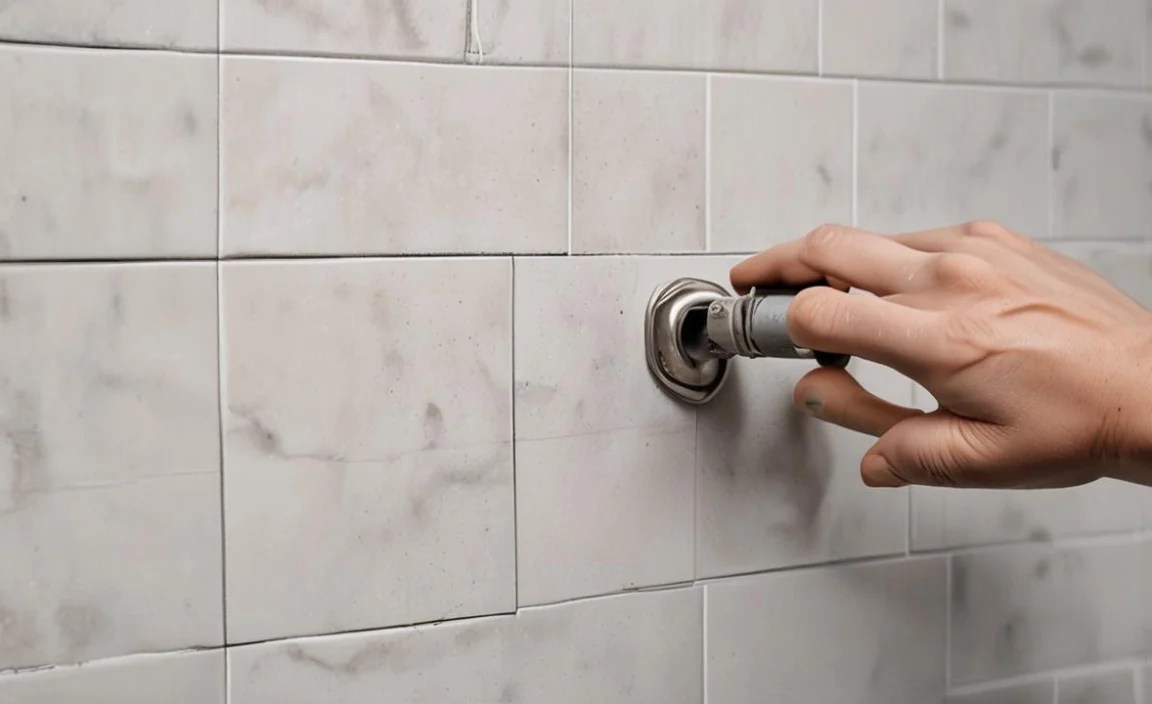
How to Apply Grout Around Plumbing (DIY Steps)

Applying grout or sealant around plumbing is a common DIY task that can save you money and give you peace of mind. Whether you’re patching an old seal or working on a new installation, here’s a general guide. Always ensure you have turned off the water supply to any pipes you are working near, if applicable.
Step 1: Prepare the Area

Before you start, ensure the area around the pipe penetration is clean and dry. Remove any old, crumbling grout or sealant. A utility knife or a small putty knife works well for this. If there’s a lot of debris, vacuum it up. For best adhesion, the surfaces should be free of dust, grease, and moisture. For water-sensitive areas, let them dry thoroughly.
Step 2: Choose Your Grout or Sealant

Select the right material for the job. For most common household plumbing penetrations that might encounter moisture or slight movement, a good quality silicone caulk or a flexible polymer-enhanced cementitious grout is suitable. For areas needing robust, waterproof sealing like shower floors, epoxy or hydraulic cement might be considered (though these are more advanced). Always read the product label for intended use and application tips.
- For more information on selecting sealants, the CPSC offers recalls and warnings on building materials, highlighting the importance of choosing safe and appropriate products.
Step 3: Mix Your Grout (If Applicable)
If you’re using a cementitious or hydraulic cement grout, you’ll need to mix it according to the manufacturer’s instructions. Typically, this involves adding a specific amount of water to the powder and mixing until you achieve a smooth, consistent paste. Avoid making it too watery, as this weakens the grout. For epoxy grouts, follow the two-part mixing instructions precisely.
Step 4: Apply the Grout or Sealant
For Cementitious/Epoxy Grout: Use a grout float or a putty knife to press the grout into the gap around the pipe. Work it in firmly to ensure there are no air pockets and that it forms a solid bond with both the pipe and the surrounding surface. Fill the gap completely.
For Silicone Sealant/Caulk: Load a caulk gun with your sealant tube. Cut the tip of the nozzle at a 45-degree angle to create a bead size appropriate for the gap. Place the nozzle into the gap and apply steady, even pressure on the caulk gun trigger, moving smoothly around the pipe to create a continuous bead of sealant.
Step 5: Tool and Smooth the Grout Line
For Cementitious/Epoxy Grout: Once applied, use a damp sponge to wipe away excess grout from the surface around the pipe. Be careful not to pull the grout out of the seam. For a smooth finish, a trowel or even a wet finger can be used to shape the bead. For epoxy grout, work quickly as it sets fast.
For Silicone Sealant/Caulk: After applying the bead, you can use a caulk-smoothing tool, a damp cloth, or even a gloved finger dipped in soapy water to smooth the bead and create a neat, concave finish. This helps the sealant adhere well and gives it a professional look.
Step 6: Clean Up and Cure
Clean up any excess grout or sealant immediately with a damp cloth or sponge. For cementitious grouts, follow the manufacturer’s recommended curing time before exposing it to water. This can range from 24 to 72 hours or more. Silicone sealants usually cure within 24 hours but check the product packaging.
- For a comprehensive guide to tiling and grouting techniques, the This Old House website offers excellent step-by-step tutorials that can be adapted for plumbing applications.
Maintenance and When to Repair Grout
Just like any part of your home, grout needs a little attention now and then. Regular checks can catch small problems before they become big, expensive issues. Here’s what to look for and when it’s time to repair or replace that grout seal:
Signs of Grout Failure

- Cracks and Crumbling: If you see visible cracks, chips, or if parts of the grout are crumbling away, it’s a definite sign that the seal is compromised.
- Loose Pipe: If the pipe itself feels loose where it enters the wall or floor, the grout holding it in place may have failed.
- Water Stains or Dampness: Look for any signs of water stains, discoloration, or dampness around the pipe penetration. This indicates water is getting past the grout.
- Mold or Mildew Growth: The presence of mold or mildew around a pipe opening suggests persistent moisture, meaning the grout seal is likely failing.
- Gaps or Shrinkage: Over time, some grouts can shrink or pull away from the pipe or the surrounding surface, leaving a gap.
Maintenance Tips
- Regular Inspection: Make it a habit to check areas around pipes, especially in kitchens and bathrooms, every few months. Look and feel for any of the signs of failure mentioned above.
- Keep it Clean: Regularly clean sealed areas to prevent dirt and grime buildup, which can mask underlying issues.
- Reseal if Necessary: For grout that’s still largely intact but might be looking a bit worn or showing minor signs of wear, consider applying a grout sealer. This can extend its life and improve its water resistance.
- Address Leaks Promptly: If you notice any dampness or stains, don’t delay. Investigate immediately, as even small leaks can lead to significant structural damage and mold growth over time.
When to Repair or Replace
If you notice significant cracking, crumbling, or gaps, it’s time for repair. For minor cracks or gaps, you might be able to patch them with a small amount of matching grout or sealant. However, if the grout has failed extensively, or if you have recurring mold issues, it’s best to remove the old grout completely and reapply a fresh, appropriate type of grout or sealant. Always ensure the area is completely dry before applying new material.
DIY vs. Professional Grouting for Plumbing
Deciding whether to tackle grout repair yourself or call in a professional depends on a few factors. For simple cosmetic fixes or small areas, a DIY approach is often perfectly fine. However, for more complex situations, a professional plumber or tile setter may be the better option.
DIY Pros:
- Cost Savings: The most obvious benefit is saving money on labor costs, which can be significant.
- Sense of Accomplishment: Completing a home repair yourself can be very rewarding.
- Convenience: You can do it on your own schedule.
DIY Cons: