
A wet room is a fully waterproofed bathroom area where the shower is not enclosed, requiring careful construction for water management. Essential details include proper drainage, robust waterproofing, and suitable materials to prevent leaks and damage.
Dreaming of a bathroom that feels like a spa, where you can step right into your shower without a second thought? A wet room offers that luxurious, open-plan feel. But building one can seem a bit daunting, especially when you worry about water getting everywhere it shouldn’t. We’ve all heard horror stories of leaky bathrooms! Don’t worry, it’s simpler than you think when you know the key steps. This guide will walk you through the essential details of wet room construction, making it easy to understand and even easier to achieve. Get ready to transform your bathroom with confidence!,
What Exactly is a Wet Room?
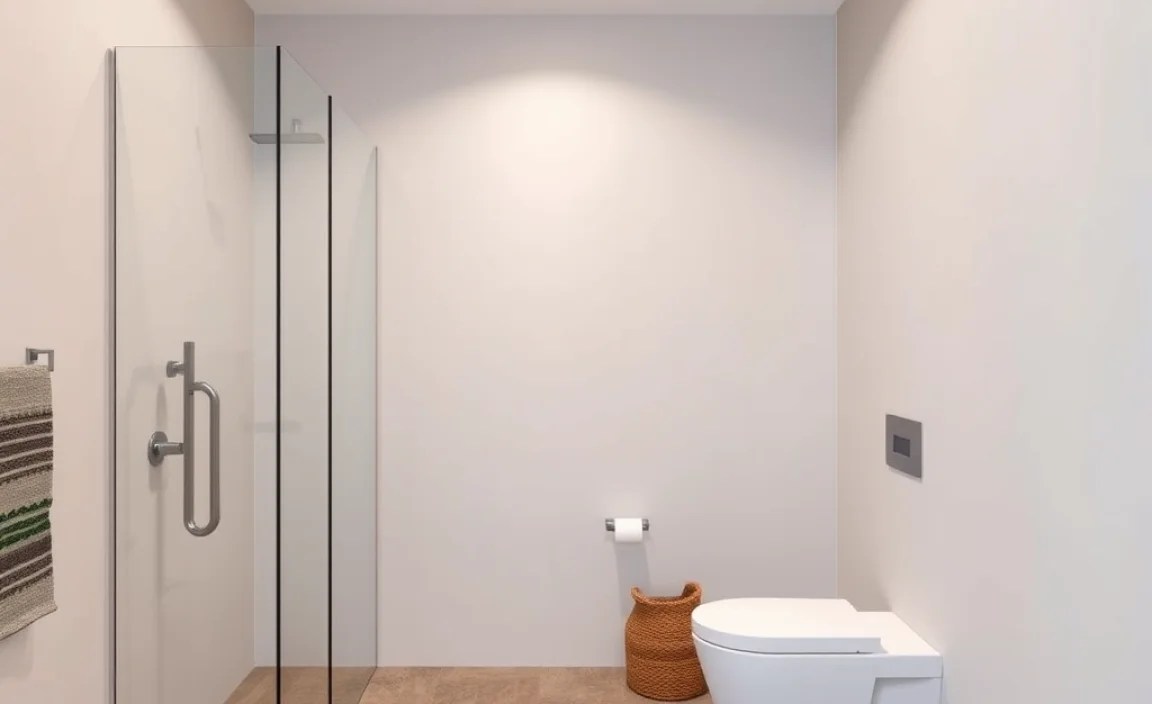
Simply put, a wet room is a bathroom designed to be completely waterproofed. Unlike a traditional bathroom with a separate shower cubicle or bath, the entire room, or a designated section of it, is designed to get wet. This means there’s no need for a shower tray or screen that contains the water. Instead, the floor slopes gently towards a drain, cleverly directing water away.
This open-plan design can make small bathrooms feel much larger and more accessible. It’s also a fantastic solution for modern, minimalist aesthetics. The key is that every surface – walls, floor, and even sometimes the ceiling – must be completely sealed to prevent any water from escaping. This is where the “proven essentials” of construction come into play.
Why Build a Wet Room? The Benefits

Before we dive into the construction details, let’s look at why a wet room is such a popular choice. Understanding the benefits helps solidify why the careful construction is so worthwhile.
- Space Saving: Wet rooms can make even the smallest bathrooms feel more spacious. By eliminating the need for a bulky shower enclosure, you create a more open and airy feel.
- Accessibility: With no steps or trays to navigate, wet rooms are incredibly accessible for people with mobility issues or for families with young children. It’s a true walk-in solution.
- Modern Aesthetics: The sleek, minimalist look of a wet room is highly desirable in contemporary bathroom design. It offers a clean, uncluttered appearance.
- Easy Cleaning: Fewer nooks and crannies mean less to clean! A seamless, waterproof surface is generally easier to wipe down and maintain.
- Added Property Value: A well-designed and properly constructed wet room can be a significant selling point, potentially increasing your home’s value.
The Cornerstones of Wet Room Construction: Proven Essentials

Building a wet room isn’t just about slapping on some tiles. It’s about creating a watertight sanctuary. Here are the absolute must-know essentials for a successful build.
1. Superior Drainage: The First Line of Defence
This is arguably the most critical element. The entire success of your wet room hinges on how effectively water is removed. A proper slope and a reliable drain are non-negotiable.
Floor Sloping: The Gentle Inclination
Your wet room floor needs to be sloped towards the drain. This isn’t a dramatic hill, but a subtle gradient. Typically, a fall of 1-2cm per meter is recommended. This gentle slope ensures water flows away quickly and doesn’t pool. You achieve this by building up the subfloor with a screed (a concrete-like mixture) before tiling.
The Drain: Your Water’s Exit Strategy
There are several types of drains suitable for wet rooms:
- Linear Drains: These are long, narrow grates positioned along a wall or in the floor. They are very effective and offer a sleek look. Many are designed to accommodate larger tiles.
- Point Drains (Castle Drains): These are traditional circular drains. They are usually placed in the centre of the room or in a corner. They require a more complex slope from all directions to meet at the drain.
Whichever drain you choose, it must be specifically designed for wet rooms and have a waterproof connection to the waste pipe system. It’s also vital to consider the flow rate of the drain – it needs to be able to handle the volume of water from your shower.
For more on plumbing basics, check out resources from The International Association of Plumbing and Mechanical Officials (IAPMO), a leading authority on plumbing codes and standards.
2. Meticulous Waterproofing: The Invisible Shield
This is where the real magic happens – creating an impenetrable barrier against moisture. Waterproofing isn’t just about applying a membrane; it’s a system.
Waterproof Membranes: The Barrier Layers
Once your subfloor is prepared and sloped, and any necessary plumbing is in place, you need to apply a waterproofing membrane. These are liquid-applied or sheet membranes that create a seamless, waterproof layer over the entire wet room area. They are typically applied to the floor and up the walls, extending around 15-20cm above the shower area, or higher if specified by the manufacturer. Think of it as a liquid rubber or a heavy-duty plastic sheet.
- Liquid Membranes: These are painted on in multiple coats, forming a seamless barrier. They are excellent for covering complex shapes and corners.
- Sheet Membranes: These are large rolls of waterproof material that are adhered to the substrate. They offer excellent durability.
Crucially, the membrane must be integrated with the drain assembly and any wall penetrations using specific sealing tapes and primers. This creates a continuous waterproof envelope. Always follow the manufacturer’s instructions precisely!
Sealants and Tapes: The Critical Joints
No waterproofing system is complete without professional-grade sealants and tapes. These are used at all junctions – where the floor meets the wall, around pipe penetrations, and at the edges of the membrane. This ensures that even if the main membrane is compromised slightly, these critical areas are protected.
3. Appropriate Boarding and Substrates: The Foundation
What you put your waterproofing on is just as important as the waterproofing itself.
Water-Resistant Boards
Standard plasterboard is a no-go in a wet room. You need to use specially designed water-resistant or cement-based tile backing boards. These boards are designed to withstand constant moisture without degrading or losing structural integrity.
- Cement Boards: These are rigid, stable, and highly resistant to moisture. They provide an excellent stable surface for tiling.
- XPS (Extruded Polystyrene) Boards: These are lightweight, rigid insulating boards that are inherently waterproof. They can be used to create falls or for lining walls and floors, providing a stable, waterproof base.
These boards are fixed securely to the structural walls and floor, ensuring a solid base for the waterproofing layer and subsequent tiles.
4. Suitable Wall and Floor Finishes: The Protective Layer
Once the waterproofing is in place, you can add your final decorative finishes. The key here is selecting materials that are water-resistant and easy to maintain.
Tiling Considerations
Tiles are the most common finish in wet rooms. However, not all tiles are created equal for this environment.
- Mosaic Tiles: Smaller tiles with more grout lines can be used, but the grout itself needs to be waterproofed or sealed effectively.
- Large Format Tiles: These can offer a more seamless look with fewer grout lines, which can be easier to maintain.
- Non-Porous Tiles: Ceramic and porcelain tiles are generally good choices as they are less porous than natural stone.
Glass tiles can add a luxurious touch but are often more expensive. Whatever you choose, ensure you use a high-quality, waterproof tile adhesive and grout.
Waterproof Grout and Sealant
Regular cementitious grout can absorb water and become a breeding ground for mould. Opt for epoxy grout or an RTV silicone sealant specifically designed for wet areas. These offer much better resistance to water and staining.
5. Ventilation: The Air Circulation Champion
Even with the best waterproofing, good ventilation is crucial for a healthy bathroom environment. It helps to remove moist air, preventing condensation and mould buildup.
Extractor Fans
A powerful, quiet, and efficient extractor fan is essential. It should be rated for the size of your bathroom and ideally have a humidistat, which automatically turns it on when moisture levels rise.
Vents
Sometimes, additional trickle vents in windows or passive vents can help with constant air circulation.
Learn more about effective ventilation strategies at The U.S. Department of Energy’s Building Technologies Office.
Building Your Wet Room: Step-by-Step Essentials
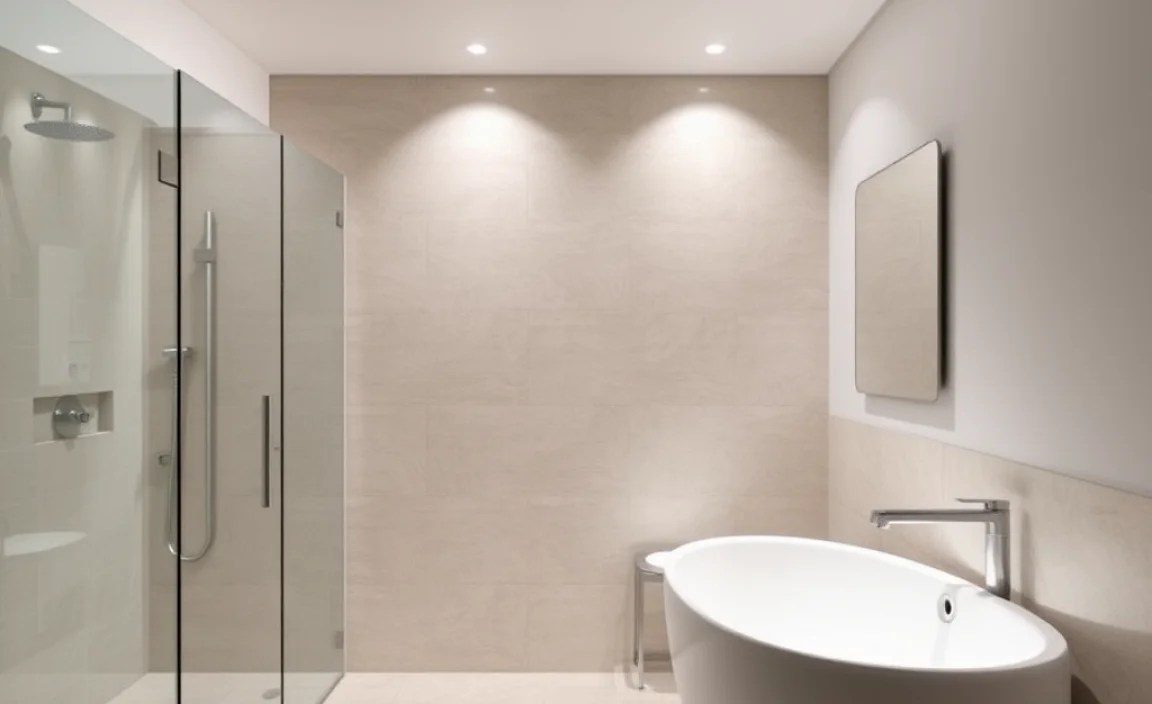
Now, let’s break down the process into actionable steps. Remember, if you’re not comfortable with any of these stages, it’s always best to consult a professional.
Phase 1: Preparation and Plumbing
- Plan Your Layout: Decide where the shower area will be and where the drain will go. Determine the direction of your floor slope.
- Prepare the Subfloor: Ensure your subfloor is clean, dry, and structurally sound. Any existing flooring or covering must be removed. Check for any damage and repair it.
- Install Drains and Pipework: This is a critical stage. The drain must be correctly positioned and connected to the waste pipe. Ensure it’s flush with the level where your waterproofing will be applied.
- Create the Floor Fall: If your existing screed is not sloped, you’ll need to create one. This is often done using a specialist self-levelling compound or a screed mix that can be troweled to create the gradient. For XPS boards, you might shape them directly to create the fall.
Phase 2: Waterproofing and Boarding
- Install Waterproof Boards: Fix your chosen water-resistant or cementitious boards to the walls and floor. Use appropriate fixings and adhesive, ensuring a solid, flat surface.
- Apply Waterproof Membrane: Carefully apply the liquid or sheet waterproofing membrane. Ensure comprehensive coverage, paying close attention to corners, edges, and around the drain. Use sealing tapes and primers as recommended by the manufacturer. This layer must be completely seamless.
- Integrate Drain Flange: The waterproofing membrane must be securely integrated with the drain’s sealing flange. This is a key point where leaks can occur if not done perfectly.
Phase 3: Finishing Touches
- Tile the Area: Once the waterproofing is fully cured, you can begin tiling. Use a high-quality, waterproof tile adhesive.
- Grout and Seal: After tiling, grout the joints using waterproof grout. Once the grout has cured, seal all edges, corners, and junctions with silicone sealant designed for wet areas. This includes around fixtures like the shower head, taps, and any shelving.
- Install Shower Fixtures: Fit your shower head, controls, and any other accessories. Ensure these are installed correctly and sealed where they meet the tiled surface.
- Install Ventilation: Ensure your extractor fan is installed and functional.
Materials and Tools: What You’ll Need

Gathering the right materials and tools beforehand makes the entire process smoother and more efficient. Here’s a general checklist:
Essential Materials:
- Water-resistant tile backing boards (e.g., cement boards, XPS boards)
- Waterproof membrane (liquid-applied or sheet)
- Waterproof sealing tapes and primers
- Wet room specific drain assembly (linear or point drain)
- Waterproof tile adhesive
- Waterproof grout (epoxy or RTV silicone)
- Tiles of your choice
- Silicone sealant for wet areas
- Fixings (screws, etc.) suitable for your chosen boards
- Optional: Self-levelling compound or screed mix
Essential Tools:
- Spirit level
- Measuring tape
- Utility knife or tile cutter
- Notched trowel (for tile adhesive)
- Squeegee (for applying liquid membrane)
- Rollers and brushes (for applying liquid membrane)
- Caulking gun
- Drill and screwdriver bits
- Safety goggles and gloves
- Bucket and mixing equipment
Common Mistakes to Avoid
Even with the best intentions, beginners can make common errors. Being aware of these pitfalls can save you a lot of trouble and expense down the line.
| Mistake | Why It’s a Problem | How to Avoid It |
|---|---|---|
| Insufficient Floor Slope | Water pools on the floor, leading to potential leaks and mould. | Carefully measure and create a consistent slope (1-2cm per meter) towards the drain. Use a spirit level to check. |
| Poorly Waterproofed Joints and Corners | These are the most vulnerable points for water ingress. | Use specific sealing tapes and primers. Ensure the membrane fully covers and integrates with all junctions and penetrations. Don’t skimp on this step! |
| Using Regular Plasterboard | It absorbs moisture, warps, and crumbles, compromising the entire structure. | Always use moisture-resistant or cementitious tile backing boards. |
| Inadequate Ventilation | Excess moisture leads to condensation, mould, and a damp, unpleasant environment. | Install an adequately sized and powerful extractor fan, ideally with a humidistat. |
| Using Standard Grout or Sealant | These materials can absorb water, stain, and degrade over time. | Always use specially formulated waterproof grout and silicone sealants for wet rooms. |
Frequently Asked Questions (FAQ)
Q1: Do I need a professional to build a wet room?
While some DIY enthusiasts tackle wet rooms, it’s a project that demands precision, especially with waterproofing and drainage. If you’re inexperienced with plumbing or waterproofing, hiring a qualified professional for critical stages is highly recommended to ensure longevity and prevent costly water damage.
Q2: How high do the walls need to be waterproofed?
The waterproofing membrane should extend up the walls at least 15-20 cm above the shower area, or higher if specified by the membrane manufacturer. For complete peace of mind, many installers choose to waterproof the entire shower area up to the ceiling.
Q3: Can I tile directly onto the waterproofing membrane?
No, not usually. The waterproofing membrane is typically applied over a prepared substrate like cement boards. Once the membrane is cured, tiles are adhered to the membrane using a suitable waterproof adhesive. Always follow the specific instructions of your chosen membrane system.
Q4: What’s the difference between a wet room and a regular bathroom with a good shower?
A wet room is designed with integrated drainage and a fully waterproofed area where water can flow freely. A regular bathroom has a shower tray or a sealed cubicle to contain water. The entire construction philosophy for a wet room is about managing water across a larger area.
Q5: How does a wet room drain work?
The floor is sloped towards a drain that is integrated into the subfloor. Water from the shower flows across the sloped floor and down the drain.
