
Mastering your bathroom layout is key to creating a functional, comfortable, and stylish space. A well-planned diagram ensures every inch is utilized efficiently, from maximizing storage to improving traffic flow. This guide breaks down genius layout tips for any bathroom size, making your renovation or redesign stress-free and successful.
Thinking about a bathroom remodel? Or maybe just rearranging things? It’s a common feeling to stare at your bathroom and wonder how to make it work better. Bathrooms are busy places, and a cramped or awkward layout can cause a lot of daily frustration. But don’t worry! With a few smart ideas and a good plan, you can transform your bathroom into a space that’s both beautiful and incredibly practical. This guide will walk you through making the most of your bathroom’s potential, no matter how small or challenging it might seem.
Understanding Your Bathroom Diagram: The Foundation of a Genius Layout

Before we dive into specific layout tips, let’s talk about the “diagram of bathroom” itself. This isn’t just a fancy drawing; it’s your roadmap to a successful bathroom design. Think of it as a blueprint that shows the walls, doors, windows, and the existing placement of essential fixtures like toilets, sinks, and showers or tubs. Understanding this diagram is the first step to figuring out how to optimize the space. It helps you see the constraints and opportunities you have to work with.
Creating a bathroom diagram is easier than you might think. You don’t need to be an architect. A simple floor plan sketched on graph paper or a digital tool can work wonders. The goal is to represent the room with accurate measurements. This visual representation is crucial for planning any changes, from adding a new vanity to reconfiguring the entire suite. Without a clear diagram, ideas can get muddled, and you might end up with costly mistakes or a layout that just doesn’t feel “right.”
Why a Bathroom Diagram Matters for Layout
- Visualizing Space: It helps you see the room’s dimensions and how much space you actually have for each fixture and walkway.
- Planning for Flow: You can map out how people will move around the bathroom, ensuring there’s enough clearance to open doors, drawers, and move comfortably.
- Identifying Conflicts: A diagram can highlight potential issues, like a toilet door swinging into the shower area, before you start any demolition or installation.
- Optimizing Storage: You can strategically place cabinets, shelves, and vanities where they are most accessible and useful.
- Electrical and Plumbing Considerations: While a basic diagram might not detail these, it’s a starting point to discuss with professionals about where water and power lines are or can be.
Essential Bathroom Layout Principles for Beginners
When planning your bathroom layout, a few fundamental principles can make a world of difference. These aren’t complicated rules, but rather common-sense ideas that ensure your space is both practical and pleasant to use. By keeping these in mind, you can avoid common pitfalls and create a bathroom that feels like it was designed by a pro.
The “Work Triangle” Concept (Adapted for Bathrooms)
While the “work triangle” is famous in kitchen design (connecting the sink, stove, and refrigerator), a similar concept applies to bathrooms. We can think of a “comfort zone” around key functional areas: the sink, the toilet, and your bathing area (shower/tub). The idea is to arrange these elements so they don’t feel crowded and offer easy access to one another.
For example, you don’t want the toilet door to bang into the sink vanity or the path to the shower to be blocked by the toilet. Adequate space between these zones is key for comfort and a sense of spaciousness, even in a small bathroom. When sketching your diagram, consider the minimum clearances you’ll need for each fixture.
Adequate Clearance and Traffic Flow

This is perhaps the most critical aspect of a good bathroom layout. Imagine using your bathroom during a busy morning. You need to be able to move freely without bumping into things. For a diagram of bathroom, this means carefully measuring and dedicating space for:
- Toilet Clearance: At least 15 inches from the centerline of the toilet to any obstruction (like a vanity or wall) and 30 inches of clear space in front of the toilet.
- Sink Clearance: Aim for at least 24 inches of clear space in front of the sink and a comfortable distance between the sink and the toilet or shower.
- Shower/Tub Clearance: Ensure the door or opening can be used without hitting other fixtures, and there’s enough space to stand and move around inside.
- Doorway Clearance: Make sure the bathroom door can open fully without hitting any fixtures or accessories.
A well-planned layout feels open and easy to navigate, even in a compact space. It’s about creating logical pathways between the door, sink, toilet, and shower/tub.
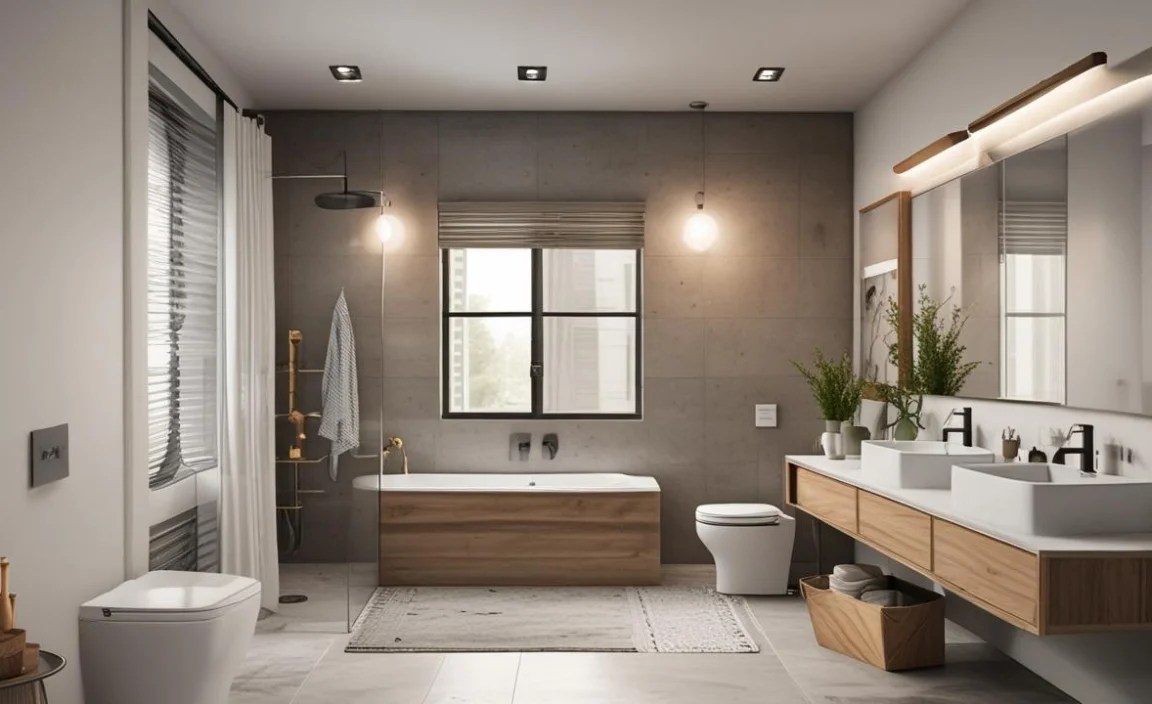
Maximizing Natural Light and Ventilation
Bathrooms, especially smaller ones, can feel much larger and more pleasant with good natural light and ventilation. If your bathroom diagram shows a window, think about how to best utilize it. Keep window treatments simple and avoid blocking light. If you don’t have a window, good artificial lighting and an efficient exhaust fan are essential.
Good ventilation is vital to prevent mold and mildew and keep the air fresh. An appropriately sized exhaust fan, connected to the outdoors, can make a huge difference. When planning your layout, consider if repositioning a fixture might make way for a larger window or a better-placed ventilation fan.
Genius Layout Tips for Different Bathroom Sizes
The size and shape of your bathroom significantly influence the best layout. What works for a sprawling master suite won’t fit in a tiny powder room. Here, we’ll explore smart strategies for various bathroom dimensions, all while keeping the “diagram of bathroom” as our guide.
Small Bathrooms & Powder Rooms (Under 50 sq ft)

Small spaces require creative solutions. The goal here is to make the most of every square inch without making it feel cramped.
Key Strategies:
- Wall-Mounted Fixtures: Consider wall-mounted toilets and sinks. These “float” off the floor, creating a visual sense of more space and making cleaning easier.
- Corner Sinks or Toilets: If available, corner units can sometimes fit into awkward nooks better than standard rectangular ones.
- Pocket Doors or Barn Doors: These doors slide into the wall or along the outside of it, saving precious floor space that a traditional swinging door would consume.
- Pedestal Sinks: While offering less storage, pedestal sinks take up less visual and physical space than bulky vanities, perfect for very tight powder rooms.
- Vertical Storage: Install tall, narrow shelving units or medicine cabinets that go up the wall to maximize storage without taking up floor space.
- Shower Instead of Tub: If space is extremely limited, a walk-in shower with a clear glass door will feel more open than a tub.
- Light Colors and Mirrors: Use light paint colors and large mirrors to make the space feel brighter and bigger.
Example Layout for a Small Bathroom (Diagram Concept):
Imagine a rectangular space, roughly 5ft x 7ft. A good layout might place a compact vanity (around 18-24 inches wide) with a sink on one of the longer walls. To its right, a corner toilet could fit neatly. On the opposite long wall, a 3ft x 5ft shower stall with a glass door would maximize bathing space without encroaching on the toilet and vanity area. The door would ideally swing inwards towards the vanity wall to avoid hitting the toilet.
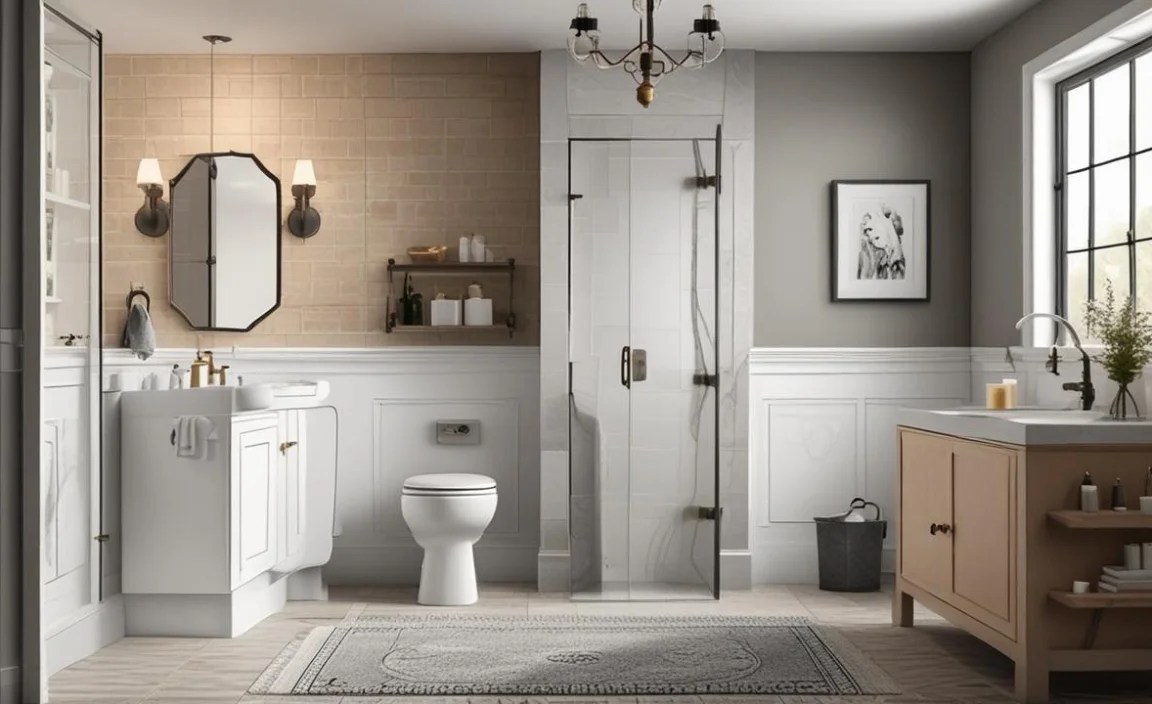
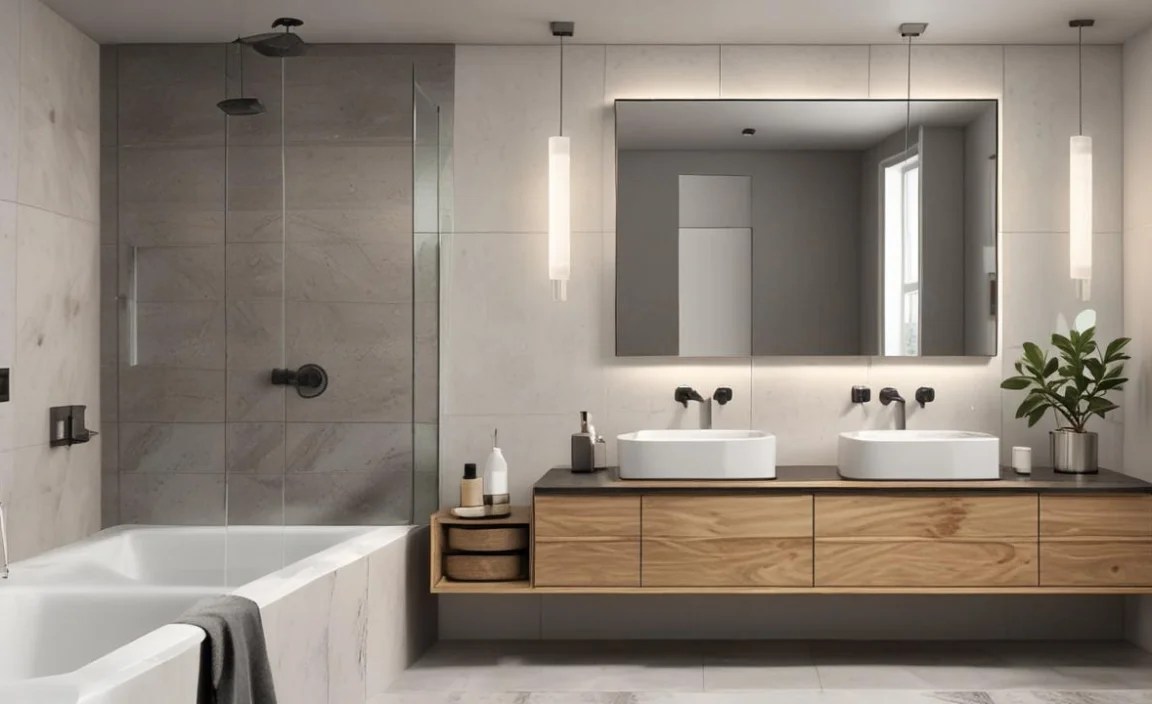
Medium Bathrooms (50 – 100 sq ft)
Medium bathrooms offer more flexibility, allowing for a balance of storage, functionality, and comfort.
Key Strategies:
- Vanity with Storage: A standard vanity (24-48 inches) is often ideal, providing counter space and storage drawers or cabinets.
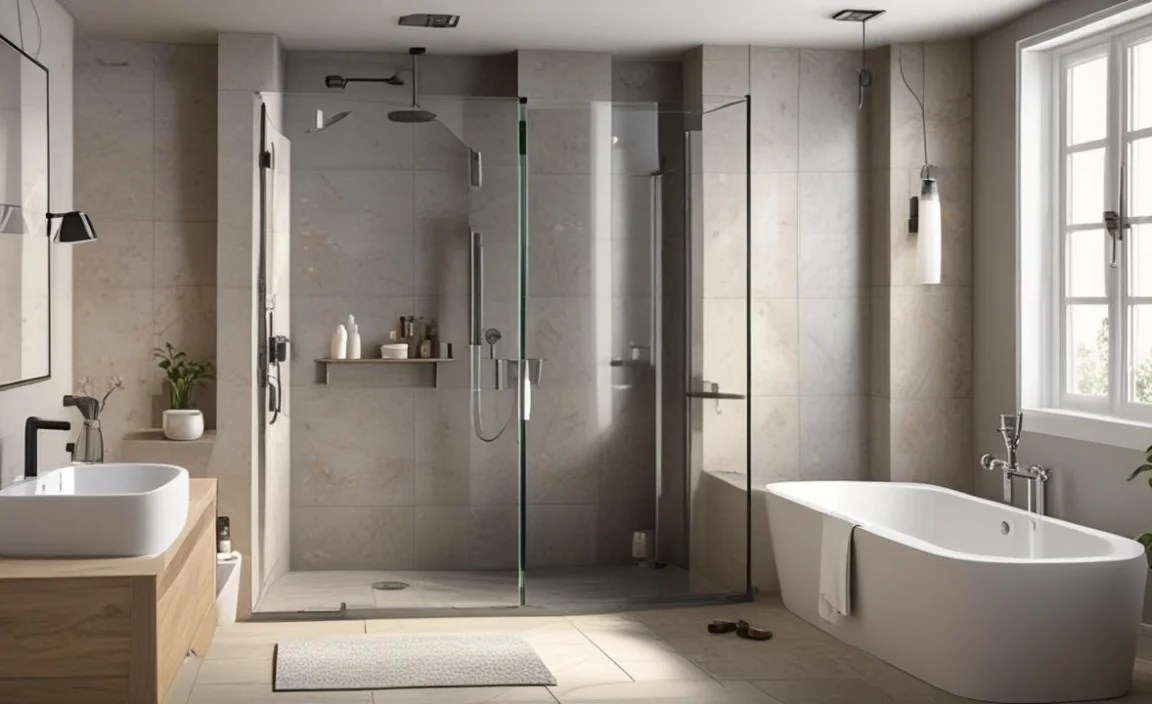
- Separate Shower and Tub: If space allows, you might be able to fit both a separate shower stall and a bathtub. This is a desirable feature for many homeowners.
- Comfortable Clearances: You can comfortably achieve the recommended clearances for toilets and sinks, making the bathroom more accessible.
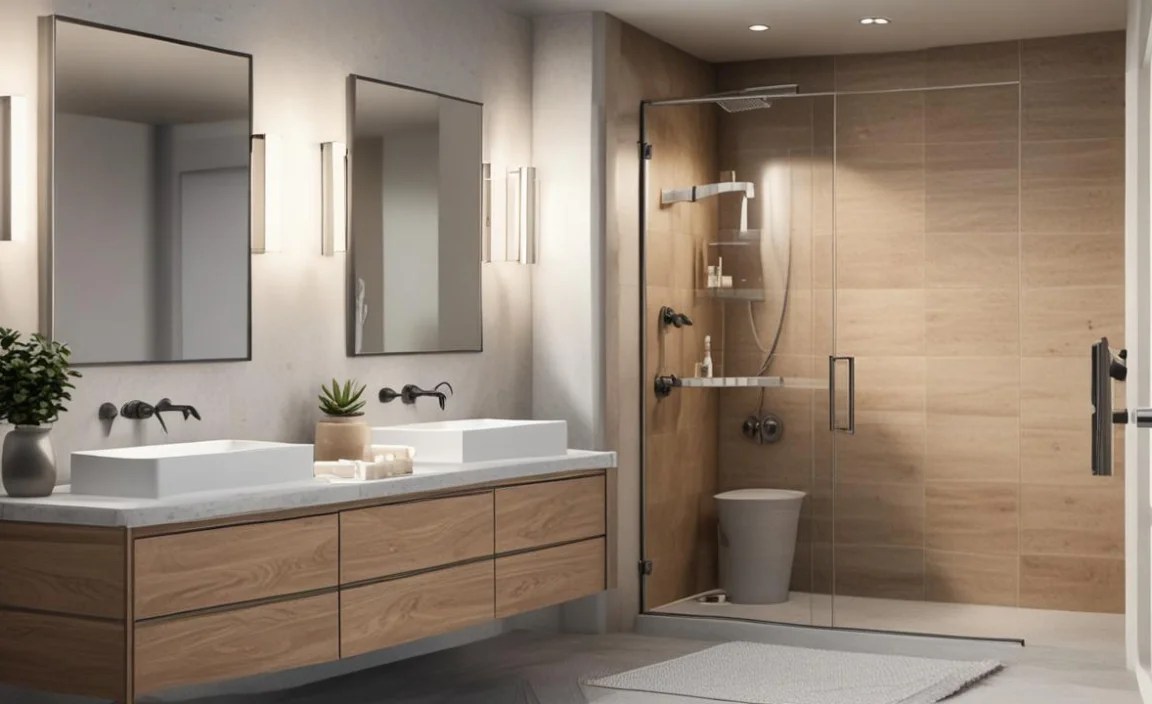
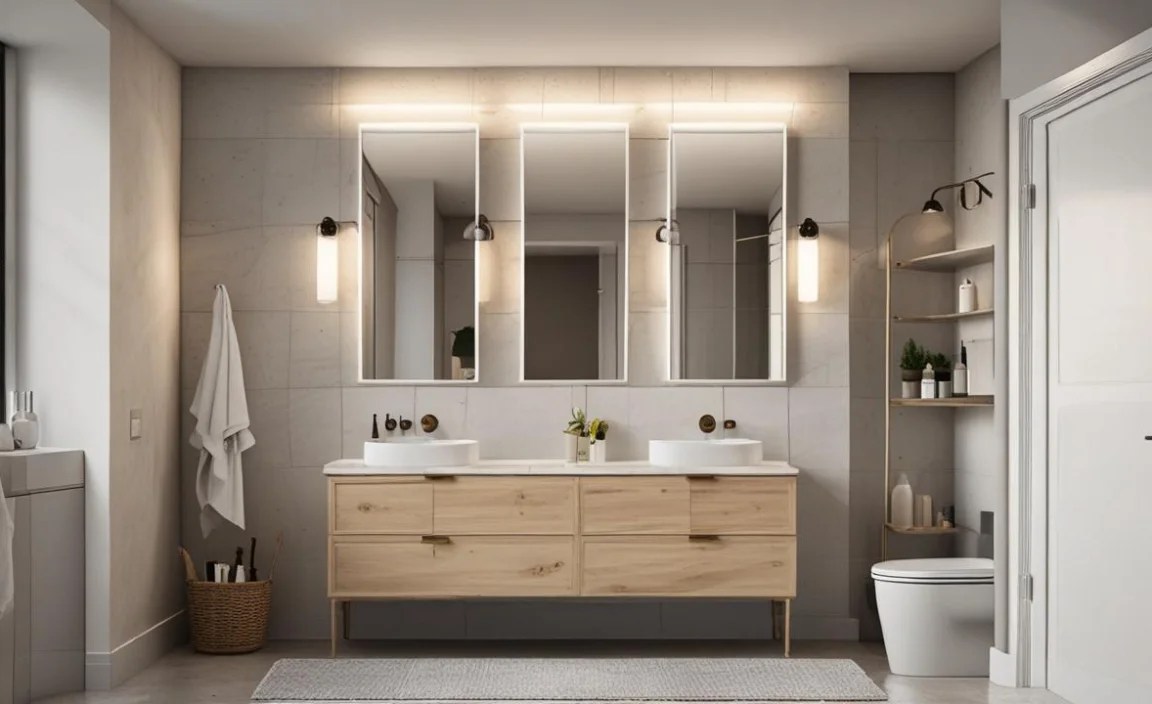
- Double Vanities: In wider medium bathrooms, a double vanity can be a luxurious and practical addition, especially for shared bathrooms.
- Consider a Linen Closet: If you don’t have one nearby, a medium bathroom might have space to incorporate a narrow linen closet.
Example Layout for a Medium Bathroom (Diagram Concept):
For a 6ft x 10ft bathroom, you could place a 48-inch vanity with double sinks on one of the longer walls. Opposite the vanity, a 5ft x 3ft walk-in shower could occupy one end, with a standard toilet placed next to it towards the center of the wall. This creates a clear path from the door to each area and ample space in front of the vanity and toilet. Alternatively, a 5ft x 5ft corner could house both a tub and a shower, with the toilet and vanity on the opposite wall.
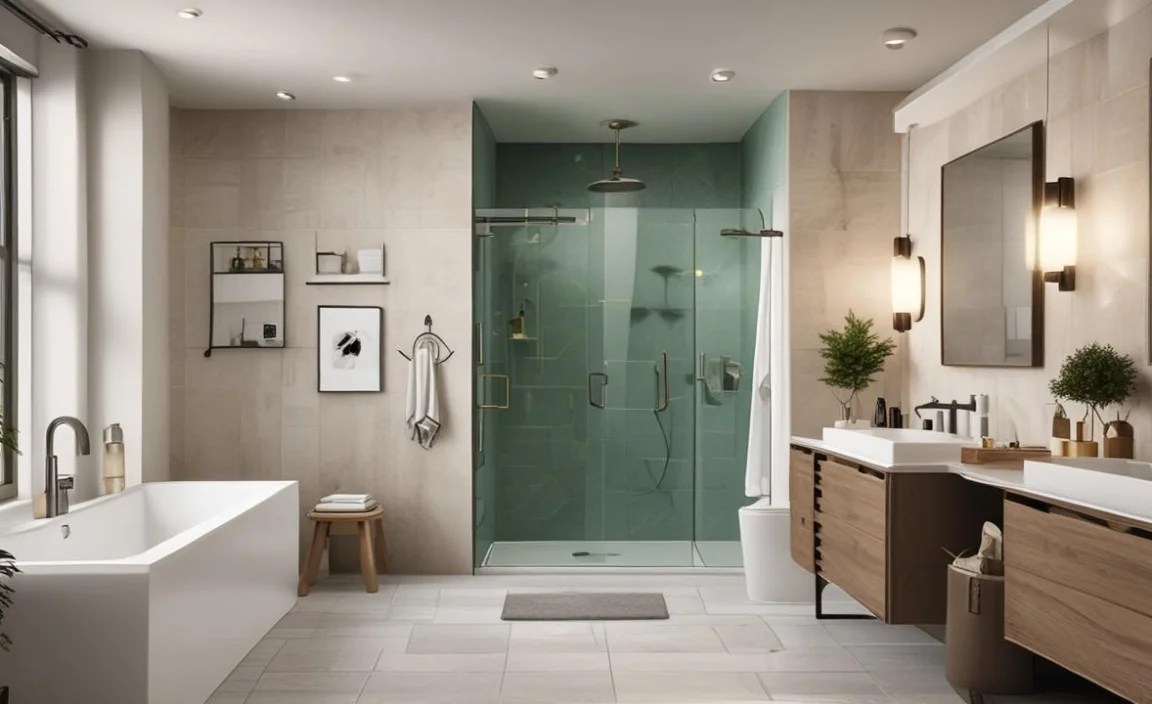
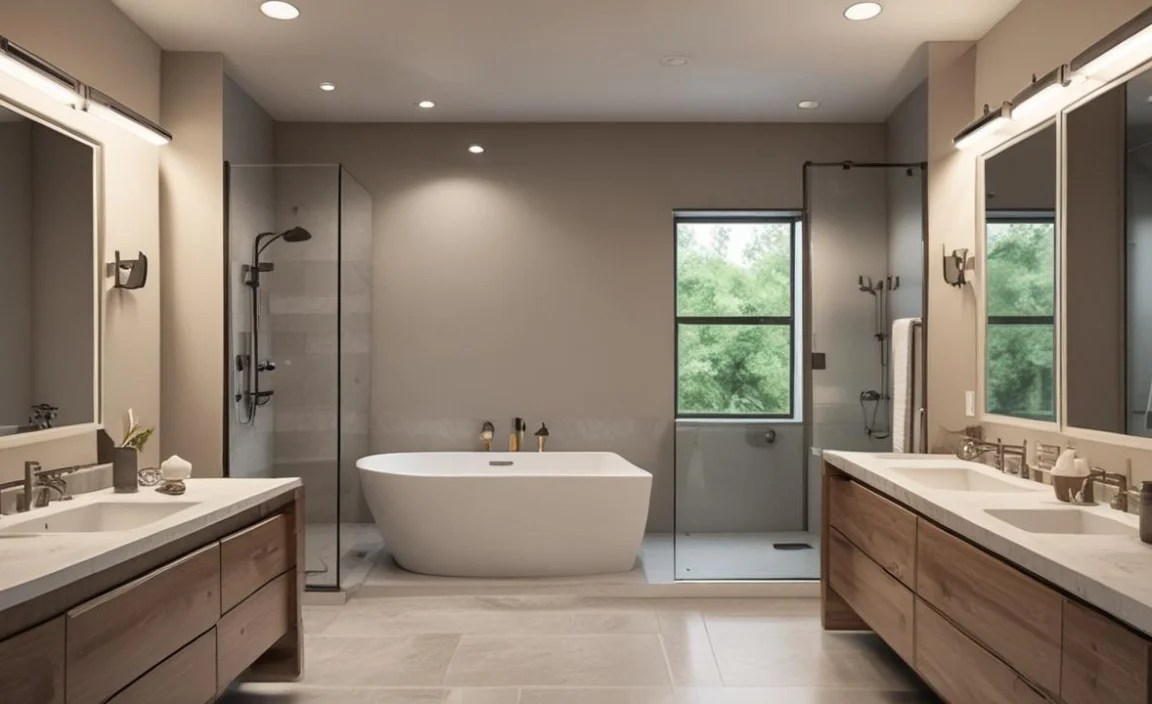
Large Bathrooms & Master Suites (Over 100 sq ft)

Large bathrooms offer the most freedom. The focus shifts to creating zones, maximizing luxury, and ensuring excellent flow.
Key Strategies:
- Dual Sinks: A double vanity is almost a must in a large master bathroom.
- Separate Tub and Shower: Often you can have a spacious, separate shower (walk-in or with a large door) and a freestanding or built-in tub.
- Creating Zones: Designate distinct areas for bathing (tub/shower), grooming (vanity), and toileting (toilet). You might even have a separate water closet for the toilet.
- Ample Storage: Incorporate ample cabinet space, shelving, and potentially a linen closet or built-in drawers.
- Seating Area: If space permits, a small bench or chair can add a touch of luxury.
- Better Lighting and HVAC: Larger bathrooms benefit from layered lighting (task, ambient, accent) and well-planned ventilation.
Example Layout for a Large Bathroom (Diagram Concept):
In an 8ft x 15ft master bathroom, a double vanity could span one of the longer walls. Opposite this, a spacious 4ft x 6ft walk-in shower could sit at one end, with a large soaking tub adjacent to it. The toilet could be placed in a separate enclosed water closet on its own wall, accessed from the main bathroom area, offering privacy. This layout provides distinct, well-appointed zones.
Specific Fixture Placement: The Devil’s in the Details
Once you have a general layout idea, focusing on the placement of individual fixtures is crucial. This is where careful planning based on your bathroom diagram prevents headaches and ensures usability.
Toilet Placement
The throne needs its space! Proper toilet placement is all about clearance and privacy.
- Clearance: As mentioned, aim for at least 15 inches from the center of the toilet to a side wall or vanity, and 30 inches of clear space in front.
- Privacy: Avoid placing the toilet directly opposite the door if possible, or consider a divider or a separate water closet.
- Plumbing: Your diagram should note existing plumbing lines. Moving a toilet can be one of the more expensive plumbing tasks, so think about whether its current location can work before planning a move.
Sink and Vanity Placement

The sink is a central point in any bathroom.
- Height: Standard vanity heights are around 30-36 inches from the floor. Measure for comfort for your household.
- Clearance: Ensure at least 24 inches of clear space in front for comfortable use.
- Counter Space: Think about how much counter space you need next to the sink for toiletries.
- Storage: Vanities offer critical storage. Plan for drawers, cabinets, or open shelving based on your needs.
Shower and Tub Placement
These are the stars of the bathing experience.
- Door Swing: Critical for small bathrooms! Ensure the shower or tub door opens fully without hitting the toilet, vanity, or another obstruction. A sliding door, pivot door, or even a curtain can solve space issues.
- Size: Standard tubs are often 60 inches long. Showers can vary from 30×30 inches (minimum) up to spacious walk-in designs.
- Accessibility: For walk-in showers, consider a curbless entry for easier access.
- Location: Placing the shower or tub near an exterior wall can sometimes make venting or plumbing easier, but this isn’t always a deciding factor.
Smart Storage Solutions within Your Layout
Even the most beautifully designed bathroom can feel cluttered without smart storage. Your bathroom diagram is the perfect place to plan for it.
Niches and Recesses
- Shower Niches: Recess shelves directly into the shower walls for shampoo, soap, and other necessities. This looks clean and keeps items within easy reach.
- Recessed Medicine Cabinets: These are mounted in the wall, offering storage without protruding into the room.
- Alcoves: If your bathroom has any natural alcoves or dead space, consider turning them into storage with shelves or cabinets.
Vertical and Over-the-Toilet Storage

- Tall, Narrow Cabinets: These utilize vertical space effectively.
- Over-the-Toilet Shelving Units: Widely available and easy to install, these can add a surprising amount of storage.
Vanity Drawer and Cabinet Organization
Don’t let your vanity become a black hole. Use drawer dividers, pull-out shelves, and containers to keep items tidy and accessible.
Material Choices that Enhance Layout and Function
The materials you choose can significantly impact how a bathroom feels and functions. Lighter materials can make a small space feel larger, while clever placement of durable surfaces can enhance usability.
Flooring
For durability and water resistance, common choices include:
- Ceramic and Porcelain Tile: Very durable, water-resistant, and available in countless designs. Porcelain is denser and less porous than ceramic.
- Natural Stone: Beautiful but can be more porous and require sealing. Marble, granite, and slate are popular options.
- Luxury Vinyl Tile (LVT): A more budget-friendly and often water-proof option that mimics the look of tile or wood.
When thinking about your diagram, consider how flooring transitions between wet and dry areas. For example, in a large walk-in shower, you might use smaller tiles with more grout lines for better grip.
Walls and Surfaces
- Tile wainscoting or full tile: Ideal for shower areas and bathrooms prone to moisture.
- Paint: Use moisture-resistant paint (satin or semi-gloss) for walls outside of direct splash zones.
- Countertops: Quartz, granite, marble, and solid surface materials are popular for their durability and aesthetic appeal.
Fixtures and Finishes
- Chrome, Brushed Nickel, Matte Black: These finishes are common for faucets, showerheads, and hardware. Choose finishes that are easy to clean and match your overall style.
- Toilets and Sinks: Available in various styles (skirted, one-piece, wall-mount) and colors. White is classic, but other options exist.
The right materials can make a layout feel more cohesive and easier to maintain.
Tools and Resources for Planning Your Bathroom Layout
You don’t need to be a pro to plan your bathroom layout effectively. Here are some tools and resources that can help:
DIY Tools for Planning
- Measuring Tape: Essential for accurate measurements of your space and fixtures.
- Graph Paper: Simple and effective for sketching out floor plans to scale.
- Pencils and Eraser: For drawing and redrawing your layout ideas.
- Level: Useful for checking if existing fixtures are plumb and level.
Digital Tools and Apps
- Online Room Planners: Many websites offer free drag-and-drop tools where you can create room layouts and place virtual furniture and fixtures. Examples include Floorplanner or RoomSketcher.
- Bathroom Design Software: Some home improvement stores offer free online design tools specifically for bathrooms.
- Pinterest and Houzz: Great for gathering inspiration and seeing how others have laid out their bathrooms, which can spark ideas for your own diagram.
Professional Resources
When in doubt, consulting a professional is wise.
- Contractors and Designers: They have the expertise to create functional and aesthetically pleasing layouts, especially for complex renovations.
- Plumbers and Electricians: Crucial for understanding the feasibility and cost of moving plumbing and electrical lines based on your diagram. Organizations like the <a href=”https://www.naph
