
Quick Summary:
An exhaust fan diagram shows how these vital home helpers work, illustrating their parts and airflow. Understanding this diagram helps you choose the right fan, spot potential issues, and appreciate their benefits (like reduced moisture and odors) and drawbacks (like noise or energy use).
Ever feel like your bathroom stays steamy after a shower, or your kitchen air lingers with cooking smells? That’s where an exhaust fan comes in! These unsung heroes quietly work to whisk away moisture and odors, keeping your home fresh and healthy. But how do they actually work? What are all those parts doing? It’s easier than you think to understand the basics of an exhaust fan diagram, and knowing this can save you headaches down the road. We’ll break it down so you feel confident about your home’s ventilation.
Getting a handle on your exhaust fan’s diagram is like having a blueprint for a cleaner, more comfortable living space. It demystifies the technology, showing you exactly what’s happening behind the cover. We’ll explore the components, explain how they connect, and discuss why this knowledge is so valuable. Stick around to learn about the pros and cons, how to interpret basic diagrams, and what to look for to ensure your fan works its best!
What is an Exhaust Fan Diagram?

An exhaust fan diagram is essentially a visual map of an exhaust fan. Think of it as a clear drawing or schematic that shows all the different parts that make up the fan, how they are connected, and the direction the air flows. For most common household exhaust fans, like those found in bathrooms or kitchens, the diagram will illustrate components such as the motor, fan blades (impeller), housing, ductwork connection, and sometimes even electrical wiring.
It’s a simplified representation, of course, but it’s incredibly useful. For someone new to home maintenance, it demystifies a piece of equipment that might otherwise seem complex. By looking at a diagram, you can quickly grasp the core function: drawing stale, moist, or smelly air from inside a room and expelling it outside your home.
These diagrams are crucial for:
- Installation: Knowing where each part goes and how it connects.
- Troubleshooting: Helping to identify what might be wrong if a fan isn’t working correctly.
- Understanding Function: Clearly seeing how air moves through the system.
- Shopping: Comparing different fan models and their features.
Many exhaust fans will come with their own specific diagram in the user manual. If you’re purchasing a new fan, this manual is your best friend. For general understanding, you can also find many schematic examples online for common types of exhaust fans.
Key Components Shown in a Diagram
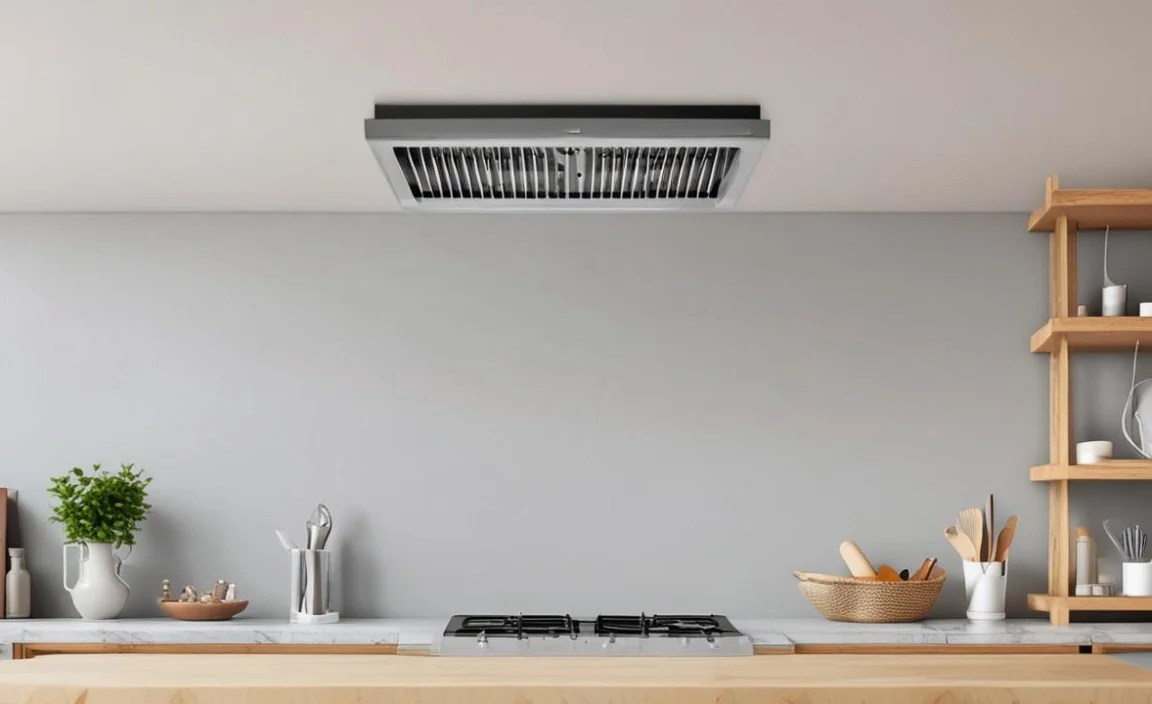
When you look at a typical exhaust fan diagram, you’ll see a few key parts that are always present and essential for its operation. Understanding what each of these does will help you appreciate the fan’s function even more.
Motor
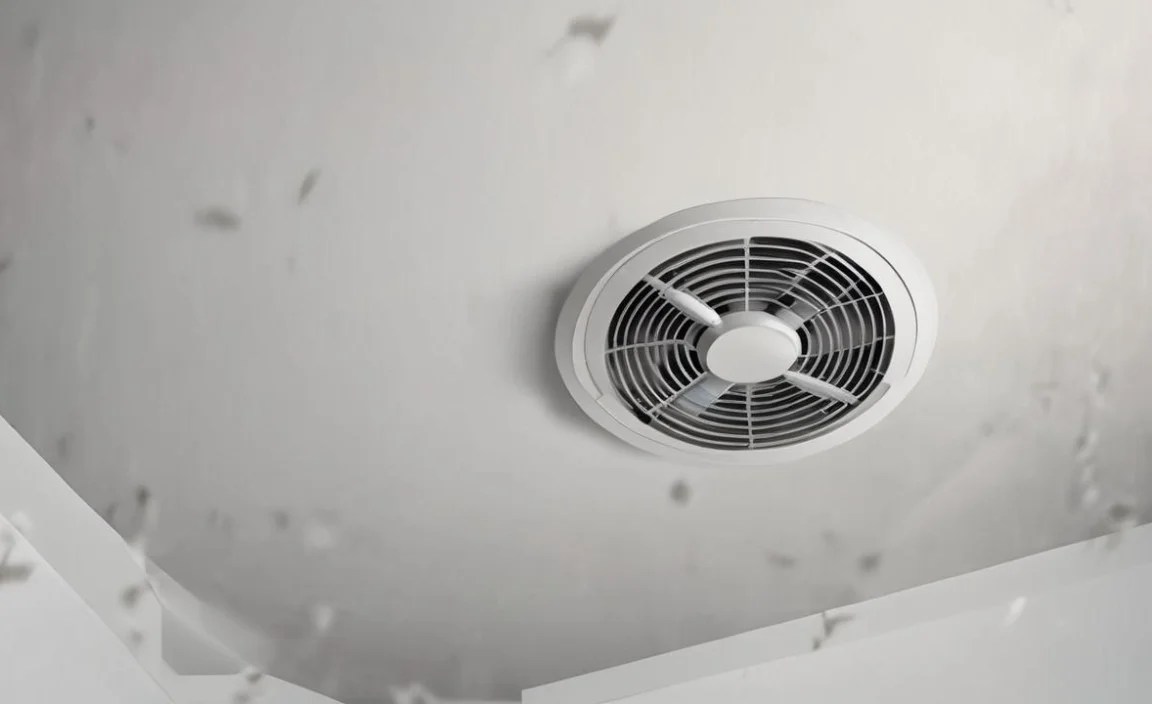
This is the heart of the exhaust fan. The motor is what provides the power to spin the fan blades. In most residential exhaust fans, you’ll find an electric motor, often a small, compact unit designed for long-term use. The diagram will show its location, usually centrally placed within the fan housing, and how it connects to the fan blades.
Fan Blades (Impeller)
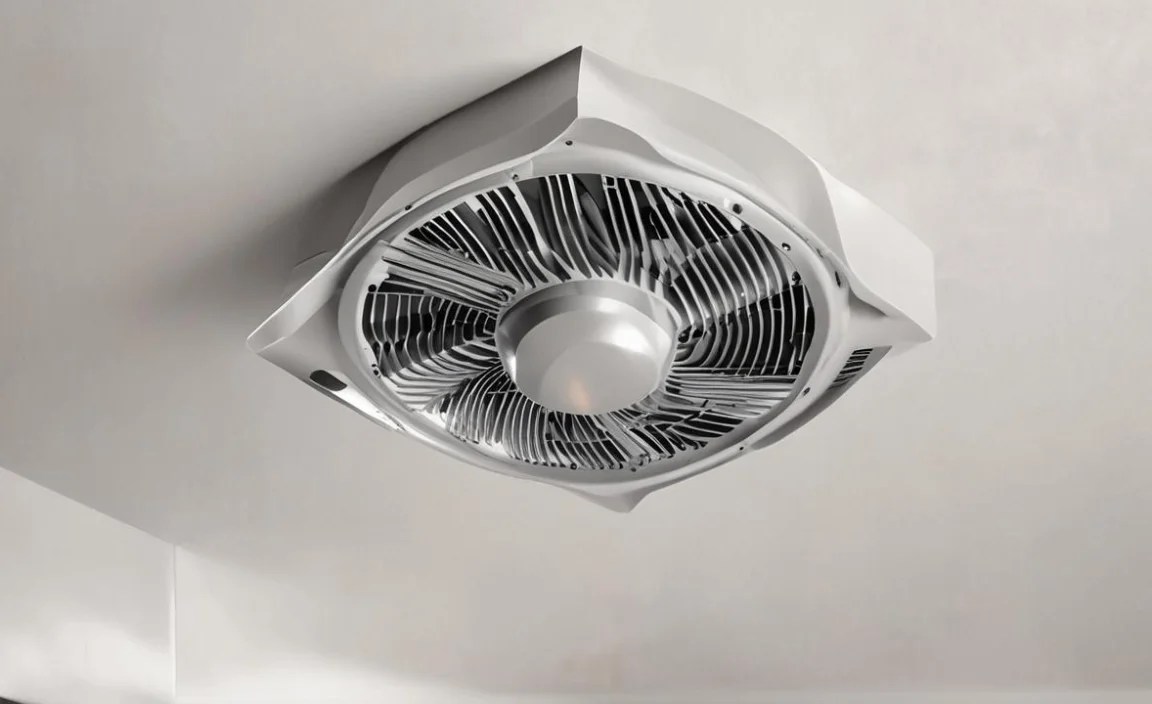
These are the spinning components that actually move the air. The motor is directly attached to the fan blades. When the motor turns, the blades spin rapidly, pushing air from one side of the fan to the other. The shape and angle of the blades are designed to create optimal airflow. The diagram clearly illustrates how these are mounted on the motor shaft.
Housing (or Blower Assembly)
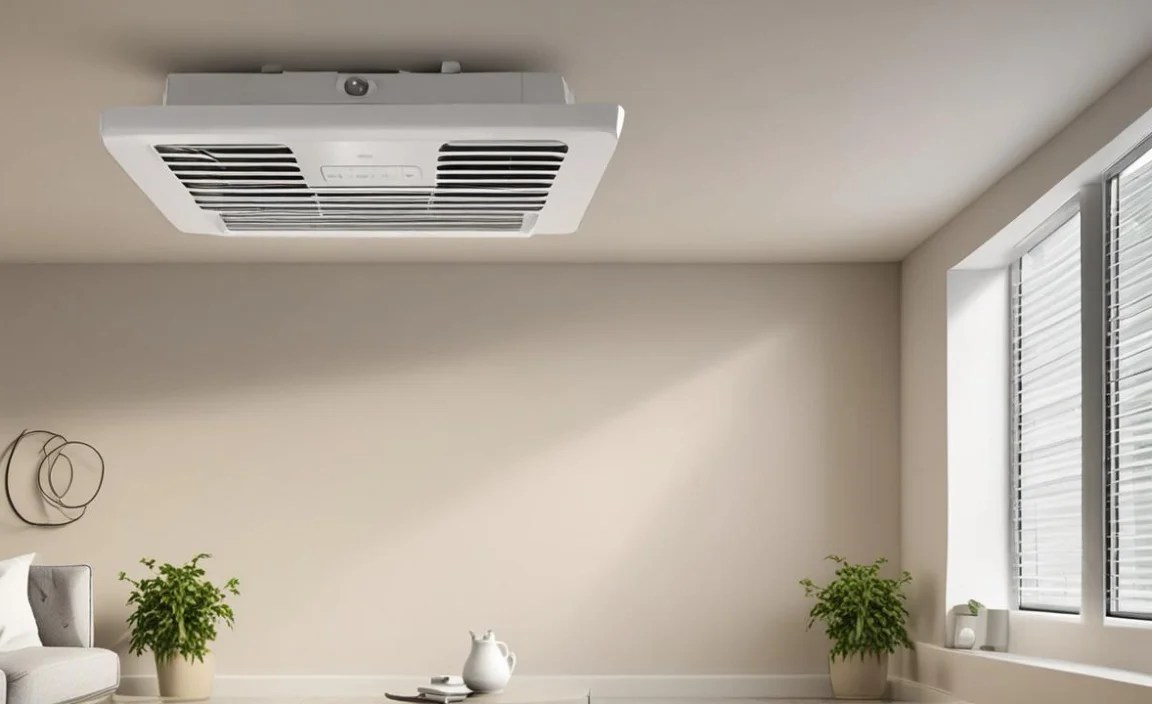
The housing is the outer shell or casing that encloses the motor and fan blades. It’s designed to direct the airflow efficiently towards the ductwork. The shape of the housing is important; it helps channel the air correctly and can also contribute to the fan’s noise level. Diagrams will show this protective and functional enclosure.
Duct Connection
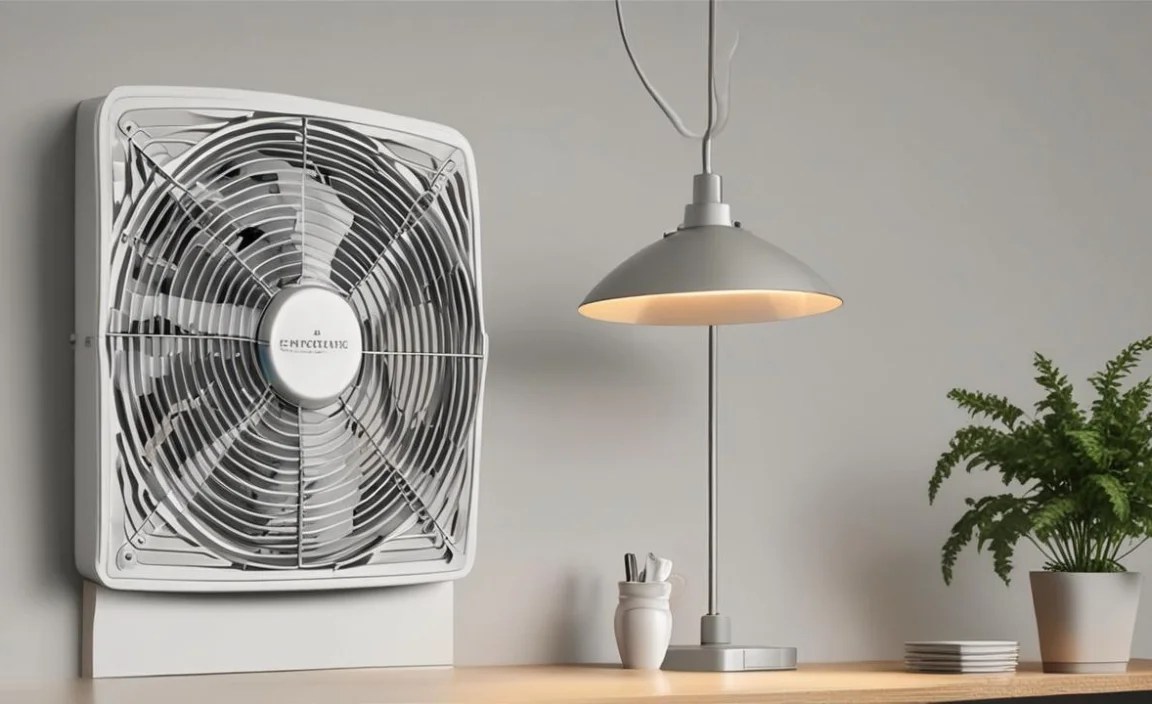
This is where the exhaust fan connects to the ductwork that carries the air outside your home. The diagram will show the port or opening on the housing where the duct attaches. Proper sealing at this connection is vital to prevent air leaks, which can reduce the fan’s efficiency and lead to other issues.
Grille or Cover
This is the part you see from inside the room. It’s the decorative cover that hides the fan mechanism. It’s designed not only for aesthetics but also to protect the fan from debris and to help diffuse the air as it enters the fan. Some grilles also incorporate lighting features, which might be indicated on a more detailed diagram.
Electrical Connections (Optional on Basic Diagrams)
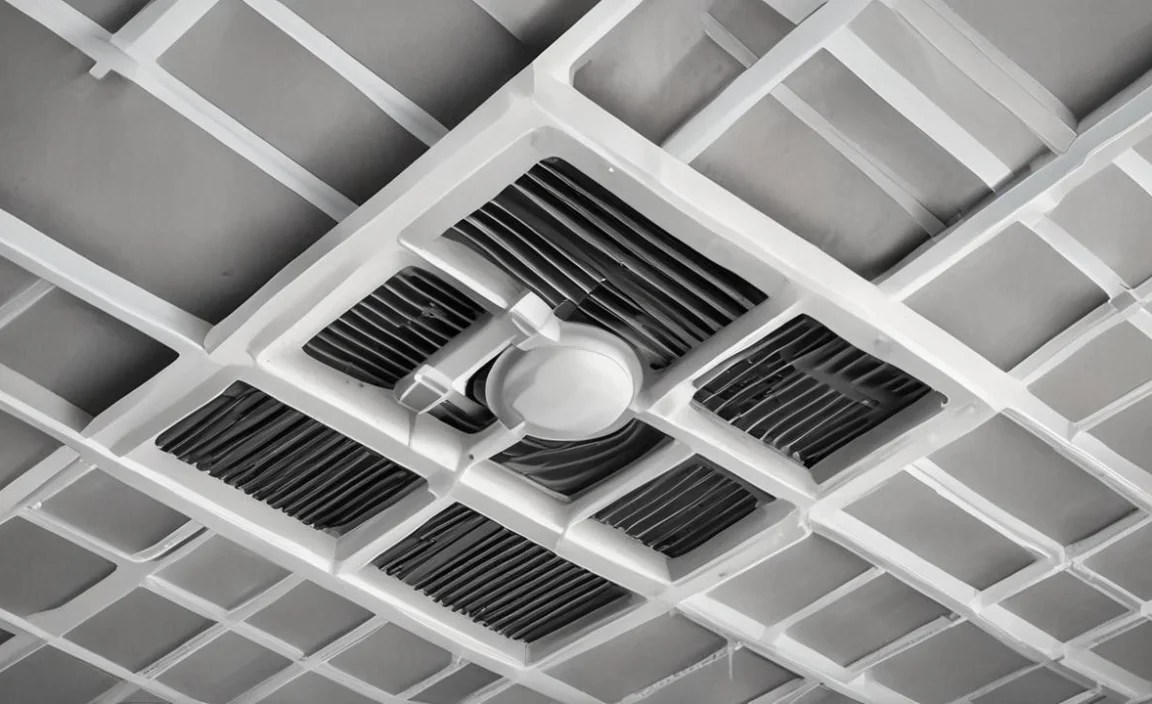
More detailed diagrams, especially those for installation or repair, will show how the fan is wired. This includes connections to the power source, switches, and any other electrical components like timers or humidity sensors. For basic understanding, you might just see a general indication of where the power enters the unit.
How Air Flows: Explained by the Diagram
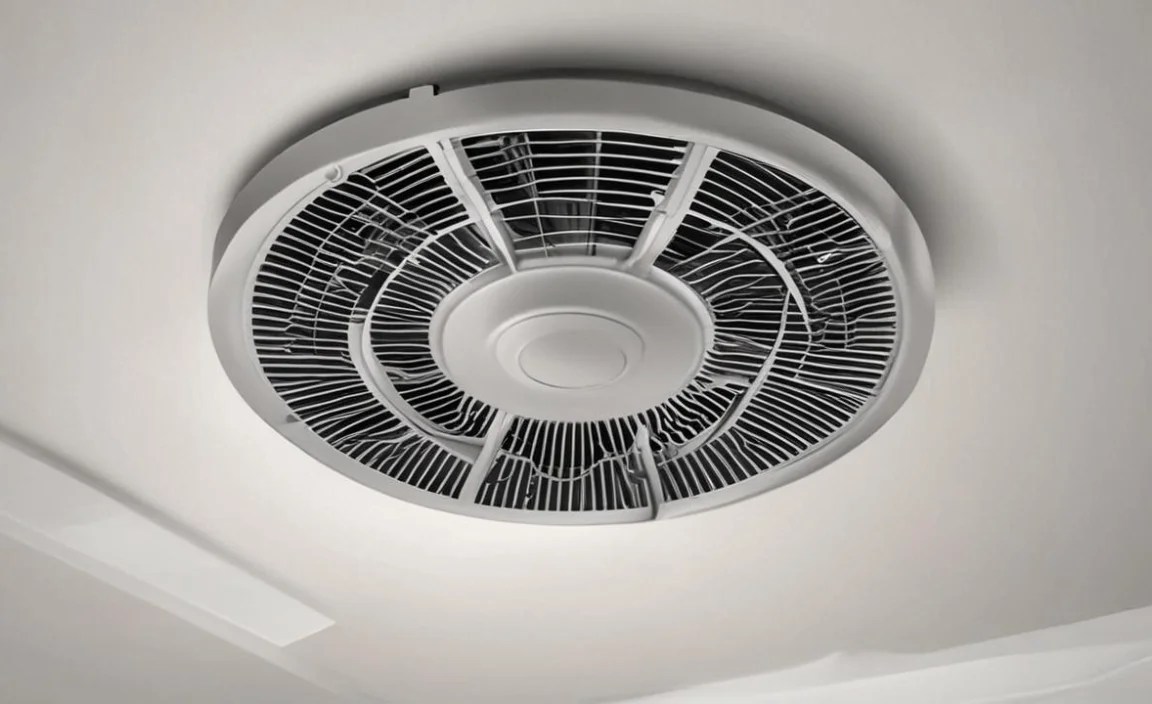
The magic of an exhaust fan lies in its ability to create a continuous flow of air. A typical diagram visualizes this process, making it incredibly easy to understand.
Here’s the typical flow:
- Air Intake: The process begins with air being drawn into the fan. This happens through the grille or cover you see on the ceiling or wall. Think of the grille not just as a cover but as the “mouth” of the fan, ready to suck in air.
- Blade Action: Once the fan is switched on, the motor spins the fan blades at high speed. This spinning action creates a low-pressure area behind the blades.
- Air Movement: Because air naturally wants to move from areas of higher pressure to areas of lower pressure, it’s pulled into the fan housing, past the spinning blades. The blades themselves then push this air forward.
- Directional Flow: The housing is shaped to direct this “pushed” air towards the duct connection. All the air that was drawn in through the grille is now being funneled into a single exit point.
- Exhaust: The air then travels through the ductwork, which is connected to the fan’s housing outlet. This ductwork leads the air away from the room and, importantly, vents it outside your home.
A good diagram will often use arrows to show the direction of airflow. You’ll see arrows pointing from the room towards the grille, then moving through the fan mechanism, and finally exiting through the duct outlet. This visual cue is incredibly helpful for confirming the fan is operating as intended.
Pros and Cons of Exhaust Fans

Like any home appliance, exhaust fans come with their own set of advantages and disadvantages. Understanding these helpful for making informed decisions about installation, use, and maintenance.
Pros of Exhaust Fans

Exhaust fans are installed for very good reasons. Their benefits can significantly improve your home’s environment and prolong the life of your building materials.
- Moisture Control: This is arguably their biggest benefit, especially in bathrooms. They effectively remove steam and humidity generated by showers and baths, preventing condensation on walls, ceilings, and windows. This significantly reduces the risk of mold and mildew growth, which can be harmful to health and damaging to your home.
- Odor Removal: In kitchens, bathrooms, or laundry rooms, exhaust fans are excellent at removing unpleasant odors. They can vent smoke, cooking smells, and bathroom odors directly outside, keeping your living spaces fresh.
- Improved Air Quality: By removing humid air and odors, exhaust fans contribute to better overall indoor air quality. This is particularly important for people with respiratory sensitivities or allergies.
- Preventing Damage: Excessive moisture can damage paint, drywall, and wood over time, leading to peeling paint, stains, and even structural issues. Exhaust fans help protect your home’s finishes and structure by keeping humidity levels in check.
- Ventilation for Appliances: Some exhaust fans are designed to vent specific appliances, like range hoods, which capture grease and smoke directly from cooking surfaces, or laundry room fans that vent lint and moisture from dryers.
- Energy Efficiency (when used properly): While they consume electricity, modern exhaust fans are generally energy-efficient. Compared to the cost of repairing moisture-related damage, they are a cost-effective solution. Many also have timers or humidity sensors, so they only run when needed, further saving energy. Check out the U.S. Department of Energy’s resources for more on home energy efficiency.
Cons of Exhaust Fans

While incredibly useful, exhaust fans aren’t without their downsides. Being aware of these potential issues can help you choose the right fan and operate it wisely.
- Noise: Some exhaust fans can be quite noisy. The sound level is often measured in sones, and lower sone ratings indicate quieter operation. A loud fan can be disruptive, especially in bedrooms or living areas if they are ducted nearby.
- Energy Consumption: Although generally efficient, exhaust fans do use electricity. If left running continuously or if they are older, less efficient models, they can contribute to your energy bill.
- Warm/Cooled Air Loss: When an exhaust fan runs, it’s pulling conditioned (heated or cooled) air out of your home and expelling it. In very cold or very hot weather, this can lead to a slight increase in heating or cooling costs if not managed properly. This is especially true if the fan is undersized for the space and runs for a prolonged period.
- Installation Complexity: While basic installation might seem straightforward, proper ductwork routing and sealing are crucial. Incorrect installation can lead to poor performance, air leaks, and even fire hazards if near heat sources. This might require professional help.
- Maintenance Requirements: Like any mechanical device, exhaust fans need occasional cleaning. Grilles can accumulate dust, and fan blades can get dirty, reducing efficiency. The ductwork also needs to be clear.
- Potential for Backdrafting: If the fan is powerful and the home is tightly sealed, it can create negative pressure, potentially pulling combustion gases from furnaces or water heaters back into living spaces. This is a serious safety concern and is why proper makeup air solutions are sometimes needed or why fans in utility rooms might be designed differently.
- Cost: Beyond the initial purchase price, installation costs (if hiring a professional) and potential repairs can add to the overall expense.
Exhaust Fan Diagram Comparison Table
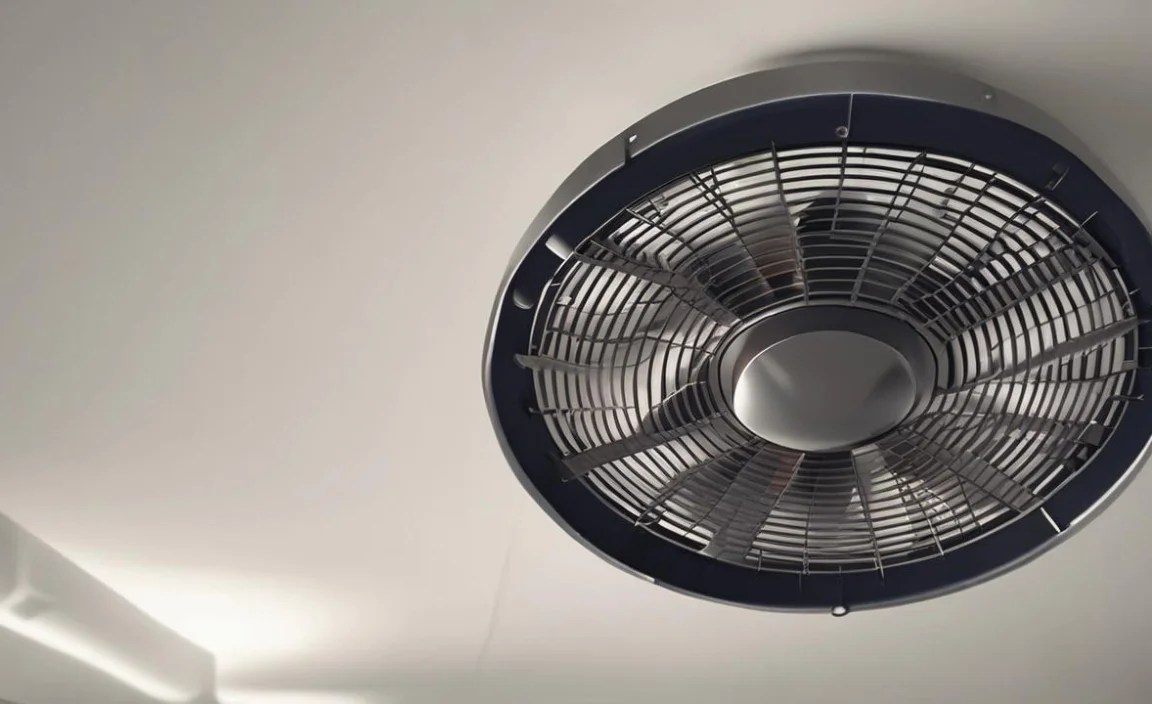
Different types of exhaust fans have slight variations in their diagrams and how they function. Here’s a look at some common types:
| Fan Type | Diagram Focus | Primary Function | Common Pros | Common Cons |
|---|---|---|---|---|
| Bathroom Fan | Moisture and odor removal from a single room. Diagram shows airflow from room to duct. | Ventilates bathrooms to reduce humidity and remove odors. | Prevents mold/mildew, clears steam. | Can be noisy, saps conditioned air. |
| Kitchen Range Hood | Capturing grease, smoke, and odors directly above cooking surfaces. Diagram emphasizes direct capture. | Clears cooking fumes, grease particles, and steam. | Improves kitchen air quality, protects cabinets from grease. | Can be noisy, requires regular filter cleaning, requires power/venting. |
| Whole House Fan | Drawing air from multiple rooms in the house and venting it through the attic. Diagram shows large intake area and attic venting. | Circulates and exhausts air from the entire house, typically in warmer months for cooling. | Quickly ventilates entire home, can reduce AC usage. | Very noisy, large energy draw, requires significant attic space and proper venting. |
| Inline Fan | Remote motor and fan unit, often in attic or crawl space, connected via ductwork to multiple vents. Diagram shows remote motor connected to ducts. | Centralized ventilation for multiple rooms or specific zone control. Often used for quiet operation relative to the room. | Quiet operation in living spaces, versatile placement. | More complex installation, potential for duct leaks, motor maintenance is harder to access. |
Understanding Airflow Schematics
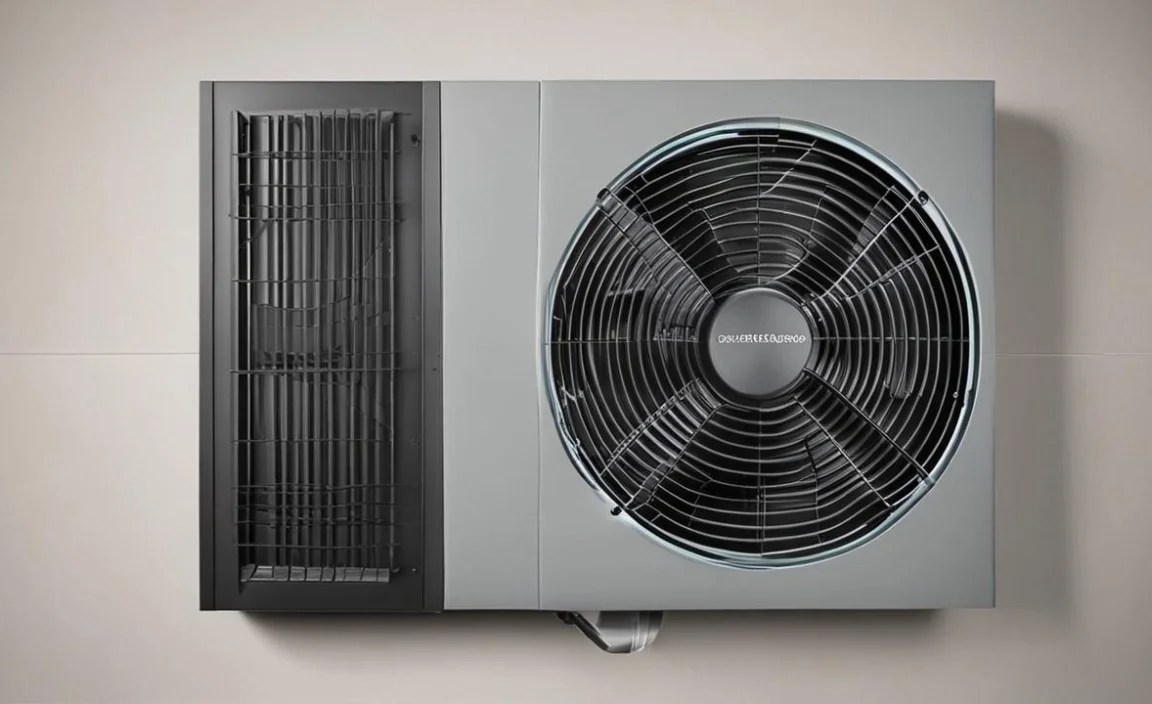
When you’re looking at an exhaust fan diagram, especially one that shows airflow, pay attention to the arrows. These arrows are your guide to understanding how the fan works and where the air is going.
Key things to look for:
- Intake Arrows: These will typically originate from the room side, pointing towards the fan’s opening (the grille). They show where the fan is drawing air from.
- Internal Flow Arrows: Inside the fan housing, these arrows show air movement from the intake, through the fan blades, and towards the outlet.
- Outlet Arrows: These point away from the fan housing and towards the ductwork connection. They indicate the direction the air is being pushed out of the fan.
- Ductwork Arrows: Within the depicted ductwork, these arrows show the continued path of the exhausted air leading outside the home.
A well-drawn schematic will clearly illustrate these points, helping you confirm that the fan is designed to move air in the correct direction – out of your living space and to the outdoors. If the arrows suggested air was being blown into the room or around inside the fan housing without an exit, you’d know there was a serious design flaw or a misunderstanding of the diagram.
For more complex systems, like kitchen hoods, the diagram might also indicate grease filters or baffle systems designed to capture particles before the air reaches the fan motor and is expelled. Understanding these elements helps you appreciate the fan’s full functionality.
Safety and Maintenance Tips
Working with any electrical appliance requires caution. Your exhaust fan is no different. Following these safety and maintenance tips will ensure it runs efficiently and safely for years to come.
Safety First
- Always turn off power: Before cleaning, inspecting, or attempting any repairs, locate the circuit breaker for the exhaust fan and switch it OFF. Double-check that the fan does not turn on when you flip the wall switch.
- Professional help for wiring: If you’re unsure about electrical connections or your fan’s wiring diagram, hire a qualified electrician. Incorrect wiring can be a fire hazard. You can find licensed professionals through resources like the North American Technician Excellence (NATE) certification program.
- Check for obstructions: Ensure there are no foreign objects that could have fallen into the fan blades.
- Proper ducting: Make sure the ductwork is properly installed, sealed, and terminates outside your home. Never vent into an attic or wall cavity.
- Combustion appliances: If you have gas appliances (furnace, water heater, fireplace) in or near the area where your exhaust fan operates, ensure there’s adequate makeup air to prevent backdrafting. Your local building codes should provide guidance on this.
Maintenance Makes It Last
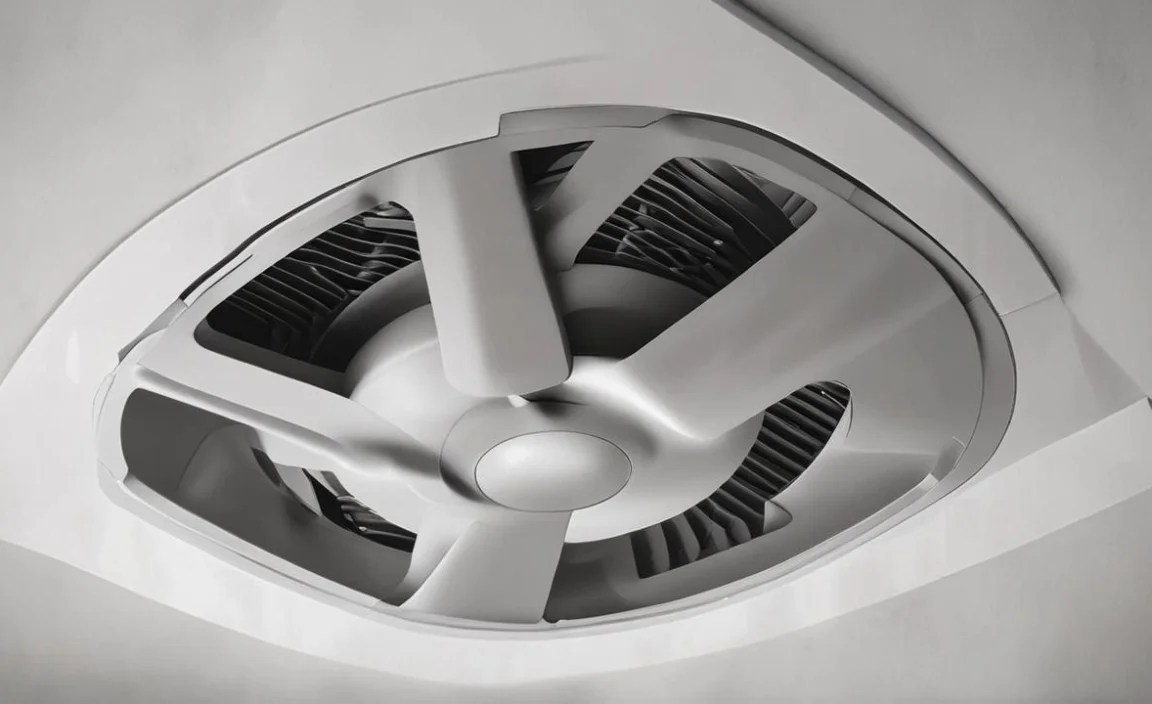
- Clean the Grille: This is usually the easiest part. Remove the grille (refer to your fan’s manual for how to do this safely – some just snap off, others have screws) and wash it with warm, soapy water. Dry it thoroughly before reattaching. Do this every 3-6 months, or more often if you notice dust build-up.
- Clean the Fan Blades and Housing: With the power off, carefully wipe down the fan blades and the inside of the housing with a damp cloth. A mild cleaner might be necessary for stubborn grease on kitchen fans. Be careful not to get moisture into the motor.
- Check Ductwork: Periodically check the ductwork connection to the fan for loose connections or leaks. If you suspect blockages in the ducting, you might need to access the ductwork directly (often through the attic or by removing the fan housing) to clear it. A clogged duct significantly reduces fan efficiency and can be a
