
The Mirror Explained: Your Beginner’s Guide to Understanding and Using Mirrors Safely and Effectively. Get clear, simple explanations on mirror types, care, and installation to confidently enhance your home.
Ever looked in the mirror and wondered about the science behind it, or perhaps how to clean a specialty mirror without leaving streaks? Mirrors are more than just pieces of glass reflecting your image; they’re fascinating tools that can enhance your home’s aesthetic and functionality. Understanding them, from their basic construction to proper care, is surprisingly simple and incredibly rewarding. Whether you’re hanging a new vanity mirror or just curious about maintaining the ones you have, this guide is here to make it easy. We’ll break down everything you need to know, step by step, so you can feel confident about your mirrors.
What Exactly Is a Mirror? The Basics Explained
At its heart, a mirror is a surface that reflects light in a way that preserves much of its original quality from physical optics, allowing you to see a clear image of what’s in front of it. It’s all about how light bounces off!
How Mirrors Work: The Science Made Simple
The magic of a mirror lies in its reflective coating. Imagine light as tiny bouncing balls. When these light balls hit a smooth, flat surface like the back of a mirror, they bounce off predictably. This predictable bouncing is what creates an image.
Reflection: When light rays strike the mirror’s surface, they bounce back at the same angle they hit. This is known as the law of reflection.
Smooth Surface: For a clear image, the surface needs to be incredibly smooth. Even tiny bumps would scatter the light, creating a distorted reflection.
The Coating: The key ingredient is the reflective coating. Typically, this is a thin layer of metal, like silver or aluminum, applied to the back of a glass pane. This metal layer is what actually bounces the light back.
The Glass: The glass front protects this delicate metal coating from scratches and oxidation, ensuring your mirror stays clear and functional for years.
Common Materials Used in Mirrors
While glass is the most common material, the reflective layer is crucial.
Glass: Forms the base, providing a smooth, rigid surface.
Reflective Metal: Usually aluminum or silver, applied as a thin coating. Silver is more reflective but more expensive and less durable, so aluminum is common for everyday mirrors.
Protective Coating: A chemical layer (like copper or paint) is often applied over the metal to prevent it from oxidizing (tarnishing) and to add another layer of protection.
Different Types of Mirrors for Your Home

Mirrors come in all shapes and sizes, and knowing the different types can help you choose the perfect one for your needs.
Household Mirrors: Everyday Reflectors
These are the mirrors you see in bathrooms, bedrooms, and hallways. They are designed for practicality and aesthetics.
Wall Mirrors: Found in various sizes, these are hung on walls to check outfits, add light, or create an illusion of more space.
Vanity Mirrors: Often found above sinks in bathrooms, typically used for grooming. They can be simple or come with lighting.
Full-Length Mirrors: Ideal for seeing your entire outfit, commonly placed in bedrooms or dressing areas.
Decorative Mirrors: Designed more for their aesthetic appeal, often featuring ornate frames or unique shapes to complement your decor.
Specialty Mirrors: Beyond Simple Reflection
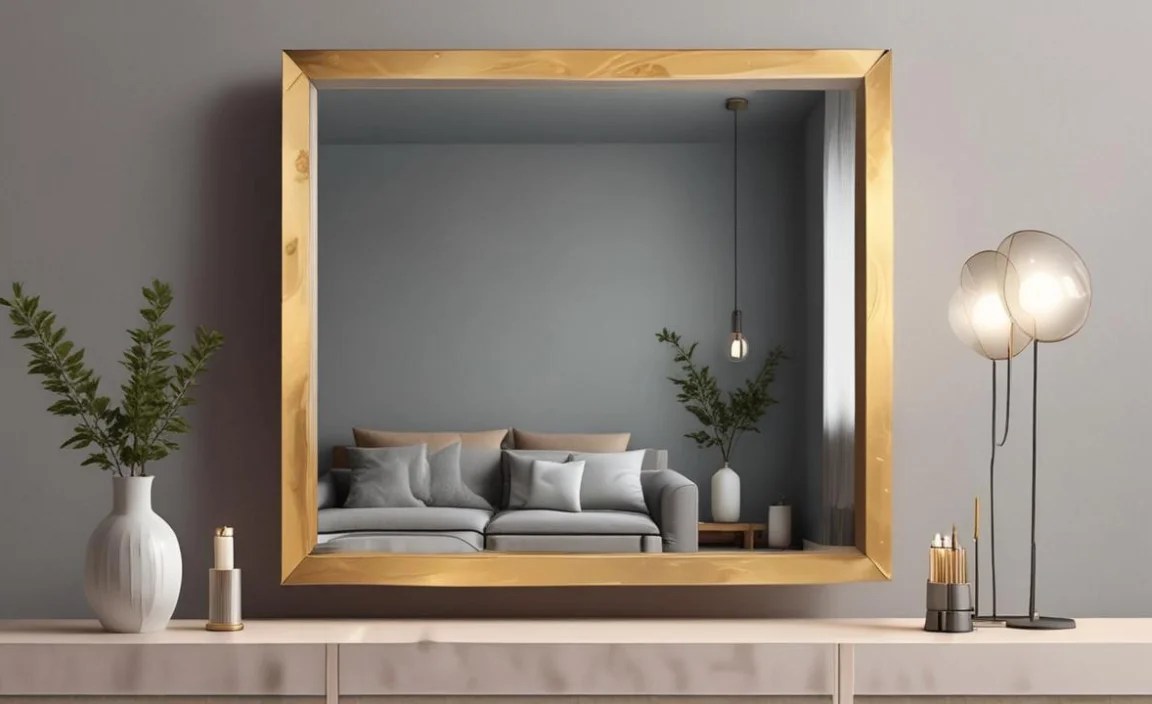
Some mirrors have specific functions beyond just showing your reflection.
Two-Way Mirrors (or One-Way Mirrors): These appear to be regular mirrors from one side but allow you to see through them from the other side, provided the lighting is right. They are used in security settings, observation rooms, and some stage effects. A two-way mirror is essentially half-silvered, meaning it reflects half the light and transmits the other half. The “one-way” effect works because there’s a significant difference in light intensity between the two sides. The observation side must be much darker than the mirrored side.
Magnifying Mirrors: These have a curved reflective surface that enlarges the image. They are common in bathrooms for detailed tasks like makeup application or shaving.
Safety Mirrors: Made from materials like acrylic or polished stainless steel, these are shatterproof and safer for public areas or high-traffic zones where glass mirrors could be a hazard. You can learn more about safety glass standards from organizations like the National Institute of Standards and Technology (NIST), which sets standards for materials and products.
How to Safely Hang and Install Mirrors
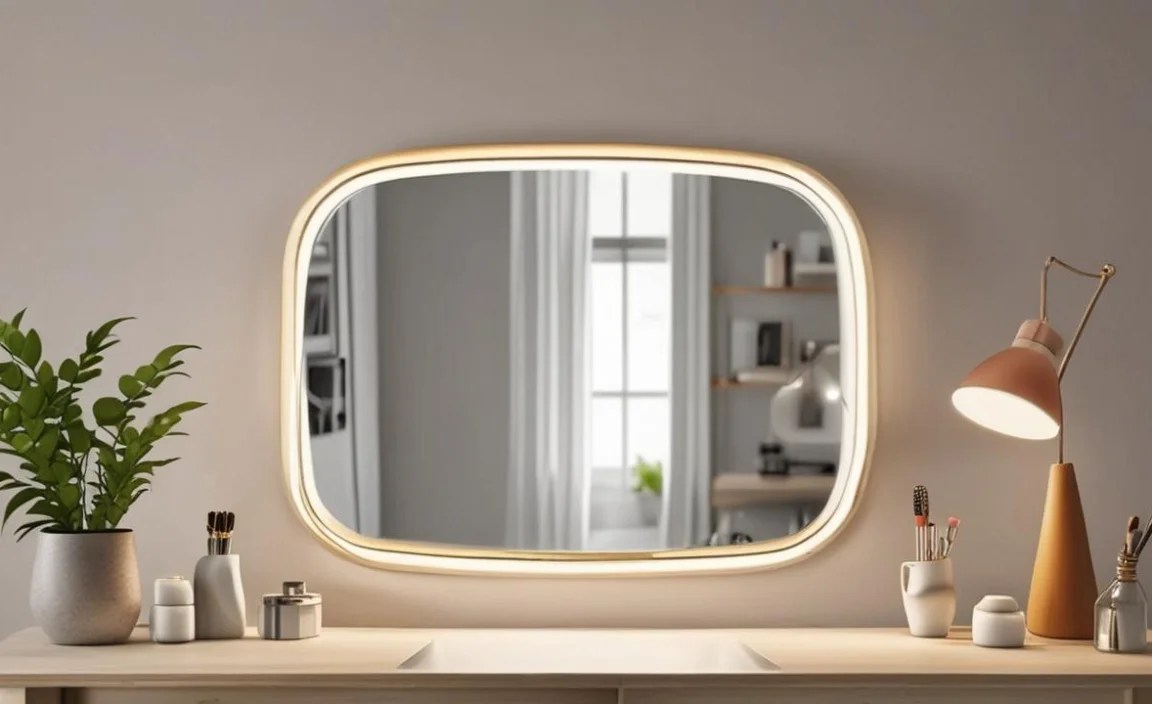
Hanging a mirror seems straightforward, but doing it safely and securely is crucial. A falling mirror can cause injury and damage.
Gathering Your Tools and Supplies
Before you start, make sure you have everything you need. Safety first!
Measuring Tape: To determine the right placement.
Level: To ensure your mirror hangs straight.
Pencil: To mark placement.
Stud Finder: Essential for locating wall studs for secure mounting.
Drill and Drill Bits: To create pilot holes.
Screwdriver: For screws.
Hanging Hardware: This is critical. It should be appropriate for the mirror’s weight and type. Common types include:
D-rings and Wire: For mirrors with D-rings on the back.
French Cleat: A strong, secure system for heavier mirrors.
Mirror Clips: Often used for frameless mirrors.
Picture Hanging Hooks: For lighter mirrors.
Wall Anchors: If you can’t hit a stud, anchors provide support for lighter mirrors in drywall.
Step-by-Step Mirror Hanging Guide
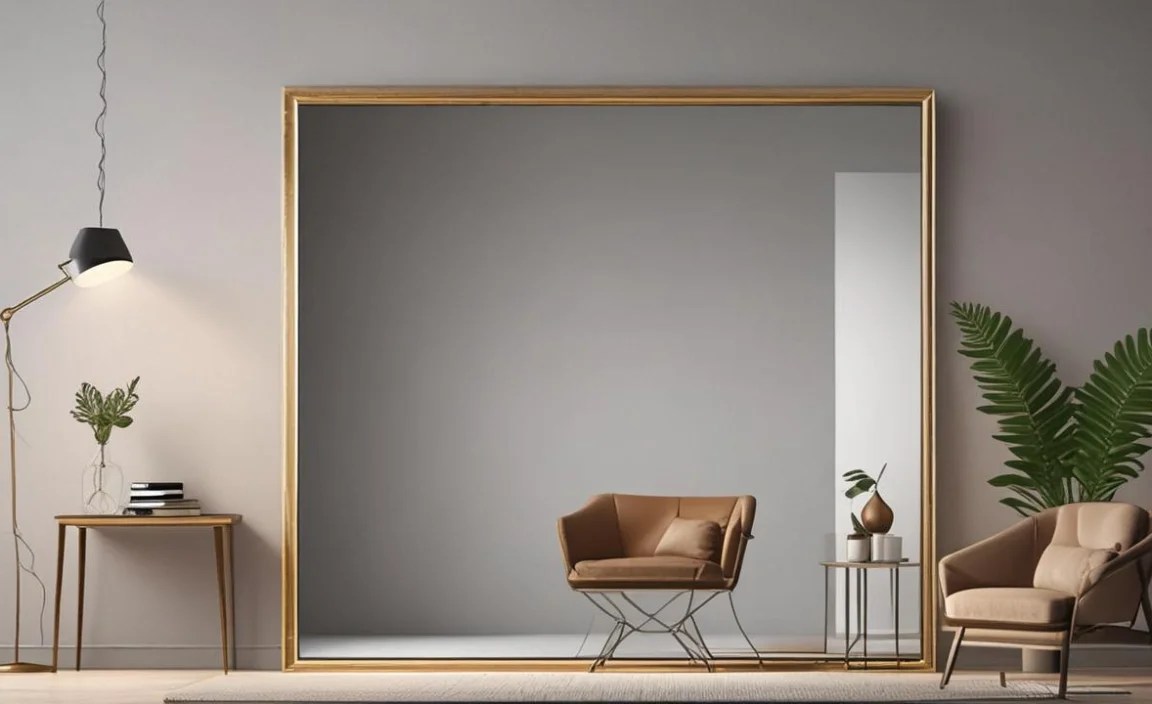
Always check the weight of your mirror and use hardware rated for at least double that weight for extra security.
1. Choose the Location: Decide where you want to hang the mirror. Consider how it will reflect light and the space it will occupy.
2. Measure and Mark: Hold the mirror (or its template) against the wall at your chosen height. Use a level to ensure it’s even. Lightly mark the top center of where you want the mirror to hang with a pencil.
3. Locate Studs: Use a stud finder to locate wall studs behind the drywall in the area where you’ll be hanging the mirror. Mark the center of the studs. Mounting to studs is the most secure method.
4. Determine Hanging Points: Measure the distance between the D-rings or hanging points on the back of your mirror. Transfer this measurement to the wall, marking the spots where your screws or hooks will go. Ensure these marks align with your stud locations if possible.
5. Install Hardware:
Into Studs: Drill pilot holes smaller than your screws into the studs. Screw in your mounting hardware (heavy-duty picture hooks, screws for a French cleat, etc.) directly into the studs. Make sure they are securely fastened and level.
Into Drywall (for lighter mirrors only): If studs aren’t available, use appropriate drywall anchors. Drill holes for the anchors, insert them, and then screw your hardware into the anchors. Always check the weight rating on anchors.
6. Hang the Mirror: Carefully lift the mirror and align its hanging mechanism with the installed hardware. Gently lower it into place.
7. Check Stability: Once hung, gently press on the mirror and try to wiggle it slightly to ensure it is firmly attached and stable. Use your level again to confirm it’s straight.
For heavy mirrors, consider using a French cleat system. It distributes weight evenly and is very secure. You can find excellent guides on how to install French cleats from reputable DIY sites.
Caring for Your Mirrors: Cleaning and Maintenance
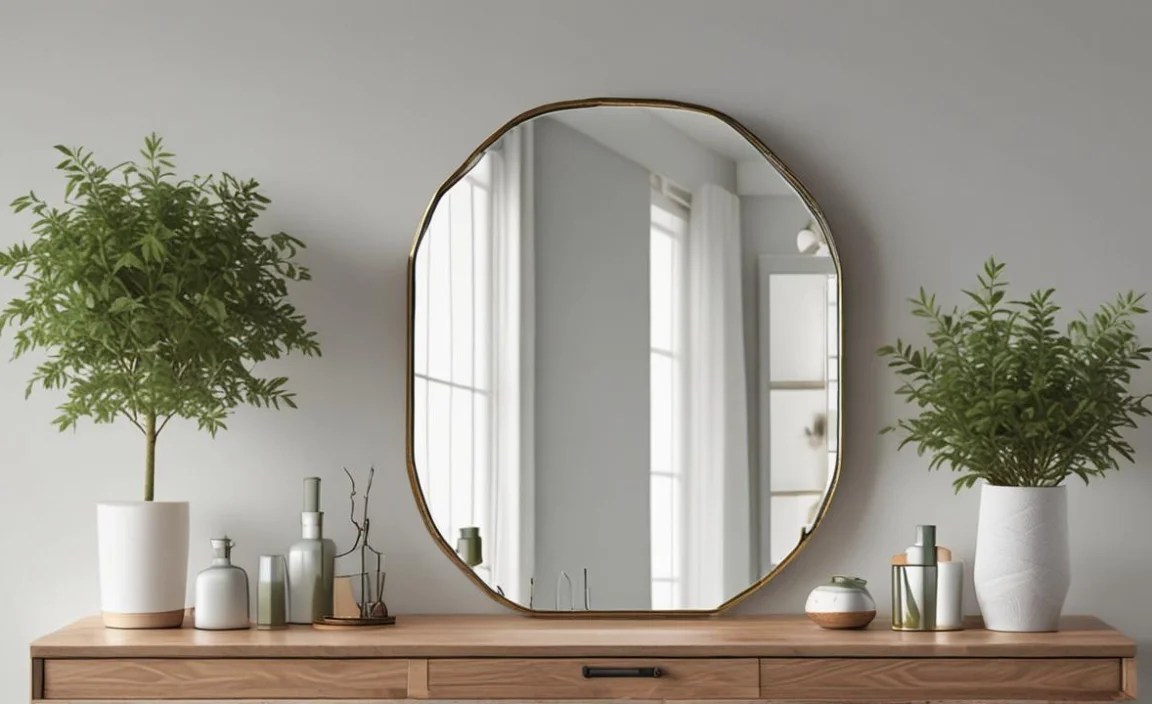
Keeping your mirrors clean enhances their reflective quality and the overall look of your home.
Everyday Cleaning: Keeping it Sparkly
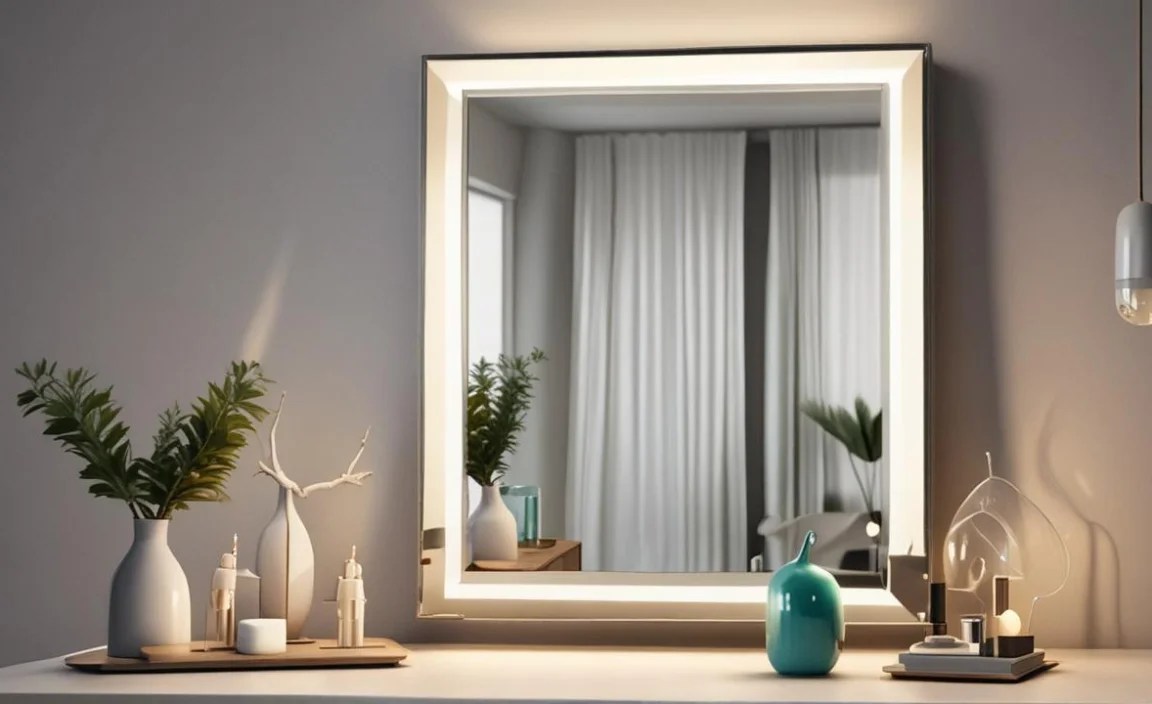
For a quick clean, a microfiber cloth and a little water can often do the trick.
Dusting: Gently dust the mirror surface regularly with a dry, soft microfiber cloth to prevent dust buildup.
Deep Cleaning: Tackling Smudges and Streaks
When more thorough cleaning is needed, a dedicated glass cleaner or a simple homemade solution works best.
What You’ll Need:
Two clean microfiber cloths.
Glass cleaner (store-bought or homemade) or a mixture of equal parts white vinegar and water.
Spray bottle (if using homemade cleaner).
The Best Cleaning Method:
1. Spray Sparingly: Lightly spray the glass cleaner onto one of the microfiber cloths, not directly onto the mirror. Spraying the cloth prevents drips from running down the back of the mirror and potentially damaging the reflective coating over time.
2. Wipe in One Direction: Gently wipe the mirror in an “S” pattern or straight strokes, starting from the top and working your way down.
3. Buff Dry: Immediately use the second, dry microfiber cloth to buff the mirror dry. This is the key to a streak-free finish. Again, use consistent strokes.
4. Clean the Frame: Don’t forget to wipe down the frame with the appropriate cleaner for its material (wood, metal, etc.).
Protecting Your Mirror’s Reflective Surface
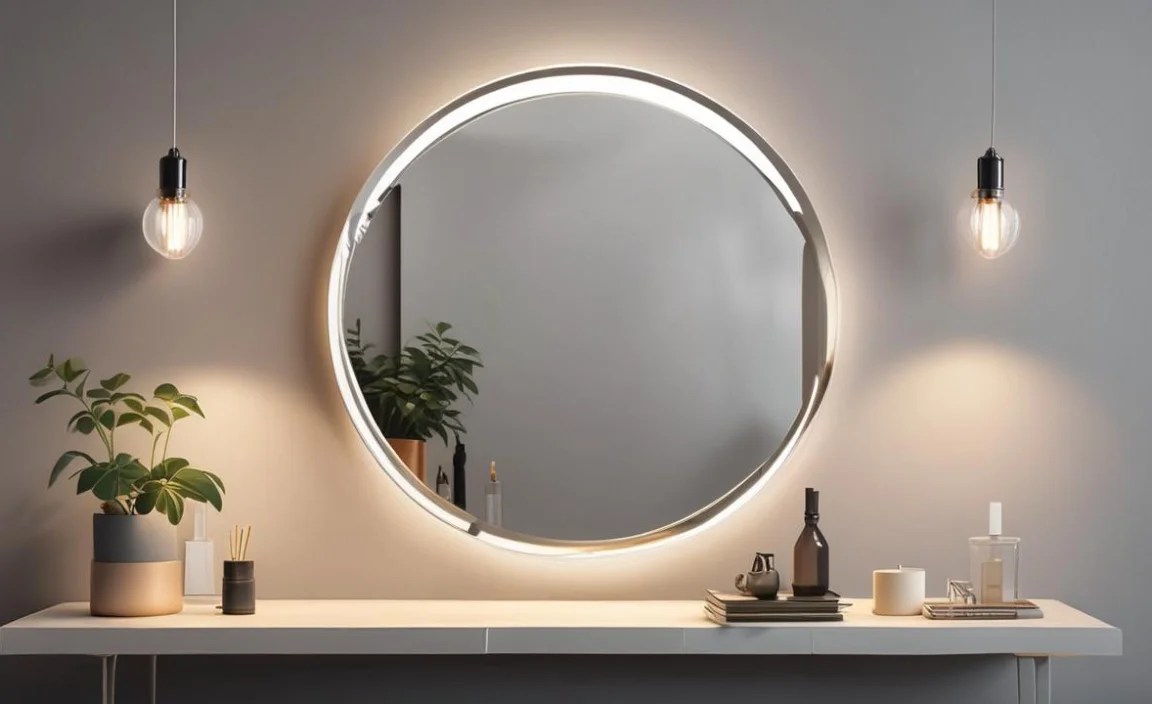
The most vulnerable part of a mirror is its reflective coating.
Avoid Harsh Chemicals: Never use abrasive cleaners, scouring pads, or ammonia-based cleaners directly on the reflective backing, as these can damage the metallic layer and cause black spots or cloudiness.
Wipe Up Spills Quickly: If liquids spill onto the edges of a mirror, wipe them up immediately with a dry cloth. Moisture can seep behind the glass and corrode the coating.
Handle with Care: When moving or cleaning behind mirrors, be gentle to avoid scratching the front surface or dislodging the frame.
Understanding Mirror Defects and How to Address Them
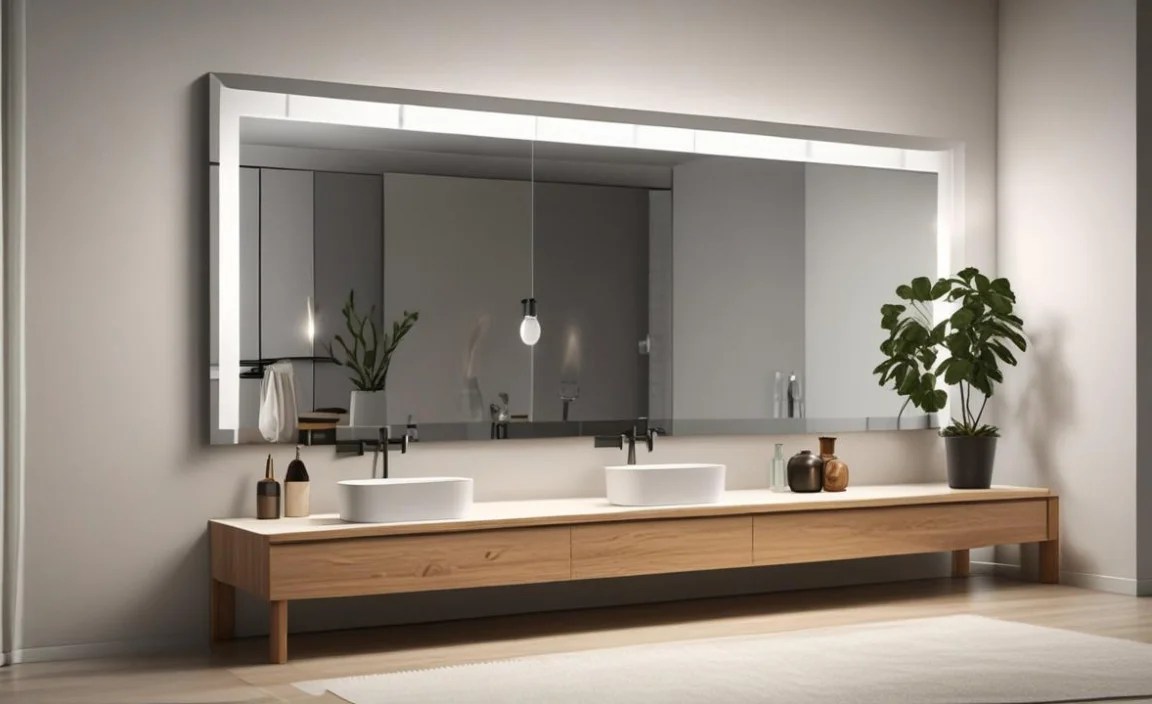
Sometimes, mirrors develop issues. Knowing what they are and if they can be fixed is helpful.
Common Mirror Problems
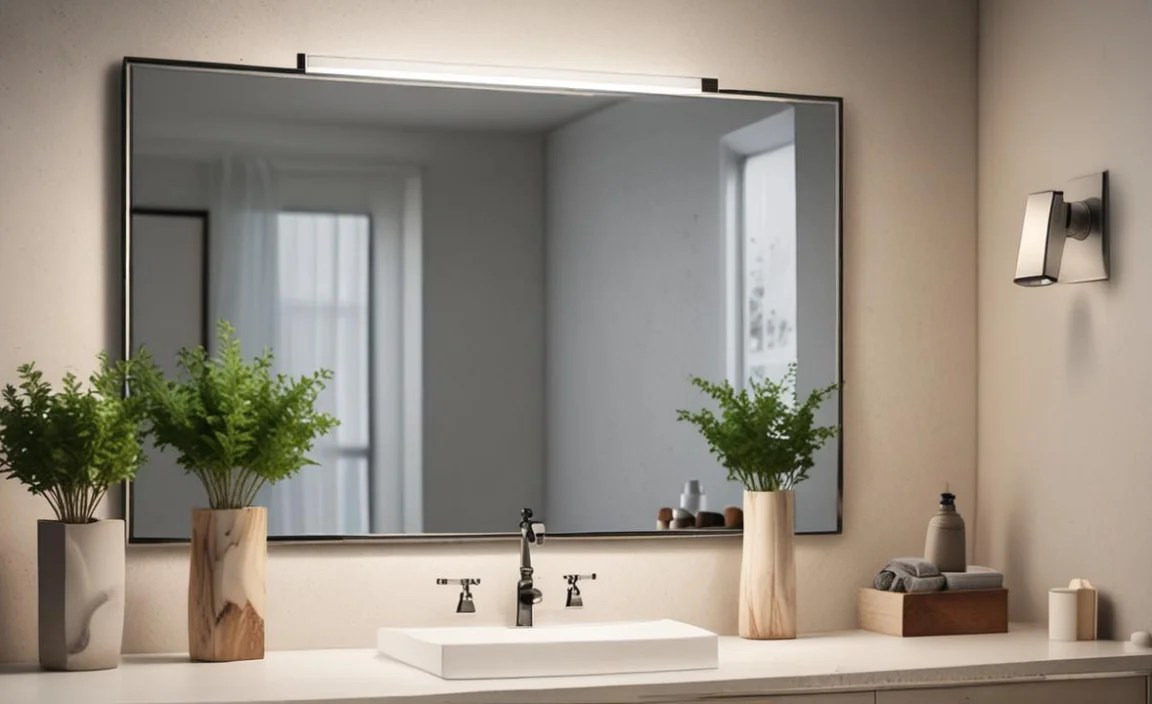
Black Spots (Corrosion): This is usually caused by moisture or chemicals getting behind the mirror and corroding the reflective coating. Unfortunately, black spots are generally irreversible and mean the mirror needs to be replaced.
Scratches: Light scratches can sometimes be buffed out with specialized mirror scratch removers or a very fine polishing compound, but deep scratches are usually permanent. For minor surface scuffs on the glass itself, a light polish might help.
Cloudiness: This can be due to film buildup from cleaning products or the protective layer degrading. Thorough cleaning, as described above, often resolves this. If it’s the reflective layer itself clouding, replacement is likely needed.
Fogging: Bathroom mirrors often fog up due to steam. Some mirrors come with built-in heating elements to prevent this, or you can use anti-fog sprays or treatments.
When to Replace a Mirror
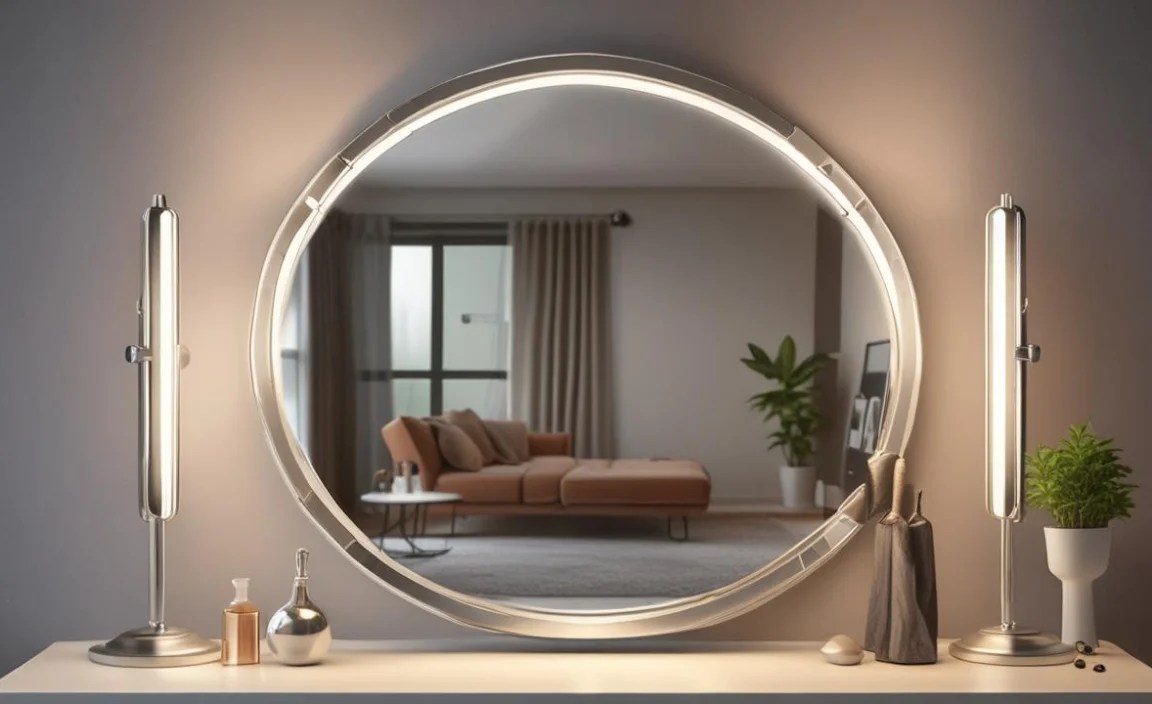
If your mirror has widespread black spots, deep scratches, or significant deterioration of the reflective coating, it’s often more economical and practical to replace the entire mirror. For minor issues, careful cleaning and maintenance are usually sufficient.
Mirror Placement Tips for a Better Home
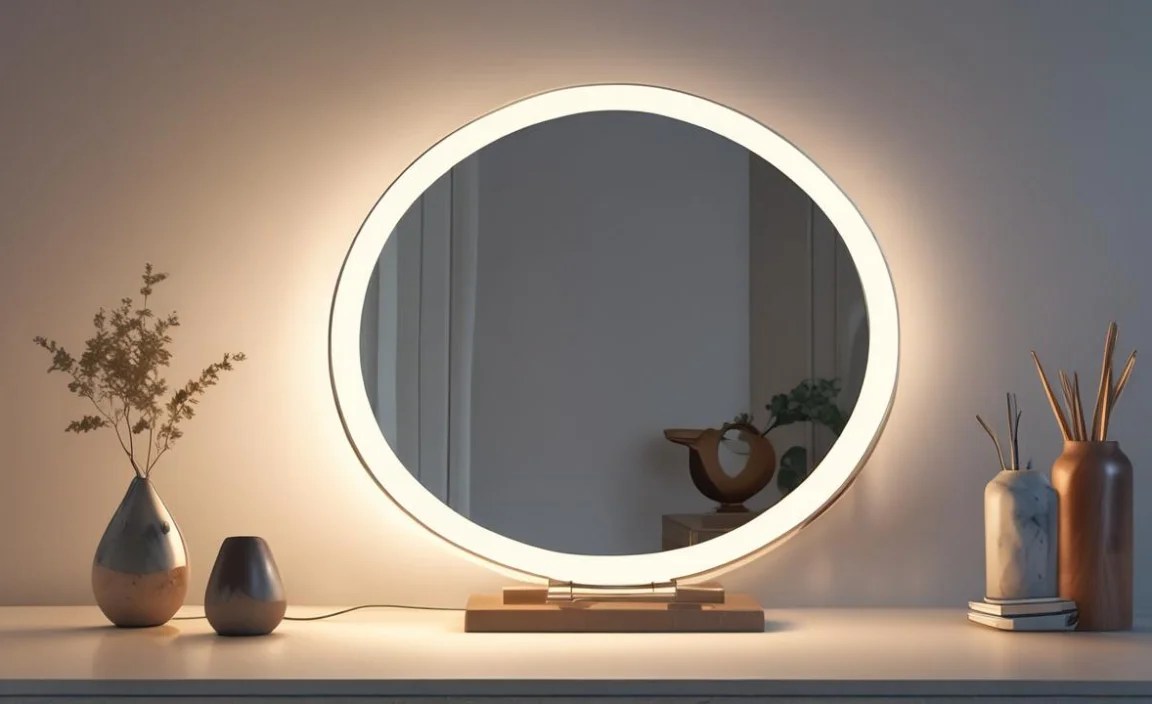
Mirrors are decor powerhouses! Strategic placement can transform a room.
Maximizing Light and Space
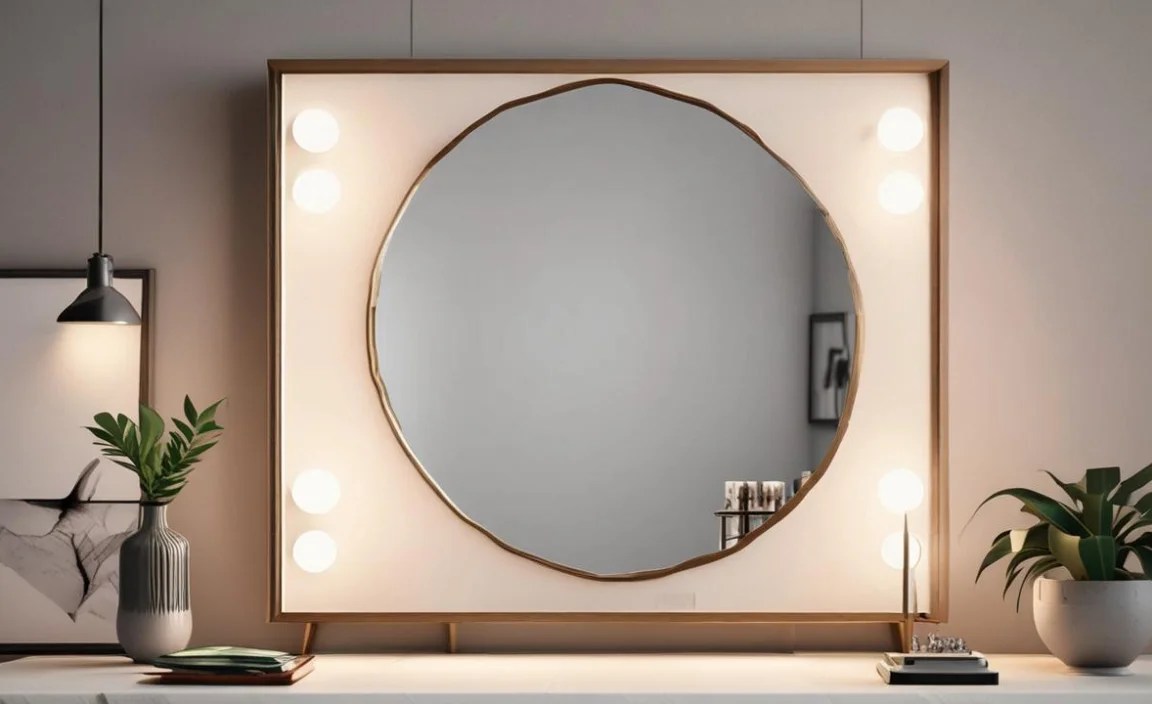
Opposite a Window: Placing a mirror opposite a window reflects natural light, making a room feel brighter and larger. This is a fantastic trick for small or dimly lit spaces.
In Narrow Hallways: A long mirror can make a narrow hallway feel wider and more open.
Enhancing Decor and Functionality
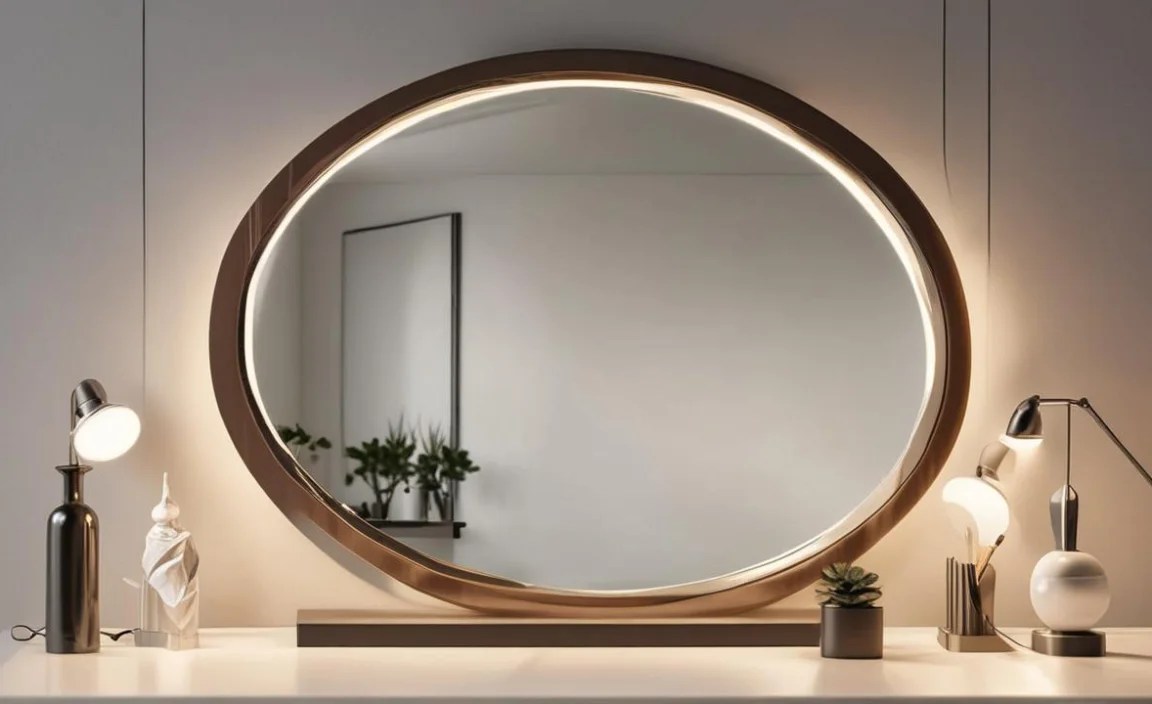
As a Focal Point: A large, decorative mirror can become a stunning centerpiece in a living room or dining area.
Above Furniture: A mirror positioned above a sofa, console table, or fireplace draws the eye and adds a decorative element.
In Entryways: An entryway mirror is practical for last-minute checks before heading out and makes the first impression of your home more welcoming.
Frequently Asked Questions About Mirrors
Here are some common questions beginners have about mirrors.
Q1: How do I know if my mirror is safe to hang on the wall?

Always check the weight of your mirror. Use hanging hardware rated for at least double that weight. Mount hooks or screws directly into wall studs whenever possible for maximum security. If studs aren’t available, use heavy-duty drywall anchors designed for significant weight, but prioritize stud mounting for peace of mind.
Q2: Can I replace the reflective backing on a mirror myself?
Replacing the reflective backing is a complex process that requires specialized equipment and materials. It involves stripping the old coating, applying a new metallic layer (like silvering solutions), and then sealing it. It’s generally not a DIY-friendly task, and professional mirror repair services are rare. It’s usually more cost-effective to replace the entire mirror.
Q3: What’s the best way to clean a large wall mirror without streaks?

Use a good quality microfiber cloth and a glass cleaner. Spray the cleaner onto the cloth, not the mirror. Wipe the mirror in consistent strokes (e.g., horizontal or vertical) from top to bottom. Immediately buff the entire surface with a second, dry microfiber cloth using similar strokes. Work quickly to prevent the cleaner from drying on its own.
Q4: My bathroom mirror fogs up every time I shower. What can I do?

You can try an anti-fog spray or a DIY solution like wiping the mirror with shaving cream and then buffing it clear. For a more permanent solution, consider a heated mirror pad that attaches to the back of the mirror, or a mirror with a built-in defogger. Ensuring good bathroom ventilation can also help reduce fogging.
Q5: Are two-way mirrors truly one-way?

Yes, but only under specific lighting conditions. A two-way mirror is a mirror with 50% reflectivity and 50% transparency. For it to function as a “one-way” mirror, the observation side must be significantly darker than the viewing side. If both sides are equally lit, you can see through it from both directions, and it will appear as a regular mirror.
Q6: How can I tell if my mirror is old and potentially valuable?

Older mirrors often have imperfections that can indicate their age. Look for subtle distortions in the reflection, a slight yellowing or browning of the silvering (especially around the edges), and perhaps a slightly cloudy appearance. Handmade glass also has minor irregularities. You can often tell by the thickness of the glass and the type of frame. For confirmation, consulting an antique appraiser is best.
Conclusion: Your Mirror Confidence is Achieved
Understanding mirrors, from their basic function to how to care for them and hang them safely, is a fundamental part of home maintenance and decor. You’ve learned about the simple science behind reflection, the variety of mirrors available for different purposes, and crucial safety tips for installation. By following these straightforward cleaning and maintenance routines, you can ensure your mirrors remain clear, bright, and functional for years to come. Don’t hesitate to experiment with placement to bring more light and a sense of spaciousness into your home. With this guide, you’re well-equipped to handle your mirror needs with confidence and achieve beautiful, lasting results. Happy reflecting!
