
Quick Summary:
Installing a new faucet yourself can save money and offer immense satisfaction, but it requires careful preparation and understanding potential pitfalls. Weighing the pros of DIY savings and control against cons like potential leaks and time investment is crucial. This guide helps you make an informed decision for your faucet installation.
A leaky or outdated faucet can be more than just a drip; it can be a constant reminder of a task waiting to be done. Many homeowners wonder if they can tackle faucet installation themselves. It’s a common DIY project, but understanding the upsides and downsides before you start is key to success. Don’t worry if plumbing seems daunting; we’re here to break it down. This guide will walk you through everything you need to know so you can decide if faucet installation is right for you, and if so, how to do it safely and effectively. Get ready to transform your sink with confidence!
Faucet Installation: Pros, Cons, and What Beginners Need to Know
As Bryan Lee, I’ve seen countless homeowners transform their kitchens and bathrooms with simple upgrades. Faucet installation is one of the most rewarding DIY projects. It’s a tangible change that you use every single day. But like any home improvement task, it comes with its own set of advantages and disadvantages. Understanding these can help you decide whether to roll up your sleeves and DIY it, or to call in a professional.
Let’s dive into the essential guide to faucet installation, focusing on what a beginner needs to know to make an informed decision.
The Allure of DIY: Why Faucet Installation Might Be for You

There’s a certain thrill in fixing something yourself, isn’t there? When it comes to faucet installation, the benefits can be quite compelling for the hands-on homeowner.
Pros of DIY Faucet Installation

- Cost Savings: This is often the biggest motivator. Hiring a plumber can cost anywhere from $100 to $300 or more for labor, depending on your location and the complexity of the job. By doing it yourself, you eliminate this labor cost, only paying for the faucet itself and any necessary supplies.
- Sense of Accomplishment: There’s a genuine satisfaction that comes from completing a project with your own hands. Knowing you upgraded your own home can be incredibly empowering.
- Control Over the Project: You decide when to start, when to finish, and exactly what faucet you want. You can take your time, ensuring everything is done to your satisfaction without feeling rushed by a professional’s schedule.
- Learning New Skills: Every DIY project is an opportunity to learn. You’ll gain hands-on experience with plumbing basics, which can be incredibly useful for future home maintenance tasks. You’ll become more familiar with tools and techniques.
- Immediate Enjoyment: Once installed, you get to enjoy your beautiful new faucet right away. No waiting for appointments or callbacks if something needs a slight adjustment.
For many, these pros are enough to inspire them to take on the challenge. It’s about empowerment and saving money, two very attractive benefits for any homeowner.
Weighing the Downsides: Potential Challenges of DIY Faucet Installation

While the pros are attractive, it’s crucial to be realistic about the potential challenges. Not every DIYer is comfortable with plumbing, and it’s important to be prepared.
Cons of DIY Faucet Installation

- Risk of Leaks and Water Damage: This is the most significant concern. Improper installation can lead to slow drips or even major leaks, potentially causing water damage to your cabinets, subflooring, or even your ceiling if it’s on an upper floor. A small leak can turn into a costly repair.
- Time Commitment: While you save money, you invest time. What might take a professional an hour or two could take a beginner several hours, especially if unexpected issues arise or you need to make multiple trips to the hardware store.
- Need for Specific Tools: You might need to purchase or rent specialized tools like basin wrenches, pipe wrenches, or plumber’s tape. These are tools you might not use often, making the initial investment less appealing.
- Potential for Mistakes: Forgetting a crucial step, overtightening a connection causing a crack, or cross-threading a pipe can all lead to problems down the line.
- Warranty Complications: Some faucet manufacturers may void the warranty if the product is not installed by a licensed professional. Always check the warranty details before you start.
- Safety Hazards: Working with water lines means a risk of flooding if not done correctly. Also, old plumbing can sometimes be brittle or corroded, posing its own set of risks.
It’s important to approach these cons with respect. They aren’t meant to scare you, but to encourage thorough preparation and a clear understanding of the risks involved.
Understanding Your New Faucet: Types and Features
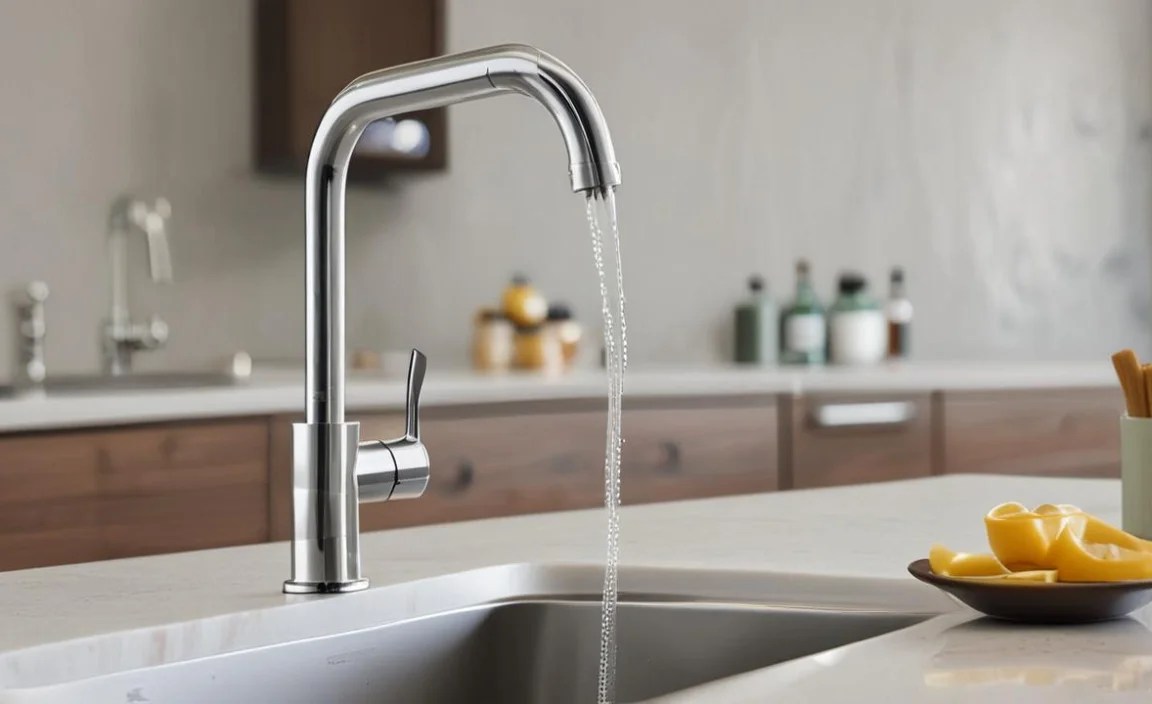
Before you even think about installation, it’s important to know what you’re installing. Faucets come in many styles and with different features. Choosing the right one for your needs is the first step.
Common Faucet Types
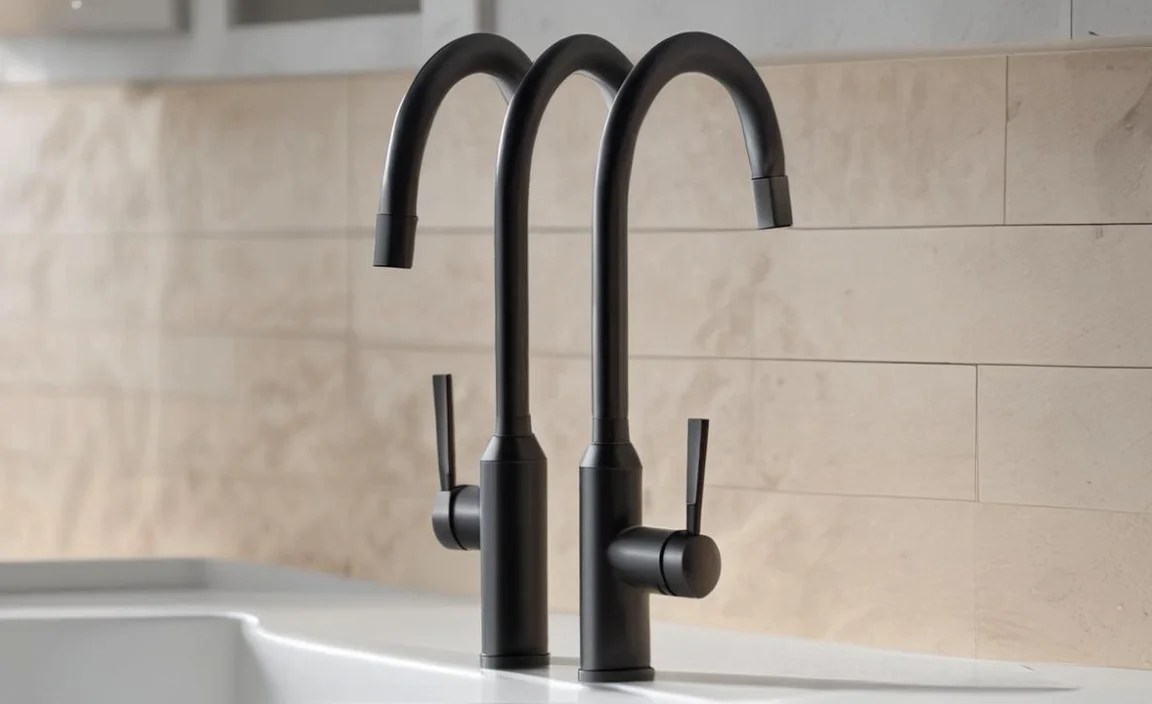
- Kitchen Faucets: These are typically larger and more robust, often with features like pull-down or pull-out sprayers, pot fillers, and touchless operation.
- Bathroom Sink Faucets: Smaller in scale, these come in various configurations – single-hole, widespread (with separate hot and cold handles), and centerset (handles and spout on a single base).
- Tub and Shower Faucets: These are designed for durability and water flow control, often featuring advanced temperature-limiting devices for safety.
- Utility Faucets: Found in laundry rooms or garages, these are often basic, sturdy faucets designed for heavy-duty use.
Popular Faucet Features
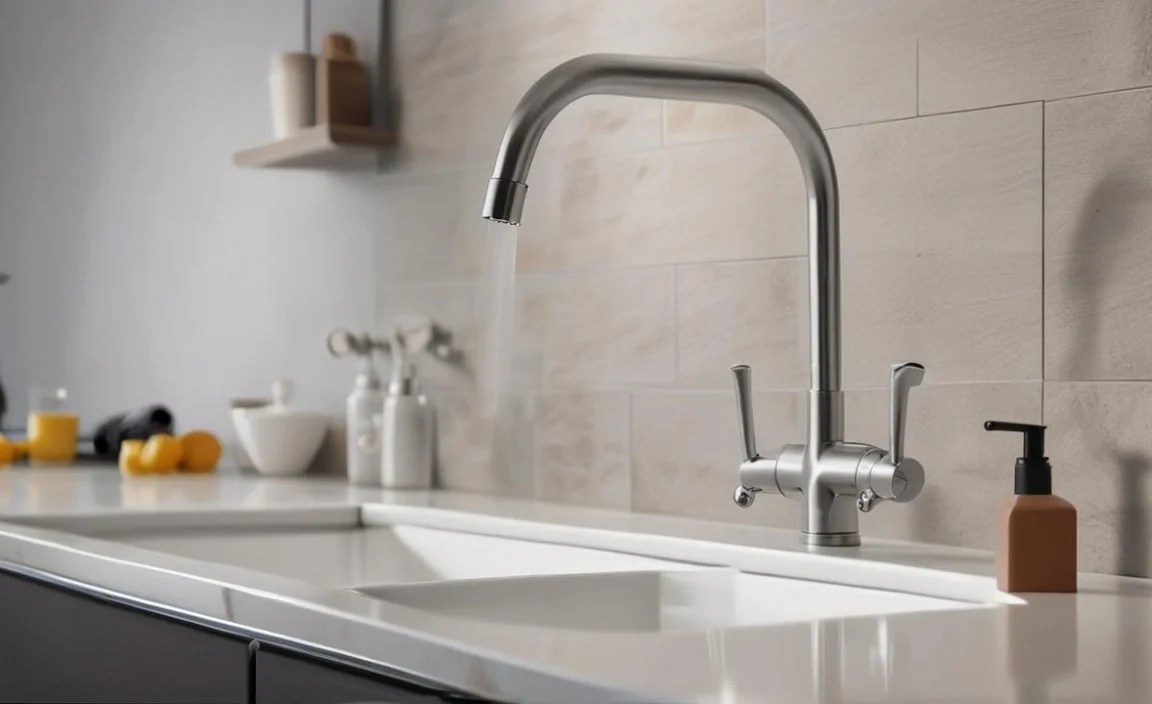
- Ceramic Disc Cartridges: These are the modern standard for durability and drip-free performance, far superior to older compression or ball types.
- Sprayers (Pull-down/Pull-out): Great for cleaning sinks and food preparation.
- Touchless/Motion-Sense: Activated by hand wave, these are hygienic and conserve water.
- Water Filtration Systems: Some faucets integrate filters for cleaner drinking water.
- Flow Rate (GPM): Look for faucets that meet WaterSense standards, typically 1.5 gallons per minute (GPM) or less, to conserve water and energy. The U.S. Environmental Protection Agency (EPA) provides guidance on water-efficient fixtures.
Essential Tools and Materials for Faucet Installation
Having the right tools makes any DIY job smoother and faster. For faucet installation, here’s a checklist of what most beginners will need:
Tools You’ll Likely Need:
- Adjustable Wrenches (or two sizes of pipe wrench): For gripping and turning pipes and nuts.
- Basin Wrench: A long-handled tool with a swiveling jaw, essential for reaching nuts in tight spaces under the sink.
- Plumber’s Putty or Silicone Sealant: To create a watertight seal between the faucet base and the sink/countertop.
- Screwdrivers (Phillips and Flathead): For various screws holding components in place.
- Pliers (Slip-joint and Needle-nose): For gripping, pulling, and manipulating small parts.
- Bucket: To catch any residual water when disconnecting old lines.
- Towels or Rags: For cleaning up spills and messes.
- Safety Glasses: To protect your eyes from debris or drips.
- Work Light or Headlamp: Essential for seeing clearly in the often-dark cabinet space under the sink.
- Penetrating Oil (like WD-40): Useful for loosening stubborn or corroded connections.
Materials You Might Need:
- New Faucet with all included parts
- Supply Lines: Flexible hoses that connect the faucet to the shut-off valves. It’s often best to replace these with new ones. Ensure you get the correct length and thread size.
- Plumber’s Tape (PTFE tape): For sealing threaded pipe connections.
Step-by-Step: Beginner’s Guide to Faucet Installation
Let’s break down the process. Remember to always follow the specific instructions that come with your new faucet, as designs can vary.
Step 1: Turn Off the Water Supply

This is the most critical first step. Look under the sink for two shut-off valves – one for hot water and one for cold. Turn them clockwise until they are fully closed. To be absolutely sure, turn on the old faucet to drain any remaining water and confirm that no more water flows.
Step 2: Disconnect Water Supply Lines
Place a bucket beneath the supply line connections to catch any residual water. Use an adjustable wrench to carefully unscrew the nuts connecting the supply lines to the shut-off valves. Then, do the same to disconnect them from the old faucet body.
Step 3: Remove the Old Faucet
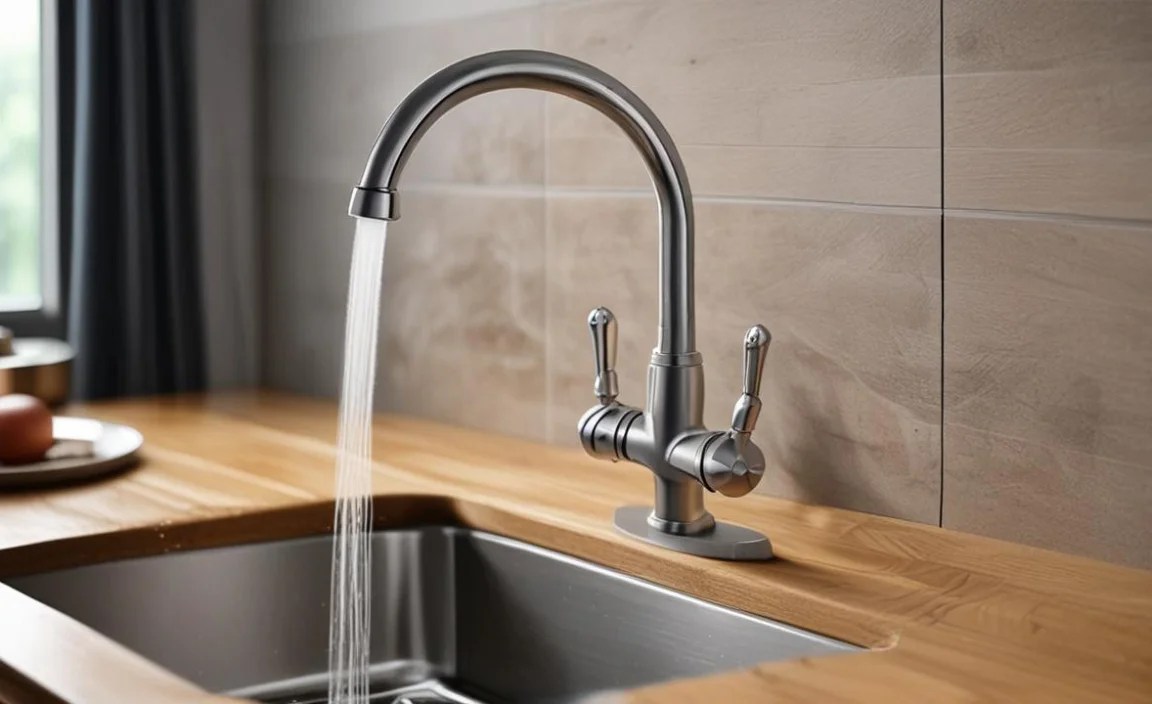
Under the sink, locate the nuts or mounting hardware that secure the old faucet to the sink or countertop. This is where a basin wrench is invaluable. Loosen and remove these components. Once the hardware is removed, lift the old faucet straight up and out from the top of the sink.
Step 4: Clean the Mounting Surface
Scrape away any old putty, caulk, or mineral deposits from the sink deck or countertop where the old faucet was. A putty knife can be helpful here. A clean, dry surface ensures a good seal for your new faucet.
Step 5: Install the New Faucet
Follow your new faucet’s instructions. Often, you’ll apply plumber’s putty or silicone sealant around the base of the new faucet or use the gasket provided. Insert the faucet through the holes in the sink deck or countertop. From underneath, attach any mounting hardware (washers, nuts, brackets) and tighten them by hand first, then snug them up with a wrench or basin wrench. Be careful not to overtighten, which can crack the sink or countertop.
Step 6: Connect New Water Supply Lines
Attach the new flexible supply lines to the faucet inlets. Most modern faucets use integrated connections or screw-on hoses. Tighten these by hand and then give them a gentle snug with a wrench (don’t overtighten). Connect the other end of the supply lines to the appropriate hot and cold shut-off valves. Again, tighten by hand first, then use a wrench for a snug fit.
Step 7: Turn Water Back On and Check for Leaks

Slowly turn the hot and cold shut-off valves counter-clockwise to restore water flow. As the lines fill, listen for any hissing sounds and carefully inspect all connections (at the valve and at the faucet) for drips. If you see a leak, turn off the shut-off valve immediately and tighten the connection slightly. You may need to add more plumber’s tape if the threads are exposed.
Step 8: Test the Faucet
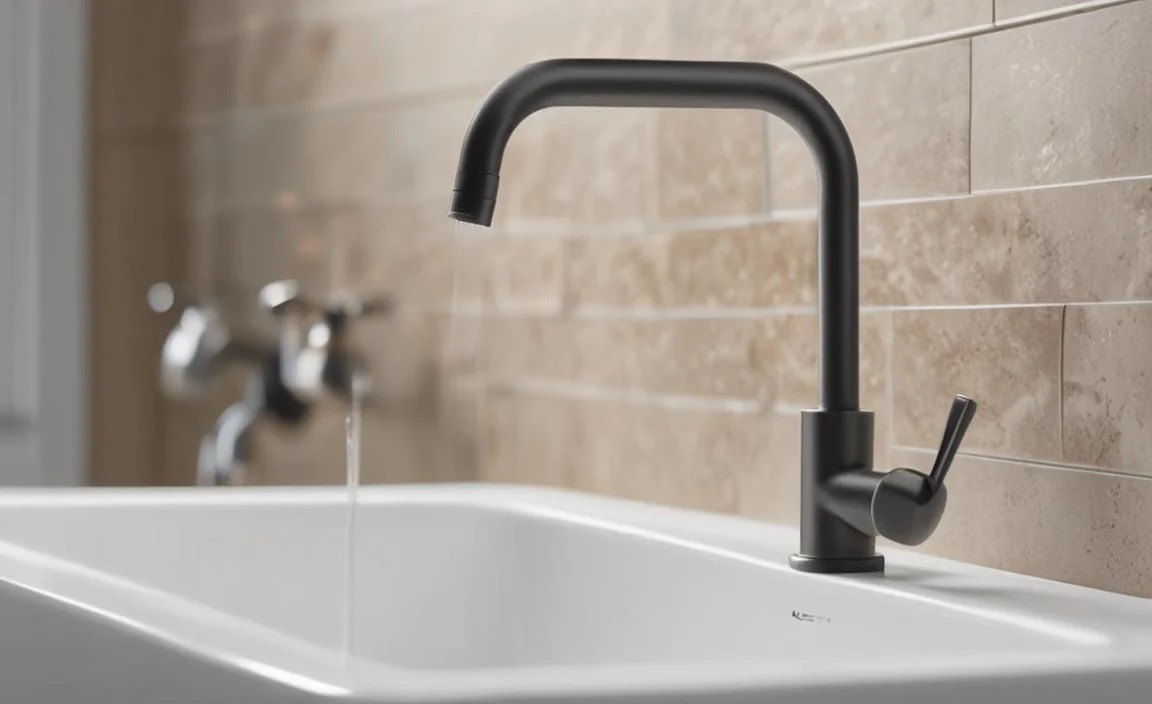
Turn on the new faucet. Check that both hot and cold water are flowing correctly and at a good pressure. Operate the handle(s) through their full range of motion. Run water for a minute or two, then get under the sink again with your light and check all connections for leaks one last time. Also, check the base of the faucet on top of the sink for any water seeping out.
Comparing Installation Methods: A Quick Overview
To help solidify your decision, let’s look at a comparative table of DIY versus professional installation.
| Feature | DIY Installation | Professional Installation |
|---|---|---|
| Cost (Labor) | $0 | $100 – $300+ |
| Time Investment | Several hours (potentially more if issues arise) | 1-2 hours (typically) |
| Skill Required | Basic DIY skills, attention to detail | Expert plumbing knowledge and experience |
| Risk of Mistakes | Higher, especially for beginners | Lower, due to experience |
| Satisfaction/Learning | High | Low |
| Warranty Protection | May be voided by manufacturer | Often complements manufacturer warranty |
| Peace of Mind | Depends on confidence and outcome | Generally high |
When to Call a Professional: Recognizing Your Limits
While this guide aims to empower you, knowing when to step back and call a pro is a sign of smart DIY. Here are situations where professional help is highly recommended:
- Uncertainty about Water Shut-off: If you can’t locate or confidently operate your home’s main water shut-off valve or the specific shut-off valves under the sink.
- Old or Corroded Pipes: If your existing plumbing is visibly rusted, brittle, or shows signs of significant wear, disturbing it could cause breaks.
- Unusual Plumbing Setups: Older homes or custom builds might have non-standard pipe configurations or connections that are unfamiliar.
- Lack of Proper Tools: If you don’t have or can’t easily acquire the necessary tools (especially specialized ones like a basin wrench), the struggle can outweigh the savings.
- Previous Failed Attempts: If you’ve tried a DIY plumbing repair before and it resulted in leaks or other problems, it might be time for expert intervention.
- Major Resurfacing Needed: Moving or needing to cut new holes in stone countertops or delicate surfaces is best left to professionals.
- If You Feel Uncomfortable: Your comfort level is paramount. If you’re feeling overwhelmed or anxious at any point, it’s perfectly okay to stop and call a plumber. A reputable plumbing service can often be found through resources like the Royal Horticultural Society (while RHS isn’t plumbing-specific, their site includes advice on finding reliable tradespeople in general contexts often applicable to home services) or local building supply stores.
Remember, a plumber’s expertise can prevent costly mistakes and ensure the job is done correctly and safely the first time.
Common Faucet Installation Pitfalls and How to Avoid Them
Even with the best intentions, a few common mistakes can turn a simple faucet installation into a headache. Here’s how to sidestep them:
Common Pitfalls:
- Not Turning Off Water Completely: Always double-check that both hot and cold water are fully off before disconnecting anything.
- Overtightening Connections: This can crack plastic components, strip threads, or pinch gaskets, leading to leaks. Tighten until snug, then perhaps a quarter-turn more, but don’t force it.
- Reusing Old Supply Lines: Flexible supply lines degrade over time and are a common source of leaks. Always replace them with new ones.
- Improper Use of Sealants: Using too much plumber’s putty can squeeze into the drain and cause blockages. Using too little or none at all will result in leaks. Too much silicone can be messy and difficult to clean.
- Not Cleaning the Deck Surface: Old gunk prevents the new faucet from seating properly, leading to leaks around the base.
- Forgetting the Mounting Hardware: Once the faucet is in place, securing it properly from underneath is crucial for stability and to prevent wobbling.
- Ignoring the Manufacturer’s Instructions: Faucets vary. Always refer to the specific manual that came with your new faucet.
Proactive Solutions:
- Test the Shut-Off: After turning the valves off, open the faucet to ensure no water comes out.
- Hand-Tighten First: Always start connections by hand to ensure threads are properly aligned, then use a wrench for final snugging.
- Replace Supply Lines: Invest in new, quality supply lines for reliability. Braided stainless steel lines are a good choice.
- Use Sealants Sparingly and Correctly: Follow plumber’s putty instructions for creating a bead around the base. Use silicone where recommended by the manufacturer, and ensure a clean, thin bead.
- Scrape and Clean: Take a few minutes to thoroughly clean the old debris.
- Double-Check Underneath: Before you seal up the cabinet, ensure all nuts and brackets are in place and tightened.
- Read the Manual: Seriously, it’s there for a reason!
Frequently Asked Questions About Faucet Installation
Q1: How long does faucet installation typically take for a beginner?
For a beginner, expect it to take anywhere from 2 to 4 hours. This accounts for learning, potential
