
Understanding faucet terminology in plumbing is key to DIY success. This guide breaks down essential terms for homeowners, empowering you to identify parts, communicate effectively with pros, and confidently tackle faucet repairs and replacements. Knowing these terms simplifies shopping and troubleshooting, saving you time and money.
Plumbing often sounds like another language, especially when you need to fix something around the house. Faucets, in particular, can have a lot of parts with names that sound confusing. Don’t worry, though! Understanding these terms is easier than you think, and it will make a big difference the next time you need to buy a new faucet, talk to a plumber, or even just understand what’s going wrong. This guide is designed to make those confusing faucet parts clear. We’ll walk through the essential plumbing and faucet terminology so you can feel confident tackling that next project. What are we waiting for? Let’s dive in and demystify your faucet!
Why Knowing Faucet Terminology Matters
Imagine going to the hardware store for a specific faucet part, but you don’t know its name. It’s like trying to order a meal without knowing the ingredients! This is where understanding faucet terminology becomes incredibly valuable for any homeowner or DIY enthusiast.
Easier Shopping: When you know the names of faucet parts, you can confidently ask for what you need at the store or find it easily online. No more pointing vaguely at a display or hoping the sales associate understands your description of “that bendy thingy.”
Clearer Communication: If you need to call a plumber, being able to accurately describe the problem and the parts involved can save you time and money. A clear description helps them diagnose the issue faster and bring the right tools and parts.
Confident DIY: For those who enjoy DIY projects, knowing the terminology is crucial for understanding instructions, watching tutorials, and successfully completing repairs or installations. It’s the first step towards mastering home maintenance.
Troubleshooting Power: When your faucet is leaking or not working correctly, knowing the names of the components helps you pinpoint the potential source of the problem, allowing for more targeted troubleshooting and repair.
Essential Faucet Parts: A Labeled Breakdown

Let’s break down the anatomy of a typical faucet. While designs vary, most share these fundamental components. Think of it like a basic body plan – different creatures have variations, but the core structure is similar.
The Visible Parts
These are the components you see and interact with daily.
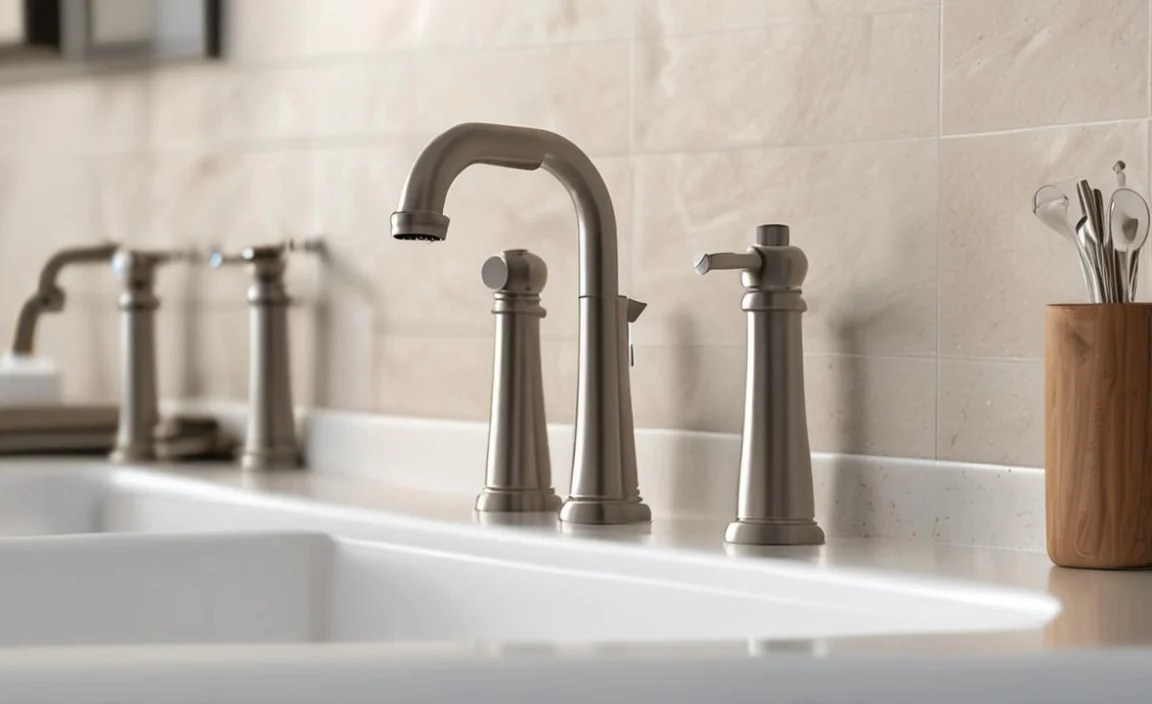
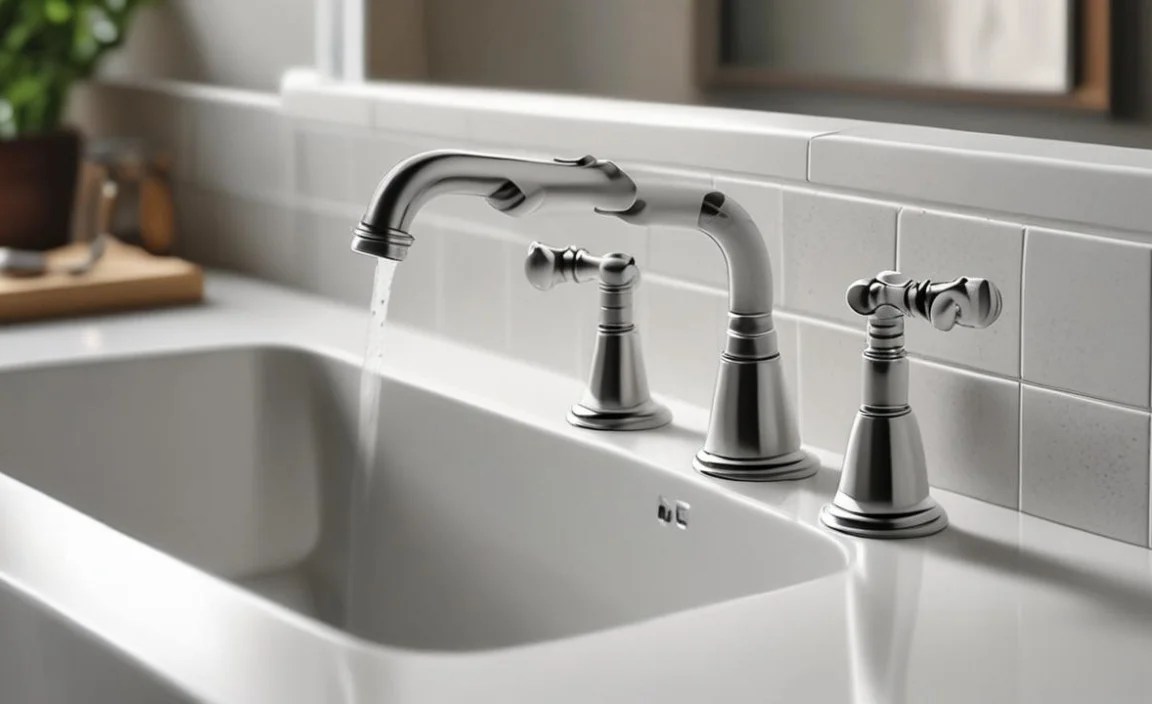
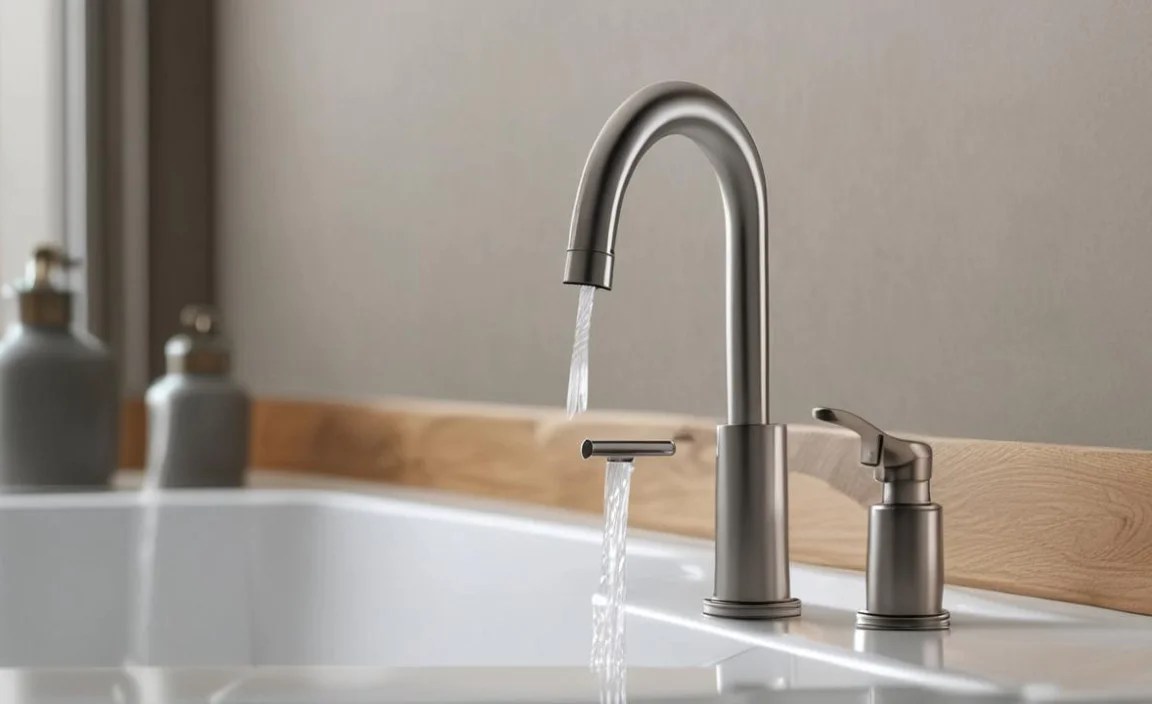
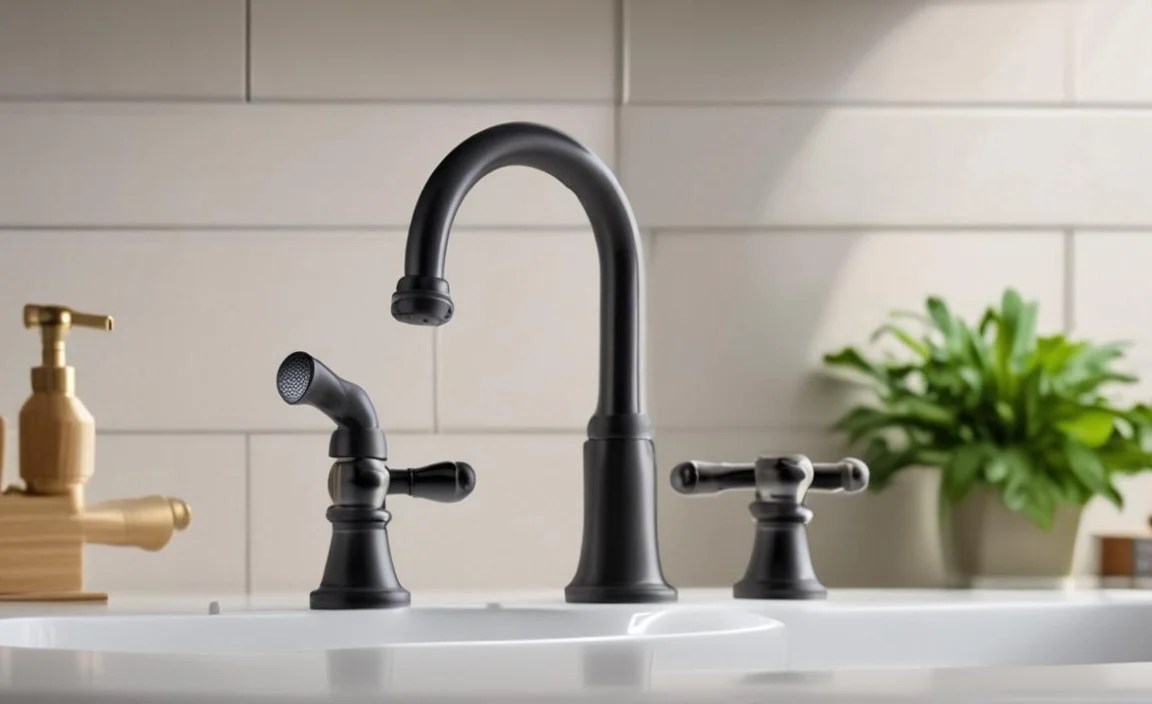
Spout: This is the part where the water actually comes out. It can be a simple, fixed tube, or it can swivel (articulated) for easier access, especially in kitchens.
Handle(s): This is what you use to control the water flow and temperature. Faucets can have one handle (typically for both hot and cold mixed) or two handles (one for hot, one for cold).
Aerator: Found at the very tip of the spout, this small, screw-in component mixes air with water. This reduces splashing, conserves water, and creates a smoother, softer stream. It’s often the culprit if your water flow is weak or splashy.
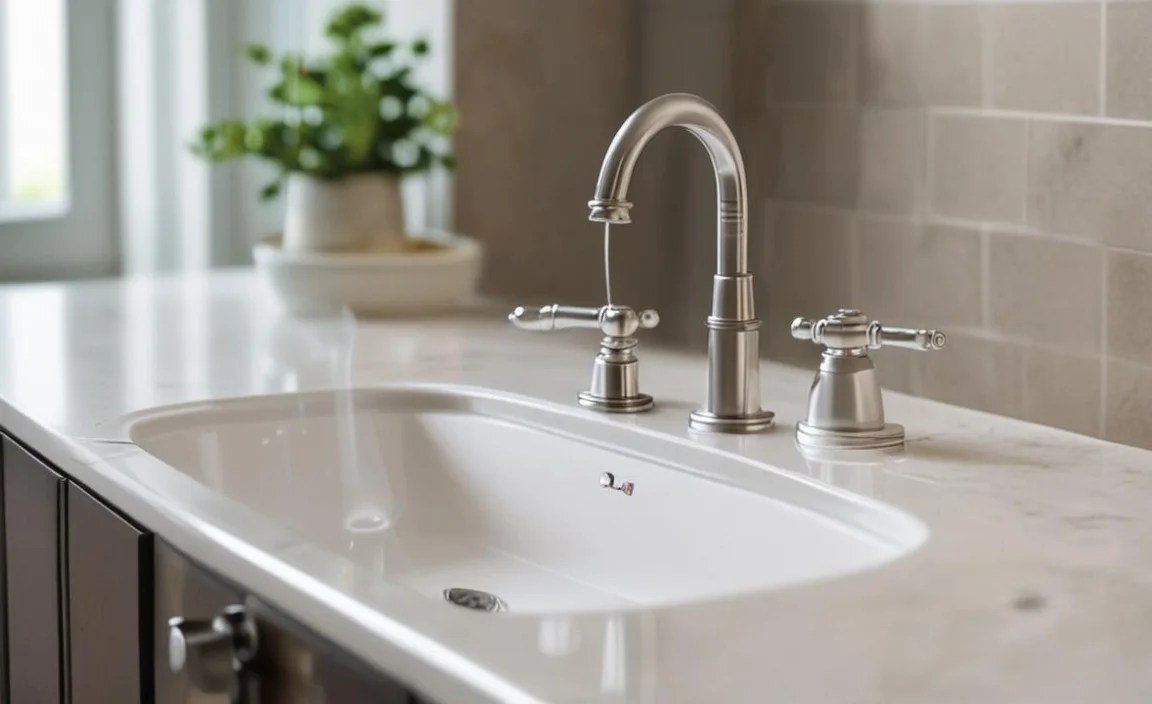
Escutcheon (or Flange): This is a decorative plate or trim that covers the hole in the sink or countertop where the faucet is mounted. It provides a clean finish and hides any gaps.
| Visible Part | Description | Common Issues |
|---|---|---|
| Spout | Where water exits the faucet. | Leaks from the spout end, mineral buildup, clogs impacting flow. |
| Handle(s) | Controls water flow and temperature. | Stiff operation, leaks around handle base, loose handle. |
| Aerator | Mixes air with water for a smooth stream at the spout tip. | Reduced water flow, sputtering, uneven stream. |
| Escutcheon / Flange | Decorative cover plate for the mounting hole. | Cosmetic damage, loose fit against the surface. |
The Internal Workings
These are the parts hidden beneath the surface that make the faucet function.
Cartridge: Many modern faucets use a cartridge as a valve. It’s a self-contained unit that controls both water flow and temperature. When you move the handle, you’re actually moving parts inside the cartridge. If your faucet drips when the handle is off, the cartridge is often the problem. Cartridges can be made of plastic or brass.
Stem (or Valve Stem): In older or more basic faucets, a stem is used instead of a cartridge. It moves up and down to open and close the water supply. It often contains a washer at the bottom that seals against the valve seat.
Valve Seat: This is a small brass ring inside the faucet body that the stem or cartridge seals against to stop water flow. If the valve seat is corroded or worn, it can prevent a proper seal, leading to drips.
Ball Valve: Found in some single-handle faucets, this is a hollow metal or plastic ball that rotates to control water flow and temperature. The handle is connected to the ball, and as you move it, holes in the ball align with water inlets and outlets.
Ceramic Disc Valve: A more advanced type of valve often found in higher-end faucets. It uses two durable ceramic discs that slide against each other to control water flow. These are very reliable and rarely leak.
Compression Valve: This is the oldest type of faucet valve. It works by using a rubber washer pressed against a valve seat by a screw mechanism when the handle is turned. These are prone to washer wear and leaks.
O-ring: These are small rubber rings used to create a watertight seal between different faucet components, such as around the spout base or the valve stem. They are a common source of leaks if they become worn or damaged.
Washer: A small rubber disc, typically found at the bottom of a valve stem in compression faucets. When the stem is tightened, the washer presses against the valve seat to stop water flow. They wear out over time and are a frequent cause of drips.
| Internal Part | Description | Common Issues |
|---|---|---|
| Cartridge | Self-contained unit controlling flow and temperature in many modern faucets. | Drips, leaks, stiff handle, no hot water. |
| Stem | Rod that moves to open/close water flow in older faucets. | Drips, leaks around handle. |
| Valve Seat | Brass ring inside the faucet body that seals against the stem/cartridge. | Drips, leaks even when faucet is off. |
| Ball Valve | Rotating ball with openings to control water in some single-handle faucets. | Leaky spout, inconsistent temperature control. |
| Ceramic Disc | Two durable discs that slide to control water flow; very reliable. | Extremely rare leaks, very long lifespan. |
| Compression Valve | Oldest type; uses a washer pressed against a seat by a screw. | Frequent drips due to worn washers or seats. |
| O-ring | Rubber rings creating seals between faucet parts. | Leaks from spout base, around handles, or under the sink. |
| Washer | Rubber disc at the end of a stem that seals against the valve seat. | Constant drips from the spout. |
The Foundation: Mounting and Supply
These parts connect your faucet to the water source and secure it to your fixture.
Supply Lines (or Water Hoses): Flexible hoses that connect the faucet’s inlets to the shut-off valves under the sink. They are typically made of braided stainless steel, copper, or PEX (cross-linked polyethylene).
Shut-off Valves (or Angle Stops): These are the small valves located under the sink that control the water flow to an individual fixture (like your faucet). You should always turn these off before working on your faucet.
Mounting Hardware: Nuts, screws, and brackets that secure the faucet to the sink or countertop.
Faucet Body: The main structure of the faucet that houses all the internal components and connects the spout and handles to the water supply.
Common Faucet Types and Their Terminology

Different faucet designs use slightly different systems and terminology. Understanding these distinctions can help you choose the right replacement or repair parts.
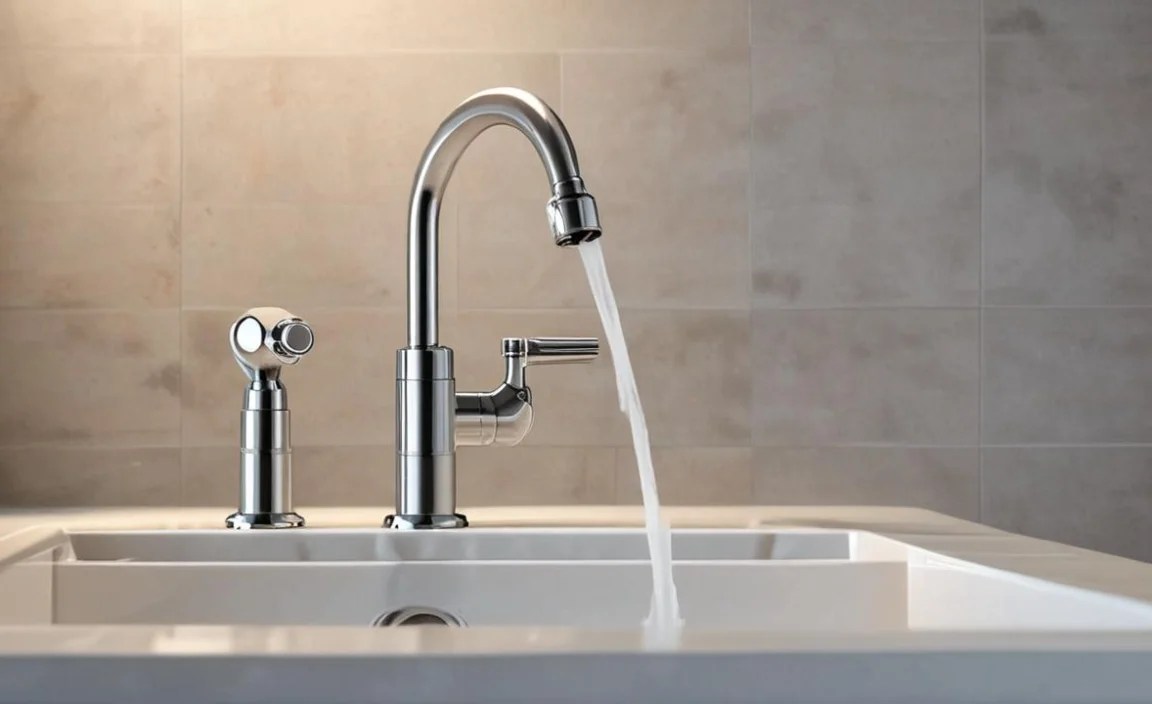
Single-Handle Faucets
These faucets use one handle to control both water flow and temperature.
Cartridge Faucet (Single-Handle): The most common single-handle type. A cartridge is used to control hot and cold water mixing. Moving the handle up and down controls flow, while side-to-side motion controls temperature.
Ball Faucet: Uses a rotating ball with slots to control water. You’ll often find these in older kitchen faucets. They can sometimes be trickier to repair due to the sheer number of small parts.
Ceramic Disc Faucet (Single-Handle): Features two ceramic discs that provide excellent durability and smooth operation for controlling water. They are very reliable.
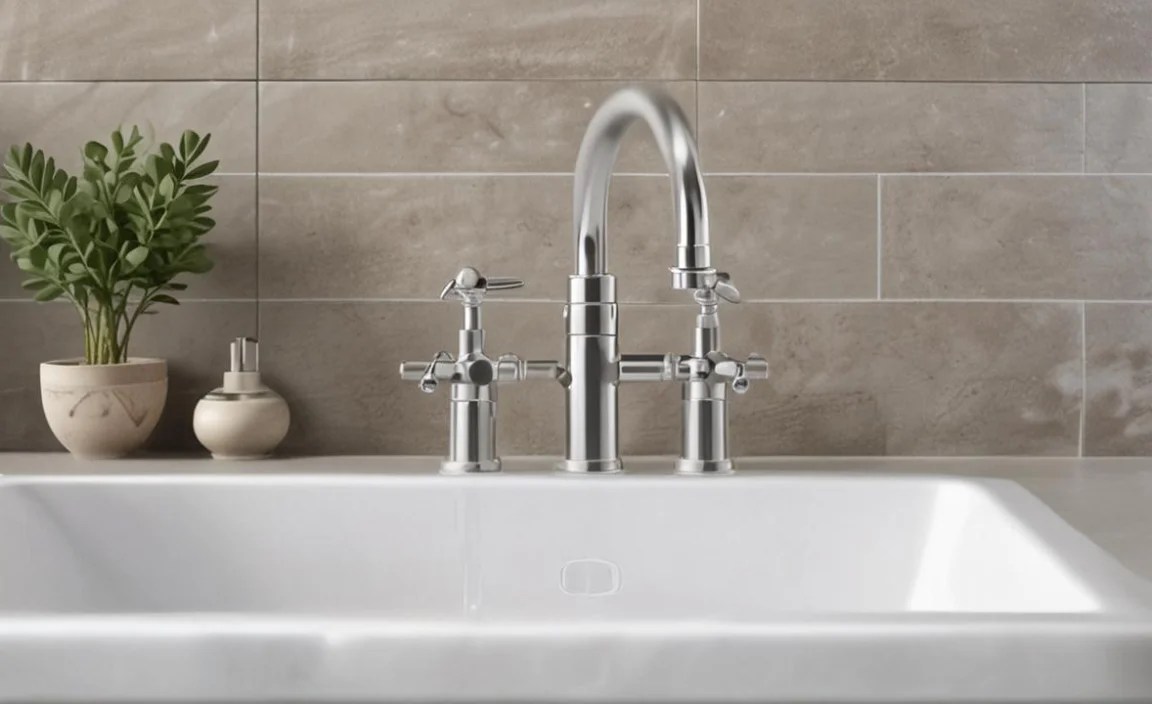
Two-Handle Faucets
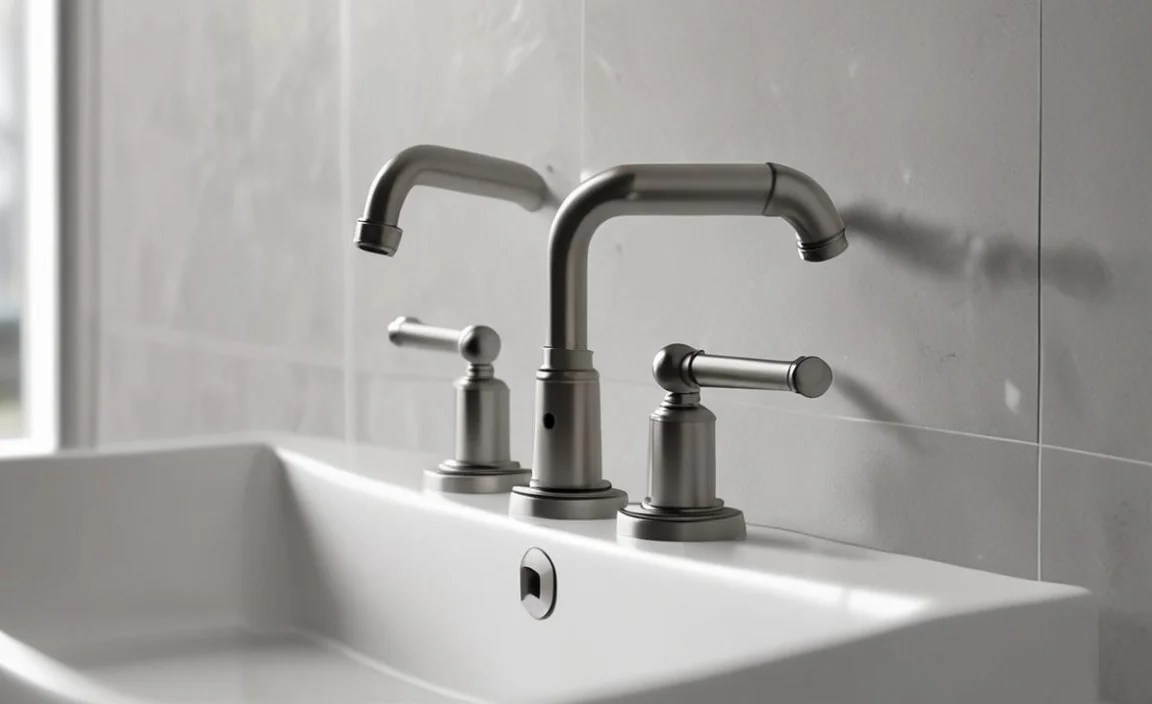
These have separate handles for hot and cold water.
Compression Faucet: The traditional design. Each handle turns a stem, which presses a washer against a valve seat to control water. These are simple but can wear out more quickly.
Cartridge Faucet (Two-Handle): Each handle operates its own cartridge, allowing for independent control of hot and cold water.
Ceramic Disc Faucet (Two-Handle): Similar to the single-handle version, but with two separate ceramic disc cartridges, one for hot and one for cold.
Other Notable Faucet Terms
Rough-in: Refers to the plumbing work done behind the walls or under the floor before the visible fixtures are installed. For faucets, this includes the water supply lines and shut-off valves.
Trim: The visible parts of the faucet (handle, spout, escutcheon) that are installed after the rough-in plumbing is complete.
Flow Rate: Measured in gallons per minute (GPM), this indicates how much water the faucet can deliver. A higher GPM means more water, which can be useful for filling pots quickly but uses more water. The U.S. Energy Policy Act of 1992 set a maximum flow rate of 2.2 GPM for most faucets.
Water Pressure: The force of water pushing through your pipes, measured in pounds per square inch (PSI). While not directly a faucet part, it affects how your faucet performs. If your water pressure is too low, even a new faucet might not perform optimally. You can check your home’s water pressure with a simple gauge that screws onto an outdoor spigot or washing machine connection.
DIY Maintenance & Repair Terminology

When you’re the one doing the fixing, knowing specific terms ensures you grab the right tools and parts.
Plumber’s Tape (or Teflon Tape): A white, pliable tape used to seal threaded connections, such as where supply lines connect to valves or the faucet itself. It prevents leaks.
Plumber’s Putty: A soft, malleable sealing compound used to create a watertight seal between a fixture (like a sink drain or faucet base) and a non-porous surface like porcelain or metal.
Allen Wrench (or Hex Wrench): A L-shaped tool with a hexagonal tip, commonly used to loosen or tighten set screws found on many faucet handles. These screws often make the handle feel like it’s loosely attached.
Basin Wrench: A specialized tool designed to reach up behind the sink to tighten or loosen the mounting nuts that hold a faucet in place. Its long, pivoting jaw makes it ideal for tight spaces.
Adjustable Wrench (or Crescent Wrench): A versatile wrench with a movable jaw, useful for a variety of plumbing tasks, though it’s important not to overtighten with these to avoid damaging fittings.
Pipe Wrench: While less common for faucet work itself, these are used for larger pipes and can sometimes be needed if you’re working on the supply lines leading to the shut-off valves.
Step-by-Step: Replacing a Faucet Cartridge (Common Repair)

Let’s put some of this knowledge to use with a practical example: replacing a dripping faucet cartridge. This is one of the most frequent DIY plumbing repairs.
Difficulty: Easy to Moderate
Time: 30-60 minutes
Tools and Materials You’ll Need:
New faucet cartridge (ensure it’s the correct model for your faucet)
Adjustable wrench
Phillips and/or flathead screwdriver
Allen wrench set (if your handle has a set screw)
Rag or towel
Bucket or small container
Plumber’s grease (optional, for lubricating O-rings and cartridges)
Step-by-Step Instructions:

1. Turn Off the Water: This is the most critical step! Locate the shut-off valves under the sink for your faucet. Turn both the hot and cold valves clockwise until they are snug. If you don’t have shut-off valves under the sink, you’ll need to turn off the main water supply to your house.
2. Test the Water: Turn on the faucet handles to drain any remaining water in the lines and to confirm the water is indeed shut off. Let it run for a few seconds until no more water comes out.
3. Remove the Handle(s):
Look for a decorative cap on the handle. Gently pry it off with a small flathead screwdriver or even your fingernail.
Underneath, you’ll likely find a screw. Unscrew it completely.
If there’s no visible screw, look for a small set screw on the underside or back of the handle, often requiring an Allen wrench. Loosen this screw.
Once the screw is removed or loosened, the handle should pull straight up and off. If it’s stuck, you might need a handle puller, but gentle wiggling usually suffices.
4. Remove the Escutcheon/Bonnet Nut (if applicable): Some faucets have a decorative cover or a large nut holding the cartridge in place. Unscrew this by hand or with an adjustable wrench. Be careful not to scratch the finish.
5. Remove the Cartridge:
You may see a clip holding the cartridge in place. Use pliers or a screwdriver to remove it.
Now, you should be able to pull the cartridge straight out. It might be a bit stiff. You can use pliers to grip the top of the cartridge and gently twist and pull. Be careful not to force it or damage the faucet body.
If your faucet uses a stem and washer, you’ll unscrew the stem itself.
6. Inspect and Clean: Before inserting the new cartridge, inspect the valve seat area (where the cartridge seals) for any debris or mineral buildup. Clean it gently with a soft cloth.
7. Install the New Cartridge:
Lubricate the O-rings on the new cartridge with a bit of plumber’s grease for easier installation and a better seal (optional but recommended).
Align the new cartridge correctly. Most cartridges have notches or tabs that must line up with corresponding slots in the faucet body. Refer to your faucet’s manual or take a picture before removing the old one.
Gently push the new cartridge into place.
8. Reassemble:
Reinstall any retaining clip.
Screw the bonnet nut or decorative cover back on.
Reattach the handle(s) and tighten the screw(s). Replace the decorative cap.
9. Turn On the Water: Slowly turn the shut-off valves under the sink counter-clockwise to turn the water back on.
10. Check for Leaks: Turn on the faucet and check for optimal flow. Then, turn the faucet off and carefully inspect around the handle and spout for any drips or leaks. If you still have a leak, double-check that all connections are snug and that the cartridge was installed correctly.
Frequently Asked Questions (FAQs)
What is the most common faucet part that fails?

The most common faucet parts to fail, leading to leaks or drips, are washers and O-rings. In modern faucets, the cartridge is also a frequent culprit. These components wear out over time due to constant use and water pressure.
How do I know which faucet cartridge I need?

The best way is to identify the brand and model of your faucet. Often, there’s a name or logo visible on the faucet itself. You can then search online for the specific cartridge for that model. If you can’t find it, taking the old cartridge to a plumbing supply store is ideal, as staff can help you find a compatible replacement. Remember to take a photo of your faucet!
What’s the difference between plumber’s tape and plumber’s putty?
Plumber’s tape (Teflon tape) is used to seal threaded pipe connections, like where supply lines connect to water valves. It wraps around the threads. Plumber’s putty is a soft,
