
Cabinets not closing right? Doors hanging loose? Don’t worry! This guide shows you simple, effective ways to fix common cabinet problems. We’ll cover sticky drawers, loose hinges, and more with easy steps. Get your cabinets looking and working perfectly again without a fuss.
Are your kitchen cabinets looking a little worse for wear? Maybe a door is sticking, a drawer won’t slide smoothly, or a hinge has come loose. These are common frustrations, but fixing them is often much simpler than you think. You don’t need to be a master carpenter to get your cabinets back in top shape. With a few basic tools and some straightforward guidance, you can tackle these issues yourself. This guide is here to walk you through each step, helping you restore functionality and the look of your cabinets with confidence. Let’s get started on making your cabinets work like new again!
Common Cabinet Issues and Quick Fixes
Cabinets, like anything else in your home, can experience wear and tear. The good news is that most cabinet problems are repairable with a little know-how. Understanding what’s going wrong is the first step to fixing it.
Sticky or Stuck Drawers
Drawers can become sticky due to humidity causing wood to swell, or due to debris buildup in the drawer slides. Sometimes, the slides themselves can become warped or damaged.
Cabinet Doors That Don’t Close Properly
This is often caused by misaligned hinges, warped doors, or issues with the cabinet frame itself. Doors might sag, not meet in the middle, or rub against the adjacent cabinet.
Loose Hinges and Hardware
Screws can loosen over time, causing hinges to droop and doors to hang unevenly. This also applies to handles and knobs.
Scratches and Dents on Cabinet Surfaces
Accidental bumps and everyday use can lead to minor cosmetic damage. These can usually be mended with simple touch-up techniques.
Essential Tools for Cabinet Repairs
Before you start, gather these basic tools. Most DIYers will already have many of them.
Hand Tools
- Screwdriver Set: A set with various sizes of Phillips and flathead screwdrivers is crucial for hinge adjustments and hardware replacement.
- Hammer: Useful for tapping things gently into place or driving small brads.
- Pliers: Can help grip small parts or bend slightly bent components.
- Measuring Tape: For ensuring everything is aligned and for purchasing replacement parts.
Power Tools (Optional but Helpful)
- Cordless Drill/Driver: Makes driving screws much faster and easier, especially when replacing hardware or re-securing hinges.
- Drill Bit Set: For pre-drilling pilot holes if you’re installing new hardware or if the existing screw holes are stripped.
Consumables and Specialty Items
- Wood Glue: Essential for repairing cracked wood or re-adhering loose veneer. A good quality wood glue like Titebond II or Titebond III offers strong, durable bonds.
- Wood Filler or Putty: For filling small holes, dents, and scratches.
- Sandpaper: Various grits (e.g., 120-grit for heavy smoothing, 220-grit for fine finishing) to prepare surfaces for repair or touch-up.
- Touch-up Pens or Paint: To match the color of your cabinets after repairs.
- Lubricant: Such as silicone spray or paraffin wax, for sticky drawer slides.
- Clean Cloths: For cleaning surfaces and applying finishes.
Fixing Sticky or Stuck Drawers: Step-by-Step
Sticky drawers are a nuisance, but often fixable. Let’s break down how to get them sliding smoothly again.
Step 1: Identify the Cause
- Empty the drawer: Remove all contents to make it light and easier to work with.
- Inspect the slides: Look for debris, bent metal parts, or worn-out bearings.
- Check for swelling: Feel the sides of the drawer box and the opening it fits into. Is the wood damp or unusually large?
- Examine the drawer runners: These are the strips of wood or metal that the drawer glides on. Are they straight? Are there any obstructions?
Step 2: Clear Obstructions and Debris
- Use a vacuum cleaner with a crevice tool to suck out any dust, crumbs, or small objects from the drawer slides and runners.
- Use a brush or a dry cloth to wipe away any stubborn dirt.
Step 3: Lubricate the Slides
This is often the simplest and most effective solution.
- For wooden slides: Rub a bar of paraffin wax or a spent candle along the top and bottom edges of the drawer where it contacts the wooden runners. You can also use a dry lubricant like graphite powder.
- For metal or plastic slides: Spray a silicone-based lubricant (like CRC Power Lube or similar) sparingly along the tracks. Avoid oily lubricants, which can attract more dust.
You can find excellent guides on lubricating various types of drawer slides, including roller slides and ball-bearing slides, on resources like Popular Mechanics, which offers detailed advice.
Step 4: Address Wood Swelling
If humidity is the culprit, you have a few options:
- Allow it to dry: If possible, remove the drawer and let it air out in a dry environment for a day or two. You can place it in a room with a dehumidifier.
- Slightly plane or sand: If the swelling is minor and consistent, you can carefully sand down the sides of the drawer box or the inside of the cabinet opening where it rubs. Remove only a tiny amount of wood at a time, test, and repeat until it slides freely. Always sand in the direction of the wood grain.
- Apply a moisture barrier: For persistent swelling, consider applying a coat of polyurethane or a clear moisture-resistant sealant to the exposed wood edges of the drawer.
Step 5: Repair or Replace Damaged Slides
If the slides are bent, broken, or excessively worn, they will need repair or replacement.
- Minor bends: Sometimes, small bends in metal slides can be carefully straightened with pliers.
- Stripped screw holes: If screws won’t tighten, homeowners can often repair stripped screw holes using wood glue and toothpicks or golf tees. Insert a few wooden toothpicks or a piece of a wooden dowel into the hole with wood glue, let it dry completely, then trim it flush and re-drill a pilot hole for the screw.
- Replacement: If slides are too damaged, find a matching set at a hardware store. Cabinet drawer slides come in various types, including:
- Roller Slides: Basic, often used on less expensive furniture.
- Friction Slides: Rely on smooth surfaces and lubrication.
- Ball-Bearing Slides: Offer the smoothest operation and highest weight capacity.
When buying replacements, measure the length of the old slide and note the type of mounting (e.g., side-mount, undermount).
Fixing Cabinet Doors That Don’t Close Properly

Sagging, misaligned, or gapped cabinet doors are common. Here’s how to fix them by adjusting hinges.
Understanding Cabinet Hinges
Modern cabinet hinges, especially those found on kitchen cabinets, are usually European-style (concealed or inset hinges). These hinges have adjustment screws that allow you to fine-tune the door’s position. There are typically three screws on each hinge:
- One for depth adjustment: Moves the door in or out.
- One for side-to-side adjustment: Moves the door left or right.
- One for height adjustment: Moves the door up or down (often requires loosening the mounting screws on the cabinet frame).
Older cabinets might have surface-mounted or mortised hinges. Always identify your hinge type first.
Step 1: Diagnose the Problem
Open and close the cabinet door slowly, observing how it moves.
- Door sags? The bottom of the door is lower than it should be.
- Gap on one side? The gap between the door and the cabinet frame is uneven.
- Door rubs or doesn’t close fully? The door is hitting something or not reaching its closed position.
- Doors don’t meet in the middle? (For double-door cabinets) There’s a gap where the two doors should meet.
Step 2: Make Adjustments with Screws
You’ll need a Phillips head screwdriver, and sometimes a flathead for certain hinge types.
For Euro-style hinges:
- Side-to-Side Adjustment: Locate the screw that moves the door laterally. Turn this screw slightly (a quarter turn at a time) to adjust the door left or right until the gap is even.
- Depth Adjustment: Find the screw that moves the door in or out. Adjust this if the door is too far from the cabinet frame or sits too far back.
- Height Adjustment: If the door sags, you may need to adjust the height. This often involves loosening the screws that attach the hinge arm to the cabinet frame, sliding the hinge up or down, and then re-tightening. Some hinges have a dedicated height adjustment screw. If you’re unsure, consult the manufacturer’s guide for your specific hinge type. Many reputable hardware brands, like Builders Hardware, offer product details and sometimes installation guides for their hinges online.
For older or surface-mounted hinges:
- Tighten screws: First, ensure all screws attaching the hinge to both the door and the cabinet frame are tight.
- Shim the hinge: If tightening isn’t enough, you can add shims (thin pieces of cardboard or wood) behind the hinge leaf on the side that needs to move closer to the frame. For example, if a door sags, you might put a shim behind the top hinge leaf where it meets the cabinet.
- Re-drill pilot holes: If screws are stripped, use the toothpick and glue method described earlier for drawers.
Step 3: Test and Refine
- After each adjustment, close the door to see the effect.
- Make small, incremental adjustments. It’s easier to add more than to undo too much.
- Check that the door closes properly without rubbing.
- Ensure both doors (if it’s a double-door cabinet) meet correctly in the middle or have an even gap on both sides.
Fixing Loose Hinges and Hardware
Loose hinges and hardware not only look bad but can cause further damage.
Securing Loose Hinges
- Assess the looseness: Are the screws loose in their holes, or has the hinge itself pulled away from the surface?
- Tighten screws: For most minor looseness, simply using a screwdriver to tighten all screws on the hinge plates (both on the door and the cabinet frame) will solve the problem.
- Repair stripped screw holes: If the screws keep spinning and won’t tighten, the hole is stripped.
- Wood glue and toothpicks/dowels: Insert wooden toothpicks or a thin wooden dowel into the hole with a bit of wood glue. Break or cut them off flush with the surface once the glue has dried. Then, pre-drill a smaller pilot hole into the repaired spot and re-insert the original screw.
- Screw anchors: For larger holes or if wood is significantly damaged, plastic screw anchors designed for wood can be used. Drill a hole appropriately sized for the anchor, insert the anchor, and then screw into the anchor.
- Reinforce pull-out hinges: If a hinge has pulled out completely from particleboard or softer wood, you may need to use wood filler to repair the damaged area before re-drilling and re-attaching. Let the filler cure fully according to the product instructions.
Tightening Loose Handles and Knobs
- Locate the screws: Handles and knobs are usually attached with one or two screws from the inside of the cabinet door or drawer.
- Tighten the screws: Use a screwdriver or even a wrench (if it’s a hex screw) to tighten them securely. Be careful not to over-tighten, especially on glass or delicate hardware, as you could crack them.
- Adding a washer: If screws repeatedly loosen, sometimes a star washer or a nylon washer placed between the screw head and the cabinet surface can provide extra grip and prevent loosening.
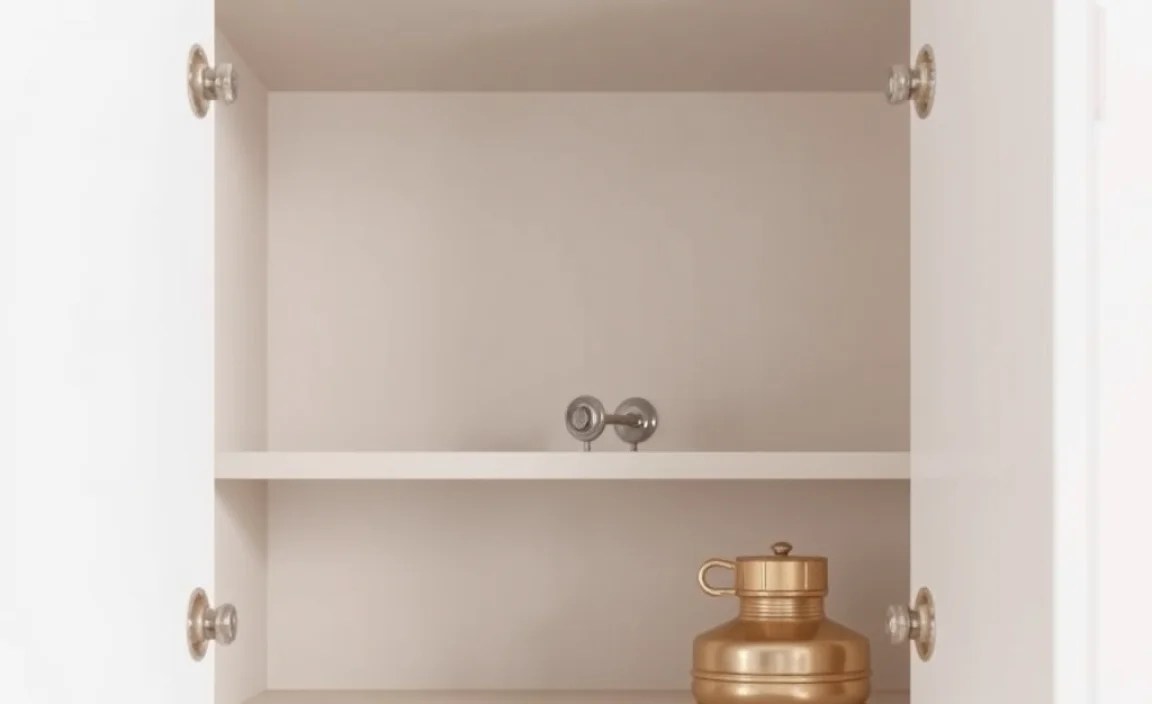
Repairing Scratches and Dents on Cabinet Surfaces
Minor cosmetic damage can significantly impact the look of your cabinets. Here’s how to make them look new again.
Step 1: Clean the Area
Before any repair, thoroughly clean the damaged area and its surroundings with a mild detergent and water, then dry completely. This ensures the filler or touch-up product adheres properly.
Step 2: Repairing Minor Scratches
- Wood Scratch Repair Pens/Crayons: These are available in a wide range of wood tones. Select a color that closely matches your cabinets. Simply rub the crayon or pen along the scratch until it’s filled. Buff away any excess with a soft cloth. For a more permanent fix on deeper scratches, a touch-up pen is often better.
- Walnut trick: For very light surface scratches on wood cabinets, rub the flesh of a walnut along the scratch. The natural oils can often darken and mask the blemish.
Step 3: Filling Dents and Deeper Scratches
- Choose your filler: Use a wood filler that matches your cabinet’s finish. Some come colored, while others can be stained or painted. For painted cabinets, use a paintable wood filler. For stained cabinets, water-based wood putty that accepts stain is ideal.
- Apply the filler: Use a putty knife to press the filler firmly into the dent or scratch. Slightly overfill it, as wood filler tends to shrink as it dries.
- Allow to dry: Let the filler dry completely according to the product’s instructions. This can take anywhere from 15 minutes to several hours.
- Sand smooth: Once dry, gently sand the filled area with fine-grit sandpaper (220-grit) until it is smooth and flush with the surrounding surface. Be careful not to sand too aggressively, as you could damage the surrounding finish.
- Touch up the finish: Apply a matching touch-up pen, stain, or paint to the repaired area. You may need to feather the edges to blend it seamlessly. For painted cabinets, a direct match might be harder to achieve if the paint has faded. You might need to paint the entire door or, in some cases, the entire cabinet box for a perfect match.
For a professional look, many DIYers refer to resources like the U.S. Department of Agriculture’s Forest Products Laboratory, which has extensive research on wood properties and finishes, although their publications can be quite technical. A more accessible guide for common household repairs can often be found on sites dedicated to home improvement.
