
Don’t let a leaky caulk seam cause more damage! Fixing a caulking leak is a straightforward DIY repair. This guide will show you exactly how to remove old caulk, prepare the area, and apply new caulk for a watertight seal, saving you time and money.
Hello DIYers and homeowners! Bryan Lee here, ready to tackle a common, yet often frustrating, household issue: the dreaded caulking leak. That small, seemingly insignificant gap where your bathtub meets the tile, or around your kitchen sink, can become a real headache if the sealant fails.
Water finding its way behind tiles or under cabinets can lead to much bigger problems like mold, rot, and costly structural damage. But here’s the good news: fixing a caulking leak is totally within your reach! You don’t need to be a seasoned pro to get a professional-looking, watertight finish.
This guide is designed to make it simple. We’ll walk through each step, from gathering your tools to the final clean-up, ensuring you feel confident and capable. Get ready to say goodbye to those annoying drips and damp spots forever. Let’s get your home sealed up tight!
Why Caulking Fails and Leaks Happen

Caulking is your home’s first line of defense against water intrusion. It’s a flexible sealant that fills gaps and cracks, preventing moisture from seeping into places it shouldn’t. Over time, however, this vital barrier can break down. Several factors contribute to caulking failure and subsequent leaks:
- Age and Wear: Like anything in your home, caulk has a lifespan. Exposure to moisture, cleaning products, and the natural expansion and contraction of building materials due to temperature changes cause it to degrade.
- Poor Application: If caulk wasn’t applied properly in the first place – perhaps not adhering well to both surfaces, or applied too thinly – it’s more prone to pulling away and cracking.
- Mold and Mildew Growth: In damp environments like bathrooms and kitchens, mold and mildew can thrive on the surface of caulk. This can cause it to weaken, darken, and eventually tear.
- Movement: Homes naturally shift and settle. If the caulk isn’t flexible enough or was applied to a joint that experiences a lot of natural movement, it can crack or pull away from the surfaces.
- Damage: Sometimes, caulk can be accidentally damaged during cleaning, or by items bumping against it.
When caulking fails, even a tiny gap can allow water to escape. This might start as a minor drip, often unnoticed until it collects and begins causing problems elsewhere. Understanding these common causes helps us appreciate the importance of timely caulk repair and replacement.
Essential Tools and Materials You’ll Need
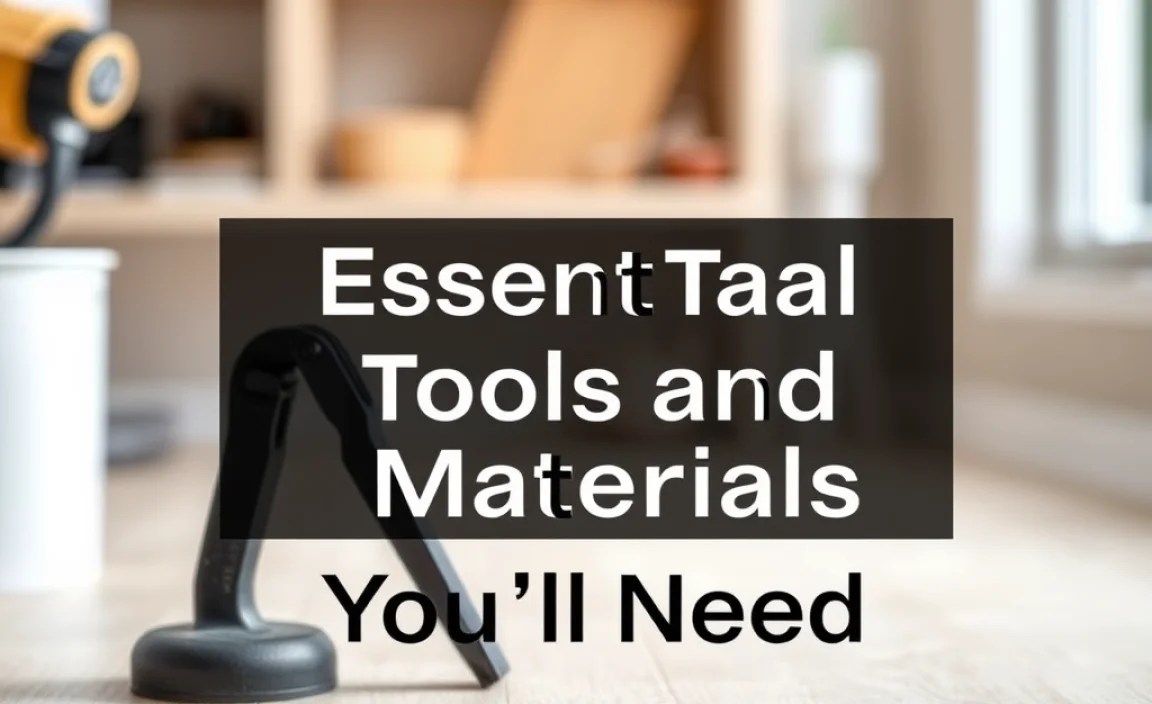
Before we dive into the repair itself, let’s make sure you have everything ready. Having the right tools makes the job go smoothly and efficiently. Don’t worry; most of these are standard household items or easily found at your local hardware store.
Tools for Removal:
- Utility Knife or Caulk Removal Tool: This is your primary weapon for cutting away old caulk. A dedicated caulk removal tool often has angled blades for precision and safety.
- Putty Knife or Scraper: Useful for gently prying away stubborn bits of old caulk.
- Gloves: Protect your hands from sharp tools and cleaning chemicals.
- Safety Glasses: Essential for protecting your eyes from debris when scraping or cutting, especially when working overhead.
- Respirator or Dust Mask: Particularly important if dealing with older caulk that might contain potential irritants or if there’s visible mold.
Tools for Application:
- Caulking Gun: The tool that holds and dispenses the caulk tube. Look for one with a comfortable grip and a smooth trigger action. Some have a convenient ladder hook for storage.
- Caulking Tool Kit (Optional but Recommended): These plastic tools come with various curved edges designed to create perfectly smooth, professional-looking seams.
- Painter’s Tape (or Masking Tape): Crucial for creating clean lines and protecting surrounding surfaces before applying new caulk.
- Spray Bottle with Water/Mild Soap Solution: For smoothing and cleaning.
- Paper Towels or Rags: For wiping excess caulk and cleaning up.
- Rubbing Alcohol or Mineral Spirits: For ensuring the surface is completely clean and grease-free before caulking.
Materials:
- New Caulk: The star of the show! Choosing the right type is crucial. For bathrooms and kitchens, opt for 100% silicone caulk or a high-quality acrylic latex caulk formulated for kitchens and baths, which often includes mildew resistance. Ensure it’s paintable if you plan to paint over it.
- Bucket: For water and cleaning solutions.
Having these items at the ready will transform a potentially messy job into a satisfying DIY project. Investing in a good caulk removal tool can save you frustration and make the first step much easier.
Step-by-Step Guide: How to Fix a Caulking Leak

Now that you’re armed with the right tools and knowledge, let’s get to work! Follow these steps carefully for a leak-proof repair.
Step 1: Remove the Old Caulk
This is arguably the most important step for ensuring the new caulk adheres properly. You want to remove as much of the old, failed caulk as possible.
- Score the Edges: Use your utility knife or caulk removal tool to carefully cut along both edges of the old caulk bead. This breaks its seal with the wall and the fixture. Be gentle so you don’t scratch the surfaces, especially if they are delicate like porcelain or laminate.
- Pry and Pull: Once scored, insert the blade of your caulk removal tool or putty knife under the caulk line. Slide it along the seam to lift and peel away the old material. Work in sections.
- Stubborn Bits: For any remaining residue, gently scrape with your putty knife. A little elbow grease might be needed, but avoid gouging the surfaces.
- Moldy Caulk: If you encounter moldy caulk, you might want to use a dedicated mold and mildew remover spray. Follow the product instructions and ensure good ventilation. You may also need to wear a respirator mask during removal to avoid inhaling mold spores.
Step 2: Clean the Area Thoroughly
A clean surface is essential for the new caulk to bond correctly. Any dirt, soap scum, or old caulk residue will prevent a watertight seal.
- Scrape Again: After removing the bulk of the caulk, go over the seam one last time with your scraper to remove any fine particles or adhesive remnants.
- Wash the Area: Use a damp rag with a mild detergent or a bathroom cleaner to wash away any dust or grime. Rinse thoroughly with clean water.
- Degrease: For the best adhesion, wipe down the seam with rubbing alcohol or mineral spirits on a clean rag. This removes any invisible oily residue that could interfere with the caulk bond.
- Dry Completely: This is critical! The area must be bone dry before applying new caulk. Use a clean, dry cloth and allow ample time for air drying. If the area is in a shower, you might need to wait several hours or even overnight. You can speed up drying with a hairdryer on a low setting.
Step 3: Prepare for New Caulk Application
To ensure sharp, clean lines and a professional finish, using painter’s tape is highly recommended, especially for beginners.
- Apply Painter’s Tape: Carefully apply painter’s tape along the edge of the seam, ensuring it’s parallel to the gap you’ll be filling. Place one strip along the top edge of the gap and another along the bottom edge. The gap between the tape strips should be roughly the width you want your final caulk bead to be. Press the tape down firmly to prevent caulk from bleeding underneath.
Step 4: Apply the New Caulk
This is where you bring in the caulking gun and your new caulk tube. Patience and steady hands are key here.
- Prepare the Caulk Tube:
- Using your utility knife, carefully cut the tip of the caulk tube at a 45-degree angle. Start with a small opening – you can always cut more if needed. A smaller opening gives you more control.
- Puncture the inner seal of the tube. Most caulking guns have a long rod for this purpose, often called a “puncture tool” or “nail,” usually located on the gun itself.
- Load the Caulking Gun: Pull back the plunger rod on the caulking gun, insert the caulk tube (cut tip first), and push the plunger rod back in until it’s snug against the back of the tube.
- Start Caulking: Position the tip of the caulk tube at the beginning of the seam, at a slight angle following the 45-degree cut. Gently squeeze the trigger of the caulking gun. Move the gun steadily along the seam at a consistent speed, applying an even bead of caulk. Aim for a continuous bead that completely fills the gap. Many caulking guns have a trigger lock or a release mechanism on the handle; partially release this when you stop squeezing to prevent caulk from continuing to flow.
- Work in Sections: For longer seams, it’s often better to work in manageable sections rather than trying to do the entire length at once. This helps prevent the caulk from starting to skin over before you can smooth it.
Step 5: Smooth the Caulk Bead
This step is crucial for a watertight seal and a clean, professional look.
- The Smoothest Finish:
- Using a Caulking Tool: If you have a caulking tool kit, select the tip size that best matches the gap. Hold the tool at a slight angle and drag it smoothly along the fresh caulk bead, applying gentle, consistent pressure. This will push the caulk into the joint and create a uniform, concave surface.
- Using a Wet Finger (Carefully!): For small areas or if you don’t have a tool, you can use a dampened finger (dip it in water or a mild soap solution). Gently run your wetted finger over the caulk bead to smooth it. Be sure your finger is wet, not dripping, and wipe away excess caulk frequently on a paper towel. This method requires more practice to achieve a consistent look.
- Wipe Away Excess: As you smooth, excess caulk will build up on your tool or finger. Wipe this excess off onto a paper towel or rag frequently to keep your work clean.
Step 6: Remove the Painter’s Tape
This step is done immediately after smoothing the caulk bead, while the caulk is still wet, to ensure you get crisp, clean lines.
- Peel Carefully: Gently and slowly peel away the painter’s tape. Pull it back at a 45-degree angle away from the fresh caulk line.
- Clean Up: If any stray caulk smudges onto the wall or fixture, wipe them away immediately with a damp cloth or paper towel.
Step 7: Allow Caulk to Cure
This is the final, and perhaps most patient, step. Caulk needs time to properly cure and form a durable, waterproof seal.
- Check the Packaging: The caulk tube will specify the curing time for light handling and for full water exposure.
- Cure Time: Typically, silicone caulk takes 24 hours to fully cure. Acrylic latex caulk might be slightly faster, but always refer to the product’s instructions. Avoid getting the new caulk wet during this period. If you’ve caulked a shower, this means no showering for at least 24 hours, possibly longer.
Once fully cured, your new caulk bead will be a solid, flexible waterproof barrier, protecting your home from leaks!
Choosing the Right Caulk for Your Project

The type of caulk you choose can make a big difference in the longevity and effectiveness of your repair. Here’s a quick breakdown of common options and what they’re best for:
| Caulk Type | Pros | Cons | Best Use Cases |
|---|---|---|---|
| 100% Silicone | Excellent adhesion to non-porous surfaces (glass, tile, metal). Highly waterproof and flexible. Resists mold and mildew well. Durable. | Cannot be painted. Can be difficult to clean up if it gets on surfaces other than your intended seam. May require mineral spirits for cleanup. Can sometimes pull away from porous surfaces like wood over time. | Bathrooms, kitchens, around windows and doors (especially exterior if not painting), areas with constant moisture exposure. |
| Acrylic Latex (with or without Silicone Additive) | Easy to apply and clean up with water. Paintable, so it seals seams you intend to paint. Good adhesion to porous surfaces (wood, drywall). Generally less expensive. | Less flexible and durable than 100% silicone. May shrink slightly as it dries. Less resistant to mold and mildew unless specifically formulated for it. Not as waterproof as pure silicone unless it has a silicone additive. | Around trim, baseboards, drywall seams, windows and doors (interior, if painting). Can be used in kitchens and baths if labeled for those applications and mildew-resistant. |
| Hybrid / Advanced Adhesives (e.g., Polyurethane) | Combines benefits of silicone (durability, flexibility, water resistance) with acrylics (paintability, adhesion). Excellent adhesion to a wide variety of surfaces. Extremely durable. | Can be more expensive. Cleanup might require specific solvents depending on the product. Curing times can vary. | Demanding applications, exterior use, areas requiring extreme durability, sealing joints that experience significant movement. Often used by professionals. |
For most beginner DIY repairs around sinks, tubs, and showers, a high-quality “Kitchen & Bath” specific acrylic latex caulk (often containing silicone additives) or a 100% silicone caulk is your best bet. Always check the product label to ensure it’s suitable for your specific needs and environment. For example, if you plan to paint the wall or trim after caulking, you MUST use a paintable caulk.
Troubleshooting Common Caulking Issues
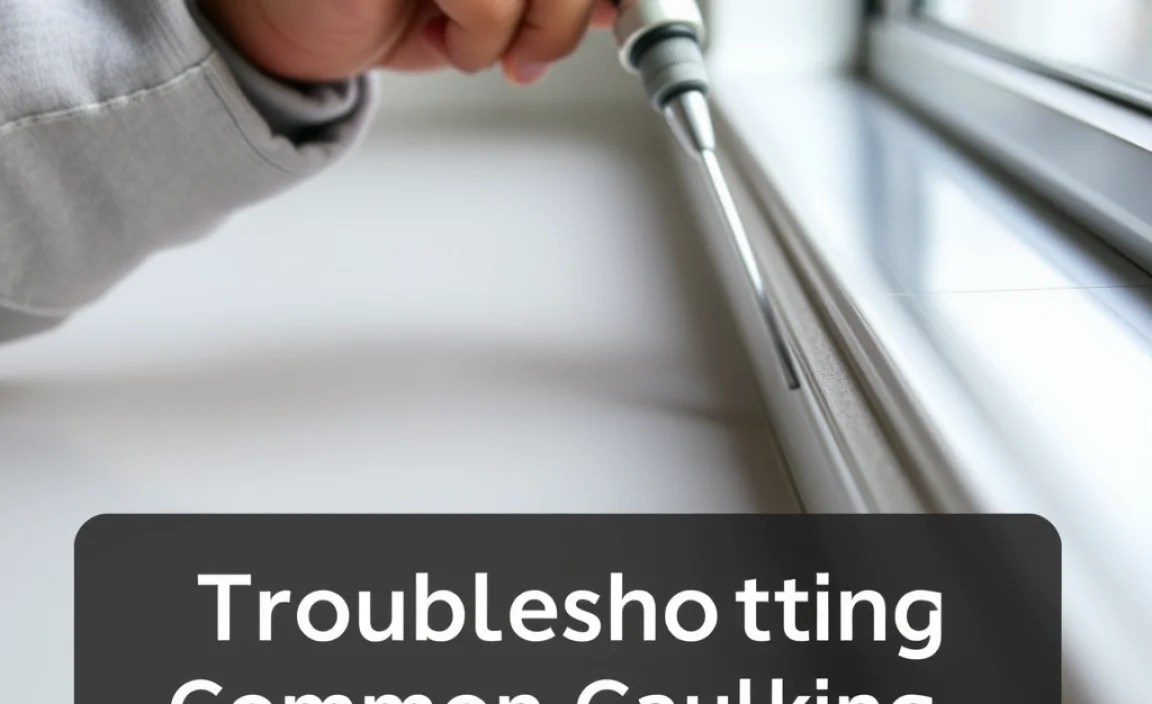
Even with the best intentions, you might run into a few hiccups. Here are some common problems and how to fix them:
- Caulk Isn’t Sticking: This usually means the surface wasn’t clean or dry enough. If it’s just a small area, you might be able to carefully peel it off and reapply after cleaning and drying thoroughly. For larger sections, you might need to remove the entire bead and start over. Ensure you’ve used a degreaser like rubbing alcohol or mineral spirits.
- Uneven or Messy Bead: This is where practice and the right tools come in. If it’s minor, you can sometimes re-smooth it with a wet finger or tool. If it’s significantly uneven, it’s often best to remove the fresh caulk and reapply. Don’t be afraid to redo it!
- Caulk Shrinks or Cracks: This can happen if too much water was added to an acrylic latex caulk during smoothing, or if the joint is too wide for the caulk to fill without significant shrinkage. For small cracks, you might be able to apply a second thin bead. For larger issues, you’ll need to remove the old bead and apply a new one, perhaps using a wider bead or a different type of caulk designed for larger gaps.
- Caulk Won’t Smooth Properly: Ensure your smoothing tool or finger is consistently wet. If you’re using a caulking tool, ensure you’re using consistent pressure and the right angle. Sometimes, letting the caulk sit for just a minute or two before smoothing can help it set slightly, making it easier to tool without pulling away.
- Mold Returns Quickly: If mold keeps growing on your caulk, it indicates a more persistent moisture problem or insufficient ventilation. Ensure the area dries out completely between uses. Consider using a caulk specifically formulated with a high level of mildewcide. For severe issues, you might need to investigate the source of persistent moisture. Regularly cleaning your caulk with a mild bleach solution (diluted, of course) can also help prevent mold growth. A good resource for understanding mold and its prevention is the U.S. Environmental Protection Agency (EPA), which offers comprehensive information on mold and health.
Remember, every repair is a learning experience. Be patient with yourself, and don’t hesitate to remove and redo a section if it doesn’t look right.
