
Fixing caulking is a straightforward DIY task. With this step-by-step guide, you’ll learn how to remove old caulk, prepare the surface, and apply new caulk for a clean, watertight seal. Follow these easy instructions to achieve professional-looking results and protect your home from moisture damage.
When you see gaps or cracks around your sink, bathtub, or windows, it’s usually a sign that the caulk needs attention. Don’t worry if it looks messy; repairing old caulk is a common home maintenance task. With a little patience and the right tools, you can easily fix caulking yourself. This guide will walk you through each step, making the process simple and stress-free. We’ll cover everything from knowing when it’s time for a fix to achieving a smooth, perfect finish. Get ready to make your home look tidier and more protected from water!
Why Fixing Caulking Matters
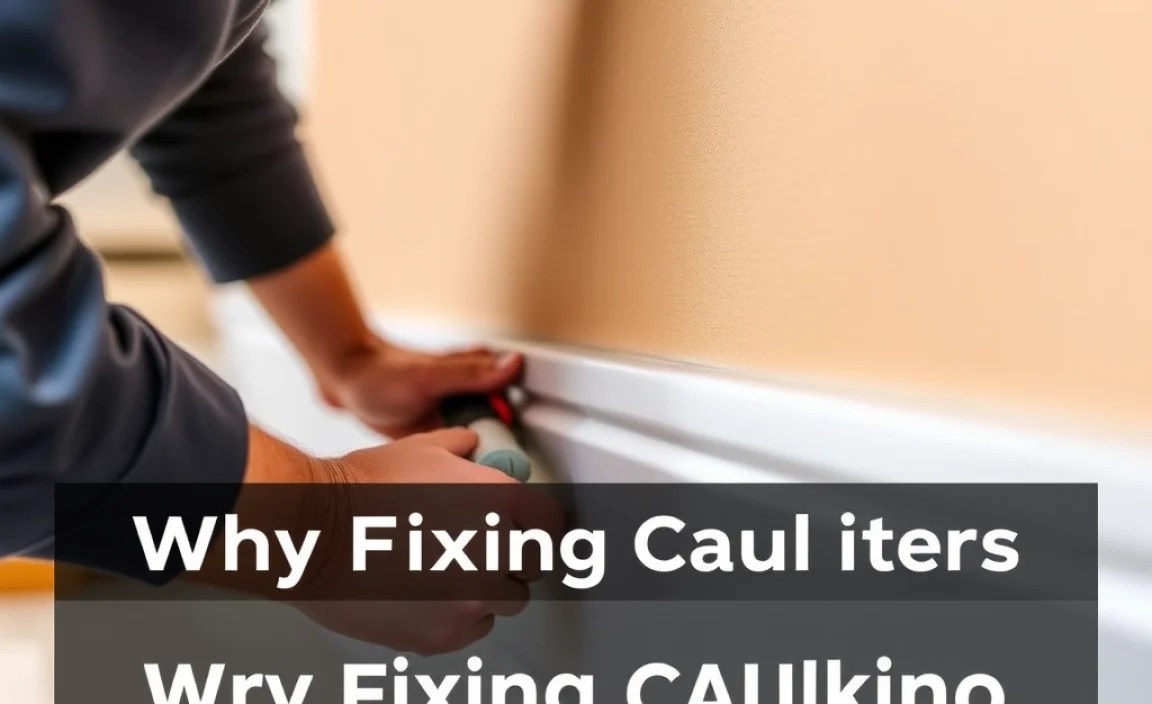
Caulking might seem like a small detail, but it plays a big role in keeping your home in great shape. Think of it as a flexible waterproof sealant that fills those tiny gaps where water could sneak in.
Waterproofing: The most important job of caulk is to keep water out of places it shouldn’t be. This means preventing leaks under sinks, around tubs and showers, and even near window frames.
Preventing Mold & Mildew: When water seeps into cracks, it creates a damp environment perfect for mold and mildew to grow. This can be bad for your health and your home’s appearance.
Energy Efficiency: Gaps around windows and doors can let precious heated or cooled air escape, making your HVAC system work harder and costing you more on energy bills. Good caulk seals these leaks.
Aesthetics: Old, cracked, or peeling caulk looks untidy. Fresh caulk gives a clean, finished look to kitchens and bathrooms, making them feel much more inviting.
So, when you notice that old caulk is cracked, pulling away, or has become discolored, it’s definitely time to fix it!
When to Fix Your Caulking

Recognizing the signs is the first step to a successful repair. Here are a few key indicators that your caulk needs attention:
Cracks and Gaps: If the caulk has visible cracks, splits, or is pulling away from the surface, its sealing ability is compromised.
Peeling and Deterioration: If the caulk is peeling, flaking, or looks dried out and brittle, it’s no longer doing its job effectively.
Mold or Mildew Growth: While mold can sometimes be cleaned off, persistent or deep-seated mold within the caulk itself often means the caulk needs to be replaced because it’s no longer providing a watertight barrier.
Discoloration: Yellowing, graying, or stained caulk might be an eyesore, but more importantly, it can indicate that the caulk is porous and absorbing moisture.
Water Stains or Dampness: If you notice water stains around the area where the caulk is, or the surface feels damp, it’s a strong sign that the caulk has failed and water is getting through.
Don’t wait too long once you spot these issues. A small caulk repair now can prevent much larger, more costly water damage problems down the line.
Essential Tools and Materials
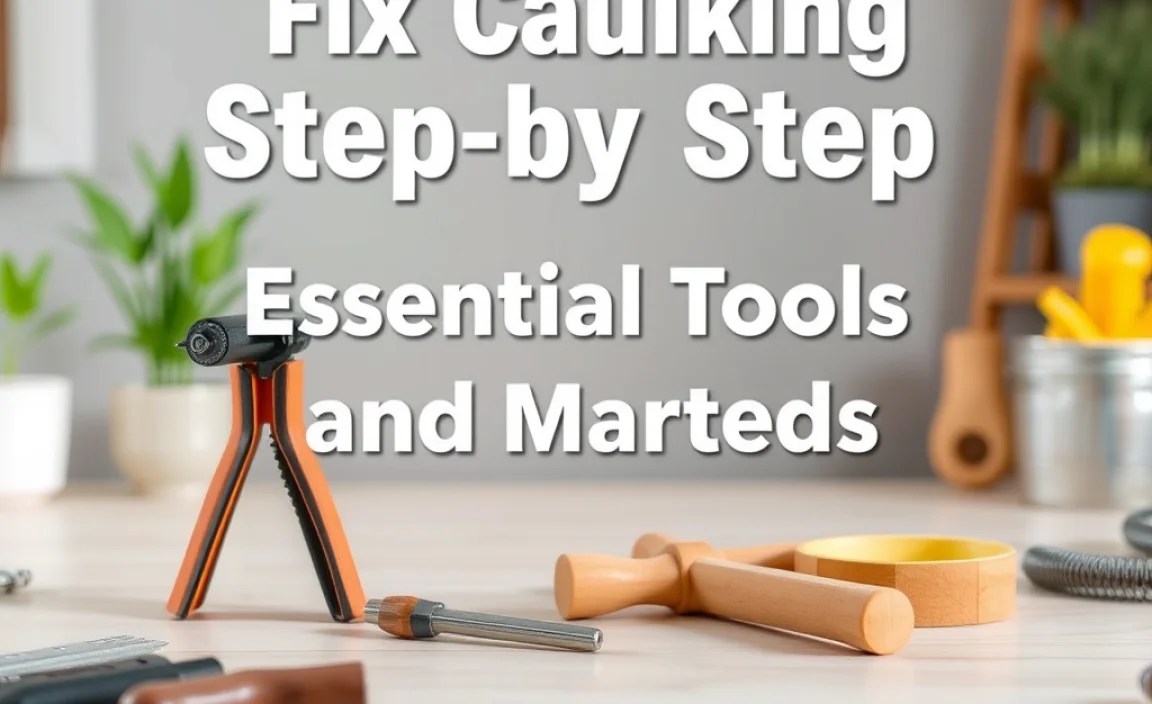
Gathering your supplies before you start makes the process much smoother. Here’s what you’ll likely need:
For Removing Old Caulk:
Caulk Removal Tool: These are specialized tools with blades designed to scrape away old caulk. They often have different angles for various joints.
Utility Knife or Putty Knife: A sharp utility knife is great for scoring and cutting stubborn caulk lines, while a putty knife can help pry up loosened material.
Gloves: Protect your hands from sharp tools and caulk residue.
Safety Glasses: Essential for protecting your eyes from flying debris.
Rag or Paper Towels: For wiping away loose caulk and cleaning.
Vacuum Cleaner: To suck up any debris after scraping.
For Cleaning the Surface:
Mildew Remover or Bleach Solution (optional): If you have mold or mildew, a dedicated remover or a solution of 1 part bleach to 10 parts water can help.
Scrub Brush or Sponge: For applying cleaning solutions and scrubbing away residue.
Clean Rags: For rinsing and drying the area thoroughly.
Rubbing Alcohol or Denatured Alcohol: This is a fantastic degreaser and helps ensure the new caulk adheres properly.
For Applying New Caulk:
New Caulk Tube: Choose the right type of caulk for your project (e.g., silicone for bathrooms, acrylic latex for general use). Look for “kitchen and bath” formulas that are mold and mildew resistant. The National Park Service provides a helpful overview of different caulk types.
Caulk Gun: A standard caulk gun is essential for dispensing caulk evenly. Drip-free models are a great convenience.
Utility Knife or Scissors: To cut the tip of the caulk tube.
Caulking Tool or Finishing Tool: Special tools that create a smooth, professional bead of caulk. A damp finger can work in a pinch, but a tool gives better results.
Painter’s Tape (optional but recommended): Helps create clean, straight caulk lines.
Water and Rag (for water-based caulk): For smoothing and cleanup if using acrylic latex caulk.
Mineral Spirits and Rag (for silicone caulk): For smoothing and cleanup if using silicone caulk.
Step-by-Step: Fixing Caulking
Let’s get down to business! This guide breaks down the entire process into manageable steps.
Step 1: Remove the Old Caulk
This is the most crucial preparation step. If you don’t remove all the old caulk, the new caulk won’t stick well, and you’ll have adhesion problems.
1. Wear Your Safety Gear: Put on gloves and safety glasses.
2. Score Along the Edges: Use a utility knife to carefully cut along both sides of the old caulk bead. This breaks the seal and makes it easier to remove. Be careful not to scratch the surface underneath, especially if it’s tile or a painted surface.
3. Scrape Away the Caulk:
Caulk Removal Tool: Insert the tool under the edge of the caulk and pull or push along the joint to scrape it out. Work in sections.
Putty Knife/Utility Knife: If you don’t have a specialized tool, a putty knife or the utility knife can be used to peel and scrape away loosened caulk. Work slowly and gently.
4. Get into Corners and Crevices: Use the pointed tip of your utility knife or caulk removal tool to dig out any stubborn, hardened caulk remnants.
5. Clean Up Debris: Once most of the caulk is removed, use a rag or vacuum cleaner to pick up all the loose bits and dust.
Step 2: Clean the Surface Thoroughly
A clean surface is absolutely vital for good adhesion. Any dirt, soap scum, or old caulk residue will prevent the new caulk from sticking properly.
1. Scrub Away Residue: Use a scrub brush or sponge with a mild cleaner (like dish soap and water) or a dedicated bathroom cleaner to scrub away any remaining caulk residue or grime.
2. Tackle Mold and Mildew (if present): If you see mold or mildew, use a mildew remover or a solution of 1 part bleach to 10 parts water. Apply it, let it sit for a few minutes according to product instructions, and then scrub again. Always ensure good ventilation when using bleach.
3. Rinse Thoroughly: Wipe down the area with a clean, damp rag to remove all traces of the cleaning solution. You might need to rinse the rag and wipe multiple times.
4. Dry Completely: This is critical! Use a clean, dry rag to dry the area thoroughly. You can even use a hairdryer on a low setting to ensure there’s no moisture left in the joint. A completely dry surface is essential for the caulk to adhere.
5. Degrease (Important!): Wipe down thejoint with rubbing alcohol or denatured alcohol on a clean rag. This removes any remaining soap scum, oils, or residue that the cleaner might have missed, ensuring a perfect surface for the new caulk.
Step 3: Prepare for New Caulk Application (Optional but Recommended)
For those extra-crisp, professional-looking lines, painter’s tape is your best friend.
1. Apply Painter’s Tape: Place a strip of painter’s tape along the edge of what you want to caulk, leaving a gap the width of your desired caulk bead. For example, if you want a 1/4-inch bead, leave a 1/4-inch gap between the two tape lines.
Apply tape on the countertop/tub edge and another piece on the wall/backsplash edge.
Ensure the tape is pressed down firmly so caulk doesn’t seep underneath.
2. Check Your Caulk Gun Settings: Most caulk guns have a trigger lock and a release lever. Familiarize yourself with them. Also, look for models with a “drip-free” feature, which automatically stops the flow when you release the trigger.
Step 4: Cut the Caulk Tube Tip
This step determines the size of your caulk bead.
1. Locate the Nozzle: The caulk tube has a hardened plastic nozzle.
2. Cut at an Angle: Using a sharp utility knife or scissors, cut the tip of the nozzle at a sharp 45-degree angle.
3. Start Small: It’s better to cut off too little than too much. You can always cut more if you need a wider bead. A small opening will give you a finer bead, which is usually best for most home applications. Think about the size of the gap you need to fill.
Step 5: Load the Caulk Gun
1. Release the Plunger: Pull the plunger rod of the caulk gun all the way back by squeezing and holding the trigger, then turning the ratchet handle (if applicable) or simply pulling it back.
2. Insert the Tube: Place the caulk tube into the gun’s cylinder with the cut tip facing out.
3. Engage the Plunger: Push the plunger rod firmly against the back of the caulk tube to engage it.
4. Release Pressure: Before you start, squeeze the trigger a few times to ensure the plunger is properly seated. Lightly squeeze the trigger to push caulk through the nozzle. You may need to press the release lever at the back of the gun to stop the flow of caulk.
Step 6: Apply the New Caulk Bead
This is where your careful preparation pays off!
1. Puncture the Seal (if necessary): Some caulk tubes have an internal seal. If yours does, use the long metal rod on most caulk guns (or a long nail/wire) to puncture this seal by guiding it through the nozzle opening.
2. Start Squeezing: Place the angled tip of the caulk tube at the joint, pressing it gently against the surface.
3. Consistent Pressure and Speed: Squeeze the caulk gun trigger with consistent pressure. Move the gun along the joint at a steady, even pace. Aim to create a continuous bead of caulk that completely fills the gap.
4. Work in Sections: It’s often easier to caulk one side of the tub or sink, or a specific section, before moving to the next. Don’t over-apply; a good bead should be about the same width as the gap you’re filling.
5. Release Trigger and Plunger: When you finish a section or need to stop, release the trigger. Crucially, press the release lever on the caulk gun. This stops the pressure and prevents caulk from oozing out of the nozzle.
Step 7: Smooth the Caulk Bead
This is where you transform a messy bead into a clean, waterproof seal. The technique depends slightly on the type of caulk.
For Water-Based (Acrylic Latex) Caulk:
1. Dampen a Tool or Finger: Dip your caulk finishing tool, a damp sponge, or even a gloved finger into a cup of water.
2. Smooth in One Motion: Gently run the tool, sponge, or finger over the fresh caulk bead. Use smooth, consistent pressure. The goal is to press the caulk into the joint and remove excess material.
3. Wipe Off Excess: Wipe the excess caulk from your tool or finger onto a rag or paper towel frequently.
4. Repeat if Necessary: You may need to go over the bead once or twice to get it perfect.
For Silicone Caulk:
1. Use a Silicone Tool: Silicone caulk doesn’t clean up easily with water. Use a specialized caulk finishing tool or a plastic putty knife.
2. Apply a Smoothing Agent: Lightly wet the tool with a mixture of water and a drop of dish soap, or use mineral spirits (check product instructions for silicone caulk, as some recommend specific smoothing agents).
3. Smooth the Bead: Run the moistened tool along the caulk bead at a consistent angle. This will push the caulk into the joint and create a smooth finish.
4. Wipe Away Excess: Use a clean rag dampened with mineral spirits (or the recommended solvent) to wipe away any excess silicone caulk from the tool and the surrounding area. Silicone can be very sticky and hard to remove once it starts to cure.
Step 8: Remove Painter’s Tape (If Used)
If you used painter’s tape, now is the time to remove it for those sharp lines.
1. Pull at an Angle: Gently peel the painter’s tape away from the freshly caulked joint. Pull it back on itself at a 45-degree angle.
2. Timing is Key: Remove the tape while the caulk is still slightly wet but not messy. If you wait too long, the caulk may start to cure and stick to the tape, potentially ruining your clean line. If the caulk is too wet, it might smudge.
Step 9: Final Cleanup and Curing
1. Wipe Away Smudges: Use a damp rag (for latex caulk) or a rag with mineral spirits (for silicone caulk) to carefully clean up any small smudges or stray caulk marks around the new bead.
2. Let it Cure: Allow the caulk to cure completely according to the manufacturer’s instructions on the tube. This can range from a few hours to 24 hours or more. Avoid getting the newly applied caulk wet during this time, as it can affect its adhesion and finish.
Choosing the Right Caulk for Your Project
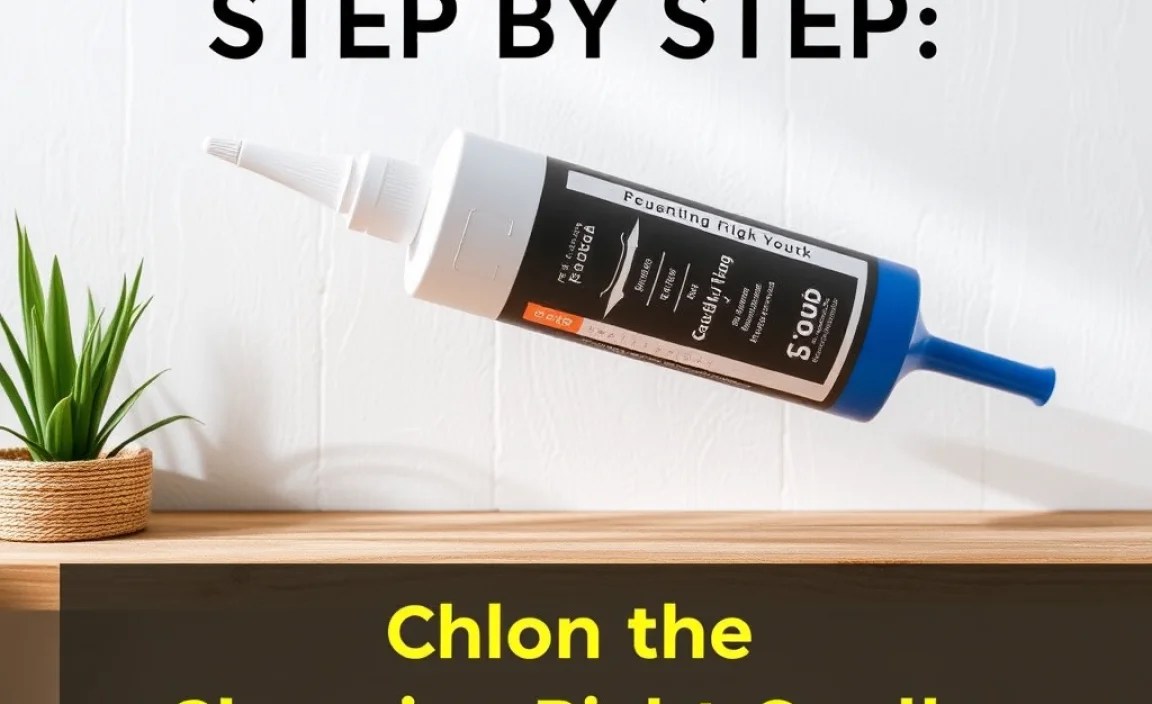
Selecting the correct type of caulk is essential for durability and performance. Here’s a quick guide to common types:
| Caulk Type | Best For | Pros | Cons | Cleanup |
| 100% Silicone | Bathrooms, kitchens, areas with high moisture and temperature changes | Excellent waterproofing, flexible, durable, resists mold/mildew. | Harder to paint, can be trickier to apply smoothly, strong odor. | Mineral spirits (when wet), scraper (when dry) |
| Acrylic Latex | General interior use, trim, baseboards, window/door frames | Easy to apply and clean up, paintable, low odor. | Less flexible than silicone, may crack over time if joints move. | Water (when wet), soap and water (when dry) |
| Siliconized Acrylic | Bathrooms, kitchens, areas needing some flexibility and paintability | Offers a good balance of flexibility, water resistance, and paintability | Not as robust as 100% silicone in extreme wetness, less durable. | Water or mineral spirits (when wet) |
| Kitchen & Bath | Specifically formulated for bathrooms and kitchens | Contains mildewcides, good adhesion, flexible, water-resistant. | Can be silicone-based or siliconized acrylic, check label. | Varies by base formula (water or solvent) |
Always check the caulk tube’s label for specific recommendations and application instructions. This Old House offers practical advice on selecting the best caulk for specific home jobs.
Troubleshooting Common Caulking Problems
Even with the best intentions, sometimes things don’t go perfectly. Here are a few common issues and how to fix them:
Messy Bead: If your bead is lumpy or uneven, don’t panic. Gently scrape off the excess while it’s still wet and reapply. For minor imperfections after it has started to set, you might be able to meticulously smooth it with a damp tool. If it’s really bad, you may need to remove it and start again.
Caulk Won’t Stick: This almost always means the surface wasn’t clean and dry enough. You’ll need to remove the offending caulk, clean the surface again thoroughly (including degreasing with alcohol), let it dry completely, and reapply.
