
Fixing caulking doesn’t have to be messy or difficult! With these genius and effortless tips, you’ll achieve smooth, professional-looking seals around your home. We’ll cover easy techniques, the right tools, and common mistakes to avoid, making your DIY caulking projects a breeze.
Ever look at a seam in your bathroom or kitchen and see cracked, peeling, or just plain ugly caulk? You’re not alone! It’s a common sight in many homes, and it can make even the nicest space look a bit neglected. But don’t worry, fixing caulking is a surprisingly simple DIY task that anyone can master. With just a few clever tricks and the right approach, you can achieve a clean, seamless finish that looks like a pro did it. This guide will walk you through everything you need to know to tackle those pesky caulk lines with confidence. Get ready to say goodbye to messy jobs and hello to beautiful, watertight seals!
Why Does Caulking Fail and How to Fix It
Caulking is your home’s unsung hero, creating a watertight barrier against moisture, drafts, and pests. It seals gaps around windows, doors, bathtubs, sinks, and backsplashes. However, over time and with exposure to temperature changes, humidity, and movement, caulk can degrade. It might crack, shrink, pull away from surfaces, or even develop mold and mildew.
These issues not only compromise its effectiveness but also detract from your home’s appearance. Fortunately, these problems are almost always fixable with the right techniques and a little patience. Understanding why caulk fails helps us prevent future issues and perform better repairs.
Common Causes of Caulk Failure:
- Drying Out: Water-based caulks can dry out over 5-10 years, becoming brittle.
- Shrinkage: Some cheaper caulks shrink significantly as they cure, pulling away from the gap.
- Poor Application: Not preparing the surface properly or not using enough caulk leads to weak bonds.
- Movement: Houses settle and shift, which can stress the caulk joint and cause it to pull apart.
- Humidity and Mold: High moisture environments, especially in bathrooms, can lead to mold growth within or on the caulk.
- Wrong Type of Caulk: Using interior caulk in a high-moisture exterior area or a rigid caulk where flexibility is needed.
The good news is that fixing these issues is straightforward. The process usually involves removing the old caulk and applying new, high-quality caulk. We’ll break down each step to make it feel effortless. Let’s get started by gathering your tools!
Essential Tools and Materials for Effortless Caulking
Before you even think about squeezing a tube, having the right tools makes all the difference. Think of this as your caulking toolkit. Having these items on hand will ensure you can handle any caulking task smoothly and efficiently. We’ll also touch on what to look for in good quality caulk.
Your Caulking Toolkit Checklist:
- Utility Knife or Caulk Removal Tool: For cutting and scraping away old caulk. A dedicated caulk tool often has multiple blades for different tasks.
- Putty Knife or Scraper: Helpful for removing stubborn old caulk residue.
- Rubbing Alcohol or Mineral Spirits: To clean the surface and remove any residual caulk or contaminants.
- Clean Rags or Paper Towels: For wiping down surfaces and cleaning up excess caulk.
- Painter’s Tape (Optional but Recommended): For creating crisp, straight lines.
- Caulking Gun: The tool that dispenses the caulk from the tube. Look for one with an easy-release trigger and a smooth rod.
- High-Quality Caulk: Choose the right type for your project (e.g., 100% silicone for bathrooms/kitchens, paintable acrylic latex for trim).
- Caulk Finishing Tool or Finger: For smoothing the bead of caulk. A damp finger is a classic for a reason!
- Gloves: To protect your hands from caulk and cleaning solvents.
- Bucket of Water (for latex/acrylic caulk): For cleaning up water-based caulks and dampening your finger or tool.
Choosing the Right Caulk:
This is crucial! Using the wrong type of caulk can lead to premature failure. Here’s a quick guide:
| Caulk Type | Best For | Pros | Cons |
|---|---|---|---|
| 100% Silicone | Bathrooms, kitchens, high-moisture areas, windows, doors. | Excellent water resistance, flexible, durable, mold/mildew resistant. | Difficult to clean up (requires mineral spirits), cannot be painted, can be sticky to apply. |
| Acrylic Latex with Silicone (Vinyl-reinforced) | General interior gaps, trim, baseboards, windows, doors (where painting is desired). | Easy to clean up with water, paintable, good flexibility and adhesion. | Less durable than pure silicone, may shrink more, less water-resistant over time. |
| Paintable Caulk (often acrylic latex based) | Anywhere you need to paint over the caulk, interior trim, window frames. | Can be painted to match surrounding surfaces, easy cleanup. | Needs to be applied neatly to avoid primer/paint seepage, can still show imperfections. |
For most DIYers tackling common household seals like around tubs or sinks, a high-quality 100% silicone caulk with mildew resistance is often the top choice due to its superior water protection and longevity. If you plan to paint over the caulk, an acrylic latex caulk designed to be paintable is your go-to.
Step-by-Step: Effortless Caulk Removal
This is arguably the most important step for a great finish. No matter how beautifully you apply new caulk, old, grubby caulk underneath will ruin the look. So, let’s get it all out!
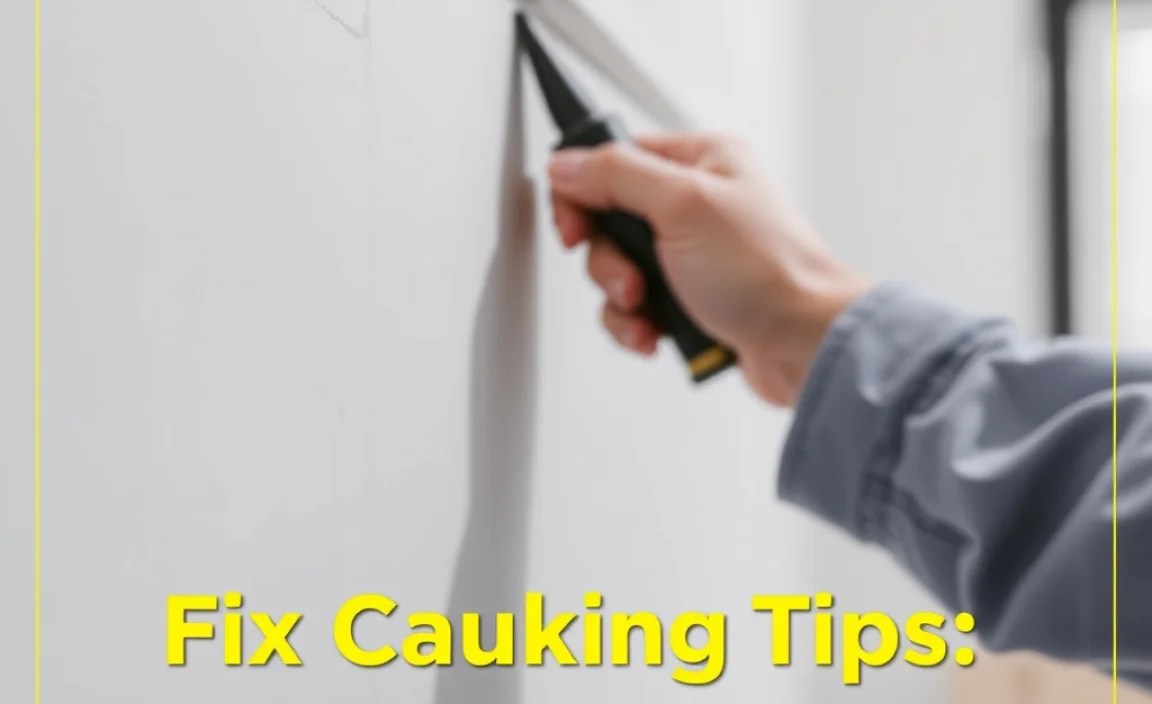
Step 1: Cut Away the Old Caulk
Start by using your utility knife or caulk removal tool to carefully cut along the edges of the old caulk bead. You want to cut into the caulk itself, not the surrounding material (like tile grout or drywall). Make a shallow cut deep enough to sever the caulk from its bond.
Step 2: Scrape and Peel
Once you’ve cut along both sides of the caulk line, use the pointed end of your caulk tool, a putty knife, or even your gloved fingers to start peeling or scraping away the old caulk. Work slowly and try to remove it in as few pieces as possible. A dedicated caulk removal tool often has a hook or blade designed to get under the caulk and pull it out cleanly.
Step 3: Clean Up Residue
There will likely be small bits and pieces of old caulk left behind. Use your putty knife or scraper to gently remove these. Be careful not to scratch the surfaces. For stubborn residue, a bit of rubbing alcohol or mineral spirits (depending on the caulk type you’re removing) on a rag can help loosen it up. Always follow the safety instructions for any solvents you use, ensuring good ventilation. You can learn more about safe solvent use from the U.S. Environmental Protection Agency (EPA) at epa.gov.
Step 4: Final Surface Prep
Wipe the entire gap and surrounding area with a clean, damp cloth to remove any dust or debris. For silicone removal, you might use mineral spirits on a rag for a final wipe down to ensure no silicone residue remains, as new silicone won’t adhere to old silicone. If you used latex or acrylic caulk, rubbing alcohol is a good final cleaner. Ensure the surface is completely dry before applying new caulk. This preparation is key to getting new caulk to stick well and last.
Mastering the Art of Applying New Caulk

Now for the fun part – applying the new bead of caulk! This is where those “genius” tips really shine, turning a potentially messy job into a surprisingly neat one. The goal is a consistent, smooth bead that fills the gap perfectly.
Step 1: Prepare Your Caulk Tube
Every caulk tube has a tip that needs to be cut. Using sharp scissors or a utility knife, cut the very tip of the nozzle at a 45-degree angle. Start by cutting just a small amount off. You can always cut more, but you can’t put it back! You want an opening that’s about the same width as the gap you’re filling. If the tube has a “trigger” or “cut wire” inside, you might need to puncture that as well. Many caulk guns have a small spike for this purpose.
Step 2: Load the Caulk Gun
Pull back the plunger rod on your caulk gun. Insert the caulk tube, nozzle first, into the gun’s chamber. Push the plunger rod firmly back against the base of the tube. Release the pressure release lever (usually at the back of the gun) to prevent caulk from extruding when you’re not squeezing the trigger.
Step 3: Practice Your Bead
Before you hit the target area, practice on a piece of scrap cardboard. This helps you get a feel for the trigger pressure and how much caulk comes out. Aim for a consistent bead. Squeeze the trigger gently and move the gun steadily.
Step 4: Apply the Caulk with Painter’s Tape (Optional but Recommended for Beginners)
For super crisp lines, apply painter’s tape on either side of the gap, about 1/8 inch away from the edge of the gap itself. This creates a clean channel for your caulk. Ensure the tape is pressed down firmly to prevent caulk from seeping underneath. This is a game-changer for beginners!
Step 5: The Steady Squeeze
Place the tip of the caulk tube at the beginning of the gap, holding the gun at a 45-degree angle. Apply steady, consistent pressure to the trigger. Move the gun slowly and deliberately along the gap, keeping the tip in contact with the surface. Try to maintain a consistent distance from the surface and a steady speed. Work in sections, about 2-3 feet at a time. Release the trigger and then press the release lever on the gun to stop the flow.
Step 6: Smooth the Bead
This is where the magic happens! For latex or acrylic caulk, dampen your finger with water and gently run it along the bead of caulk. The goal is to push the caulk into the gap and smooth the surface. Wipe your finger on a damp rag frequently. Alternatively, you can use a dedicated caulk finishing tool, which offers various profiles for smoothing. For silicone caulk, dip your finger in a mild soap and water solution (it acts as a lubricant and makes cleanup easier) and smooth as you would with latex caulk.
Step 7: Remove Excess Caulk and Tape (Promptly!)
Immediately after smoothing, carefully remove any excess caulk from your finger or tool. If you used painter’s tape, peel it off slowly and at an angle while the caulk is still wet. Pulling it off too late can pull the caulk bead with it. The results will be a beautiful, clean line!
Genius Tips for a Perfect Finish Every Time
Beyond the basic steps, there are some little tricks that can elevate your caulking game from amateur to expert. These tips focus on efficiency, neatness, and getting a professional look with minimal fuss.
Tip 1: The “Reverse Bevel” Technique (for wider gaps)
If you have a wider gap, like in some older homes, applying caulk straight on might look too bulky. Try holding your caulk gun at a steeper angle (closer to 30 degrees from the surface) and pushing the caulk into the joint. Then, when smoothing, use a tool or your finger to create a concave surface that nestles into the gap. This looks more integrated.
Tip 2: Always Work in One Direction
When applying caulk, commit to a direction and stick with it. Trying to go back and forth can create an uneven bead. If you make a mistake, it’s better to stop, clean up that section, and restart.
Tip 3: Consistent Pressure is Key
The pressure on your caulk gun trigger and the speed at which you move the gun are the two biggest factors in creating an even bead. Practice on scrap materials until you find that sweet spot where caulk is flowing steadily and your movement is smooth.
Tip 4: Don’t Over-Smooth
While smoothing is essential, going over the bead too many times can actually make it worse. It can smear the caulk too thinly in places and leave an uneven texture. Aim for one or two smooth passes.
Tip 5: Clean Up While It’s Wet!
This is a golden rule. Wet caulk is easy to wipe away with a damp cloth or sponge. Dried caulk requires scraping and a lot more effort. Have your damp rags and a bucket of water (for latex/acrylic) or your mineral spirits (for silicone) ready to go. For more information on cleaning and safety, the National Institute for Occupational Safety and Health (NIOSH) offers excellent household safety tips.
Tip 6: The Glove Trick for a Smooth Finish
For a super-smooth finish, wear a disposable glove. After applying the caulk, dip your index finger in water (or mild soapy water solution for silicone) and run it along the bead. The glove prevents caulk from sticking to your skin and makes cleanup a breeze. You can achieve a professional-looking concave surface this way.
Tip 7: Use a Caulk Finishing Tool
While a finger works, dedicated caulk finishing tools can provide more consistent results and different profiles. They come with various shapes and edge sizes, allowing you to create perfect concave, flat, or even slightly rounded beads. They can be found at any hardware store and are inexpensive.
Tip 8: Understand Curing Times
New caulk needs time to cure. This is when it hardens and becomes ready for exposure to water or paint. Always check the caulk manufacturer’s instructions for specific curing times. For areas like showers, this might mean waiting 24-72 hours before exposing it to water. Failure to let it cure can lead to the caulk washing away.
Common Caulking Mistakes to Avoid
Even with the best intentions and tools, a few common pitfalls can trip up even experienced DIYers. Being aware of these can save you a lot of frustration and ensure your caulking job looks great and lasts longer.
| Mistake | Why It’s a Problem | How to Avoid It |
|---|---|---|
| Not removing all old caulk | New caulk won’t adhere properly to old caulk, leading to peeling and gaps. It also looks layered and unprofessional. | Be thorough during the removal process. Use a dedicated caulk removal tool to scrape every bit away. |
| Cutting the caulk tip too wide | Results in too much caulk being applied, making it difficult to control and smooth, leading to messy edges. | Start by cutting a small opening at a 45-degree angle. You can always cut more if needed. Aim for an opening slightly smaller than the gap. |
| Applying caulk too quickly | Leads to an uneven bead, inconsistent thickness, and potential “skips” or bulges. | Move the caulk gun at a steady, slow pace. Practice on scrap material to get a feel for the right speed. |
| Not smoothing the bead adequately | Leaves a ridged or uneven surface that looks messy and doesn’t create a good seal. | Smooth the caulk bead immediately after application with a damp finger, damp cloth, or a caulk finishing tool. |
| Leaving painter’s tape on too long | If you leave it until the caulk is mostly dry, it can lift the caulk and leave a ragged edge. | Remove painter’s tape slowly and at an angle immediately after smoothing the caulk bead, while it’s still wet. |
| Using the wrong type of caulk | Silicone caulk can’t be painted, and interior caulk won’t hold up in high-moisture or outdoor conditions. | Always check the label to ensure the caulk is suitable for the specific application (e.g., bathroom, exterior, paintable, mildew-resistant). |
| Not allowing caulk to cure properly |
