
Fixing a mirror step by step is straightforward with the right guidance. This guide provides clear, actionable instructions for common mirror issues, empowering you to tackle repairs safely and effectively, restoring your mirror’s clarity and function.
Cracked or damaged mirrors can be a real bummer! Whether it’s a small chip in your bathroom vanity mirror or a more significant crack in a decorative wall piece, it’s easy to feel a bit frustrated. But don’t worry, you don’t always need a professional for every mirror mishap. With a few simple tools and this easy-to-follow guide, you can learn how to fix a mirror step by step. We’ll walk you through assessing the damage, choosing the right repair method, and safely completing the fix, so you can get back to enjoying your reflection without the distraction.
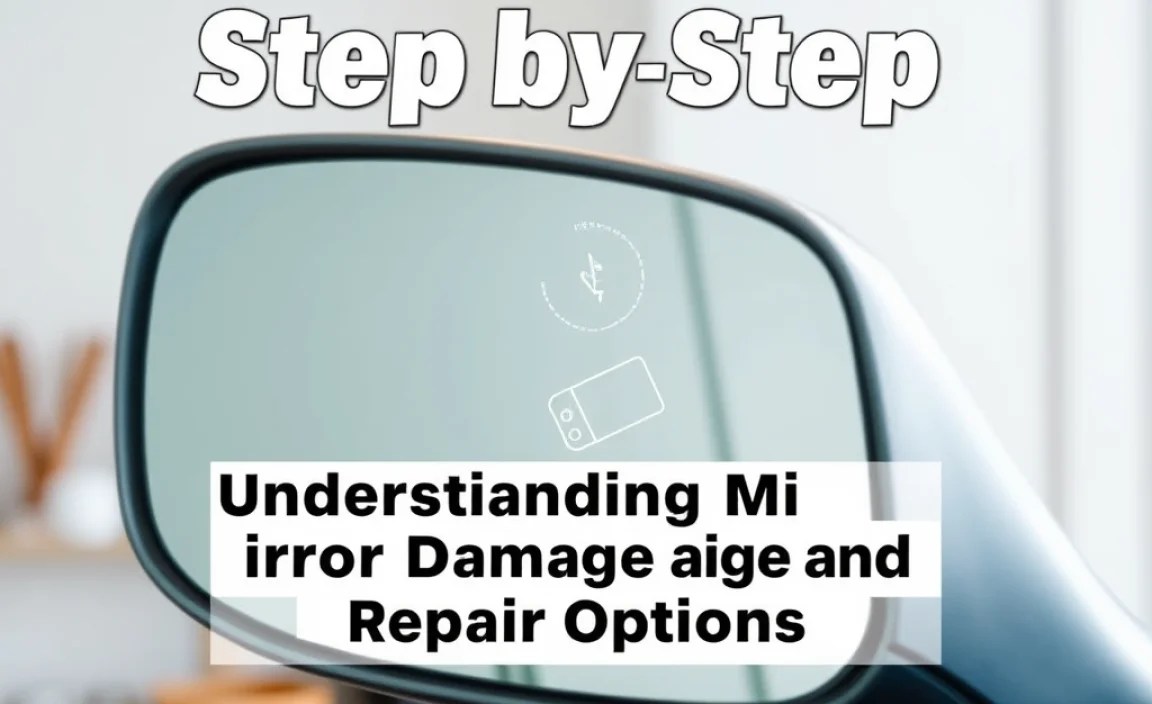
Understanding Mirror Damage and Repair Options
Before we dive into the “how-to,” it’s important to understand the different types of mirror damage you might encounter and which repair methods are suitable for beginners. Not all damage is fixable for a DIYer, but many common issues can be addressed with a little patience and the right approach.
Common Mirror Problems
- Scratches: These are surface-level imperfections that can range from minor abrasions to deeper grooves.
- Chips: These are small pieces of glass that have broken away from the edge or surface.
- Cracks: These are breaks in the glass, varying in severity from hairline fractures to large, spiderweb-like patterns.
- Fogging/Discoloration on Edges: Often seen in older frameless mirrors, this is usually due to moisture seeping into the silvering layer.
- Loose Mirror from Wall: The adhesive or clips holding the mirror might fail, causing it to sag or become detached.
Repair Method Suitability
For beginners, focusing on scratches and very minor edge chips is the most advisable. Deeper cracks can be cosmetically improved but may not be completely invisible. Fogging on the edges is often a sign of irreversible damage to the silvering, and a full replacement might be the only true “fix.” A loose mirror requires addressing the mounting, which is a different kind of repair but still achievable.
When to Call a Professional
- Large cracks that compromise the mirror’s integrity.
- Significant shattering or missing pieces.
- Mirrored furniture or intricate mirror designs where DIY repair could cause more damage.
- If you’re uncomfortable or unsure about any step. Safety first!
Essential Tools and Materials for Mirror Repair
Gathering the right tools before you start is crucial for a smooth and successful repair. Here are the common items you might need, depending on the type of repair you’re undertaking:
Tool and Material Checklist
- Safety Glasses: Absolutely essential to protect your eyes from glass shards.
- Gloves: Sturdy work gloves to prevent cuts.
- Soft, Lint-Free Cloths: For cleaning and applying polishes. Microfiber cloths are ideal.
- Glass Cleaner: For a spotless finish.
- Rubbing Alcohol: For degreasing and preparing surfaces.
- Masking Tape: To protect surrounding areas and to help secure glass.
- Mirror Repair Kit (for scratches/chips): These usually contain a special resin or polishing compound.
- Epoxy Adhesive (for chips): Clear, strong adhesive specifically for glass.
- Clear Nail Polish (temporary fix for hairline cracks): A common household item that can prevent minor cracks from spreading.
- Razor Blade Scraper: For removing old adhesive or stubborn marks.
- Putty Knife or Spatula: For applying adhesives or fillers.
- Drill with appropriate bits (for re-mounting): If your mirror is loose and needs new mounting points.
- Mirror Clips or Adhesive Strips: For re-securing a mirror.
- Denatured Alcohol or Acetone: For cleaning surfaces before applying adhesive.
Step-by-Step Guide: Fixing Mirror Scratches
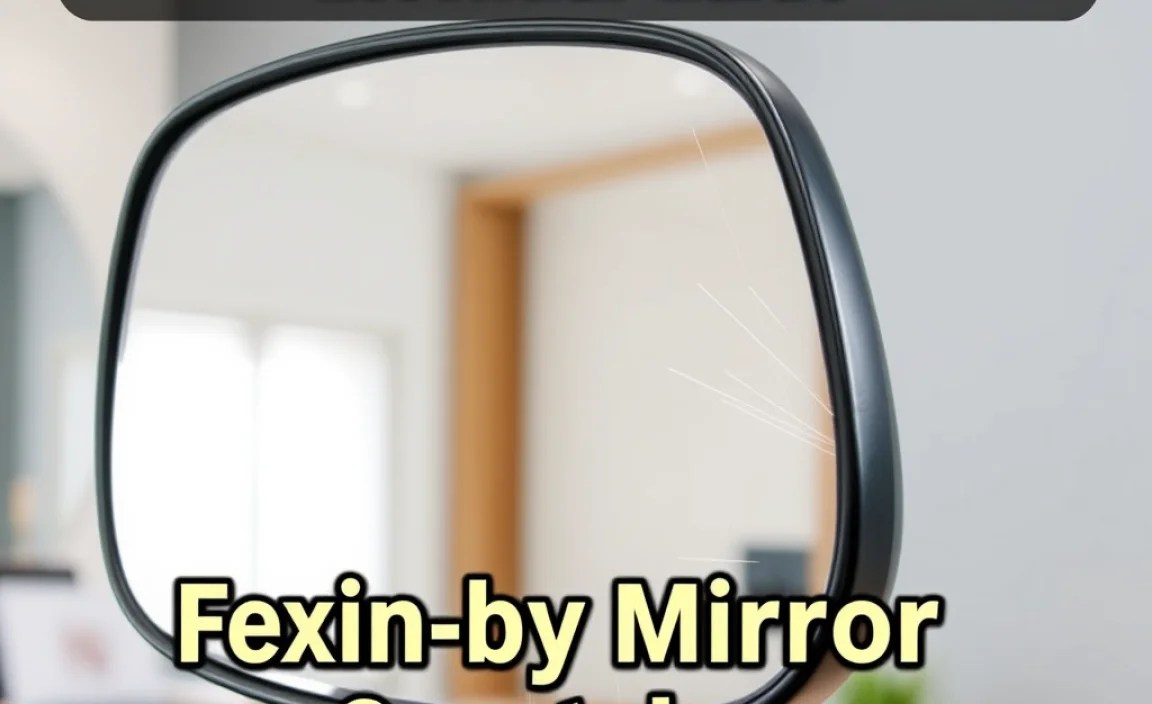
Minor scratches on the surface of a mirror can often be buffed out, making the surface look like new. This is one of the most accessible DIY mirror repairs.
Step 1: Clean the Mirror Thoroughly
Before you do anything, you need a perfectly clean surface. Any dirt or debris can cause more scratches during the repair process. Spray your mirror with a good quality glass cleaner and wipe it down with a soft, lint-free cloth until it’s spotless. Pay attention to the area around the scratch. For tougher grime, you might need to use a little rubbing alcohol.
Step 2: Assess the Scratch
Run your fingernail gently over the scratch. If your nail catches on it, it’s a deeper scratch, and a DIY repair might be only partially successful or not possible. If your nail glides over it smoothly, it’s likely a surface scratch that can be polished out.
Step 3: Choose Your Polishing Method
There are a few common DIY options for polishing out mirror scratches:
- Toothpaste: Non-gel, white toothpaste (like Crest or Colgate) contains fine abrasives that can gently polish the glass.
- Baking Soda Paste: Mix baking soda with a little water to form a paste similar in consistency to toothpaste.
- Metal Polish: Some automotive metal polishes can work on glass, but test in an inconspicuous spot first.
- Dedicated Glass Polish/Scratch Remover Kit: These are specifically designed for this purpose and often yield the best results. You can find them at hardware stores or online. For instance, brands like Cerium Oxide polishing kits are highly effective for deeper scratches but require more careful application.
Step 4: Apply the Polishing Compound
Apply a small amount of your chosen polishing compound directly onto a soft, lint-free cloth. You don’t need a lot; a dab the size of a dime is usually sufficient.
Step 5: Gently Buff the Scratch
Using a circular motion, gently buff the scratched area. Apply light to moderate pressure. The key here is patience and gentle, consistent motion. Don’t scrub aggressively, as this can create more abrasion. Work the compound into the scratch for several minutes. You want to let the abrasive in the polish do the work.
Step 6: Clean and Inspect
Wipe away the polishing compound with a clean, damp cloth. Then, dry the area with another clean, dry cloth. Inspect the mirror under good light. If the scratch is still visible, repeat steps 5 and 6. For deeper scratches, you might need multiple applications or a more aggressive polish.
Step 7: Final Cleaning
Once you’re satisfied with the result, clean the entire mirror again with glass cleaner to ensure a uniform shine and no residue from the polishing compound.
Step-by-Step Guide: Fixing Small Mirror Chips
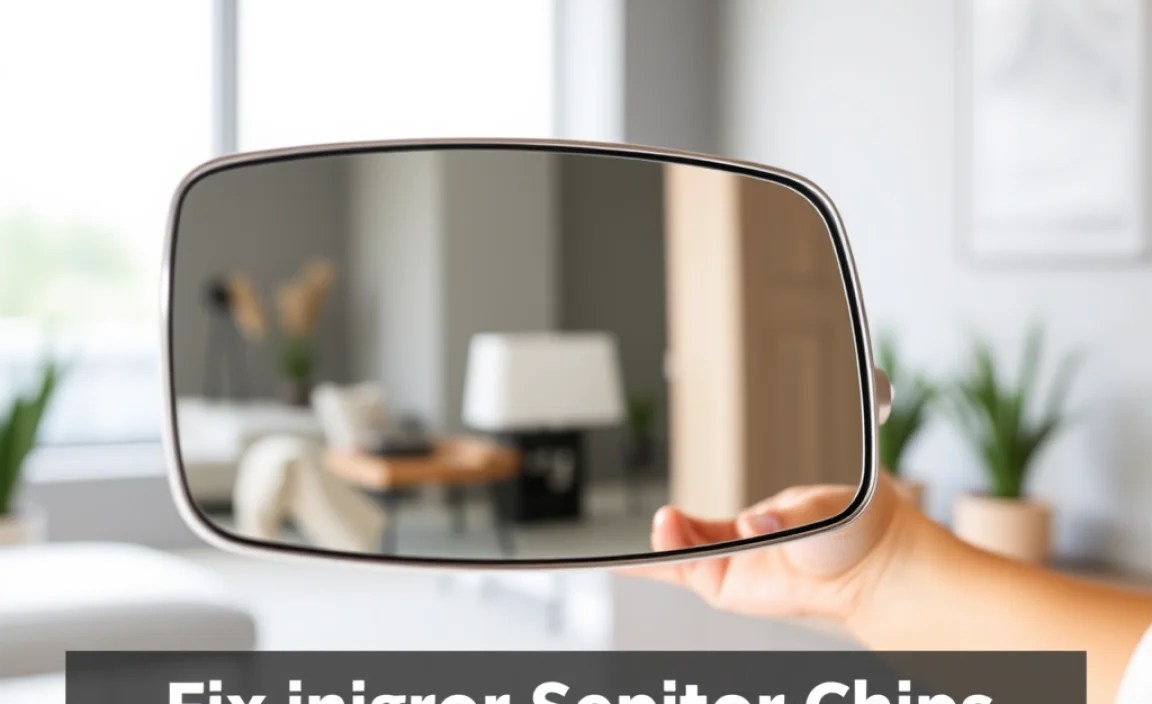
Small chips along the edge of a mirror can sometimes be filled to make them less noticeable and prevent them from snagging. This usually involves a clear adhesive.
Step 1: Ensure Safety First!
Put on your safety glasses and sturdy gloves. Any time you’re dealing with glass, especially chipped or broken glass, protection is paramount. Make sure the area is well-lit and clear of obstructions.
Step 2: Clean the Chipped Area
Gently clean the chipped area with glass cleaner and a lint-free cloth. You need to remove any dust, debris, or loose glass fragments. You might also want to use a bit of rubbing alcohol on a cotton swab to ensure the area is completely clean and dry.
Step 3: Prepare the Chip
If there are any particularly sharp or loose slivers of glass, you can try to carefully remove them with tweezers. Just be very gentle not to widen the chip or create more damage. The goal is to have a relatively smooth cavity to fill.
Step 4: Choose Your Filler
For small chips, a clear epoxy adhesive or a specialized glass repair kit resin is your best bet. Look for products that are specifically designed for glass and are clear once cured. Some windshield repair kits can work well for this, as the resin formula is designed to bond glass and fill small voids.
Step 5: Apply the Adhesive/Resin
Follow the instructions on your chosen repair product. Typically, you’ll apply a small amount of the adhesive or resin directly into the chip. Some kits come with a small applicator tip or a syringe to help with precise application. If using a two-part epoxy, mix it according to the product’s instructions before applying.
Step 6: Level and Cure
Gently spread the adhesive to ensure it fills the entire void of the chip. You want it to be as flush as possible with the mirror’s surface. Some kits come with small plastic films or tools to help level and cure the resin. If using a simple epoxy, try to keep it within the chip area. Allow the adhesive to cure completely according to the product’s instructions. This might take several hours or even a full day. Do not touch or disturb it during this time.
Step 7: Remove Excess and Buff (If Necessary)
Once cured, you may have a slight raised area. Some repair kits include a small razor blade to carefully scrape away any excess resin that protrudes beyond the surface. Be extremely careful during this step to avoid scratching the surrounding glass. If there’s a slight haze or imperfection, you can very gently buff the area with a fine-grit polishing compound specifically for glass, similar to how you’d polish a scratch, but be very cautious.
Step 8: Final Clean
Clean the entire mirror with glass cleaner to remove any residue and achieve a perfect finish.
Step-by-Step Guide: Temporarily Stabilizing Hairline Cracks

Hairline cracks, while often unfixable to a completely invisible state, can sometimes be stabilized to prevent them from spreading. This is especially useful for decorative mirrors where a full replacement isn’t immediately desired.
Step 1: Safety First!
As always, wear gloves and safety glasses. Even hairline cracks can have very fine, sharp edges.
Step 2: Clean the Crack Area
Using glass cleaner and a lint-free cloth, carefully clean the area around the crack. You want to remove all dust and oils. For precision, use a cotton swab dipped in rubbing alcohol to clean directly along the crack line, then let it dry completely.
Step 3: Choose Your Stabilizer
The most common DIY method for temporarily stabilizing a hairline crack is clear nail polish. Ensure it’s clear and not a colored polish. Some specialized clear glues or resins for glass might also work, but nail polish is easily accessible.
Step 4: Apply the Nail Polish (or Adhesive)
Carefully apply a thin layer of clear nail polish directly over the crack. Try to get it to seep into the crack line itself. A fine-tipped brush or the applicator from the nail polish bottle works well. You can also use masking tape to create a dam on either side of the crack to help contain the polish, but be cautious about the tape adhering too strongly to the glass and causing damage when removed.
Step 5: Let it Cure
Allow the nail polish to dry and cure completely. This can take a few hours. Avoid touching or putting any pressure on the crack during this time.
Step 6: Inspect
Once dry, the nail polish should provide a clear, protective layer over the crack. It helps to seal the edges and prevent them from snagging or spreading further. This is a cosmetic fix and won’t make the crack disappear, but it can offer peace of mind for a while.
Step-by-Step Guide: Re-securing a Loose Mirror
If your mirror is hanging on the wall and feels loose, it’s important to secure it properly for safety. This usually involves checking the mounting clips or adhesive.
Step 1: Assess the Situation
Carefully observe how the mirror is attached. Is it held by clips? Does it have adhesive backing? Is it leaning against a frame, or is it mounted directly to the wall? Gently try to wiggle the mirror to determine where the looseness is coming from. If the mirror feels heavy and is significantly detached, you might need assistance to hold it steady while you work.
Step 2: Safety First!
Wear gloves and safety glasses. If the mirror is significantly loose, enlist a helper to support the weight of the mirror while you work. If you are at all concerned about the mirror falling, remove it from the wall entirely and re-mount it when you are better prepared.
Step 3: Inspect the Mounts
- Mirror Clips: If clips are used, check if they are securely screwed into the wall and if the mirror is properly seated within them. Sometimes a clip might have become loose from the wall stud, or the mirror might have slipped out.
- Adhesive: Many frameless mirrors are attached with strong double-sided mirror adhesive tape or adhesive strips specifically designed for mirrors. Check if the tape is peeling away from the mirror or the wall.
- Mounting Bracket/Frame: Some mirrors hang on a bracket or a frame. Ensure the bracket/frame is securely attached to the wall and the mirror is properly seated in it.
Step 4: Tighten or Re-secure
- For Clips: If clips are loose from the wall, try tightening the screws. If the screws are stripped or not hitting a stud, you may need to use wall anchors suitable for the weight of the mirror or relocate the clip to a stud. If the mirror has simply slipped, carefully lift it and reset it into the clips, ensuring it’s fully engaged.
- For Adhesive: If the adhesive is failing, you will likely need to remove the mirror (with help!) and clean off the old adhesive from both the mirror and the wall. Then, apply new, high-strength mirror adhesive tape or strips, following the manufacturer’s instructions precisely. Press firmly and allow adequate curing time before hanging the mirror back up. For very large or heavy mirrors, clips are often used in conjunction with adhesive for maximum safety.
- For Brackets/Frames: Tighten any screws holding the bracket or frame to the wall. Ensure the mirror is properly settled and locked into place on its mount.
Step 5: Test for Stability
Once you’ve tightened or re-secured the mirror, gently test its stability again. Ensure it feels firm and secure against the wall. If you have any doubts, it’s better to add an extra clip or more adhesive, or consult with a professional.
For reliable wall mounting, especially for anything heavier than a few pounds, locating wall studs is highly recommended. You can use a stud finder for this. Mounting directly into a stud provides the strongest anchor. If a stud isn’t available in the perfect spot, use appropriate heavy-duty wall anchors rated for the mirror’s weight. The U.S. Consumer Product Safety Commission (CPSC) offers great resources and tips on furniture and tip-over restraints, which are also relevant for ensuring mirrors are safely secured to walls.
Table: Common Mirror Repair Scenarios and Solutions
Here’s a quick rundown of common issues and their typical DIY solutions:
| Mirror Problem | DIY Solution | Difficulty Level | Notes |
|---|---|---|---|
| Surface Scratches | Toothpaste, baking soda paste, glass polish kit | Easy | Requires patience; test polish in an inconspicuous area first. |
| Small Edge Chips | Clear epoxy adhesive, glass repair resin kit | Medium | Clean thoroughly; ensure filler is clear and cures properly. |
| Hairline Cracks (Stabilization) | Clear nail polish, specialized clear glue | Easy | Temporary cosmetic fix; won’t make crack disappear. |
| Loose Mirror (Clips) | Tighten screws, use wall anchors, reset mirror | Medium | Check for wall studs; ensure clips are rated for mirror weight. |
| Loose Mirror (Adhesive) | Remove, clean, reapply mirror adhesive tape/strips | Medium-Hard | Requires careful removal and precise reapplication. Might need help. |
| Edge Fogging/Discoloration | No DIY fix | N/A | This is usually delamination of the silvering; requires replacement. |
Tips for a Professional Finish
Achieving a professional-looking repair isn’t just about the steps; it’s also about the attention to detail. Here are some tips to elevate your DIY mirror fixes:
- Lighting is Key: Work in a well-lit area. This helps you see every imperfection, scratch, or chip clearly, ensuring you don’t miss any spots.
- Work in Sections: For larger mirrors, focus on one section at a time.
