
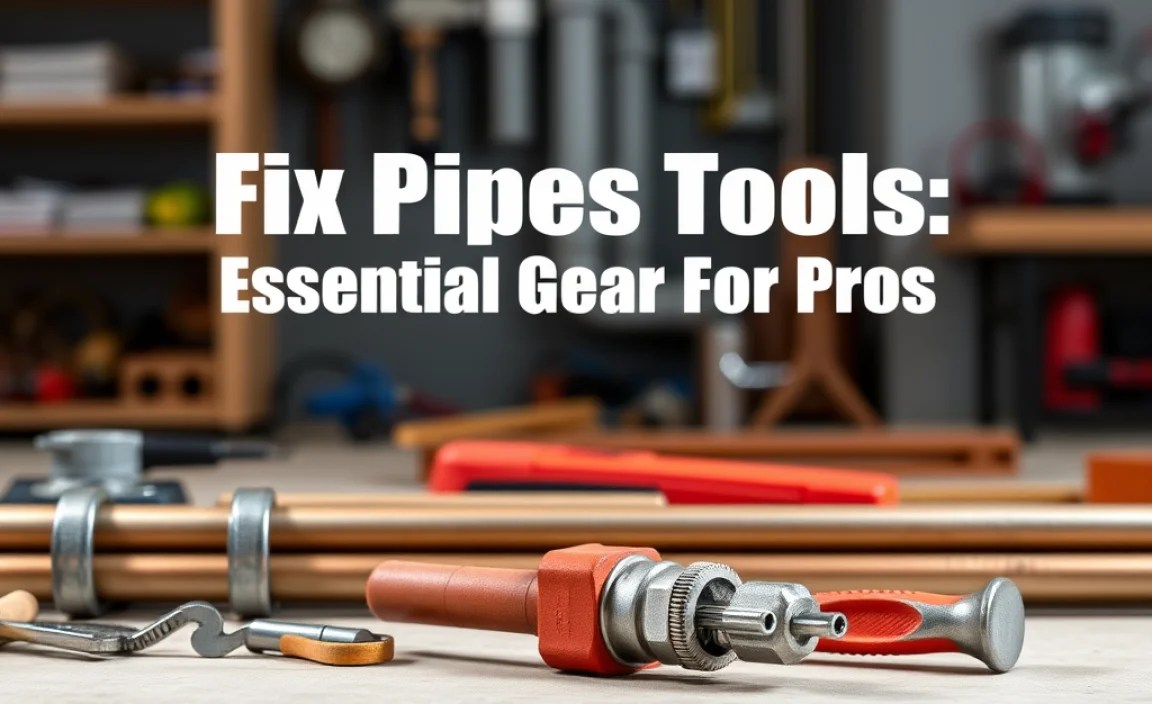
Need to fix pipes? Essential tools like pipe wrenches, cutters, and pliers are your best friends. Understanding and having the right gear makes any pipe repair job smoother, safer, and more effective, even for beginners. Let’s get you equipped to handle those leaky pipes like a pro!
Dealing with a leaky pipe can feel like a plumbing emergency. Water dripping, puddles forming – it’s enough to make anyone stress. But what if I told you that with the right tools, fixing pipes isn’t as scary as it sounds? Many common pipe issues can be tackled by a DIYer, and having the correct gear is the first step to a successful fix. This guide will walk you through the must-have tools, from essential wrenches to clever cutters, helping you build confidence and capability for any pipe repair job. Let’s explore the essential gear that turns a daunting task into a manageable project.
The Foundation of Pipe Repair: Essential Tools for Every Toolbox

When it comes to fixing pipes, having the right tools makes all the difference. It’s not just about having a tool; it’s about having the correct tool for the job. This ensures a clean, leak-free repair and prevents further damage. For DIYers and seasoned pros alike, a well-equipped toolbox is key to efficiency and success. We’ll break down the essential gear you need.
1. Pipe Wrenches: The Gripping Champions
Pipe wrenches are the workhorses for any pipe-related task. Their design allows them to grip round objects like pipes securely, providing the torque needed to tighten or loosen fittings. They come in various sizes, typically measured by the length of the handle. It’s good to have a couple of different sizes to handle different pipe diameters and work in tight spaces.
- Straight Pipe Wrenches: These are the most common type. They have straight jaws that are ideal for working on pipes in straight runs.
- Offset Pipe Wrenches: Their angled jaws are fantastic for reaching pipes in awkward or confined areas, like under sinks or behind toilets.
Key Features to Look For:
- Sturdy Construction: Look for forged steel for durability.
- Adjustable Jaw: A smooth-operating adjustment mechanism is crucial for quick changes between pipe sizes.
- Teeth Grip: Deep, sharp teeth provide excellent holding power without damaging the pipe excessively if used correctly.
Pro Tip: Always use two pipe wrenches when loosening or tightening – one to hold the pipe or fitting steady and the other to turn. This prevents undue stress on the connected pipes, minimizing the risk of leaks elsewhere.
2. Pipe Cutters: For Clean, Precise Cuts
Making a clean cut on a pipe is vital for a proper connection. Jagged edges can lead to leaks and improper fitting. Pipe cutters are designed to provide just that – a clean, straight cut every time. The type of cutter you need often depends on the material of the pipe you’re working with.
- Tubing Cutters: These are perfect for smaller diameter copper, brass, or aluminum tubing. They have a small cutting wheel that scores the pipe as you rotate it.
- Ratchet Pipe Cutters: Great for plastic pipes (like PVC, PEX, or ABS). They work like a ratchet, allowing you to close the jaws around the pipe and squeeze until it cuts through.
- Wheel Pipe Cutters: Designed for larger diameter pipes, including metal ones. They have a single cutting wheel and one or two rollers.
Using a Pipe Cutter Effectively:
- Measure and Mark: Accurately measure where you need to cut and make a clear mark.
- Position the Cutter: Place the cutting wheel on your mark.
- Tighten and Rotate: Tighten the cutter slightly, then rotate it around the pipe.
- Repeat: Tighten a little more with each rotation until the pipe is cut through.
Safety First: Always wear safety glasses. Small metal shavings or plastic debris can fly off during cutting.
3. Pliers: The Versatile Helpers
While not exclusively “pipe tools,” pliers are indispensable. They provide grip, can bend or straighten small sections, and hold components. Different types of pliers offer unique advantages for plumbing tasks.
- Channel Lock Pliers (also known as Groove Joint Pliers): These are similar to pipe wrenches in their gripping ability but are typically used for larger, non-threaded fittings or in situations where a pipe wrench might be too bulky. The adjustable groove allows for a wide range of gripping sizes.
- Slip-Joint Pliers: A good all-around plier for various tasks, including gripping nuts and bolts or holding small pieces.
- Needle-Nose Pliers: Excellent for reaching into tight spots to grab small fittings or wires.
When to Choose Which:
- Use channel locks for non-threaded fittings or when a strong, adjustable grip is needed on a wider variety of shapes.
- Slip-joint pliers are for basic gripping and general utility.
- Needle-nose pliers are for delicate work in confined spaces.
4. Tube Benders: For Smooth, Kink-Free Bends
If you’re working with soft metal tubing, like copper or soft brass, you’ll want a tube bender. These tools are essential for creating smooth bends without kinking or collapsing the pipe. A kink restricts water flow and weakens the pipe, leading to potential future problems. Tube benders come in various forms, from simple manual levers to more complex hydraulic types.
- Internal Benders: Inserted into the pipe, these are good for precision.
- External Benders: These clamp onto the outside of the pipe.
- Lever-Type Benders: The most common for DIYers, they use a handle to create the bend against a calibrated guide.
Tip: Always ensure you are bending the correct type of tubing with the corresponding bender. Trying to bend hard copper with a soft-copper bender will likely result in failure.
5. Soldering and Brazing Tools (for Copper Pipes)
For copper pipe connections that require a permanent, watertight seal, soldering or brazing is often necessary. This involves heating the joint and melting a filler material (solder for plumbing, or a stronger alloy for brazing) that flows into the gap, creating a robust connection.
- Propane Torch: A reliable heat source. Make sure it has a good flame control.
- Lead-Free Solder: Essential for potable water systems. Always check local plumbing codes for approved materials.
- Flux: Applied to the pipe and fitting surfaces to clean them and help the solder flow.
- Sandpaper or Emery Cloth: To clean the pipe and fitting surfaces thoroughly before joining.
- Wire Brush: For cleaning the outside of fittings and inside of pipes.
- Damp Rag: To cool the joint quickly and prevent damage.
Importance of Cleaning: Flawless soldering starts with immaculate surfaces. Any dirt, grease, or oxidation on the copper will prevent the solder from adhering properly, leading to a weak joint. For a deeper dive into making these connections, resources like the Copper Development Association offer excellent technical guidance.
6. Thread Sealant and Pipe Dope: For Watertight Threads
When joining pipes with threaded connections (like those on fixtures or some types of pipe), you need a way to seal the threads. This prevents leaks. You have a couple of key options:
- Pipe Thread Sealant (Pipe Dope): A paste-like substance applied to the male threads. It lubricates the threads for easier tightening and fills in any microscopic gaps to create a seal. Some are plumber’s putty based, while others are PTFE (Teflon) based.
- PTFE Tape (Teflon Tape): A thin, white tape wrapped around the male threads. It also lubricates and seals threads. It’s generally easier to use for beginners.
How to Apply:
- For PTFE Tape: Wrap the tape around the male threads 2-3 times in a clockwise direction (the direction you tighten the fitting).
- For Pipe Dope: Apply a thin, even layer to the male threads, avoiding the first one or two threads at the very end to prevent excess material from squeezing into the pipe opening.
When to Use Which: PTFE tape is often preferred for water lines, while pipe dope can be better for gas lines or situations with more vibration. Always check manufacturer recommendations and local codes.
7. Hacksaw or Reciprocating Saw: For Tougher Cuts
Sometimes, you encounter pipes that are too large or made of materials that a standard pipe cutter can’t handle easily. In these cases, a good old-fashioned hacksaw or a power tool like a reciprocating saw (Sawzall) comes in handy. These are perfect for cutting through galvanized steel pipes, cast iron, or even thick plastic pipes.
- Hacksaw: A manual saw with a fine-toothed blade. It requires some elbow grease but is very controllable. Use a blade designed for metal for best results.
- Reciprocating Saw: A power tool that uses an oscillating blade. With the right blade (metal-cutting or demolition blade), it can make very quick work of tough pipe materials.
Safety Note: When using a reciprocating saw, always ensure the pipe is firmly supported to prevent it from vibrating excessively and creating an uneven cut. Wear heavy-duty gloves and eye protection.
8. Faucet Handle Puller: For Stubborn Fixtures
When dealing with faucets, sometimes the handle is on there pretty tight. Mineral buildup or years of use can cause it to seize up. A faucet handle puller is a specialized tool designed to gently lift the handle straight up, removing it without damaging the faucet or surrounding parts. It uses adjustable arms to grip the handle and a center screw that, when turned, forces the handle to lift off.
9. Basin Wrench: Reaching Awkward Spots
This is another specialty tool that’s a lifesaver for faucet and sink installations or repairs. A basin wrench has a long shaft and a swiveling jaw that can grip nuts in extremely tight and awkward spaces, like the ones found behind a sink or under a bathtub. It allows you to reach bolts and nuts that are impossible to access with standard tools.
Understanding Different Pipe Materials and Their Tools
The tools you need can vary depending on the type of pipe material you’re working with. Here’s a quick rundown:
| Pipe Material | Common Issues | Essential Tools | Notes |
|---|---|---|---|
| Copper | Leaks at joints, corrosion, kinks | Pipe cutters (wheel type), tubing benders, torch, solder, flux, emery cloth, 2 pipe wrenches | Requires soldering/brazing for permanent joints. Can be delicate. Bend slowly and carefully. |
| PVC/CPVC (Plastic) | Cracks, joint leaks, damage from impact | PVC pipe cutters (ratchet or wheel), primer & cement (for joining), utility knife (for small tasks), possibly a hacksaw for larger diameters | Easy to cut and join with solvent cement. Ensure proper curing time. |
| PEX (Cross-linked Polyethylene) | Pinhole leaks, damage from UV or extreme heat/cold | PEX cutters (crimping or expansion tool, depending on fitting type), crimp rings or expansion sleeves, PEX insertion tool | Requires specific PEX tools for connections. More flexible than copper or PVC. |
| Galvanized Steel | Corrosion, rust, leaks at threaded connections | Pipe wrenches (heavy-duty), hacksaw or reciprocating saw (with metal blade), pipe thread sealant, wire brush | Heavy and prone to rust. Threaded connections can be difficult to break loose. |
| Cast Iron | Cracks, corrosion, noise transmission | Hacksaw (with carbide blade), reciprocating saw, band saw, specialized cast iron cutters, rubber couplings and clamps (for joining) | Heavy, brittle. Cutting can be challenging. Usually found in older drainage systems. |
Knowing your pipe material is step one in choosing the right tools and techniques. For example, never try to solder PVC pipes – they will melt! Always verify the material you are working with before you begin.
Advanced Tools and Accessories for the Serious DIYer

Once you’ve mastered the basics, you might consider a few more specialized tools that can make complex plumbing tasks much easier.
1. Drain Snakes and Augers: Clearing Clogs
While not directly for pipe fixing, clogged pipes are a common problem that often leads to needing access to and sometimes repair of the pipework. Drain snakes (or augers) are essential for clearing blockages in drains and sewer lines. They come in manual and electric versions, with a long, flexible cable that you feed into the drain to break up or retrieve obstructions.
- Hand Auger: Simple, manual tool for minor clogs in sinks and toilets.
- Toilet Auger: Specifically designed with a protective sleeve to avoid scratching porcelain toilets.
- Mains Drain Auger (Electric): Powerful machines for significant blockages in main sewer lines.
When to Use: For slow drains or complete blockages that don’t respond to plunging.
2. Pipe Threaders: Creating New Threads
If you need to replace a section of metal pipe and can’t find pre-threaded pieces, a pipe threader (also called a die stock) allows you to cut new threads onto the end of a pipe. This is more advanced and usually involves working with steel or iron pipes.
Important Considerations:
- Dies: You need the correct size and type of die for the pipe you are threading.
- Lubrication: Die-cutting fluid is essential to cool the dies and the pipe, ensuring clean threads and extending the life of the tool.
- Practice: This is a skill that requires practice to get right.
3. Inspection Cameras: Seeing the Unseen
For diagnosing unseen problems within pipes, such as cracks, blockages, or root intrusion, a pipe inspection camera is invaluable. These cameras are small and mounted on a flexible cable, allowing you to feed them into pipes and view the interior on a monitor. This can save a lot of guesswork and unnecessary digging or demolition.
Where they excel:
- Identifying the exact location and nature of a blockage.
- Detecting hidden leaks or structural damage in underground pipes or behind walls.
- Assessing the condition of sewer lines before purchasing a property.
You can often rent these specialized tools if you only need them for a single project. For more information on pipe inspection technologies, professional associations like the National Association of Community Health Centers sometimes offer resources related to infrastructure integrity.
Safety First: Always Prioritize Safety
Working with water and plumbing systems involves potential hazards. Always follow these safety tips:
- Turn Off the Water: Before starting any pipe repair, locate and shut off the main water supply valve to your home or the specific shut-off valve for the area you’re working on. This is the single most important safety step.
- Electrical Safety: If working near electrical outlets or appliances, be extra cautious. Ensure tools are properly grounded and avoid working in wet conditions if possible.
- Personal Protective Equipment (PPE): Always wear safety glasses to protect your eyes from debris. Gloves can protect your hands from sharp edges and chemicals.
- Ventilation: If using solvents, adhesives, or performing hot work like soldering, ensure the area is well-ventilated.
- Know Your Limits: If a job seems too complex or you’re unsure about a particular step, it’s always best to call a licensed professional plumber.
Your local building codes also provide valuable information on safe plumbing practices and materials. Resources like the International Code Council (ICC), which publishes the International Plumbing Code, offer detailed guidelines for plumbing work.
