
Quick Summary: A well-planned floor waste layout is essential for preventing water damage, ensuring proper drainage, and maintaining a hygienic space. This guide simplifies the key design principles for an effective floor waste system, making it a straightforward DIY success.
Hey everyone, Bryan Lee here! Ever stepped into a bathroom or kitchen and noticed a little too much pooling water? It’s a common frustration, and often, the culprit is a less-than-ideal floor waste layout. Don’t worry, understanding how to get this right is simpler than you think. It’s all about directing water where it needs to go – away from your home’s structure and down the drain.
Get this right, and you’ll save yourself from potential water damage headaches and keep your spaces fresh and clean. We’re going to walk through the essential design elements step-by-step, so you can feel confident about your floor waste setup. Let’s dive in and make sure your water flows smoothly!
Why Your Floor Waste Layout Matters More Than You Think

When we talk about “floor waste layout,” we’re essentially discussing where drains are placed in your floors and how they are connected to your plumbing system. It might sound like a small detail, but a well-designed layout is the unsung hero of keeping your home dry, healthy, and problem-free. Think about areas where water is used frequently – bathrooms, laundry rooms, kitchens, patios, and even basements. In these spaces, water needs a clear, efficient path to escape. Without it, problems can creep in faster than you might expect.
A poorly planned floor waste system can lead to several issues:
- Water Damage: Stagnant water can seep into subflooring, walls, and foundations, causing rot, mold, and structural weakening.
- Mold and Mildew Growth: Damp areas are breeding grounds for mold and mildew, which are not only unsightly but also detrimental to indoor air quality and your health.
- Odors: Trapped moisture and debris can create unpleasant smells that are hard to get rid of.
- Pest Infestations: Persistent dampness can attract certain pests.
- Inefficiency: Water pooling makes cleaning difficult and surfaces slippery, increasing the risk of accidents.
Fortunately, achieving an effective floor waste layout isn’t rocket science. It’s about understanding a few core principles and applying them thoughtfully. By the end of this guide, you’ll understand the essential elements that make a floor waste layout not just functional, but truly essential for the longevity and comfort of your home.
Understanding the Basics: Key Concepts in Floor Waste Design

Before we get into the specifics of layout, let’s get a handle on some fundamental terms and concepts. Knowing these will make the whole process much clearer.
What is a Floor Waste?
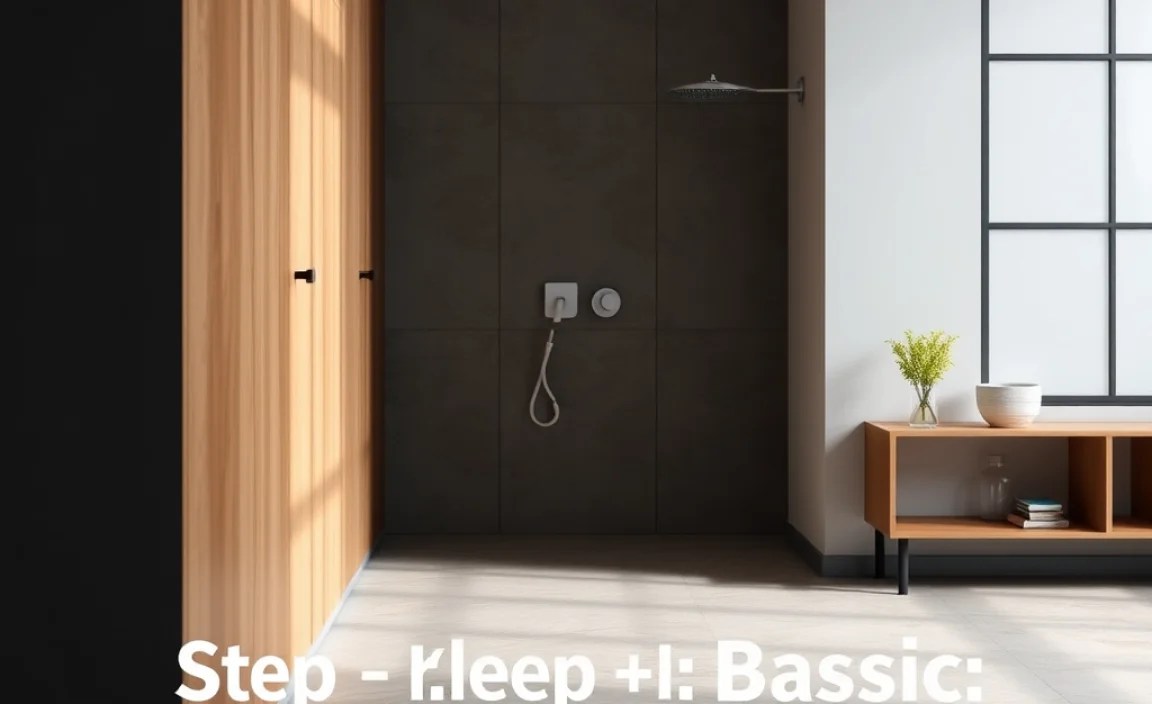
A floor waste, also often called a floor drain or trap, is a plumbing fixture located in the floor designed to collect and remove wastewater. It typically consists of a grate or cover to prevent large debris from entering, and a trap (usually a P-trap or S-trap) that holds a small amount of water. This water seal is crucial because it prevents sewer gases, which can be smelly and even harmful, from rising up through the drain and into your living space. You’ll find floor wastes in places prone to spills or washing, like shower bases, utility rooms, garages, and commercial kitchens.
The Importance of Slope (Gradient)
This is perhaps the most critical factor in any floor waste system. Slope, or gradient, refers to the slight incline of the floor towards the drain. Without adequate slope, water will simply sit on the surface instead of flowing away. Building codes typically specify a minimum slope requirement. For example, in many regions, a slope of at least 1/4 inch per foot (approximately 2%) is recommended for areas like bathrooms and showers. This ensures that even if you don’t see water pooling, the liquid is effectively guided towards the drain.
Drainage Traps: Your Odor Barrier
As mentioned, traps are vital. They form a water seal that blocks sewer gases. There are different types of traps, but the most common for residential floor waste is the P-trap. It’s shaped like a “P” lying on its side and is designed to retain water after the fixture is used.
Types of Traps for Floor Wastes:
- P-Trap: Most common, creates a water seal.
- S-Trap: Less common now due to potential for siphoning issues, but still found in older installations.
- Bottle Trap: Compact and used in specific space-constrained situations.
Grate and Cover Styles
The grate or cover of a floor waste is the visible part. It comes in various styles and materials, serving both a functional and aesthetic purpose. Functionally, it prevents large objects from falling into the drain and can help filter out debris. Aesthetically, it can complement the overall design of the room.
Common materials include:
- Stainless steel: Durable, corrosion-resistant, and modern.
- Brass: Classic look, can develop a patina over time.
- Plastic: Economical, often used in utility areas or for specific applications like chemical resistance.
The design of the grate also matters for drainage efficiency and ease of cleaning. Slotted grates allow for good water flow, while more decorative patterns might sacrifice some flow for appearance.
Essential Design Principles for an Effective Floor Waste Layout
Now that we’ve covered the basics, let’s get into the core design principles that make a floor waste layout truly effective and reliable. These are the foundational elements you’ll want to focus on.
1. Strategic Placement: Location, Location, Location!
The first and most crucial step is deciding where your floor waste will be installed. The placement should be logical and account for the primary source of water in the area.
- Bathrooms: In shower stalls, the drain should be at the lowest point of the shower base. If there’s a risk of overflow from a tub or sink, consider a secondary floor waste in the general floor area, especially in older homes or basements.
- Laundry Rooms: The drain should be positioned to catch potential overflows from washing machines or under sinks. Often, a single drain near the washing machine is sufficient.
- Kitchens: While less common in residential settings, commercial kitchens or homes with extensive food prep areas might have floor drains near sinks or preparation stations.
- Garages and Basements: Placement should be near the usual entry point for water (e.g., car doors in winter, potential leaky pipes) or in areas where washing down commonly occurs.
- Patios and Outdoor Areas: Ensure drains are positioned to collect rainwater and prevent pooling, typically at the lowest points of the paved area.
Pro Tip: Always consider the path of least resistance for water to flow. Obstacles like walls or cabinets should not impede the natural drainage path.
2. Achieving the Correct Slope (The Gradient is Your Friend)
As we’ve already emphasized, slope is king. The entire area around the floor waste needs to be sloped correctly. This means not just the immediate vicinity of the drain, but a consistent, gentle incline guiding water from all directions towards the drain opening.
Typical Slope Recommendations:
Most plumbing codes and best practices recommend a minimum slope of 1/4 inch per foot for up to 10 feet, with a maximum slope of 1/2 inch per foot. For smaller areas like shower bases, a slope of 1/4 inch per foot is usually sufficient. This can be achieved by:
- Using a self-leveling compound: This is a cementitious material that can be poured and spread to create a perfectly level or sloped surface.
- Building a mortar bed: A traditional method where sand and cement are mixed and shaped to create the desired slope before tiling.
- Adjusting the subfloor: In some cases, the subfloor itself might need to be tapered, though this is less common and more involved.
To check your slope, you can use a long level and a measuring tape. Place the level across the area and use shims or wedges at one end to create the desired incline. For example, if you have a 2-foot section, you’d want about a 1/2 inch difference in height from the highest point to the drain. For more technical details, you can consult building codes in your area. The International Code Council (ICC) provides comprehensive building codes that often include specific requirements for drainage.
3. Proper Trap and Venting System
A floor waste is only as good as the plumbing it connects to. A properly installed trap and venting system is essential for hygiene and functionality.
- Trap Seal: Ensure the trap is correctly installed to hold water. If a floor waste is rarely used, the water seal can evaporate, allowing sewer gases to enter. Installing a trap primer or periodically running water down the drain can prevent this.
- Venting: The venting system connected to the floor waste is crucial. It allows air into the drainage system, preventing a vacuum from forming that could siphon water out of the trap. It also allows sewer gases to escape through the roof. Improper venting is a common cause of slow drains and gurgling sounds. Modern plumbing codes require adequate venting for all fixtures, including floor wastes. You can find detailed information on venting requirements from resources like the EPA or local plumbing authorities.
4. Material Selection: Durability and Compliance
The choice of materials for your floor waste system impacts its longevity, performance, and compliance with regulations.
- Drain Body: Typically made of cast iron, PVC, or ABS plastic. The material should be compatible with the expected wastewater (e.g., acidic or alkaline).
- Grate: As discussed, materials like stainless steel, brass, or coated metal are common for durability and appearance.
- Seals and Gaskets: High-quality, durable seals are vital to prevent leaks.
Always choose materials that meet local building codes and are suitable for the intended environment. For example, in areas with significant temperature fluctuations or potential for corrosion, specific materials might be mandated.
5. Accessibility for Maintenance
Even the best-designed floor waste system needs occasional cleaning and maintenance. Ensure that the grate can be easily removed for cleaning and that access to the trap and drainpipe is possible if blockages occur.
- Removable Grates: Most floor waste grates are designed to be lifted or unscrewed for easy access.
- Cleanouts: In more complex systems, strategically placed cleanouts in the plumbing line allow for easier clearing of blockages further down the pipe.
Step-by-Step: Installing a Basic Floor Waste Layout
This section outlines a simplified process for installing a floor waste. Please remember that plumbing work can be complex, and it’s always best to consult local building codes and consider hiring a licensed plumber, especially for main line connections or if you’re unsure about any step.
Tools and Materials You Might Need:
- Floor waste drain assembly (body, trap, grate)
- PVC primer and cement (if using PVC pipes)
- Measuring tape
- Level (laser level is helpful for slopes)
- Marker or pencil
- Safety glasses and gloves
- Utility knife or pipe cutter
- Bucket
- Plumber’s putty or silicone sealant
- Mortar mix or self-leveling compound (for creating slope)
- Drain snake or auger (for testing and future use)
- Possibly a drill and appropriate bits
The Process:
- Mark the Location: Determine the exact spot for your floor waste based on strategic placement and the lowest point for drainage. Mark the center point where the drain will be installed.
- Prepare the Opening: Cut an opening in your subfloor large enough to accommodate the drain body and its connections. Check the manufacturer’s specifications for the exact size required.
- Connect to the Drainpipe:
- If you have an existing drain line, connect the new floor waste pipe to it using appropriate fittings and solvent cement (for PVC/ABS). Ensure a watertight seal.
- If you are running a new line, this is where a plumber is often recommended to ensure proper slope and connection to your main drainage system.
- Install the Drain Body: Insert the drain body into the opening. Ensure it’s positioned correctly and that the top flange is flush with the surface where your finished floor will be (or slightly below, depending on your flooring material).
- Create the Slope: This is crucial.
- For tile or stone floors: Create a mortar bed around the drain body. Carefully slope this bed towards the drain opening using your level and trowel. Let it cure fully.
- For other flooring types: Use a self-leveling compound, ensuring it’s poured and spread to create the desired gradient towards the drain. Follow the product’s instructions carefully.
- Install the Trap: Many modern drain bodies have integrated traps, while others require a separate P-trap to be attached. Ensure it’s properly sealed and oriented correctly to hold water.
- Seal and Grout (if applicable): Once your flooring is laid around the drain, use plumber’s putty or silicone sealant to create a watertight seal between the drain flange and the flooring material. If tiling, grout the tiles up to the drain grate.
- Install the Grate: Place the grate onto the drain body. This is usually a simple push-in or screw-in mechanism.
- Test for Leaks and Drainage: Pour several gallons of water down the drain and observe closely for any leaks around the installation area. Check that water drains quickly and efficiently, with no pooling spots. Listen for gurgling sounds, which might indicate venting issues.
Important Note on Venting: While this step-by-step focuses on the drain itself, remember that proper venting is just as important. If you are connecting to an existing drain system, ensure it has adequate venting. If running new plumbing, consult codes or a professional for correct vent pipe installation.
Common Floor Waste Layout Challenges and Solutions
Even with careful planning, you might encounter some common hiccups. Here’s how to tackle them:
Challenge 1: Slow or Incomplete Drainage
- Cause: Insufficient slope, a partial blockage in the trap or pipe, or inadequate venting.
- Solution:
- Check for obvious blockages in the grate or trap and clear them.
- Use a drain snake to clear deeper clogs.
- Verify the slope using a level; may require removing flooring and correcting.
- Inspect the venting system; a plumber may be needed to assess and repair.
Challenge 2: Gurgling Sounds or Odors
- Cause: Most often due to a dry trap (evaporated water seal) or improper venting causing the trap to siphon.
- Solution:
- Pour water down the drain to refill the trap.
- If the problem persists, investigate the vent pipe. Ensure it’s not blocked and is correctly installed. This might require professional help.
- Consider installing an automatic trap primer if the drain is rarely used.
Challenge 3: Leaks Around the Drain
- Cause: Poor sealing between the drain body and the subfloor, or ineffective sealing between the flooring and the grate.
- Solution:
- Remove flooring around the drain. Re-seal the drain body flange using appropriate materials (plumber’s putty, silicone, or membrane).
- Ensure the seal between the flooring (tile, etc.) and the grate is watertight. Grout should be intact, or sealant should be reapplied if cracked.
Challenge 4: Uneven or Cracked Finished Floors
- Cause: The subfloor or mortar bed around the drain wasn’t adequately prepared, or improper materials were used.
- Solution:
- This is often a more involved fix. The flooring may need to be removed to access and repair the subfloor or mortar bed.
- Ensure cementitious underlayments (like mortar beds or self-leveling compounds) are fully cured and properly mixed before applying the finished floor.
Case Study: The Shower Stall Upgrade
Let’s look at a common scenario: upgrading an old shower stall with a new floor waste. Many older homes have showers that drain slowly, leading to water pooling.
The Problem: Sarah noticed her shower floor was always a bit damp after use, and there was a faint musty smell. The existing drain was.
