
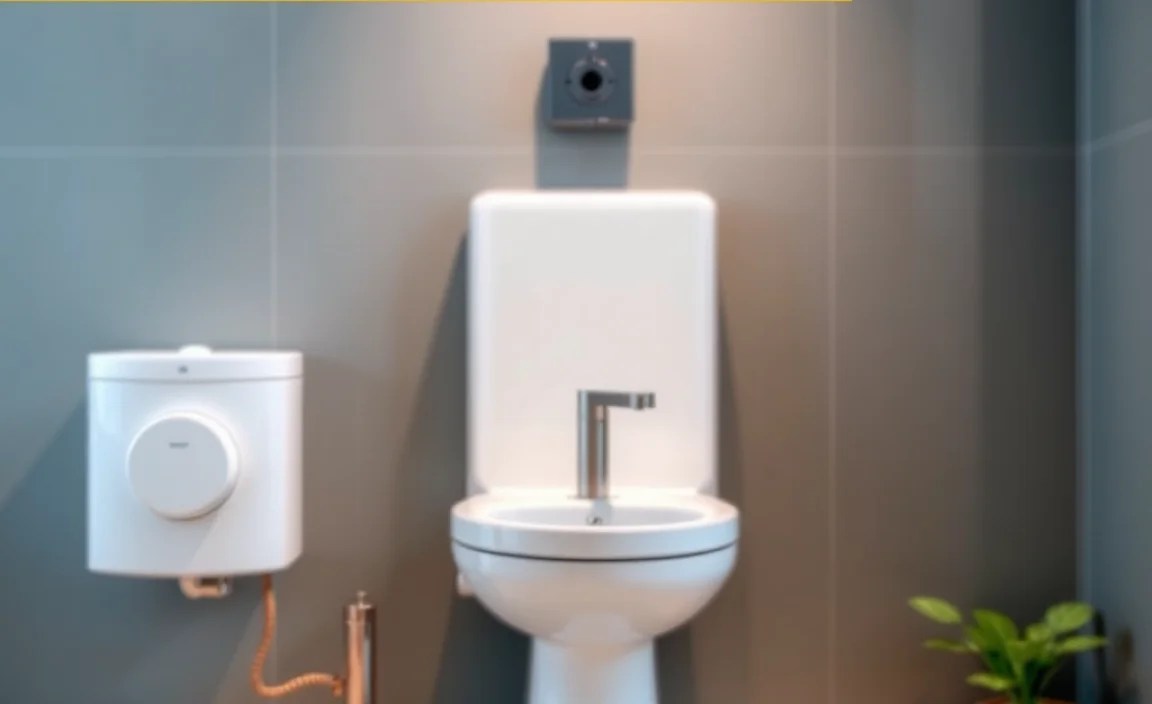
A flush valve system is a key toilet component that controls water flow into the tank and then releases it into the bowl for flushing. If you’re a beginner, understanding how it works and how to maintain it can save you from common toilet issues like leaks or weak flushes, making your home plumbing hassle-free.
Toilet troubles can be surprisingly common, and often, they stem from a little-understood part called the flush valve system. When your toilet isn’t flushing quite right, or you hear constant running water, it’s usually this system that needs a closer look. Don’t worry if plumbing terms sound intimidating – we’re going to break down the flush valve system in a way that feels easy and straightforward.
This guide is designed specifically for beginners. We’ll walk you through what a flush valve system is, how it functions, and the most common problems you might encounter. More importantly, we’ll provide clear, step-by-step instructions on how to fix them, giving you the confidence to tackle these common home maintenance tasks yourself. Get ready to understand your toilet like never before!
Understanding Your Toilet’s Flush Valve System

Think of the flush valve system as the heart of your toilet, controlling the water that makes your toilet work. It’s actually a collection of parts working together. For beginners, knowing these parts is the first step to fixing any issues.
Key Components of a Flush Valve System
The flush valve assembly is usually found at the bottom of your toilet tank. It’s the part that seals the tank until you press the flush lever. When you do, this seal breaks, allowing water to rush into the toilet bowl.
Here are the primary parts you’ll encounter:
- Flush Valve Seat: This is the base on which the flapper or seal rests. It’s typically a rubber or plastic ring at the bottom of the tank.
- Flapper (or Seal): This is a rubber or plastic piece that covers the flush valve opening, preventing water from entering the bowl when the tank is full. It’s usually attached to the flush valve by a chain or is a single, integrated unit.
- Flush Valve Body/Assembly: This is the main housing that holds the flush valve seat and guides the flapper or seal. It’s the vertical pipe that the flapper covers.
- Overflow Tube: This is a crucial safety feature. If the tank overfills, the excess water flows down this tube into the toilet bowl, preventing your bathroom from flooding.
- Chain (if applicable): A small chain often connects the flush lever mechanism to the flapper. When you press the lever, it lifts the chain, which in turn lifts the flapper.
- Fill Valve (or Ballcock): While not technically part of the “flush valve” system itself, the fill valve works in tandem with it. It’s responsible for refilling the tank with water after a flush and shutting off the water supply when the tank is full. We’ll touch on this a bit more, as it’s vital for proper tank function.
How a Flush Valve System Works: A Step-by-Step Flow
When you press the flush lever, a simple mechanical action occurs, leading to the water’s dramatic exit.
- Lever Activation: Pushing the flush lever on your toilet tank is the starting point.
- Chain Lift: This action pulls a chain (if present) connected to the flapper.
- Flapper Opens: The pull lifts the flapper off the flush valve seat.
- Water Drains: With the seal broken, the water stored in the tank rapidly rushes through the opening into the toilet bowl. This creates the siphoning action that clears the bowl.
- Flapper Closes: As the water level in the tank drops, the flapper, being buoyant, settles back down onto the flush valve seat, sealing the opening.
- Tank Refills: The fill valve activates, allowing fresh water to enter the tank until it reaches the proper level, at which point the fill valve shuts off.
- Ready for Next Flush: The toilet is now refilled and prepared for the next flush.
Common Flush Valve System Problems for Beginners
Even the best-designed systems can have issues. For beginners, recognizing these common problems is key to proactive maintenance. Most are surprisingly simple to fix!
1. Running Toilet (Constant Water Flow)
This is probably the most common and annoying issue. You hear a persistent trickle of water into the bowl, or the fill valve keeps running even when the tank is full.
Why it happens:
- Worn-out flapper: The rubber flapper can become stiff, warped, or develop a tear over time, preventing it from creating a good seal against the valve seat.
- Corroded or dirty valve seat: Mineral deposits or debris can build up on the valve seat, preventing the flapper from sealing properly.
- Flapper chain too short or too long: A chain that’s too short might not let the flapper rest fully, while one that’s too long can get caught under the flapper, preventing a seal.
- Incorrect water level: If the water level in the tank is set too high, it can constantly siphon water into the overflow tube. This is often a fill valve issue, but it affects the flush valve’s function.
2. Weak Flush or Incomplete Flush
If your toilet isn’t clearing the bowl effectively with each flush, it’s frustrating and often requires a second flush, wasting water.
Why it happens:
- Flapper not staying open long enough: If the flapper is too heavy or the chain is set incorrectly, it might close too soon, not allowing enough water to escape the tank to create a strong siphon.
- Partial blockage in the flush valve opening: Debris might be lodged in a way that constricts water flow without completely preventing it.
- Low water level in the tank: Not enough water in the tank means less force during the flush. This is often related to the fill valve settings.
- Clogged rim jets or siphon jet: These are small holes under the toilet rim and at the bottom of the bowl that direct water. If clogged, they reduce flushing power.
3. Leaking into the Bowl
This is a specific type of running toilet, where water slowly leaks from the tank into the bowl. You might not hear it constantly, but you’ll see the water level in the tank decreasing over time.
Why it happens:
- Worn flapper: The most common cause. The rubber degrades and no longer seals effectively.
- Damaged flush valve seat: Cracks or significant wear on the seat mean the flapper can’t seal against it.
- Debris on the valve seat: Small pieces of grit or mineral buildup can prevent a tight seal.
Tips for Identifying Flush Valve Issues
Before you grab your tools, a little detective work can save time. Try these simple tests:
- The Dye Test: Put a few drops of food coloring or a dye tablet into the toilet tank. Wait 15-30 minutes without flushing. If colored water appears in the toilet bowl, you have a leak. This usually points to a faulty flapper or valve seat.
- Listen Carefully: Drip, drip, drip? A constant faint sound of running water from the tank is a tell-tale sign of a leak.
- Check the Water Level: Mark the water level in the tank with a pencil. If it drops significantly after a few hours (and you haven’t flushed), there’s a leak.
DIY Fixes for Common Flush Valve Problems
Now that you’ve identified potential issues, let’s get them resolved. These are beginner-friendly fixes that can make a big difference.
Safety First!
Before you start any work inside your toilet tank, always remember these safety tips:
- Turn off the water supply: Locate the shut-off valve, usually on the wall behind or beside the toilet. Turn it clockwise until it stops.
- Flush to empty the tank: Press the lever to drain as much water as possible. You might need a sponge or towel to soak up any remaining water.
- Be gentle: Toilet parts can be brittle. Don’t force anything.
- Protect your hands: Wear gloves, as toilet tanks can harbor germs.
Fixing a Running Toilet (Worn Flapper or Valve Seat)
This is the most common fix for a running toilet and is very beginner-friendly.
Tools You’ll Need:
- New flapper (bring your old one to match the size and type, or check your toilet model)
- Adjustable wrench (sometimes needed to remove old components)
- Sponge and towel
- Gloves
Steps:
- Turn off water and drain tank: As mentioned in safety tips.
- Remove old flapper: Most flappers attach to the flush valve body with two ears that hook onto posts, or they might clip on. Gently unhook or unclip the old one. If it has a chain, unhook the chain from the flush lever arm.
- Inspect the valve seat: Run your finger around the rim of the flush valve seat. Feel for any rough spots, cracks, or buildup. If there’s buildup, try cleaning it with a soft cloth or a non-abrasive scrubber. For very stubborn mineral deposits, a mild cleaning solution might help, but rinse thoroughly. If it’s cracked or significantly worn, you’ll need to replace the entire flush valve assembly, which is a bit more advanced but still manageable (we’ll cover that briefly later).
- Install the new flapper: Hook or clip the new flapper onto the flush valve body, aligning the ears with the posts. Attach the chain to the flush lever arm.
- Adjust the chain: This is crucial! The chain should have just a little slack, enough for the flapper to seat properly, but not so much that it bunches up or prevents the flapper from fully closing. A good rule of thumb is about 1/2 inch of slack. You might need to adjust the length using the provided clip or by shortening it.
- Turn on water and test: Slowly turn the water supply valve back on. Let the tank fill. Listen for running water. Flush the toilet and watch to ensure the flapper seals correctly and the water stops flowing into the bowl.
Fixing a Weak or Incomplete Flush (Chain and Flapper Adjustment)
Often, a weak flush is simply an adjustment issue.
Tools You’ll Need:
- Adjustable pliers or a small tool to adjust chain connectors
- Gloves
Steps:
- Turn off water and drain tank: (Safety first!)
- Inspect the chain and flapper: Check how the chain is connected. Does it have too much slack? Is it getting caught under the flapper?
- Adjust chain length: If the chain is too long and has excess slack, shorten it. You want just enough slack for the flapper to rest fully on the valve seat, but lifting it completely when the lever is pressed. If the chain is too short, the flapper might not stay open long enough, but this is less common for weak flushes.
- Check flapper operation: Manually lift the flapper. Does it lift freely? Does it fall back down and seal when you release it?
- Turn on water and test: Turn the water supply back on, let the tank fill, and then flush. See if the flush is stronger. You may need to make a few small adjustments to the chain length to find the sweet spot.
Addressing Low Water Level or Overfilling (Fill Valve Check)
While this is a fill valve issue, it directly impacts the flush valve’s effectiveness by controlling the water available for each flush.
Tools You’ll Need:
- Screwdriver (often Phillips head)
- Adjustable wrench
- Gloves
Steps:
- Turn off water and drain tank: (Safety first!)
- Locate the fill valve: This is the vertical assembly on the side of the tank where the water line usually connects.
- Check water level mark: Most tanks have a waterline mark (often a small line or the top of the overflow tube). If the water level is consistently below this, you need to adjust the fill valve to allow more water in.
- Adjust the fill valve: Most modern fill valves have an adjustment screw or a clip system to raise or lower the float. Consult your fill valve’s manual if unsure, but generally, you’ll turn a screw counter-clockwise to raise the water level or an adjustment nut on the float arm.
- Address overfilling: If the water level is too high and goes down the overflow tube, you need to adjust the fill valve to shut off at a lower level. Turn the adjustment screw clockwise to lower the water level.
- Turn on water and test: Turn the water back on and let the tank fill. Monitor the water level and ensure the fill valve shuts off correctly at the desired level. Flush to see the improved performance.
When to Call a Professional or Replace Components
While many toilet issues are DIY-friendly, there are times when it’s best to call in the experts or consider replacing larger components.
Replacing the Entire Flush Valve Assembly
If the flush valve seat itself is cracked or severely corroded and cannot be cleaned, you’ll need to replace the entire flush valve assembly. This is a more involved task but still achievable for a determined beginner.
Steps (Brief Overview):
- Turn off water, drain tank.
- Disconnect the water supply line from the tank.
- Remove the tank from the bowl (you’ll need to remove two large nuts at the base of the tank, and often a third in the back).
- Remove the old flush valve assembly from the underside of the tank.
- Install the new flush valve assembly, ensuring a good seal with the tank.
- Re-attach the tank to the bowl.
- Reconnect the water supply line.
- Turn water on, test for leaks, and check flushing.
For detailed instructions and diagrams, resources like This Old House offer excellent visual guides.
When to Call a Plumber
While we encourage DIY, here are situations where professional help is recommended:
- Persistent Leaks: If you’ve replaced the flapper and cleaned the seat, but the toilet still runs, there might be a more complex issue with the tank or the valve body itself.
- Cracked Tank or Bowl: These are serious issues that require professional repair or replacement of the entire toilet.
- Uncertainty: If you’re uncomfortable at any stage, unsure about a component, or find yourself stuck, don’t hesitate to call a licensed plumber. It’s better to pay for a professional than risk causing further damage.
- Complex Plumbing Issues: If the flush valve problem seems connected to broader water pressure issues or other plumbing setbacks in your home, a plumber can diagnose the root cause.
Maintenance for Longevity
Preventative maintenance is key to avoiding problems and extending the life of your flush valve system.
Regular Checks
- Inspect Flapper: Once every few months, check the flapper for signs of wear, stiffness, or tearing.
- Clean the Tank: Periodically (every 6-12 months), you might want to clean the inside of the tank to remove mineral buildup. Use a toilet brush or non-abrasive sponge. Avoid harsh chemicals that can damage rubber components.
- Check Water Level: Ensure the water level in the tank is set correctly according to the waterline mark.
Troubleshooting Water Quality Impacts
Hard water can accelerate wear and mineral buildup significantly. If you have hard water, you might need to perform checks and cleaning more frequently. Consider using a water softener for your home, which can protect all your plumbing fixtures, not just your toilet. For more on water hardness, the Bureau of Reclamation’s site provides useful information.
Understanding Different Types of Flush Valve Systems
While our guide focuses on the most common type (the flapper system), it’s good to be aware of others you might encounter.
