
Quick Summary: Understanding the toilet’s function is crucial for basic home maintenance. This guide breaks down how your toilet works, its main parts, and simple troubleshooting steps, empowering you to manage common issues with confidence and ease.
Hey there, DIY enthusiasts! Ever stare at your toilet and wonder, “How does this magic box actually work?” Or maybe you’ve experienced that sinking feeling when it doesn’t quite do its job, leading to stressful messes. You’re not alone! Many of us use toilets every day without a second thought, but understanding their inner workings can save you time, money, and unnecessary worry. This guide is designed to demystify the humble toilet, explaining its essential functions and components in simple terms. We’ll cover everything from flushing to fixing minor hiccups, making toilet maintenance a breeze for beginners. Get ready to feel more confident and in control of this vital bathroom fixture!
Demystifying the Toilet: How Does It Actually Work?
At its core, a toilet is a surprisingly simple yet ingenious device. Its primary function is to safely and hygienically remove waste from your home using water. The process, known as flushing, is a timed sequence of events that relies on gravity, water pressure, and a few key components working together. When you press the flush handle or button, you initiate a chain reaction that empties the bowl and refills it with clean water, ready for the next use. It’s a continuous loop designed for efficiency and sanitation.
Think of it as a carefully choreographed dance of water and gravity. The water in the tank holds the potential energy to clear the bowl, and when released, it rushes down through a hidden pathway, creating a siphon effect that pulls the waste away. It’s a fundamental part of modern plumbing and a truly essential household fixture. Let’s dive into the parts that make this magic happen!
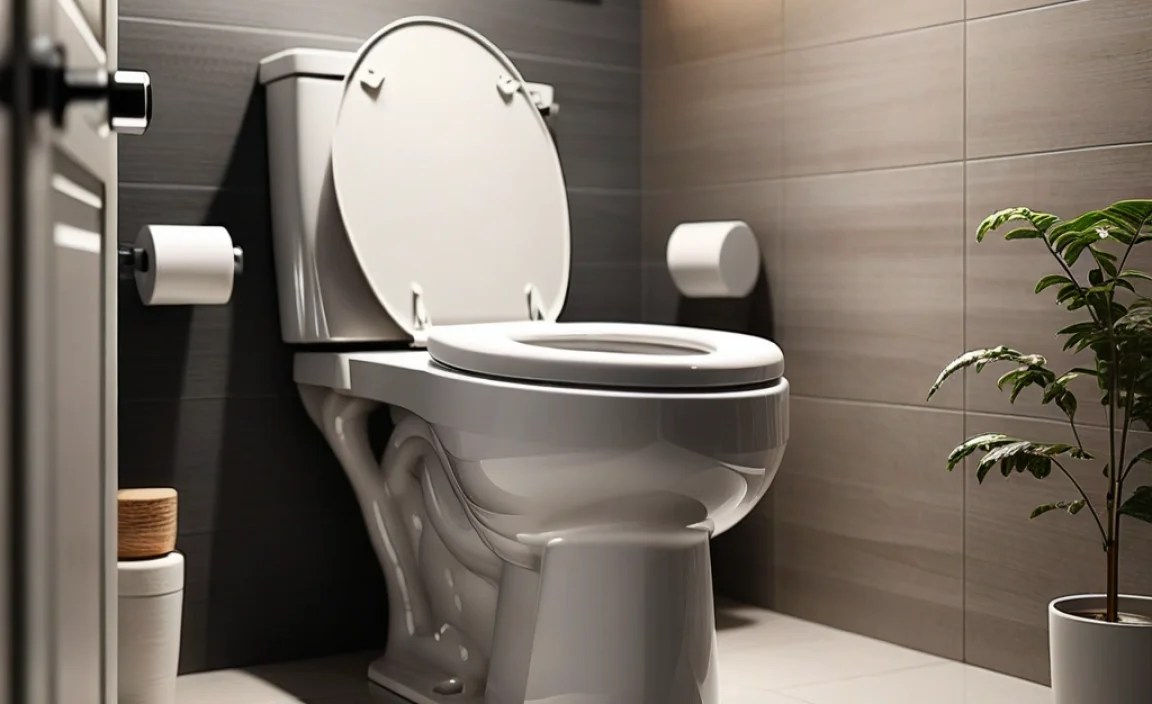
The Anatomy of a Toilet: Your Essential Parts Guide
To understand how a toilet functions, it’s helpful to know its main parts. They all play a specific role in the flushing process. We can broadly divide the toilet into two main sections: the tank (the part at the back that holds water) and the bowl (where waste goes). Within these sections are several critical components.
1. The Toilet Tank: The Water Reservoir
The tank is like the toilet’s engine. It stores water and releases it when you flush. Inside the tank, you’ll find the mechanisms that control the water level and the release of water into the bowl.
- Flush Handle/Button: This is your trigger! When you press or lift it, it’s connected to a lever arm that lifts the flapper.
- Lift Arm (or Lever Arm): Connected to the flush handle, this pivots to lift the flapper when the handle is activated.
- Flapper: A rubber or plastic seal at the bottom of the tank that rests over the flush valve opening. When lifted, it allows water to rush into the bowl.
- Flush Valve: The opening at the bottom of the tank that the flapper seals. It allows water to flow from the tank to the bowl.
- Fill Valve (or Ballcock): This is the unsung hero that refills the tank after each flush. It has a float mechanism that tells it when to shut off the water once the tank is full.
- Float (Ball or Cup): Attached to the fill valve, it rises with the water level and signals the valve to stop filling the tank.
- Overflow Tube: A vertical pipe inside the tank. If the fill valve malfunctions and the tank overfills, water goes down this tube into the bowl, preventing a flood.
Here’s a quick look at how these parts interact during a flush:
| Action | Component Involved | What Happens |
|---|---|---|
| Flushing | Flush Handle/Button & Lift Arm | Lifts the flapper, opening the flush valve. |
| Water Release | Flapper & Flush Valve | Water rushes from the tank into the bowl. |
| Bowl Clearing | Siphon Effect | Water and waste are pulled from the bowl down the drainpipe. |
| Refilling | Fill Valve & Float | Water enters the tank, lifting the float until the tank is full, then shuts off. |
| Overflow Prevention | Overflow Tube | Directs excess water into the bowl if the fill valve doesn’t stop. |
2. The Toilet Bowl: The Waste Receptacle
The bowl is designed to hold a specific amount of water, creating a seal that prevents sewer gases from entering your bathroom. It also directs waste and flush water down the drain.
- Water Surface: The visible water in the bowl. This water forms the crucial seal.
- Trapway (or S-Trap/P-Trap): A curved passage at the bottom of the bowl that connects to the drainpipe. It’s shaped to always hold water, forming the seal.
- Water Jets/Rim Jets: Small holes located around the underside of the toilet rim. They direct clean water into the bowl to help wash down the sides during a flush.
- Siphon Jet (in some toilets): A larger hole at the bottom of the bowl, near the trapway entrance, that helps initiate the siphoning action.
The Flushing Cycle: A Step-by-Step Breakdown

Understanding the flushing cycle is key to troubleshooting. It’s a process that happens in seconds but involves a precise sequence of events.
- Initiation: You press the flush handle or button. This lifts the flapper inside the tank.
- Water Release: The lifted flapper opens the flush valve, allowing the water from the tank to rapidly pour into the toilet bowl.
- Bowl Filling & Siphoning: As the bowl fills with water, it reaches a point where the water level in the trapway is pushed to its highest point. This action starts to create a siphon effect, like water going down a drain.
- Waste Removal: Gravity and the siphon action work together to pull the waste and water from the bowl down through the trapway and into the drainpipe.
- Flapper Close: As the water level in the tank drops, the flapper falls back down onto the flush valve, sealing the opening.
- Refill and Reset: The fill valve opens, allowing fresh water to enter the tank. The float rises with the water level. Once the water reaches a preset height, the float mechanism shuts off the fill valve. A small amount of water also flows through a tube to the overflow pipe into the bowl to refill the water seal.
This cycle repeats every time you flush. The speed and thoroughness of the flush depend on the amount of water in the tank, the diameter of the trapway, and the force with which the water enters the bowl. Different toilet designs, like dual-flush or low-flow models, optimize this process for water conservation. For instance, you can learn more about water efficiency standards from the EPA WaterSense program.
Common Toilet Problems and Simple Fixes for Beginners
Even with its robust design, toilets can develop issues. Fortunately, many common problems are straightforward to diagnose and fix without calling a plumber. Let’s look at a few!
1. The Leaky Toilet
A leaky toilet is often indicated by a constantly running sound or a bowl that slowly refills itself after flushing. These leaks can waste a lot of water.
- Cause: A worn-out flapper. The rubber can degrade over time, preventing a proper seal.
- Fix: Turn off the water supply to the toilet (usually a valve behind the toilet). Flush the toilet to empty the tank. Remove the old flapper and replace it with a new one. These are inexpensive and readily available at any hardware store. Make sure it fits snugly.
- Cause: The fill valve is faulty. It might not be shutting off correctly, causing water to constantly run into the overflow tube.
- Fix: Adjust the float on the fill valve to ensure it shuts off the water at the correct level. If adjustment doesn’t work, the fill valve might need replacement. This is also a DIY-friendly repair.
2. The Weak Flush
If your toilet isn’t clearing the bowl effectively, it can be frustrating.
- Cause: Not enough water in the tank. The float might be set too low, or the fill valve isn’t letting enough water in.
- Fix: Adjust the float mechanism on the fill valve so the tank fills to the desired water line (usually indicated by a line inside the tank or on the overflow tube). Ensure the water supply valve is fully open.
- Cause: Blocked rim jets or siphon jet. Mineral deposits can clog these small holes.
- Fix: Use a small wire or a straightened coat hanger to carefully poke debris out of the holes. For stubborn clogs, you can empty the tank and bowl, then use a vinegar solution in a spray bottle to soak and loosen the deposits.
3. The Clogged Toilet
This is perhaps the most common and immediate toilet problem.
- Cause: Too much material flushed, or an obstruction in the trapway or drainpipe.
- Fixes (in order of escalation):
- Plunger: Ensure there’s enough water in the bowl to cover the plunger cup. Create a good seal and plunge vigorously up and down several times.
- Toilet Auger (or Snake): This is a specialized tool for toilets. Insert the end into the trapway and crank the handle to feed the cable into the clog and break it up or pull it out.
- Enzyme-based drain cleaner: For organic clogs, these are a safer alternative to harsh chemicals, though they take longer to work.
- Professional help: If none of these work, the clog might be further down the line and require a professional plumber.
Always remember to turn off the water supply if you suspect a leak and are attempting repairs. For more in-depth guidance on plumbing basics and tools, resources like those from This Old House can be very helpful.
Toilet Maintenance Tips for Longevity
Regular, simple maintenance can prevent most common toilet problems and ensure your toilet functions reliably for years.
- Regular Cleaning: Clean your toilet regularly (weekly) with a toilet bowl cleaner and brush. This prevents buildup and helps you spot any early signs of issues like leaks or unusual water patterns.
- Check the Tank: Every few months, lift the tank lid and look for any signs of leaks around the flush valve, fill valve, or where the tank connects to the bowl. Listen for any continuous running water.
- Water Level Check: Ensure the water level in the tank is correct. If it’s too high or too low, it can impact flush performance and potentially damage components.
- Avoid Harsh Chemicals: While strong cleaners can be tempting, they can damage the rubber components (like flappers) and seals inside your toilet over time. Stick to toilet bowl cleaners designed for regular use.
- Mind What Goes Down the Drain: Only flush toilet paper and human waste. Items like wipes (even “flushable” ones), paper towels, feminine hygiene products, and cotton swabs should always go in the trash. They don’t break down like toilet paper and are a primary cause of clogs.
Understanding Different Types of Toilet Mechanisms
Toilets have evolved over time. Understanding the basic types can be helpful:
| Type | Description | Key Feature / Benefit |
|---|---|---|
| Gravity-Fed Toilet | The most common type. Uses the weight of water in the tank to create pressure and flush. | Simple, reliable, requires minimal maintenance. |
| Pressure-Assisted Toilet | Uses compressed air in a tank to force water into the bowl. | More powerful flush, can use less water per flush, less prone to clogging. Can be louder. |
| Dual-Flush Toilet | Has two flush buttons: one for liquid waste (uses less water) and one for solid waste (uses more water). | Significant water savings, environmentally friendly. |
| Low-Flow Toilet | Designed to use 1.6 gallons of water per flush (or less), compared to older models that used 3.5 gallons or more. | Saves water and money on utility bills, environmentally conscious. |
| Siphon Jet Toilet | A type of gravity-fed toilet with an extra jet at the bottom of the bowl to help initiate the siphon. | Stronger and more effective flush. |
No matter the type, the fundamental principle of water, gravity, and a sealing mechanism remains the same. For detailed specifications on water use and efficiency standards, you can consult the Toiletology website, a reputable resource for toilet information.
Frequently Asked Questions About Toilets
Q1: How often should I clean my toilet?
A1: For general hygiene and maintenance, aim to clean your toilet bowl thoroughly at least once a week. The exterior can be wiped down more frequently if needed.
Q2: My toilet is making a gurgling sound. What does that mean?
A2: A gurgling sound often indicates a partial blockage in the drainpipe or sewer line. It means air is being forced back up through the water in the trapway. It’s a good idea to check for clogs or consider having your main drain line inspected if it happens frequently.
Q3: What is the most common cause of a toilet that runs constantly?
A3: The most frequent culprit is a worn-out or improperly seated flapper. Over time, the rubber seal degrades, allowing water to continuously leak from the tank into the bowl. A faulty fill valve can also cause this issue.
Q4: Can I use bleach to clean my toilet?
A4: While bleach can sanitize, frequent use of harsh chemicals like bleach can degrade the rubber components inside your toilet tank, such as the flapper and seals, leading to premature failure and leaks. It’s generally better to use cleaners specifically designed for toilet bowls and tanks.
Q5: How do I know if my toilet is leaking water, besides hearing it run?
A5: You can perform a simple dye test. Add a few drops of food coloring or a dye tablet to the water in your toilet tank. Wait about 15-20 minutes WITHOUT flushing. If colored water appears in the toilet bowl, you have a leak, most likely from the flapper or flush valve.
Q6: What’s the difference between a toilet auger and a regular drain snake?
A6: A toilet auger (or closet auger) is specifically designed for toilets. It has a protective rubber boot to prevent scratching the porcelain bowl and a more compact, curved head to navigate the toilet’s trapway effectively. A standard drain snake is usually longer and straighter and might not fit or could damage the toilet.
Conclusion
Understanding the function of your toilet doesn’t have to be complicated. By familiarizing yourself with its key parts—the tank, bowl, flush handle, flapper, and fill valve—you’ve taken a significant step towards better home maintenance. You now know that a flush is a precisely timed event involving gravity and water dynamics, designed for efficient waste removal and sanitation. We’ve covered common issues like leaks and clogs, providing simple, actionable fixes you can tackle yourself. Remember, regular cleaning and mindful flushing habits are your best defense against future problems.
Don’t be intimidated by basic plumbing! With this guide, you’re equipped to handle minor toilet troubles confidently. This newfound knowledge not only saves you time and money but also empowers you to keep your home running smoothly. So next time the toilet needs a little attention, you’ll know exactly where to start. Happy fixing!
