
Grout is more than just filler; it’s a mix of cement, water, and fine sand (or polymers) that strengthens tile installations and prevents moisture. Understanding grout components is key to choosing the right type for your project, ensuring durability and a beautiful finish. This guide breaks down what goes into grout and why it matters for your DIY success.
Grout Components: Essential Masterpieces Revealed
Ever look at a tiled surface and wonder what holds all those beautiful tiles together so neatly? The answer, most of the time, is grout. But what exactly is this stuff? It might seem like a simple putty, but grout is a surprisingly sophisticated material essential for both the look and the longevity of your tile work. Sometimes, grout can crack, crumble, or get moldy, leaving you frustrated. But don’t worry! Understanding the basic ingredients that make up grout will empower you to choose the perfect kind for your needs and keep your tiled surfaces looking great for years to come. This guide will demystify grout components, making your DIY projects smoother and more successful.
What is Grout, Anyway?
At its core, grout is a construction material used to fill the gaps or “joints” between tiles. Think of it as the glue and sealant that keeps your tiles from shifting and protects the underlying surface from moisture and dirt. Without grout, tile installations would be unstable, prone to water damage, and frankly, not very attractive.
The primary job of grout is to:
- Bind tiles firmly to the substrate.
- Prevent tiles from cracking under stress.
- Seal the gaps to stop water, dirt, and other substances from seeping underneath.
- Enhance the overall aesthetic of the tiled area.
The Building Blocks: Understanding Grout Components
Grout isn’t just one thing; it’s a carefully formulated blend of several key components, each playing a crucial role. Let’s break down the main players:
1. The Binder: Cement
The heart of most grouts is cement. Portland cement is the most common type used. When mixed with water, cement undergoes a chemical reaction called hydration, causing it to harden and bind everything together. This provides the structural integrity to keep your tiles in place.
Key Functions of Cement:
- Adhesion: Creates a strong bond with the tiles and the substrate.
- Hardening: Acts as the primary agent that cures and strengthens the grout.
- Bulk: Provides volume and fills the joint space.
Different types of cement and cement blends are used depending on the desired properties of the grout, such as strength, flexibility, or resistance to chemicals.
2. The Filler: Aggregates
Aggregates are fine particles that add bulk and strength to the grout mixture. While cement provides the binding action, aggregates contribute to the overall mass and stability. The type and size of aggregates significantly impact the grout’s performance and appearance.
Sand: The Classic Filler
For many years, finely ground sand was the go-to aggregate in cementitious grouts. Sand helps to reduce shrinkage, minimize cracking as the grout dries, and add strength. The quality and consistency of the sand are important. If the sand particles are too large, they can create a rough texture; if they’re too small, the grout might be weaker.
Types of Sand-Based Grout:
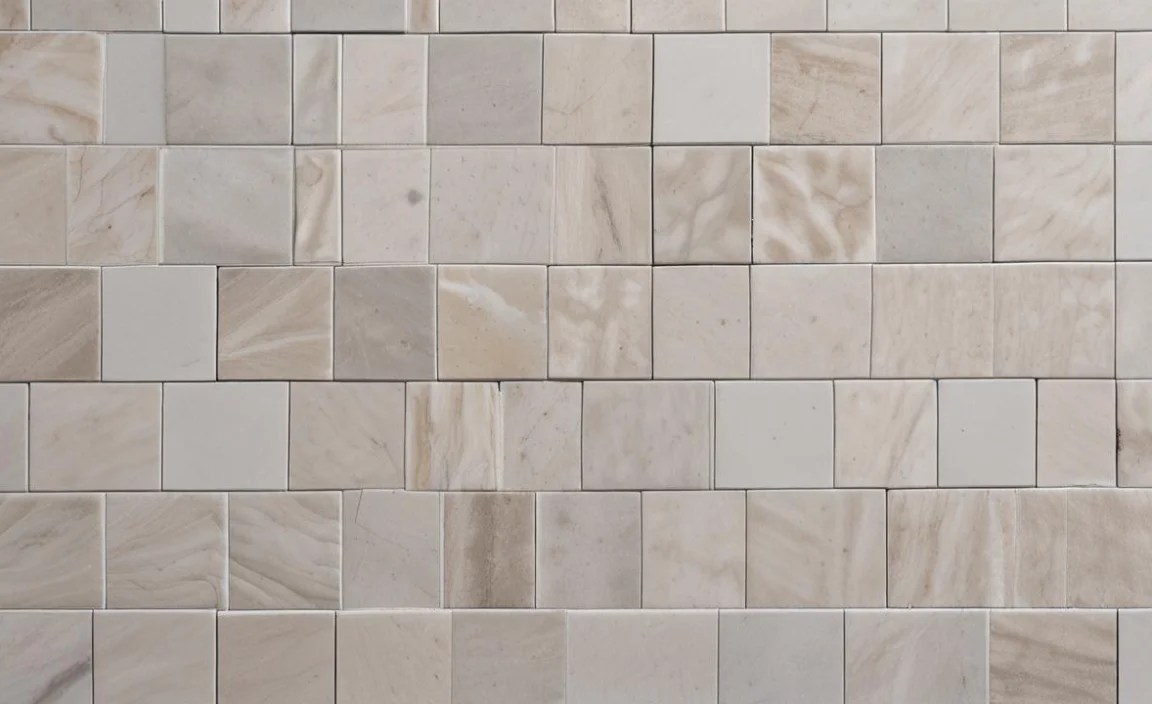
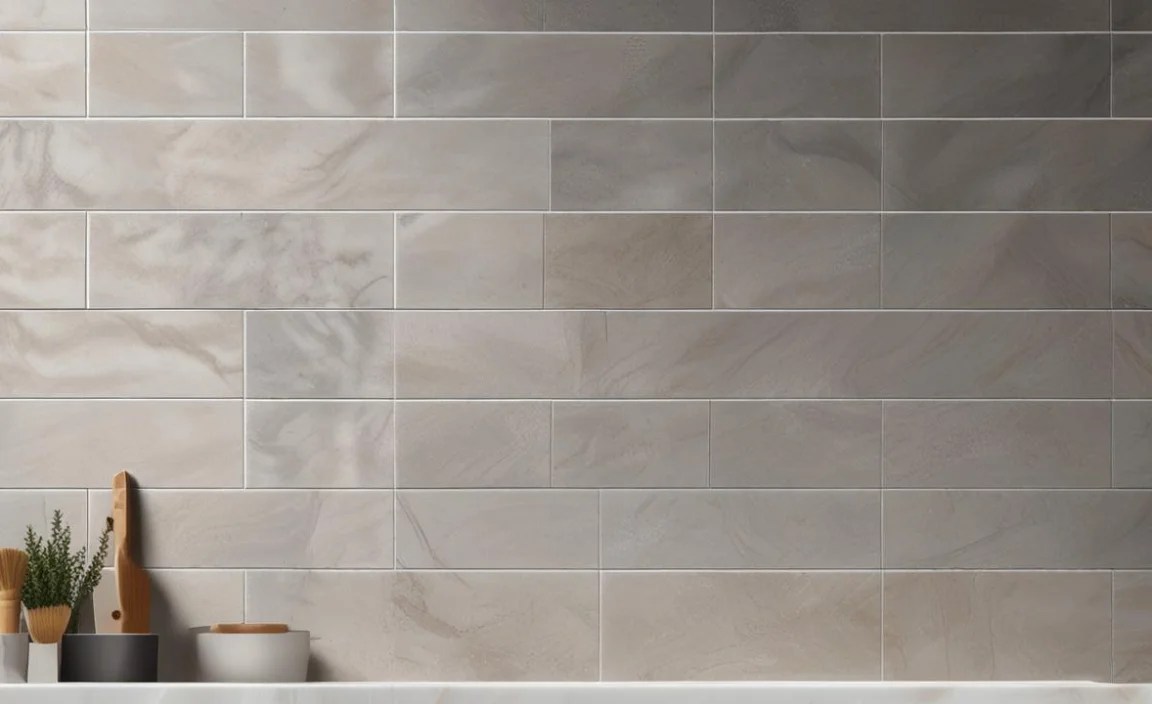
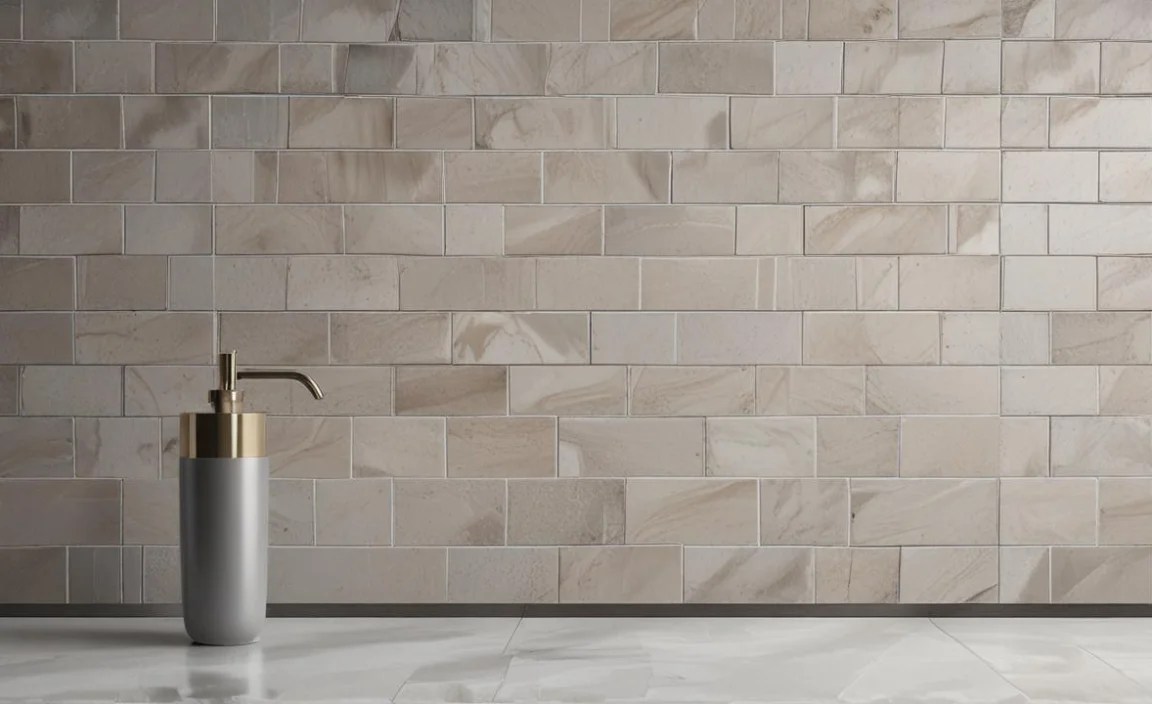
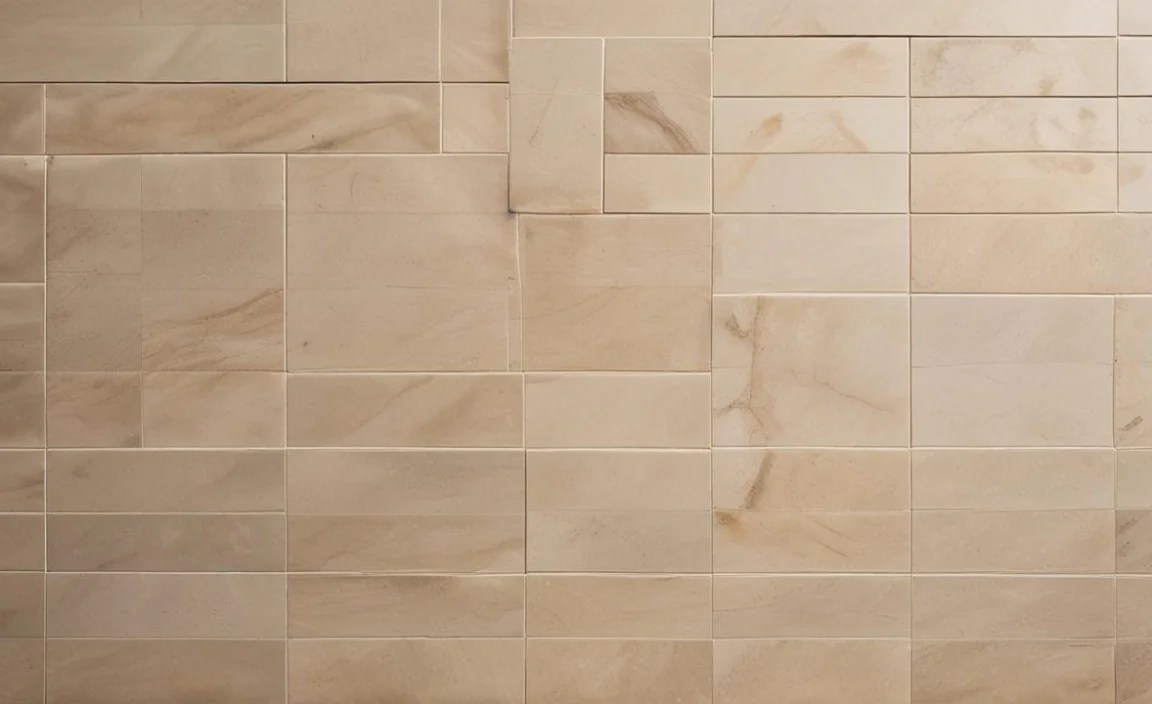
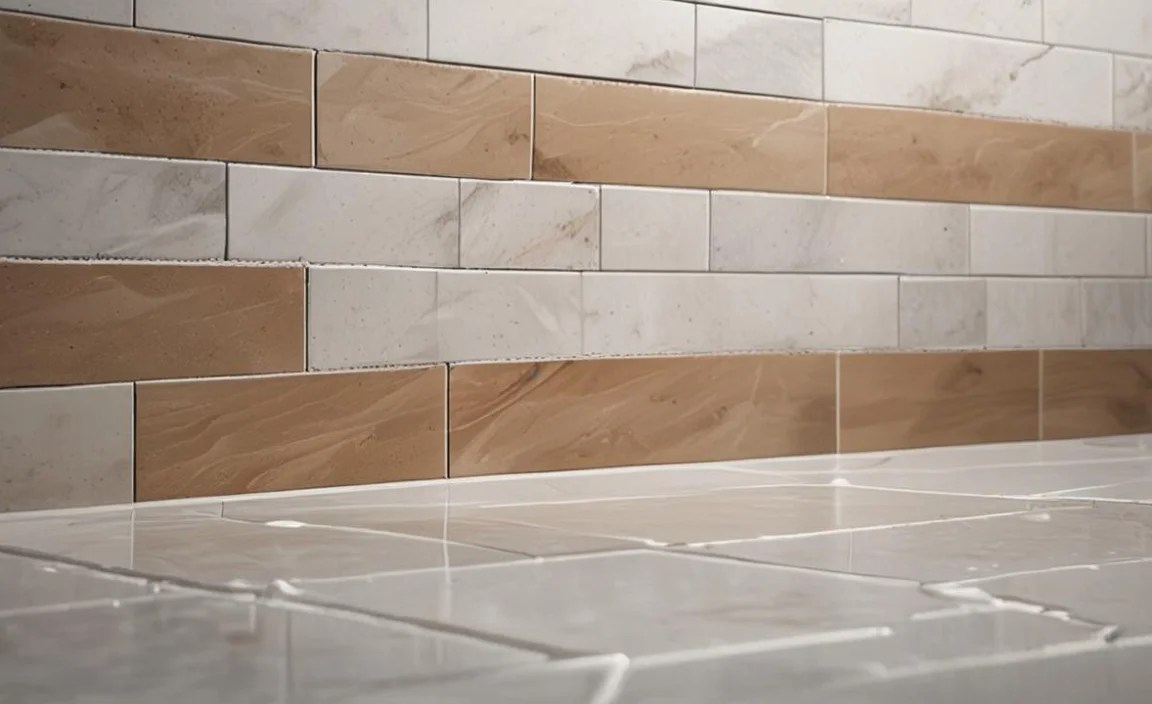
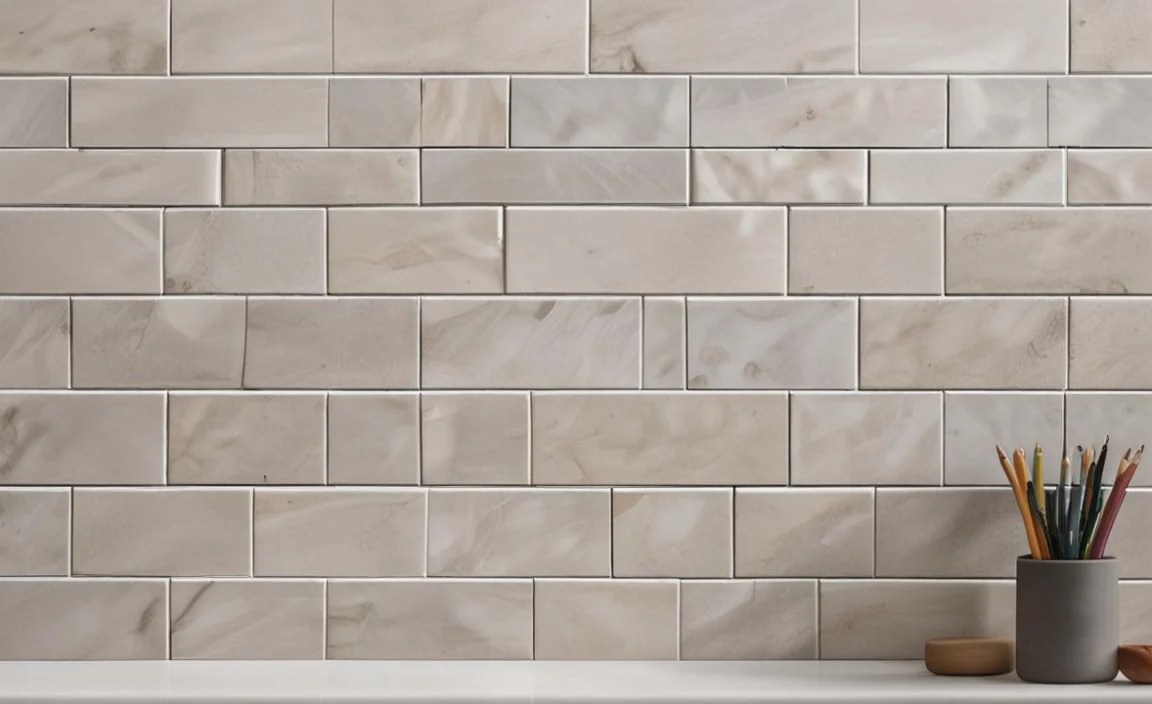
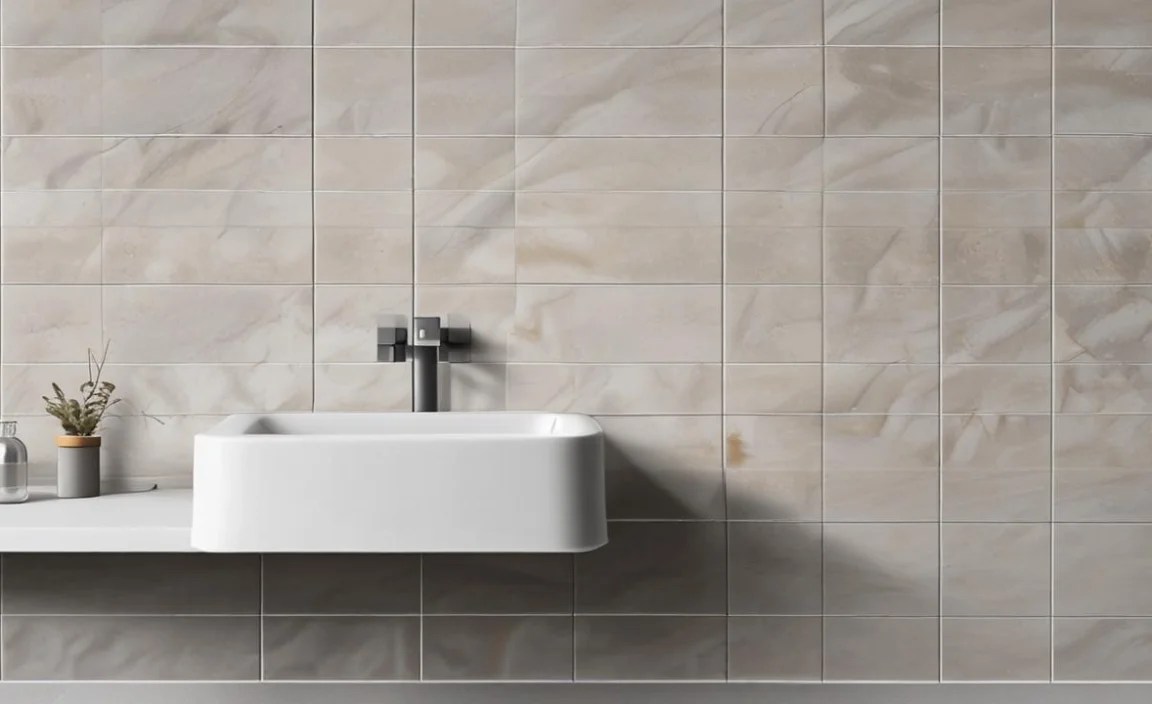
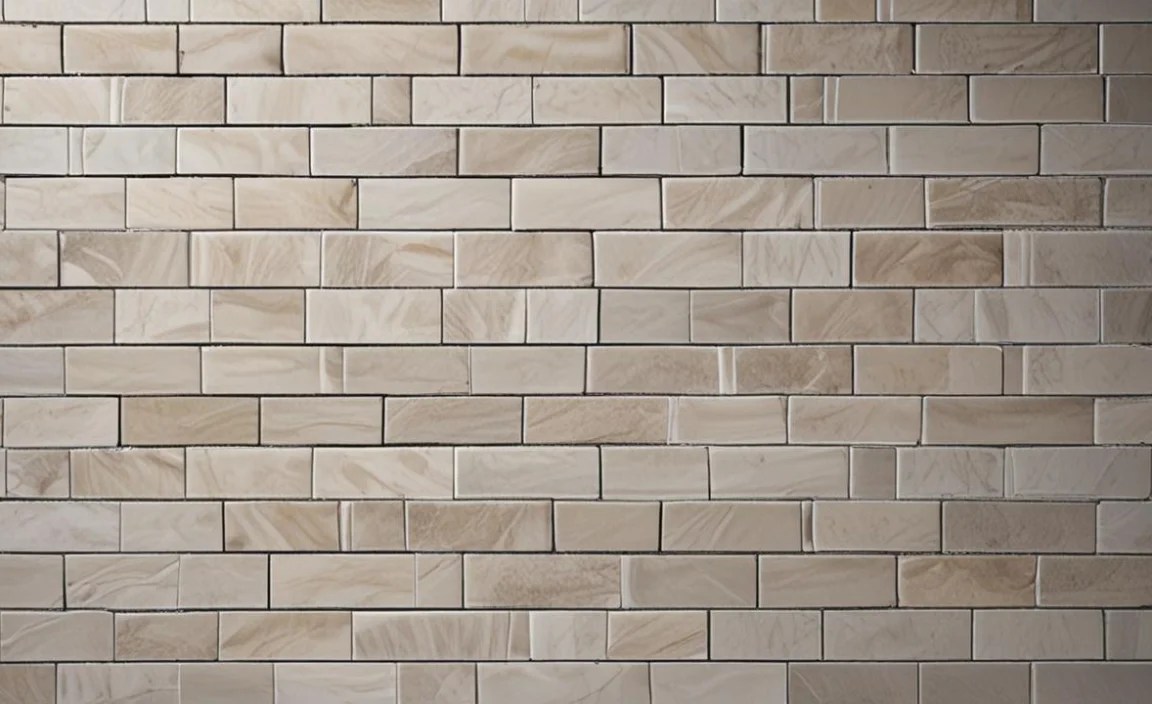
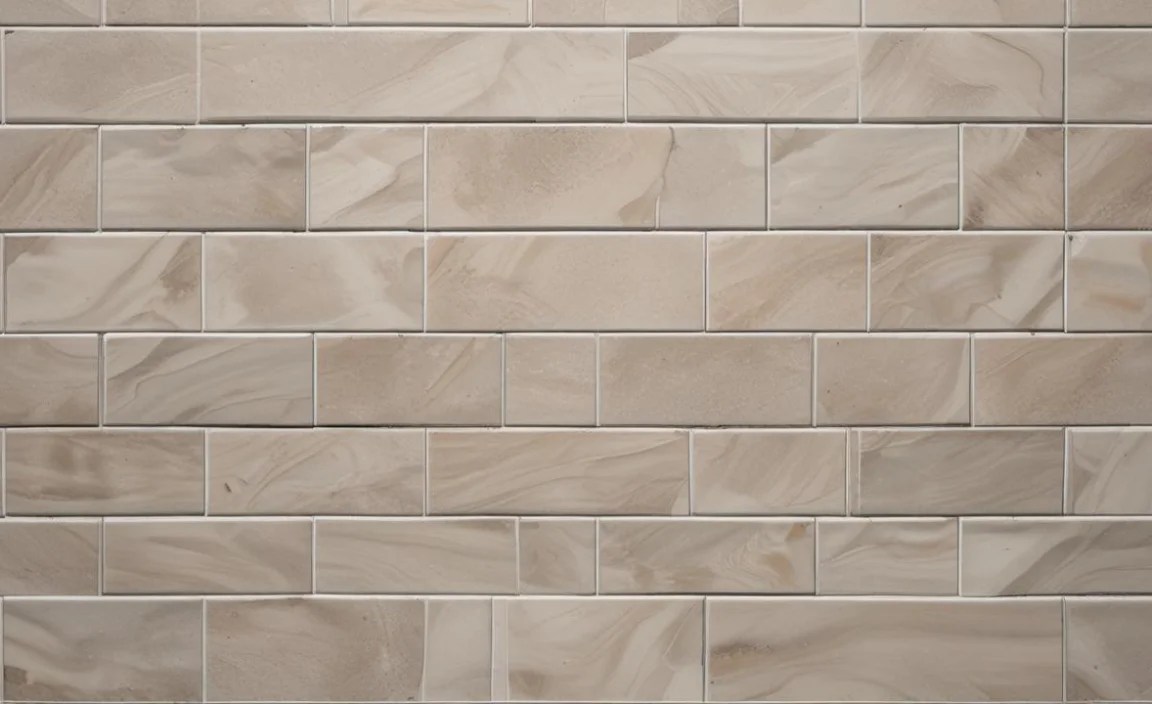
- Sanded Grout: Contains sand. It’s generally used for wider grout joints (typically 1/8 inch or larger) because the sand particles prevent excessive shrinkage and cracking in larger gaps. It’s also more durable and less prone to chipping.
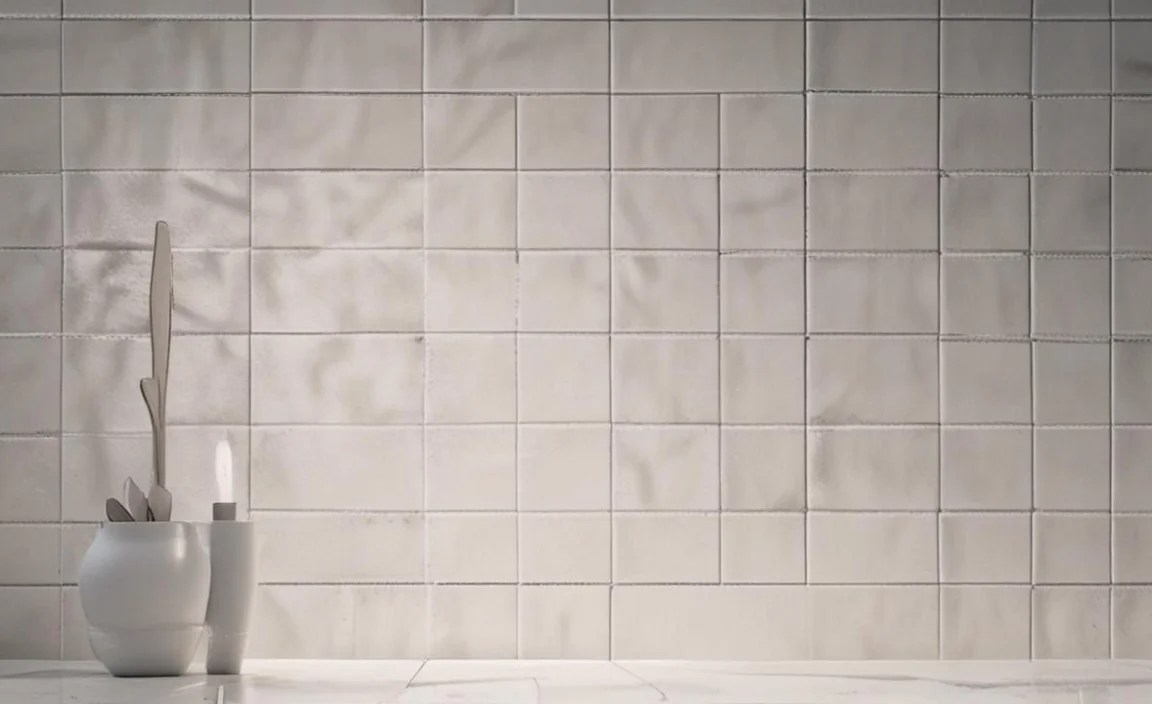
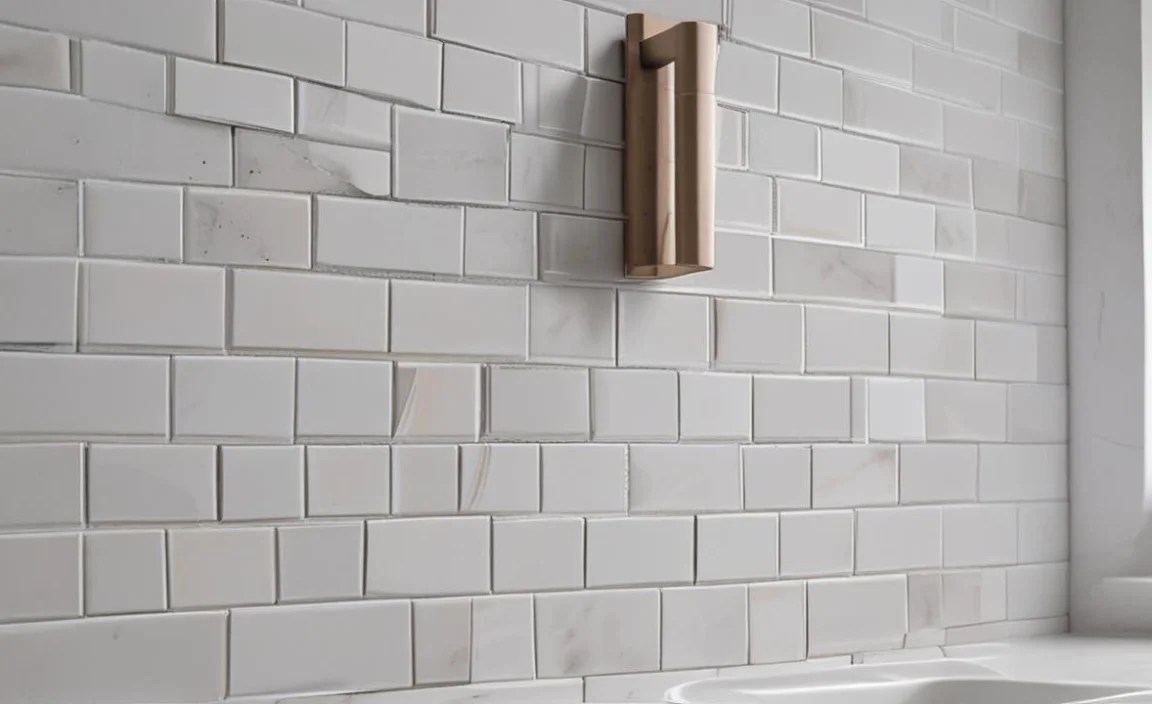
- Unsanded Grout: Does not contain sand. It’s made with very fine powders (like marble dust or limestone) that are smooth enough not to scratch delicate surfaces. Unsanded grout is best for narrow joints (less than 1/8 inch wide) where sand might not fit or could create a rough look. It offers a smoother finish but is more prone to shrinking and cracking in wider joints.
Alternatives to Sand
Modern grouts may use other fine-grained materials as aggregates or fillers. These can include materials like finely ground limestone, marble dust, or even specific polymer powders designed to enhance performance. The goal remains the same: to provide bulk, reduce shrinkage, and contribute to the final strength and texture.
3. The Magic Ingredient: Water (or Liquid Additives)
Water is indispensable for cement-based grouts. It initiates the hydration process that hardens the cement. However, the amount of water is critically important. Too much water weakens the grout, makes it prone to cracking, and can lead to discoloration. Too little water makes the mixture difficult to work with and can result in incomplete curing.
The Importance of Water Ratios:
- Workability: Proper water content ensures the grout is smooth and easy to apply.
- Strength: The correct water-to-cement ratio is crucial for maximum strength and durability.
- Shrinkage: Excess water leads to greater shrinkage as it evaporates, causing cracks.
Beyond plain water, some advanced grouts use specialized liquid additives instead of or in conjunction with water. These can include:
- Acrylic or Latex Polymers: These liquids can be used to mix cementitious grouts. They improve flexibility, adhesion, and resistance to stains and moisture. They also reduce permeability, making the grout more durable and less likely to crack.
- Epoxy or Urethane Components: These are found in non-cementitious grouts like epoxy or urethane grouts and have their own unique mixing requirements.
4. The Enhancers: Additives and Pigments

Beyond the basic binder, filler, and liquid, most grouts contain a variety of additives that fine-tune their properties and appearance. Pigments are among the most common and visually impactful additives.
Pigments for Color
Color is a huge part of grout’s aesthetic appeal. Pigments are added to the grout mix to achieve a wide range of colors, from classic white and gray to bold blues and earthy tones. These pigments are typically synthetic iron oxides or other mineral-based colorants that are stable and won’t fade over time when exposed to light or moisture.
Factors to Consider with Pigments:
- Consistency: Uniform mixing is key to achieving an even color.
- Drying Color: The grout color often appears darker when wet and lighter when dry.
- Matching: It can sometimes be tricky to match an existing grout color perfectly.
Performance-Boosting Additives
Manufacturers add various other chemicals to improve specific grout characteristics:
- Water Repellents: Help prevent water from penetrating the grout, which is vital for bathrooms and kitchens.
- Fungicides and Mildewcides: Inhibit the growth of mold and mildew in damp environments.
- Plasticizers: Improve the workability and flow of the grout mixture.
- Retarders/Accelerators: Control the setting time of the grout, allowing more or less time for application.
- Fungus and Mildew Inhibitors: These are added to resist the growth of mold and mildew, especially in humid areas.
- Polymers: As mentioned before, polymers can significantly enhance flexibility, crack resistance, and adhesion.
Types of Grout Based on Components
The specific combination and quality of these components lead to different types of grout, each suited for particular applications. Understanding these types is crucial for choosing the right product.
1. Cementitious Grout
This is the most traditional and common type of grout. It’s a blend of Portland cement, sand (or fine aggregates), and water. It’s typically economical and easy to find.
Key Characteristics:
- Relatively inexpensive.
- Available in sanded and unsanded varieties.
- Requires careful mixing to achieve the correct consistency.
- Can be prone to cracking and staining if not properly sealed.
- Cures through hydration.
Common Applications:
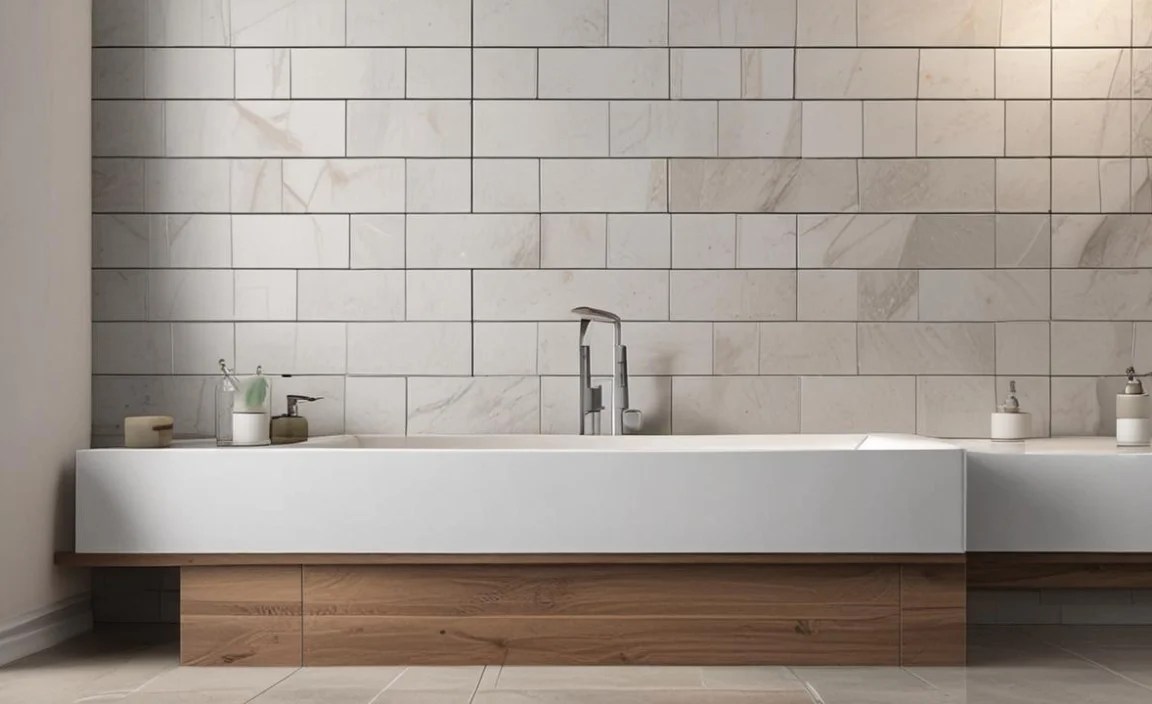
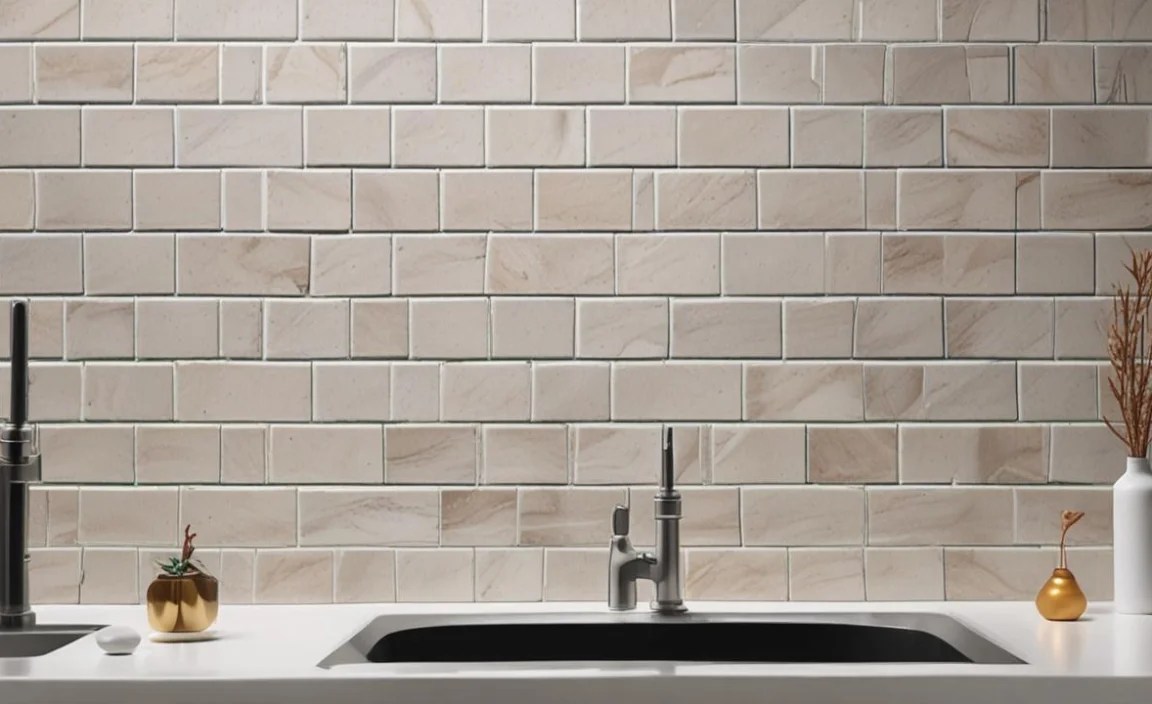
- Residential tile installations (kitchens, bathrooms, floors, walls).
- Suitable for most types of tile, including ceramic and porcelain.
2. Epoxy Grout
Epoxy grout is a high-performance option made from epoxy resins and a hardener, often with fine fillers and pigments. It does not contain cement.
Key Characteristics:
- Extremely durable and strong.
- Highly resistant to stains, chemicals, and water.
- Does not require sealing.
- More expensive than cementitious grout.
- Can be more challenging to work with due to a shorter working time.
- Non-porous, making it excellent for hygiene-sensitive areas.
Common Applications:
- Commercial kitchens and laboratories
- High-traffic areas
- Showers and backsplashes where stain resistance is paramount
- Areas prone to harsh chemicals or heavy cleaning
For more information on epoxy resins, you can explore resources from organizations like the U.S. Environmental Protection Agency which provides details on their properties and uses.
3. Urethane Grout
Urethane grout is another type of non-cementitious grout, often offering a balance between cementitious ease of use and epoxy durability. It contains polyurethane. It typically comes pre-mixed.
Key Characteristics:
- Flexible and crack-resistant.
- Good stain resistance.
- Does not typically require sealing.
- Often comes in a range of colors.
- Can be more expensive than cementitious grout.
- Generally easier to work with than epoxy grout.
Common Applications:
- Residential interior tiles, especially in areas that might experience slight movement.
- Good for backsplashes and shower walls.
4. Furan Grout
Furan Grout is a less common, highly specialized grout made from furan resins. It is known for its exceptional resistance to very strong chemicals and high temperatures.
Key Characteristics:
- Incredible chemical resistance.
- High heat resistance.
- Requires a special catalyst for curing.
- Very difficult to work with and clean.
- Expensive.
Common Applications:
- Industrial settings, chemical plants, heavy manufacturing facilities.
- Areas with extreme exposure to acids, solvents, and high temperatures.
Grout Components vs. Performance: A Comparison Table
Understanding how the different components influence grout performance helps in selecting the right product. Here’s a simplified comparison:
| Grout Type | Primary Components | Key Performance Attributes | Typical Use Cases | DIY Friendliness |
|---|---|---|---|---|
| Cementitious (Sanded/Unsanded) | Portland Cement, Sand/Fine Fillers, Water | Economical, Versatile, Wide color selection, Requires sealing | Residential floors, walls, backsplashes; narrow to wide joints | High (with care) |
| Epoxy | Epoxy Resins, Hardeners, Fillers, Pigments | Extremely durable, Stain & chemical resistant, Waterproof, Non-porous, No sealing needed | Commercial kitchens, labs, high-traffic areas, areas needing maximum hygiene | Medium (can be tricky) |
| Urethane | Polyurethane Resins, Fillers, Pigments | Flexible, Crack-resistant, Good stain resistance, No sealing needed, Pre-mixed | Residential interiors, areas with potential movement | Medium-High (easier than epoxy) |
| Furan | Furan Resins, Catalyst | Superior chemical & heat resistance | Industrial environments, extreme conditions | Low (professional use) |
DIY Guide: Choosing and Using Grout
Now that you know what’s in grout, let’s talk about using it like a pro!
Step 1: Assess Your Project Needs
Before buying any grout, consider these factors:
- Location: Is it a wet area (shower, backsplash) or a dry area?
- Joint Width: Are your tile spaces narrow (less than 1/8 inch) or wide (1/8 inch or more)?
- Traffic and Use: Will the area experience heavy foot traffic or potential spills?
- Tile Type: Are you using delicate tiles that could be scratched?
- Desired Look: What color and finish are you going for?
Step 2: Select the Right Grout Type
Based on your assessment:
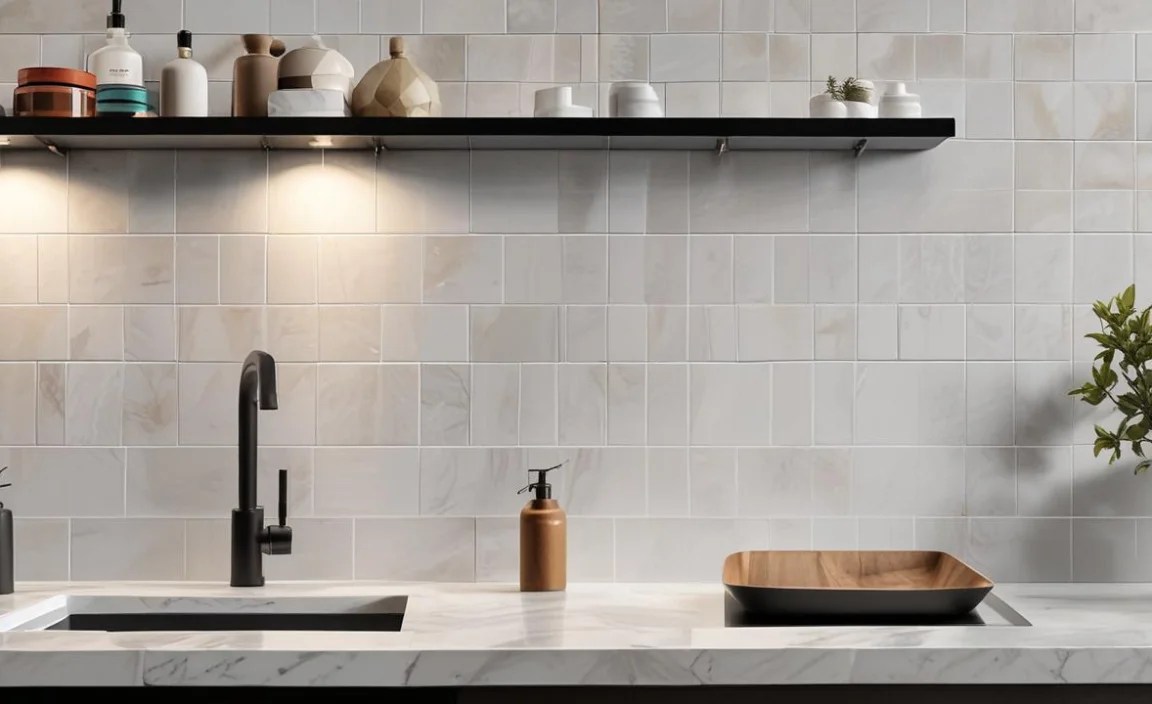
- For most residential bathrooms and kitchens with standard joint widths: Cementitious sanded grout is a reliable, cost-effective choice.
- For very narrow joints (under 1/8 inch): Cementitious unsanded grout is your best bet.
- For high-traffic areas, commercial kitchens, or if you want ultimate stain resistance: Epoxy grout is worth the extra effort and cost.
- For good flexibility and ease of use in residential settings: Urethane grout is a good middle-ground option.
Step 3: Understand the Mixing Process (If Applicable)
For cementitious grouts, precise mixing is key. Always:
- Read the manufacturer’s instructions. This is the most crucial step!
- Use a clean bucket and tools.
- Add the dry grout mix to the water (or liquid additive), not the other way around.
- Gradually add water until you reach the consistency of peanut butter or thick cake batter. Avoid making it too watery!
- Mix thoroughly using a margin trowel or a drill with a grout-mixing paddle.
- Let the mixture rest (slake) for 5-10 minutes if the instructions require it, then remix. This allows the cement to fully hydrate.
Epoxy and urethane grouts are often pre-mixed or have a simple two-part mixing process. Follow their specific guidelines carefully.
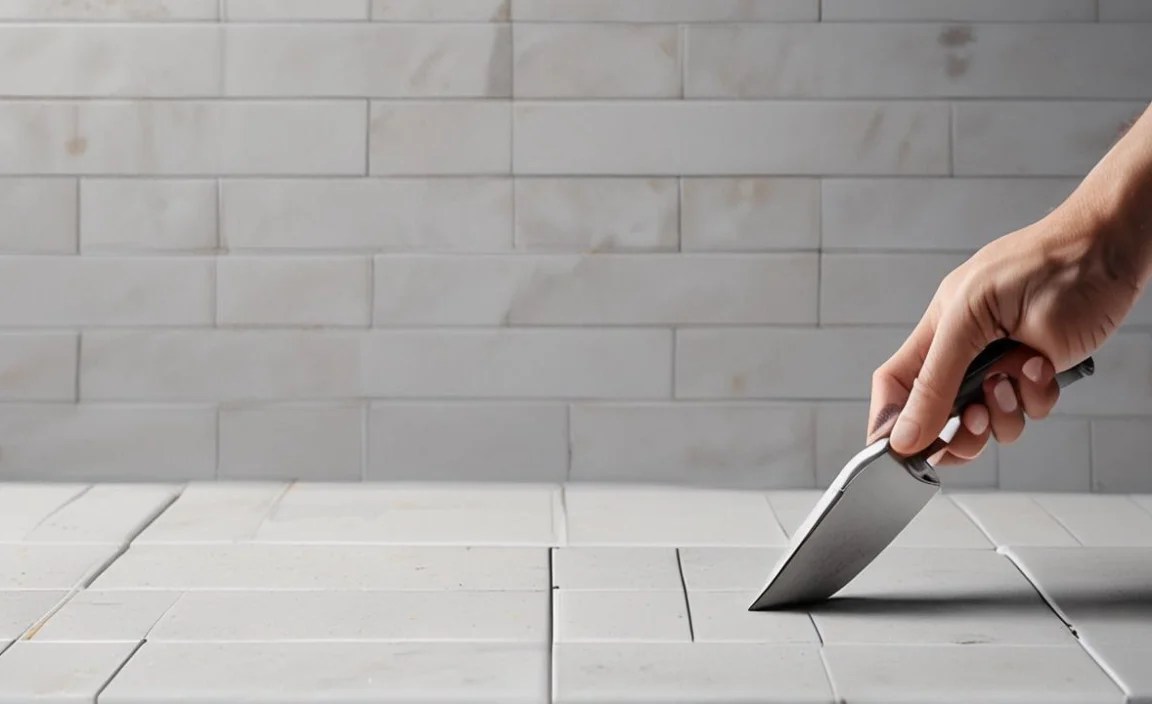
Step 4: Application
Using a rubber grout float, spread the grout over the tiles, pressing it firmly into the joints. Work in small sections, ensuring all gaps are completely filled. Scrape off excess grout from the tile surface with the float held at an angle.
Step 5: Cleanup
This is where patience is a virtue. Wait for the grout to begin to set (typically 15-30 minutes, depending on temperature and humidity). Then, using a damp (not wet!) grout sponge, gently wipe the excess grout off the tile surface in a circular motion. Rinse your sponge frequently in a separate bucket of clean water. Avoid using too much water, as this can weaken the grout.
For a more in-depth look at grout cleaning, check out resources from the This Old House team, known for their practical DIY advice.
Sealing Your Grout (For Cementitious Types)
Cementitious grouts, especially sanded ones, are porous and can absorb stains and moisture. Sealing them creates a protective barrier.
Why Seal?
- Prevents staining from spills.
- Reduces moisture absorption, hindering mildew growth.
- Makes cleaning easier.
When to Seal:
After tiling and grouting, allow the grout to cure for at least 48-72 hours (check the grout manufacturer’s recommendation, as some may require up to 7 days). Ensure the area is completely dry and clean.
How to Seal:
- Choose a quality grout sealer. There are penetrating sealers (which soak into the grout) and topical sealers (which form a film on top). Penetrating sealers are usually preferred for durability.
- Apply the sealer with a small brush or an applicator bottle, carefully coating only the grout lines. Avoid getting too much on the tile surface unless it’s a type designed to be applied over the tile too.
