
Transform your bathroom with a DIY plastic accessory set that brings genius organization and a fresh look, all on a budget.
Is your bathroom counter a bit of a mess? Are small items like cotton swabs, hair ties, or toothpaste tubes scattered around? You’re not alone! A cluttered bathroom can feel overwhelming and make your morning routine a chore. But what if you could create stylish, functional storage solutions yourself, using simple and affordable materials? This guide will show you how to craft your very own plastic bathroom accessory set, turning everyday plastic items into smart organizers that look fantastic. Get ready to declutter and bring a touch of DIY brilliance to your bathroom!
Why DIY Your Plastic Bathroom Accessory Set?
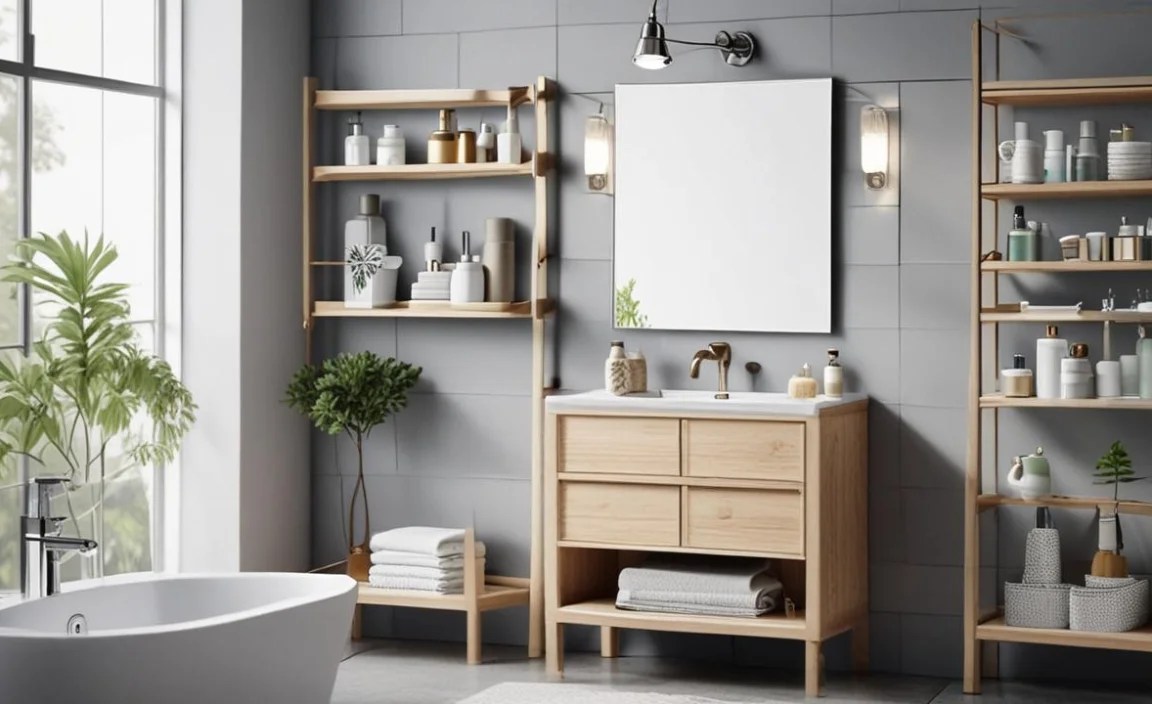
Let’s be honest, store-bought bathroom accessory sets can be pricey, and sometimes they just don’t have the right combination of pieces for your specific needs. That’s where a DIY approach shines! With a “plastic bathroom accessory set DIY” project, you get complete control over the design, functionality, and cost. You can repurpose items you already have, buy inexpensive plastic containers, and customize them to fit your bathroom’s style and your organizational challenges.
This isn’t just about saving money; it’s about creating solutions that truly work for you. Imagine dedicated spots for everything, from your toothbrush to your spare soap. It makes your bathroom tidier, more efficient, and honestly, more enjoyable to be in. Plus, it’s a fantastic way to reduce waste by giving plastic items a new, extended life. Let’s dive into how you can achieve this!
Getting Started: Planning Your DIY Bathroom Organization
Before you start cutting and gluing, a little planning goes a long way. Think about what’s currently causing clutter in your bathroom. What items do you use daily? What do you need easy access to? What items can be stored away neatly?
Assess Your Needs
Walk through your bathroom and identify areas that need organizing. Consider:
- Countertops: Toothbrushes, toothpaste, soap, lotions, hair products, makeup.
- Drawers: Small accessories, first-aid items, spare toiletries.
- Shower/Tub Area: Shampoo bottles, soap, razors, loofahs.
- Cabinets: Cleaning supplies, extra towels, bulk items.
Choose Your Materials
Plastic Containers: The Foundation
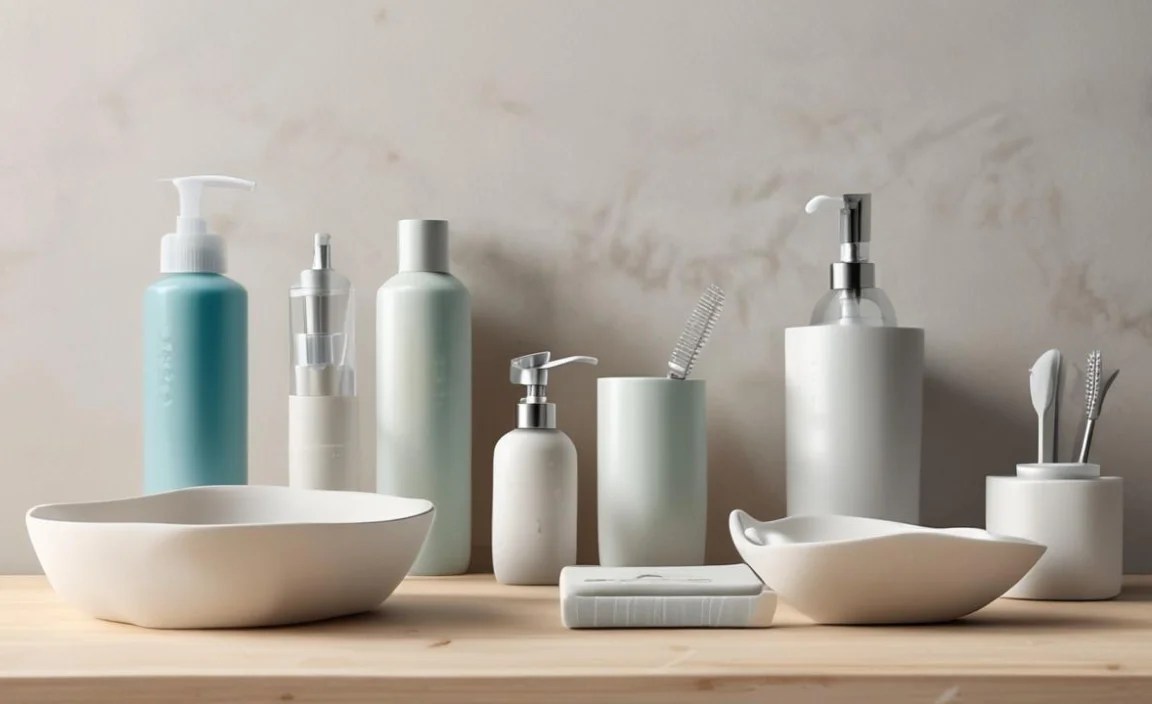
The beauty of a plastic bathroom accessory set DIY is the versatility of materials. You can use a variety of plastic items, both new and repurposed:
- Repurposed Containers:
- Plastic food containers (yogurt cups, takeout containers, butter tubs).
- Old cosmetic or toiletry bottles.
- Plastic organizers from other areas of your home.
- New, Budget-Friendly Options:
- Clear plastic storage bins from dollar stores or discount retailers.
- Plastic cups or tumblers.
- Plastic drawer dividers.
- Plastic craft boxes.
When choosing, consider the size, shape, and transparency. Clear containers can help you see what’s inside, while opaque ones can hide clutter. Make sure they are easy to clean and waterproof, especially for shower caddies.
Decoration & Enhancement Materials
This is where your DIY set can go from functional to fabulous. Think about how you want your set to look and feel:
- Adhesives:
- Hot glue gun and glue sticks (great for attaching items).
- Super glue or strong craft glue (for more permanent bonds on plastic).
- Double-sided tape (for lighter attachments).
- Customization & Decor:
- Spray paint (specifically for plastic, like Krylon Fusion or Rust-Oleum Plastic).
- Contact paper or decorative vinyl.
- Stickers or decals.
- Ribbon or fabric scraps.
- Paint pens (for intricate designs).
- Tools:
- Scissors or a craft knife (for cutting materials like contact paper).
- Sandpaper (optional, for preparing surfaces for paint).
- Measuring tape or ruler.
- Marker or pencil.
DIY Plastic Bathroom Accessory Set Ideas & Projects
Now for the fun part! Here are some creative ideas for building your custom plastic bathroom accessory set. We’ll break them down into common bathroom needs.
1. The Countertop Organizer Trio
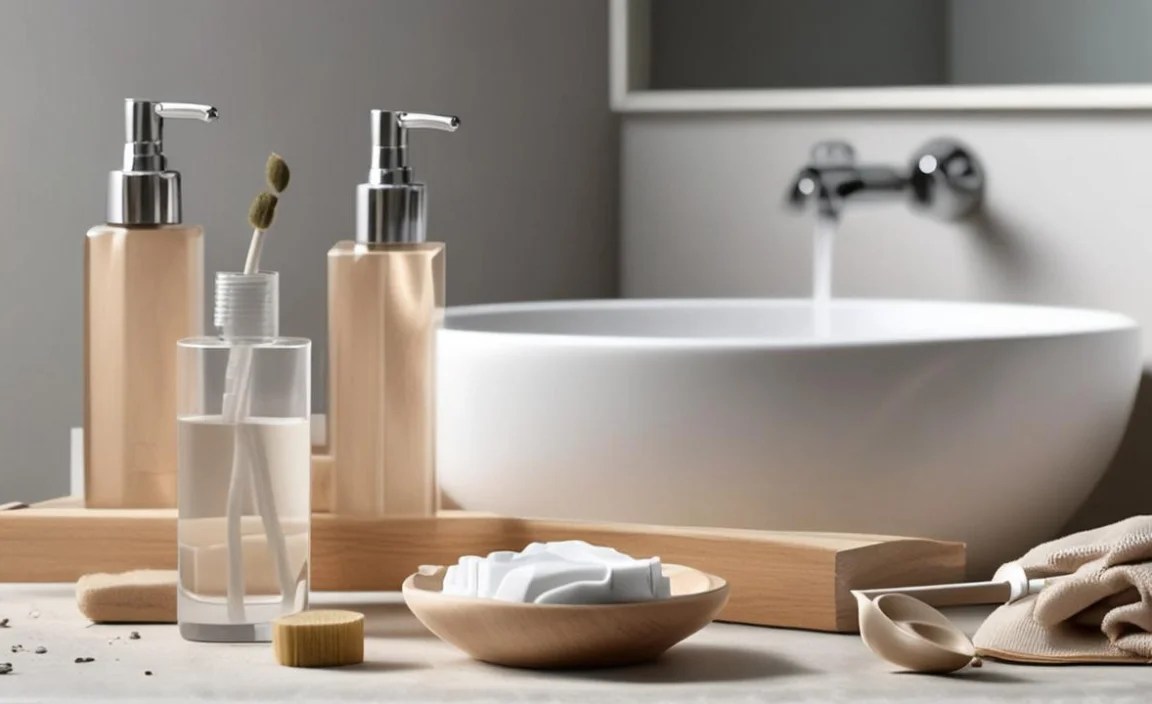
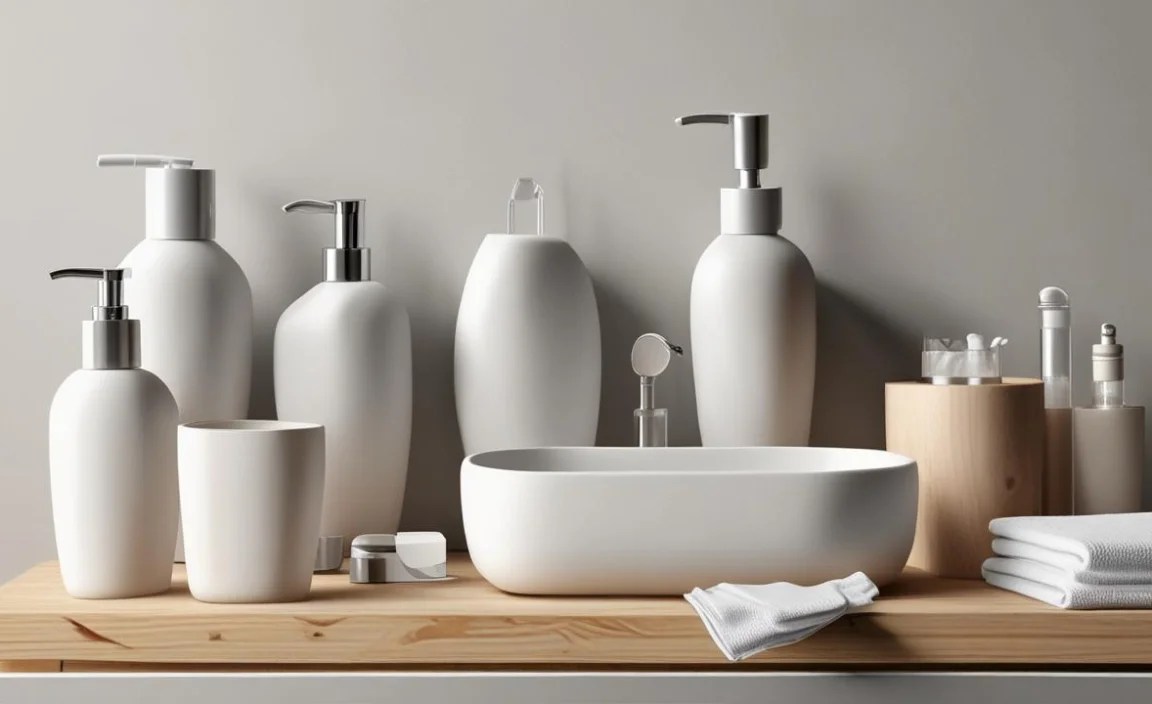
This set is perfect for keeping your daily essentials tidy and accessible. You’ll create three coordinated pieces from repurposed containers.
Materials Needed:
- 3 similarly sized plastic containers (e.g., yogurt cups, travel-sized lotion bottles, or small cosmetic jars)
- 1 slightly larger, shallow plastic container or tray (like a takeout container lid or a small makeup organizer tray)
- Spray paint (plastic-friendly) or decorative contact paper
- Hot glue gun and glue sticks
- Optional: Ribbon, small embellishments
Step-by-Step Instructions:
- Prepare the Containers: Wash and thoroughly dry all your plastic containers. Remove any labels by soaking them in warm, soapy water. If there’s persistent residue, a little rubbing alcohol can help.
- Decorate the Containers:
- Option A (Spray Paint): In a well-ventilated area (preferably outdoors), lightly sand the exteriors of your containers if recommended by the paint manufacturer. Apply thin, even coats of spray paint, allowing each coat to dry completely. You might need 2-3 coats for good coverage.
- Option B (Contact Paper): Measure and cut pieces of contact paper to fit around each container. Carefully adhere the contact paper, smoothing out any bubbles as you go. Trim any excess with a craft knife.
- Create the Base Tray: Decorate your larger shallow container or tray using the same method as the smaller containers. This will act as a unifying base.
- Assemble the Set: Once all pieces are dry and decorated, arrange the three smaller containers on the base tray. Think about what you want to store in each: one for toothbrushes, one for toothpaste and floss, and one for makeup brushes or cotton swabs.
- Secure (Optional but Recommended): For stability, especially if your tray is smooth, use a few dots of hot glue on the bottom of each small container to secure them to the tray.
- Add Finishing Touches: Tie a ribbon around the base of one container or glue on a small decorative charm for a personalized flair.
What to Store:
- Toothbrush & Toothpaste
- Cotton Swabs & Rounds
- Makeup Brushes
- Small Lotions or Serums
- Hair Ties or Bobby Pins
2. The Shower Caddy Upgrade
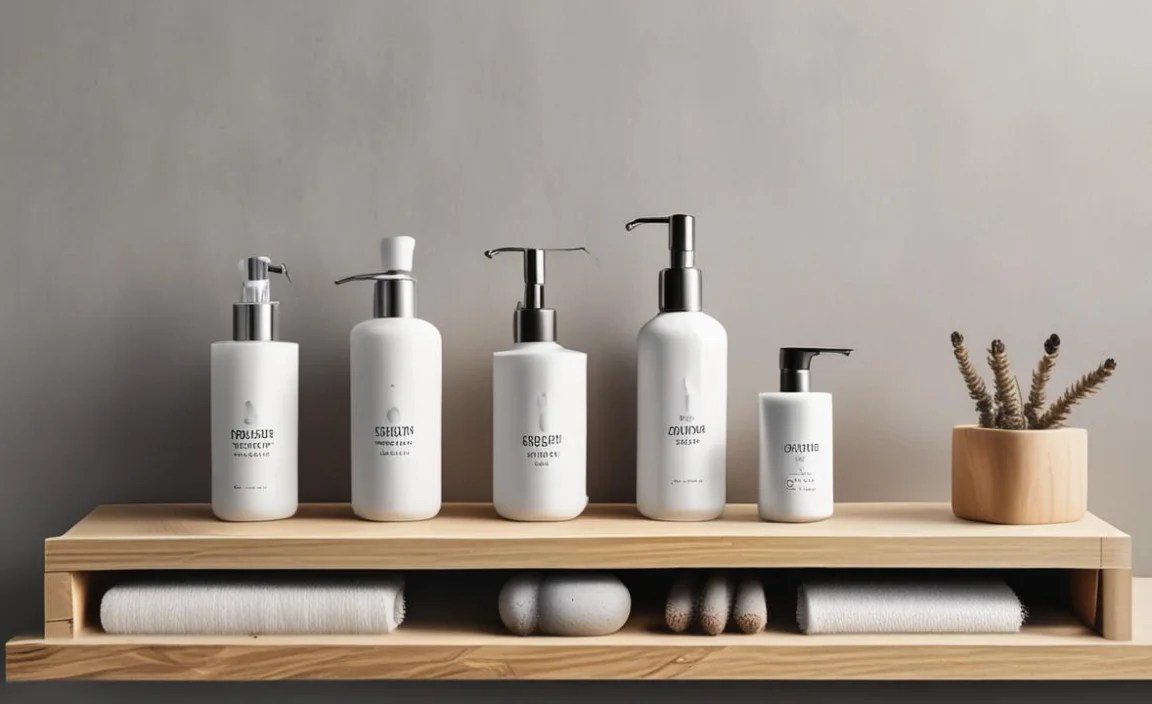
Tired of flimsy, rusted shower caddies? A DIY plastic version can be durable, rust-proof, and exactly what you need.
Materials Needed:
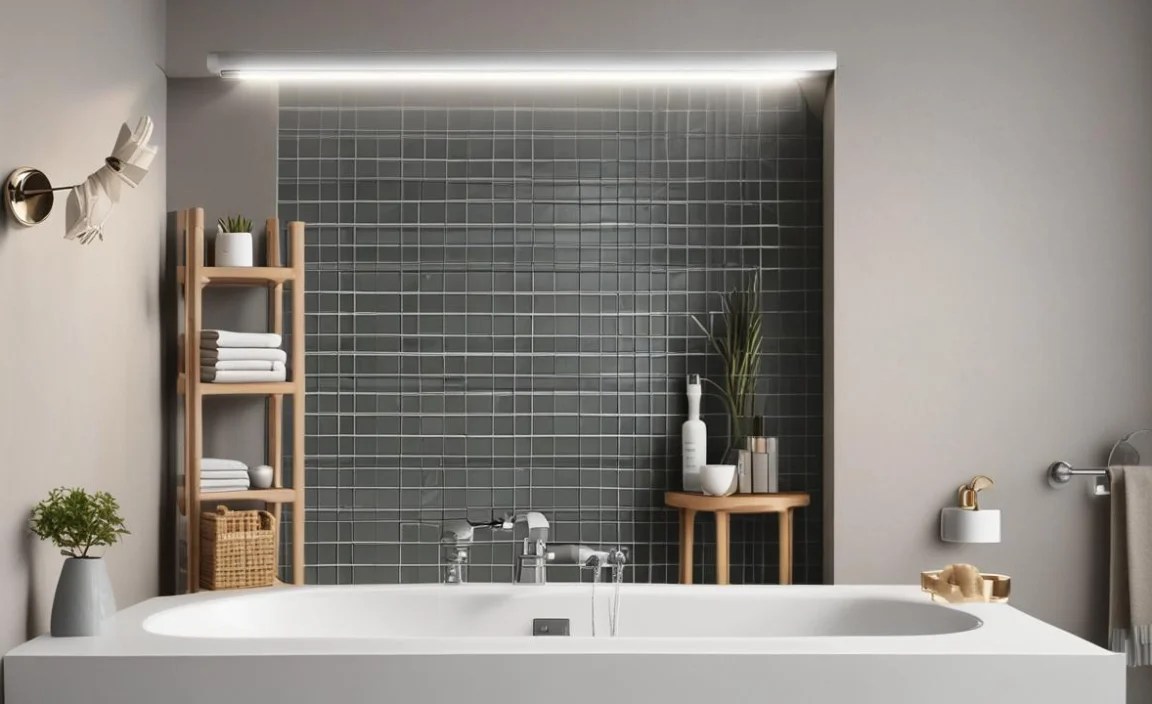
- A large, sturdy plastic bin with a handle (e.g., a cleaning caddy, a large utility tub, or a multi-compartment plastic organizer)
- Smaller plastic containers or cups that fit inside the larger bin
- Drill with a small drill bit (optional, for drainage)
- Strong waterproof adhesive or silicone sealant
- Rust-proof spray paint (if desired, for aesthetics)
- Sandpaper (optional)
Step-by-Step Instructions:
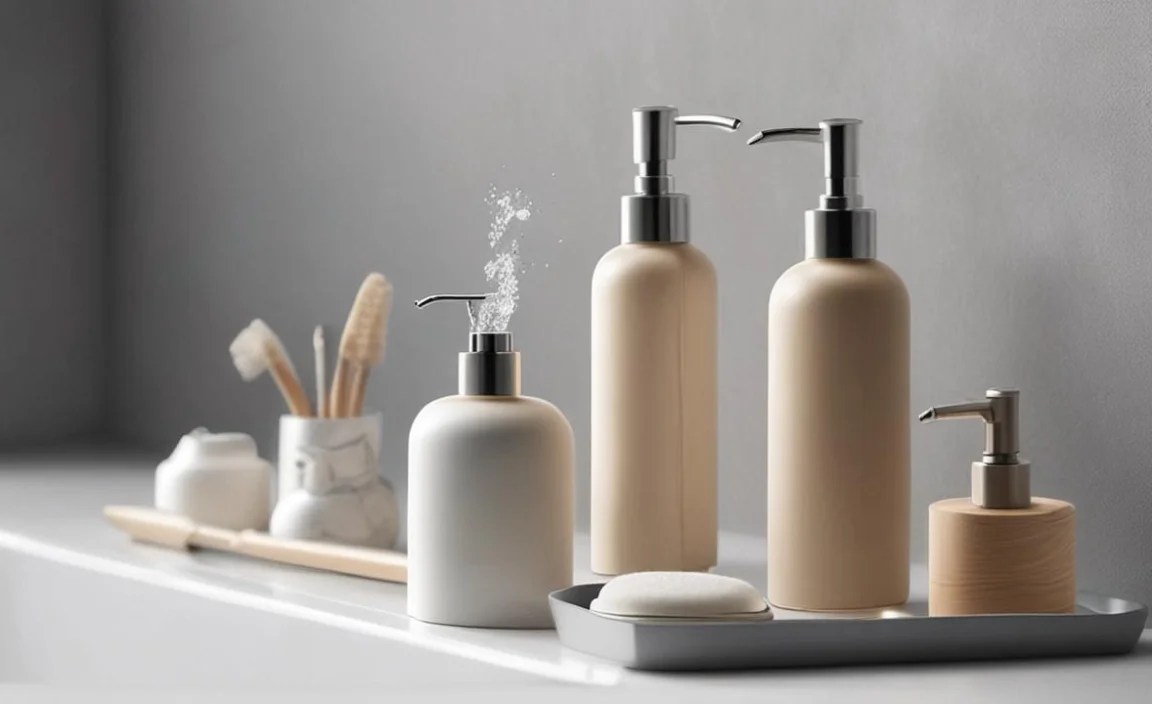
- Select Your Base Caddy: Choose a plastic bin that is large enough to hold your shampoo, conditioner, body wash, and other shower essentials. A caddy with built-in compartments is a bonus. Ensure it has a sturdy handle that can hang over your showerhead or be carried.
- Prepare for Drainage: To prevent water from pooling, drill a few small holes in the bottom of the main bin and any internal compartments you’ll be using for soap or sponges. This mimics the drainage of commercial caddies. For a drill-free option, you can sometimes find plastic bins with existing perforations, or you might need to skip this step and be diligent about emptying water.
- Decorate the Caddy (Optional): If you want to personalize the look, clean and dry the entire caddy thoroughly. Use plastic-specific spray paint to give it a refreshed color. Again, multiple thin coats are better than one heavy coat. Allow it to cure completely according to the paint can’s instructions.
- Add Internal Organizers: Use smaller plastic containers (like travel-sized shampoo bottles with the tops cut off and cleaned, or sturdy plastic cups) to compartmentalize within the larger caddy. These are great for holding razors, small soap bars, loofahs, or hair ties.
- Secure Internal Organizers: For items that might tip over, use a strong waterproof adhesive or silicone sealant to attach the smaller containers to the inside walls of the main caddy. Apply a bead of sealant around the base of the smaller container and press it into place within the larger caddy.
- Let it Cure: Allow any adhesive or sealant to cure fully before placing the caddy in the shower. This is crucial for durability. Follow the adhesive manufacturer’s instructions for cure times, which can vary.
Tips for a Great Shower Caddy:
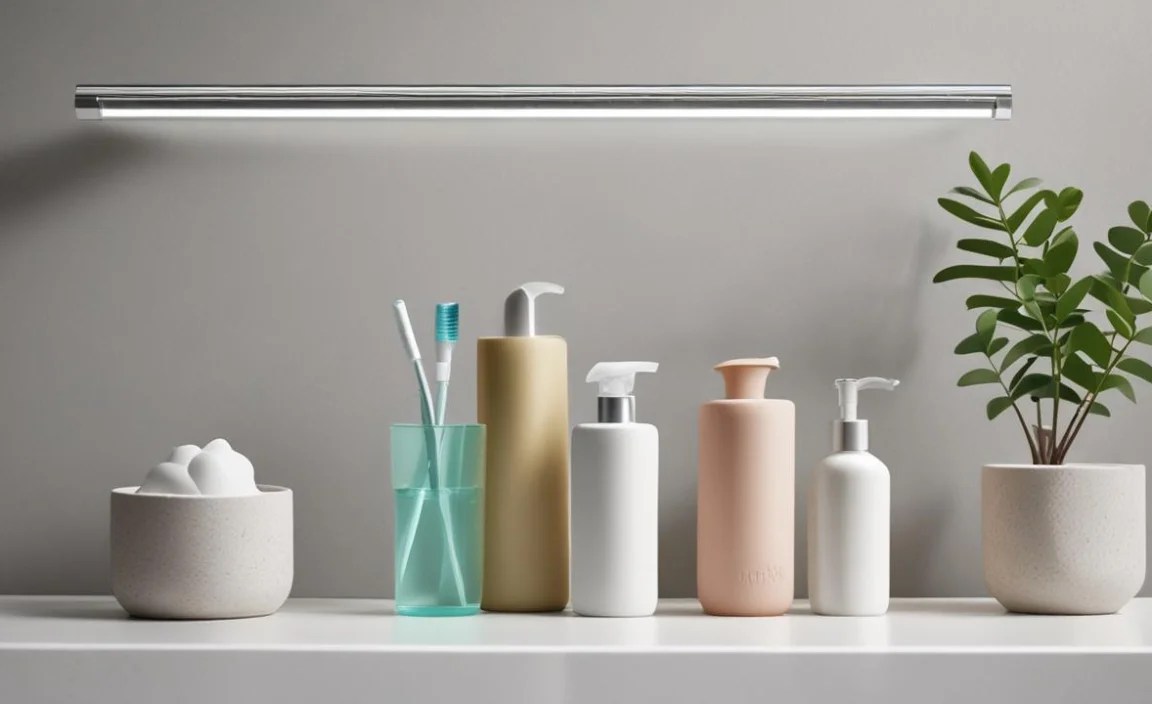
- Weight Distribution: Place heavier items like shampoo bottles towards the back or bottom of the caddy to prevent it from tipping.
- Hanging: Ensure your showerhead or hook can support the weight of the filled caddy.
- Cleaning: Regularly rinse and wipe down your plastic caddy to prevent mold and mildew buildup.
3. Drawer Dividers and Small Item Organizers

Drawers can become black holes for small items. Plastic containers are perfect for creating custom drawer dividers.
Materials Needed:
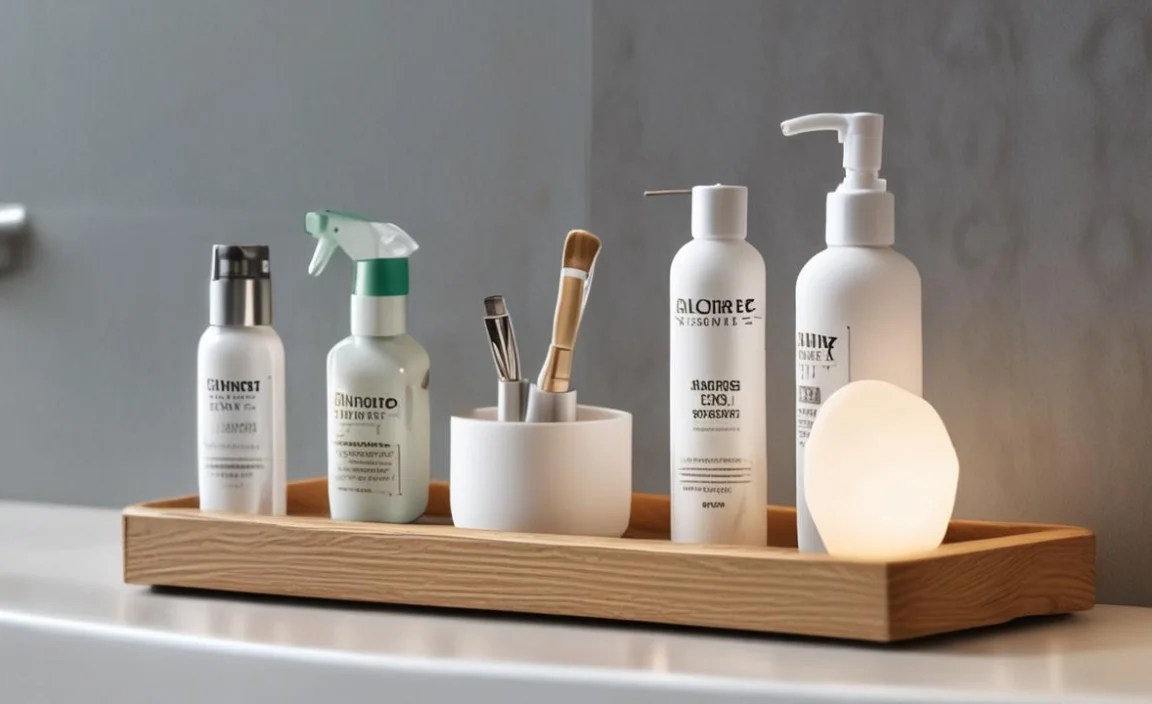
- Various small plastic containers (e.g., empty cosmetic jars, small food storage containers, cut-off plastic bottles, small craft boxes)
- Craft knife or sturdy scissors
- Optional: Shelf liner or non-slip matting
Step-by-Step Instructions:
- Measure Your Drawer: Open the drawer you want to organize and measure its internal dimensions: length, width, and depth.
- Select Containers: Choose plastic containers that fit the depth of your drawer and are roughly the sizes you need for different categories of items. Think about what you want to store:
- Toothbrushes and toothpaste
- Hair accessories (clips, ties)
- Small first-aid items (band-aids, cotton swabs)
- Makeup items (lipsticks, concealers)
- Razors and shaving cream
- Adjust Container Heights (If Needed): If some containers are too tall, carefully use a craft knife or sturdy scissors to cut them down to the desired height. Always cut away from yourself and on a stable surface. Smooth any rough edges.
- Arrange in Drawer: Place the containers into the drawer. Move them around until you find an arrangement that maximizes space and keeps items corralled. They should fit snugly side-by-side to prevent shifting.
- Add Stability (Optional): If the containers tend to slide around a lot, you can cut pieces of non-slip shelf liner to fit the bottom of the drawer or the bottom of each container.
- Load with Items: Fill your new compartments with your bathroom essentials.
Example Drawer Organization:
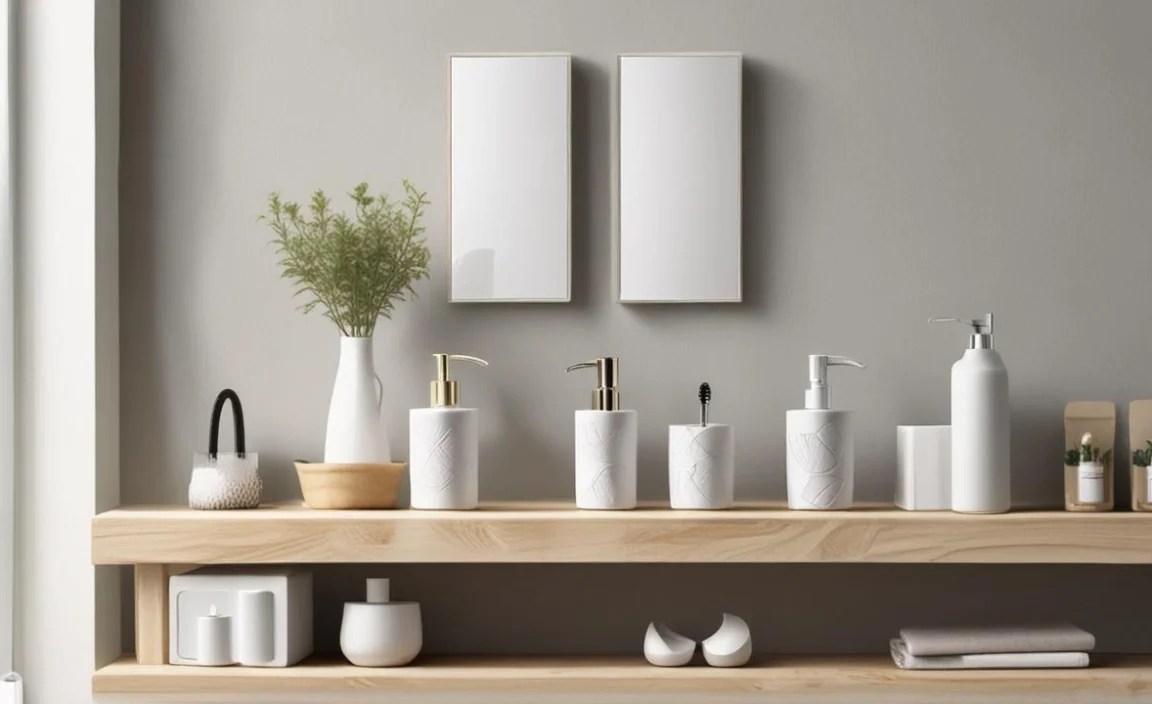
- Top Drawer (Makeup/Personal Care):
- Tall container for makeup brushes.
- Medium containers for lipsticks, pencils, and small palettes.
- Shallow containers for cotton pads, Q-tips, and hair clips.
- Middle Drawer (Health/First Aid):
- Compartments for band-aids, antiseptic wipes, pain relievers, and personal medications.
- Bottom Drawer (Miscellaneous):
- Larger containers for spare soap bars, travel-sized toiletries, or cleaning cloths.
5 Genius DIY Plastic Bathroom Accessory Set Hacks
Want to take your DIY organization to the next level? Here are some extra tips and tricks:
- Create a Toothbrush Holder with Drainage: Take a plastic cup or a small plastic container (like a cleaned-out spice jar). Drill or poke a few small drainage holes in the very bottom. This prevents water from pooling and keeps toothbrushes dry.
- No-Drill Vanity Tray: Use a plastic cookie sheet or a shallow plastic bin as a base. Glue (with strong craft glue) smaller decorated containers onto this base. This creates a cohesive unit that you can easily lift and clean.
- “Snap-Together” Organizers: If you use interlocking plastic drawer organizers, you can sometimes snap them together in creative configurations within larger bins or directly in drawers to create custom compartments.
- Weighted Base for Stability: For lightweight plastic containers that tend to tip, especially when holding tall items like lotions, consider adding a bit of weight to the bottom. You can carefully hot-glue a few pebbles or a small, flat washer to the inside bottom of the container before filling it.
- Clear Containers for Visibility: Don’t underestimate the power of clear plastic! Seeing what’s inside instantly makes organization easier. Many cheap plastic food containers or craft organizers are available in clear options.
Safety First: Working with Plastics and Adhesives
When undertaking any DIY project, safety is paramount. Working with plastic and adhesives requires a few precautions:
- Ventilation: If you’re spray painting or using strong glues, always work in a well-ventilated area. Outdoors is best, or use a room with open windows and consider a mask.
- Sharp Tools: Be extremely careful when using craft knives or scissors to cut plastic. Always cut away from your body and ensure the plastic is stable.
- Hot Glue Guns: Hot glue guns get very hot. Be mindful of the nozzle and the melted glue to avoid burns. Keep a bowl of cold water nearby just in case.
- Adhesive Curing: Ensure adhesives and sealants are completely cured before using the containers in a bathroom environment, especially around children or pets. Some adhesives can release fumes until fully set.
- Material Compatibility: When gluing or painting, make sure your chosen products are compatible with the type of plastic you are using. Some plastics are slicker and require specific adhesives or primers. For painting, look for “plastic-specific” spray paints.
For more information on safe crafting practices, the Centers for Disease Control and Prevention (CDC) offers general home safety guidelines that can be adapted to DIY projects.
Maintenance and Cleaning Your DIY Plastic Accessories
One of the great advantages of plastic is how easy it is to clean. To keep your DIY bathroom accessory set looking its best:
- Daily Wipe-Down: A quick wipe with a damp cloth after use can prevent water spots and soap scum buildup.
- Weekly Cleaning: For a more thorough clean, use warm, soapy water and a soft sponge or cloth. For stubborn stains or mildew, a solution of equal parts vinegar and water can be effective. Rinse thoroughly and dry completely.
- Avoid Harsh Abrasives: Steer clear of abrasive cleaners or scrub brushes, as these can scratch the plastic surface and dull the finish, especially if you’ve painted or applied decorative elements.
- Check Adhesives: Periodically check that any glued components are still securely attached. Reapply adhesive if necessary.
Pros and Cons of a DIY Plastic Bathroom Accessory Set

Like any project, there are advantages and disadvantages to going the DIY route:
| Pros | Cons |
|---|---|
| Cost-Effective: Significantly cheaper than buying pre-made sets, especially if repurposing items. | Time Investment: Requires time for planning, preparation, and assembly. |
| Customization: You control the size, shape, number of pieces, and aesthetic style. | Durability Concerns: Depending on the materials and adhesives used, DIY items might not be as robust as commercial products. |
| Repurposing & Eco-Friendly: Gives new life to old plastic items, reducing waste. | Learning Curve: May require some trial and error to get techniques like painting plastic just right. |
| Perfect Fit: Can be designed to fit specific bathroom dimensions and storage needs precisely. | Aesthetic Limitations: Achieving a high-end, polished look can be challenging compared to professionally manufactured items. |
| Sense of Accomplishment: The satisfaction of creating something useful and beautiful yourself. | Tool Requirements: May need basic tools like a hot glue gun or drill |
