
Bryan Lee’s Quick Summary: Repairing a mirror involves specific tools to handle delicate tasks safely and effectively. Essential mirror repair tools include glass cutters for precise sizing, adhesive applicators for bonding, cleaning supplies for a clear finish, and protective gear to ensure your safety. This guide covers what you need to know to tackle mirror repairs confidently.
Dealing with a cracked or damaged mirror can be frustrating. You might think it’s a job for a professional, but with the right approach and a few key tools, you can often handle minor mirror repairs yourself. It’s all about understanding the materials and having the right equipment at hand. Don’t let a minor imperfection in your reflection cause a major headache.
This guide will walk you through the essential tools and techniques for repairing mirrors. We’ll break down what you need, how to use it safely, and what you can realistically achieve. Get ready to restore your mirror’s shine and your peace of mind!
Why Repair Your Mirror?
Before diving into the tools, let’s quickly touch on why you might want to repair a mirror instead of replacing it. For starters, it’s often a budget-friendly option. Small chips or cracks, especially on larger or custom-fit mirrors, can be costly to replace. DIY repair can save you significant money.
Another reason is preserving sentimental value. Some mirrors are heirlooms or have unique frames that are irreplaceable. Repairing the glass can maintain the item’s integrity and historical charm. Plus, successfully repairing something yourself is incredibly satisfying and builds confidence for future projects.
Finally, when we talk about mirror repair, we’re usually referring to stabilizing cracks to prevent them from spreading, or repairing damage to the frame. For severe glass damage, replacement might be the only safe option. But for many common issues, a good repair is very possible.
Essential Tools for Mirror Repair
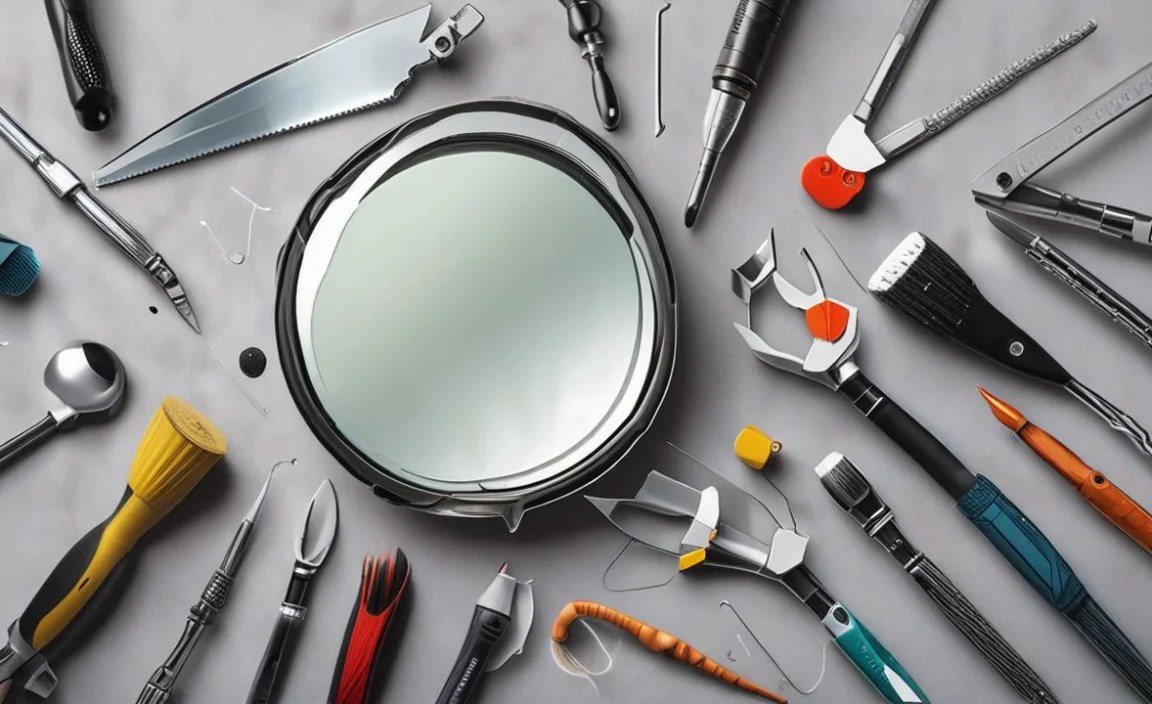
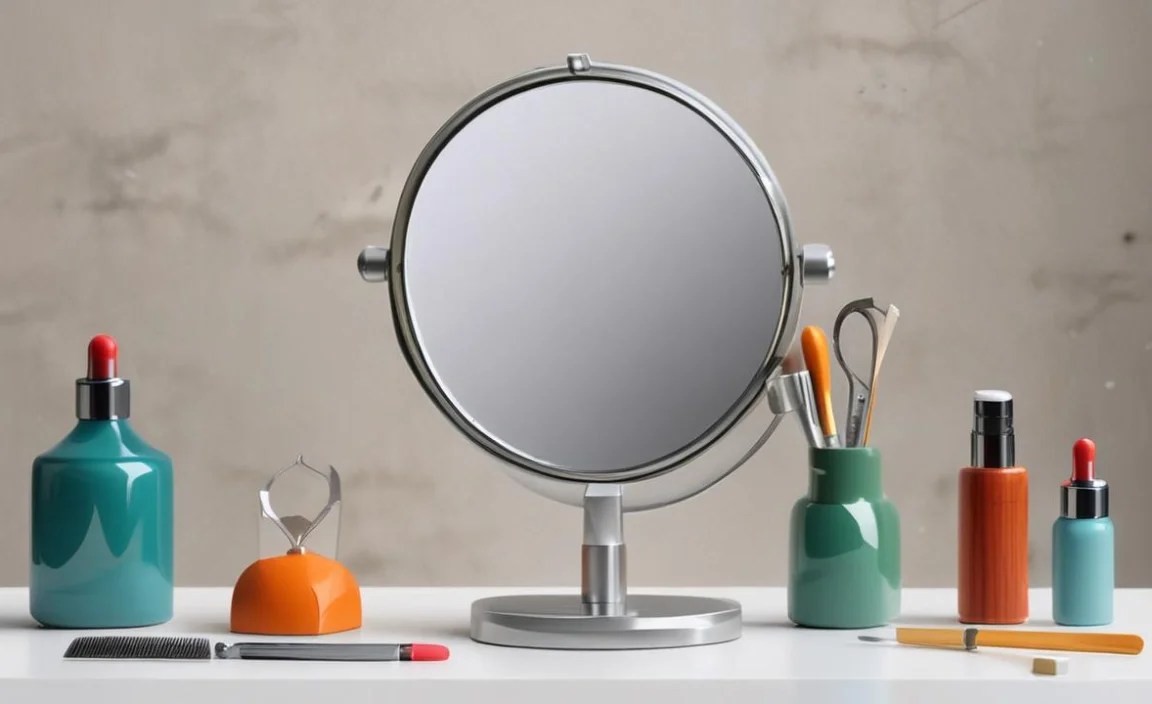
Gathering the right tools is the first step to any successful DIY project, and mirror repair is no exception. You need tools that are precise, safe, and designed for working with glass. Here’s a breakdown of what you’ll want to have on hand:
1. Glass Cutter
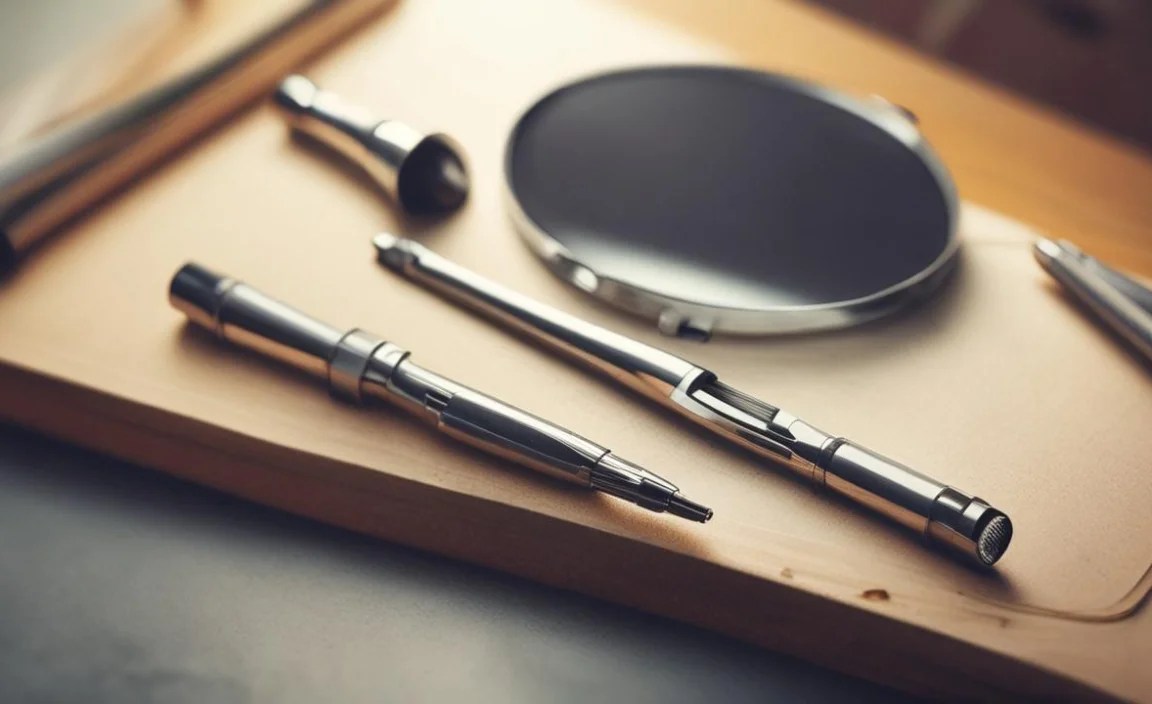
This is your primary tool for shaping or, in some cases, trimming damaged mirror material. For tiny repairs or simply scoring a crack, a standard wheel-type glass cutter is perfect. Ensure the wheel is sharp and clean for a smooth score line. If you need to cut a new piece of mirror to size, a carbide-tipped glass cutter with a longer handle can provide more control.
Tips for using a glass cutter:
- Always score on the reflective side of the mirror if possible, or on a very clean surface.
- Apply even, steady pressure.
- A good score line should sound like a “zip” or “scratch.”
- Practice on scrap glass first if you’re new to this.
2. Adhesive for Glass
The type of adhesive you use is critical. You need a clear, strong, and flexible glue that bonds well to glass and won’t yellow or degrade over time. For stabilizing cracks, a thin cyanoacrylate (super glue) designed for glass can work. For attaching mirror pieces or repairing frames, a silicone adhesive or a specialized mirror mastic is often recommended. These offer good adhesion and can withstand slight movement.
Look for adhesives that specify they are suitable for glass and mention they are clear and non-yellowing. Some epoxy resins formulated for glass can also be effective for filling gaps or bonding edges.
3. Applicators and Dispensing Tools
How you apply the adhesive matters. For precise crack filling, a fine-tip applicator or a syringe is invaluable. These allow you to control the flow of glue, ensuring it gets right into the crack without significant overflow. For larger areas or frame repairs, a caulk gun might be necessary for silicone adhesives.
Consider using:
- Syringes with fine needles (ensure they are clean and dry)
- Small precision-tip bottles
- Spatulas or plastic spreaders for even application
- A reliable caulk gun for larger adhesive tubes
4. Cleaning Supplies
A spotless surface is crucial for any adhesive to bond properly. Before you repair, you’ll need to clean the mirror thoroughly. Good cleaning supplies include:
- Glass cleaner
- Lint-free cloths or paper towels
- Rubbing alcohol (for degreasing affected areas)
- A soft brush or canned air to remove dust and debris from cracks.
Ensure the mirror is completely dry before applying any adhesive. Any moisture can weaken the bond.
5. Safety Gear
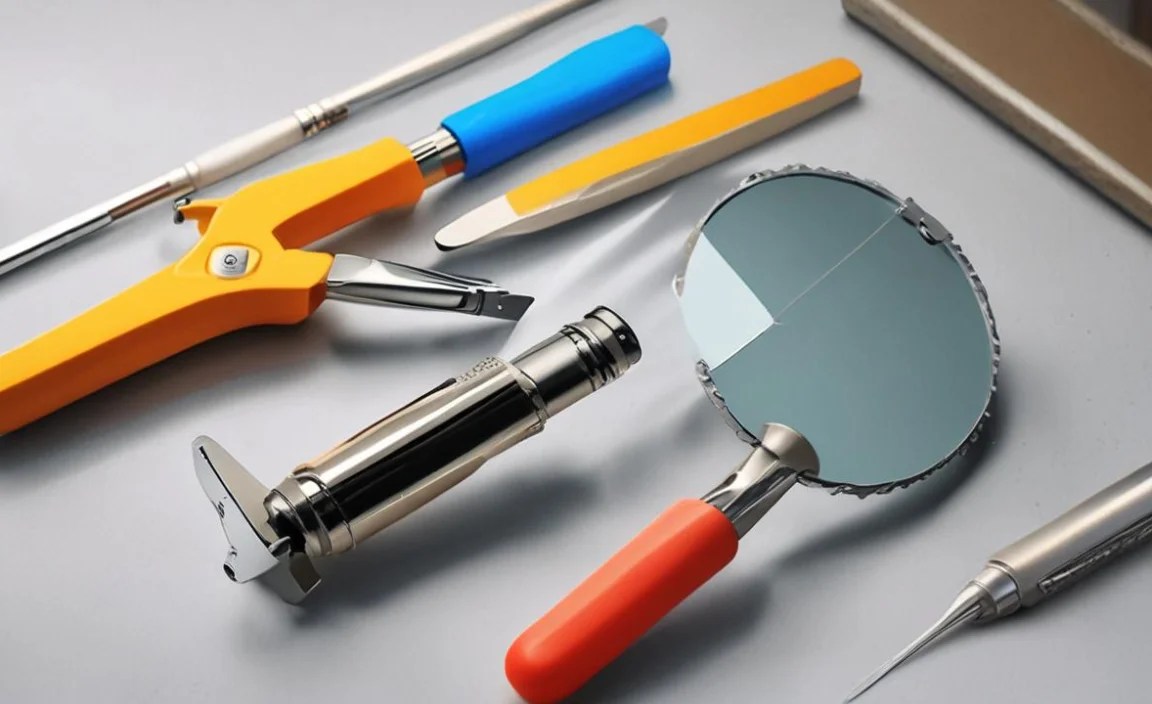
Working with glass, even for repairs, requires careful attention to safety. Always wear protective gear to prevent injuries:
- Safety Glasses: To protect your eyes from glass shards or flying particles.
- Cut-Resistant Gloves: Essential for handling glass and preventing cuts from sharp edges.
- Dust Mask: If you’re sanding or dealing with old adhesive that might release fumes.
Never skip safety gear, no matter how small the repair seems.
6. Clamps and Support
For many repairs, especially those involving bonding two pieces or stabilizing a crack, you’ll need a way to hold the pieces firmly in place while the adhesive cures. Depending on the repair, this could involve:
- Small C-clamps (with protective padding to avoid damaging the glass)
- Masking tape or painter’s tape (for holding smaller pieces or cracked areas steady)
- Specialized suction cups for handling glass sheets
The goal is to apply gentle, even pressure without causing further damage to the mirror.
7. Straight Edge and Measuring Tool
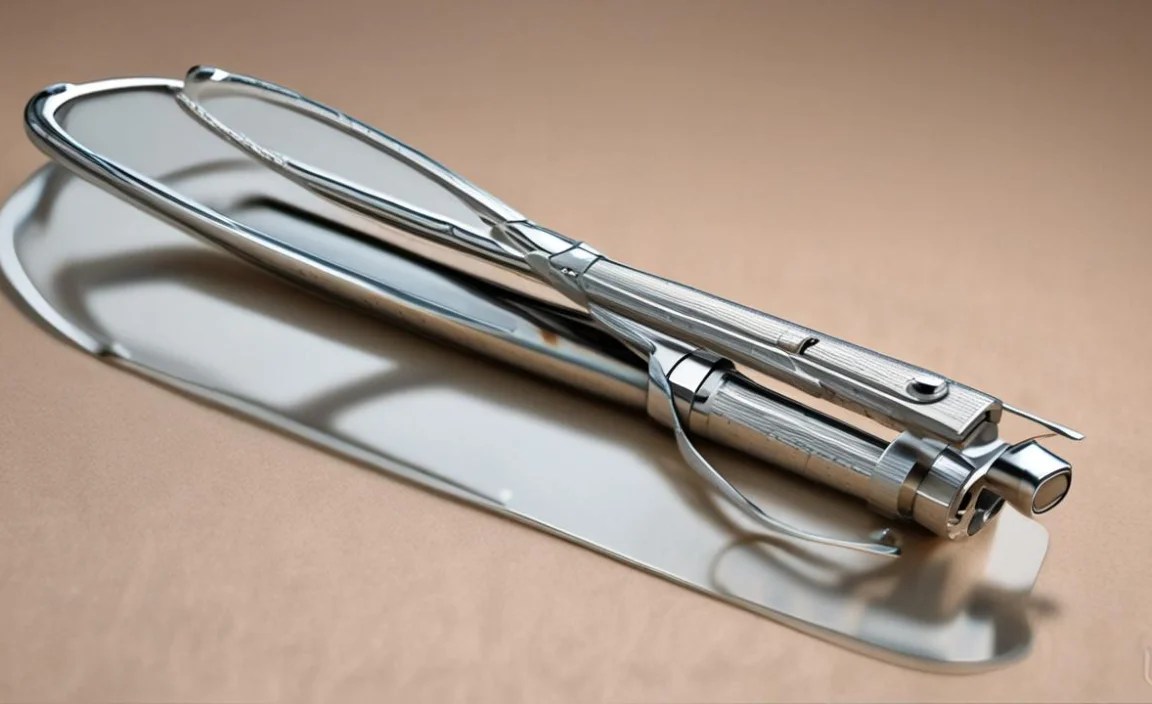
If you’re trimming or cutting a piece of mirror, accuracy is key. A reliable metal straight edge and a good measuring tape or ruler will help you achieve straight lines and precise dimensions. For intricate shapes, a template might be necessary.
8. Fine-Tip Tweezers
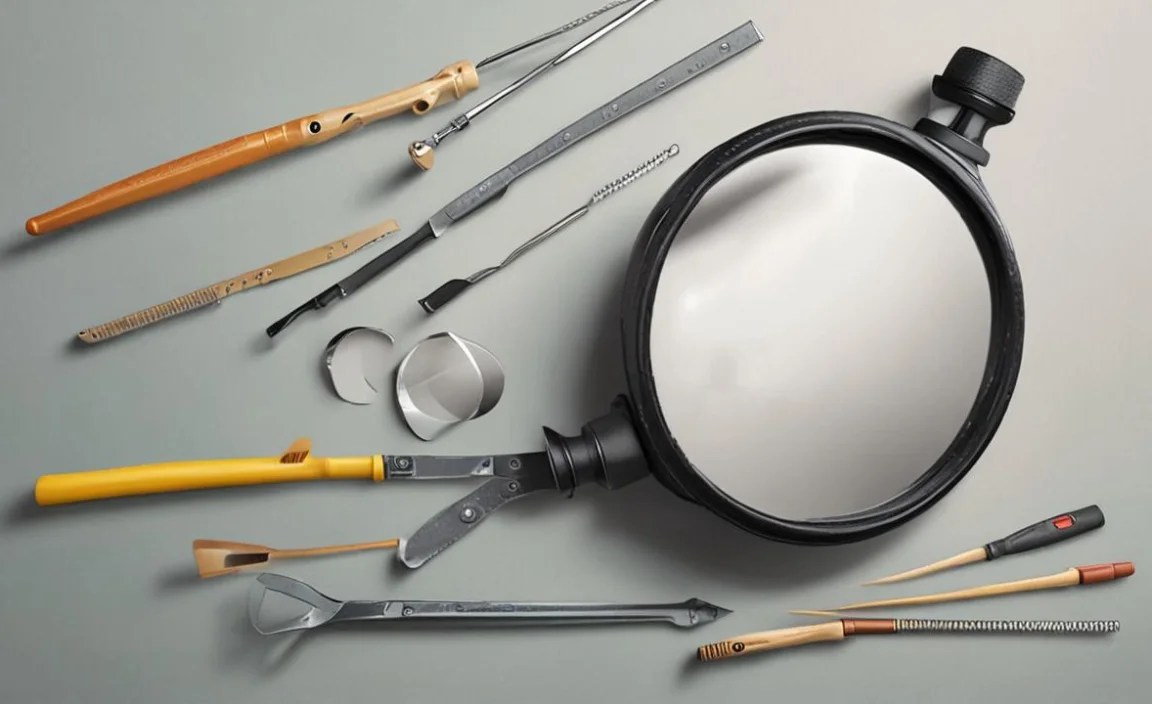
For picking up tiny slivers of glass or precisely placing small components, fine-tip tweezers are extremely useful. They offer the dexterity needed for delicate adjustments.
How to Repair a Cracked Mirror: Step-by-Step

One of the most common mirror repair needs is stabilizing a crack to prevent it from worsening. This process requires patience and a delicate touch. Here’s a beginner-friendly approach:
Step 1: Assess the Damage
First, carefully examine the crack. Is it a hairline fracture, or is it a larger, jagged break? Are there any pieces missing? For this guide, we’ll focus on stabilizing a hairline or small crack. If large pieces are missing or the glass is severely shattered, professional replacement is usually safer and more practical.
Take a moment to understand the area around the crack. Is it clean? Are there any loose fragments? Cleaning will be your next step.
Step 2: Clean the Area
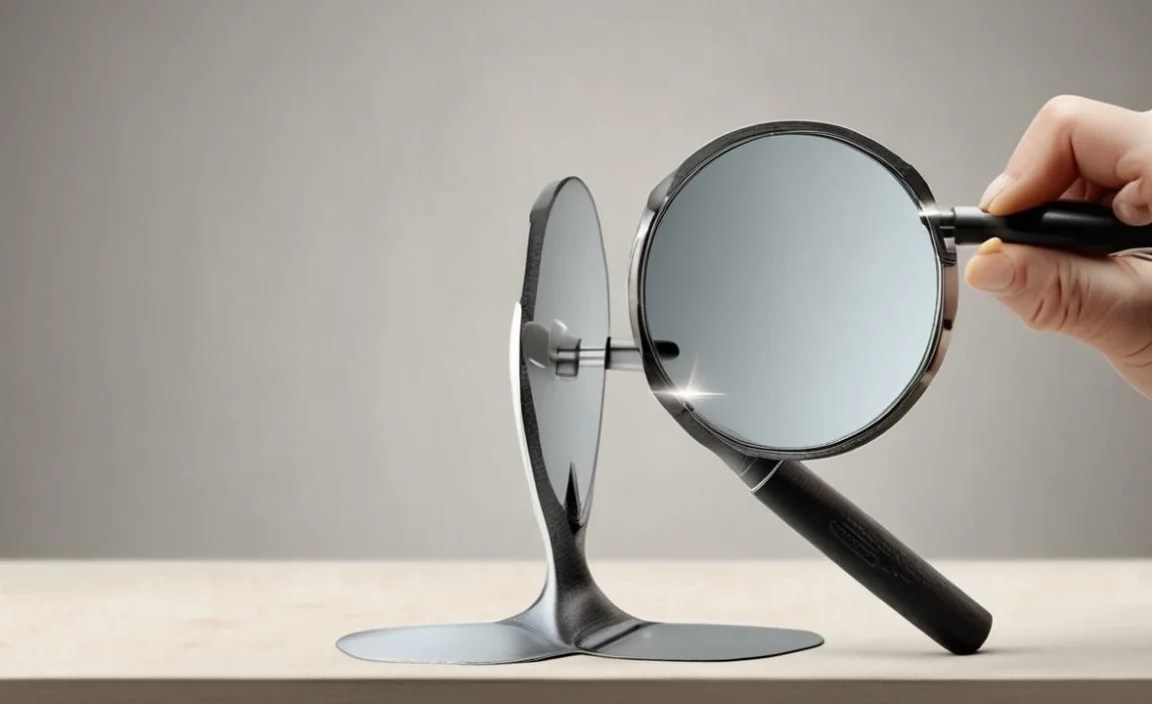
Thoroughly clean the mirror surface, especially around the crack. Use a good glass cleaner and a lint-free cloth. For the crack itself, use a soft brush or canned air to remove any dust or debris from within the fracture line. If there’s any grease or residue, a dab of rubbing alcohol on a cotton swab can help degrease the area. Crucially, let the mirror dry completely before proceeding.
A clean surface is absolutely essential for the adhesive to form a strong bond line. Even microscopic dust particles can compromise the repair.
Step 3: Apply the Adhesive
This is where your precision tools come into play. For hairline cracks, a thin, clear adhesive like a cyanoacrylate specifically formulated for glass is ideal. Load your precision applicator (a syringe or fine-tip bottle) with the adhesive.
Slowly and carefully apply a thin bead of adhesive directly into the crack. Aim to fill the entire length of the fracture. Don’t over-apply; a little goes a long way, and excess glue can look messy. If the crack is very fine, you might need to gently work the adhesive in.
For slightly larger cracks or chips where a small gap exists, you might consider a UV-curing resin. These are activated by ultraviolet light, offering a strong, clear bond. However, they require a UV light source and careful application to ensure the resin penetrates the crack effectively.
Step 4: Stabilize and Hold (If Necessary)
For most hairline cracks filled immediately, you might not need additional support. However, if the crack is significant or if you applied a slightly thicker adhesive, you may need to hold the area steady while it cures. This could mean:
- Gently pressing the two sides of the crack together with your gloved finger for a minute or two until the adhesive begins to set.
- Using a piece of clear packing tape or painter’s tape applied very gently over the crack to hold it in alignment. Make sure the tape doesn’t adhere to the uncured glue where you don’t want it.
Ensure any tape applied is straight and doesn’t pull the glass in a way that could widen the crack further. The idea is to maintain the crack’s current state while the glue does its work.
Step 5: Cure the Adhesive
Follow the manufacturer’s instructions for curing time. Cyanoacrylates typically set in seconds to minutes, but full strength can take several hours. Silicone adhesives or epoxies will have longer cure times, potentially 24 hours or more for full strength. Avoid touching or disturbing the repaired area during this period.
Sometimes, a slight fogginess might appear if too much adhesive is used or if it reacts with something. This is where careful application pays off.
Step 6: Clean Up Excess Adhesive
Once the adhesive is fully cured, carefully remove any tape you used. If there’s any visible excess adhesive, you might be able to gently scrape it away with a new, sharp razor blade held at a very low angle to the glass. Be extremely careful not to scratch the mirror surface itself. Sometimes, a small amount of specialized adhesive remover can be used, but always test on an inconspicuous area first.
For the best finish, try to apply the adhesive so thinly that no excess is visible in the first place.
Step 7: Inspect and Reinforce (Optional)
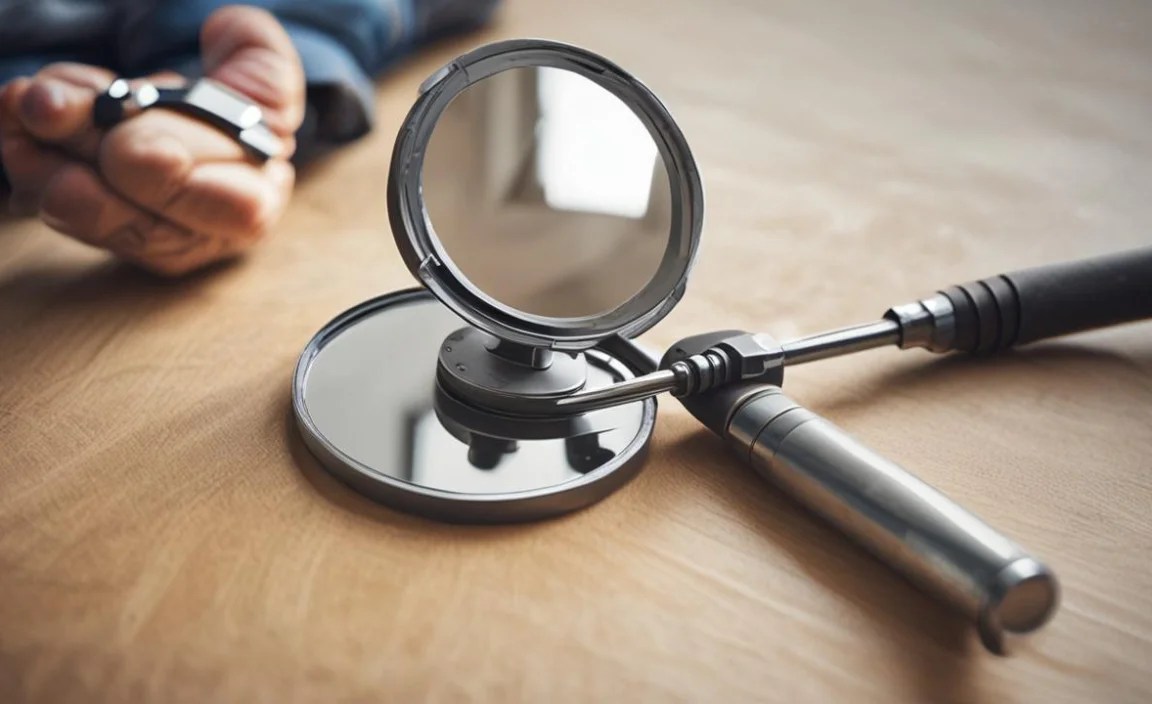
Once everything is dry and clean, inspect the repair. The crack should be less visible and, more importantly, stabilized. For added security, especially on a mirror that might be moved or in a high-traffic area, some DIYers opt to apply a clear adhesive film or tape specifically designed for glass repair on the back of the mirror, covering the repaired area.
This rear-side reinforcement can add an extra layer of protection against further cracking.
Repairing Mirror Frames
Often, when we think of mirror repair, we focus on the glass. But the frame is just as important. A damaged frame can leave a mirror looking shabby or even unstable.
Common Frame Issues and Solutions
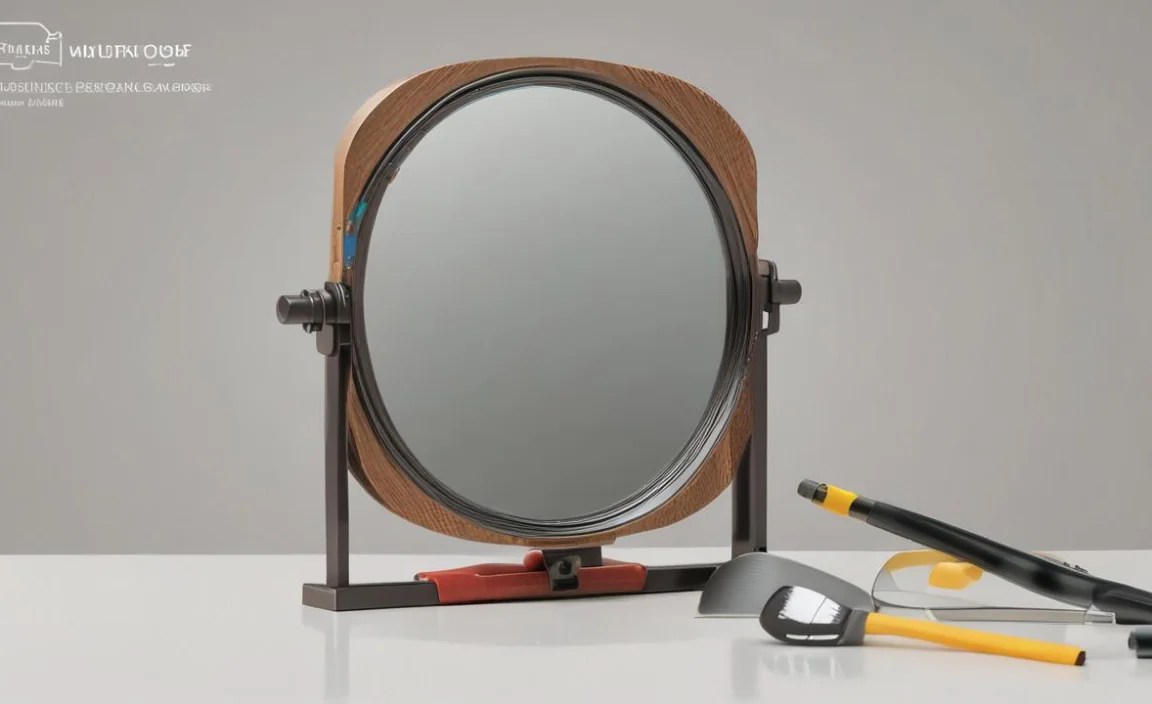
Loose corners/joints:
Tools: Wood glue (if wooden frame), adhesive for metal/plastic, clamps, fine sandpaper, screws or nails (if applicable).
Method: Gently separate the loose joints. Clean away old glue. Apply fresh wood glue or appropriate adhesive, then clamp the joint firmly until dry. For very loose joints, small brad nails or tiny screws might be needed.
Scratches or Dents (Wooden Frames):
Tools: Fine-grit sandpaper (e.g., 220-grit), wood filler, putty knife, matching stain or paint, clear sealant.
Method: Lightly sand the damaged area. Apply wood filler to deep dents, let it dry, sand smooth. Touch up the color with matching stain or paint. Seal with a clear coat.
Cracked Material (Plastic or Composite Frames):
Tools: Plastic adhesive or epoxy, clamps, filler (if needed).
Method: Clean the area. Apply a strong, flexible adhesive designed for plastics. Clamp securely until cured. Fill any gaps with a suitable filler and sand smooth if necessary.
Important Considerations for Frames:
- Material Identification: Know what your frame is made of (wood, metal, plastic, resin) to choose the right adhesive and finishing products.
- Finish Matching: For scratches and dents, getting an exact color match can be tricky. Sometimes a slight variation is acceptable, or you might need to refinish a whole section of the frame.
- Structural Integrity: Ensure the frame provides adequate support for the mirror glass. If the frame is compromised, it might not be safe to rehang the mirror.
When to Call a Professional
While this guide empowers you to tackle many common mirror issues, it’s crucial to recognize when a job is beyond DIY capabilities or safety limits. You should consider professional help if:
- The glass is severely shattered or in multiple large pieces. This poses a significant safety risk.
- The mirror is very large, heavy, or custom-shaped. Handling these can require specialized equipment and expertise.
- The damage is extensive and affects significant portions of the mirror. A professional may be able to replace a section or the entire mirror more efficiently and safely.
- You are uncomfortable or unsure about any step of the repair process. Your safety is paramount.
- The mirror is part of a valuable antique or has intricate decorative elements. A professional restorer may be needed.
For any of these situations, consult a local glass repair specialist or a qualified handyman with experience in mirror work.
Frequently Asked Questions (FAQ)
Q1: Can I really fix a cracked mirror myself?
A1: Yes, for small, hairline cracks, you can often stabilize them to prevent spreading using specialized glass adhesives. This guide provides the tools and steps to do it safely.
Q2: What kind of glue works best for mirrors?
A2: Look for a clear, flexible adhesive specifically designed for glass. Cyanoacrylate (super glue) for glass, silicone adhesives, or UV-curing resins are good options depending on the repair type. Always check the product label for compatibility.
Q3: Do I need a special tool to cut mirror glass?
A3: For precise cuts, a carbide-tipped glass cutter is recommended. For simple scoring or minor adjustments, a standard wheel-type glass cutter might suffice. Always practice on scrap glass first and use safety gear.
Q4: How do I prevent the crack from being visible after repair?
A4: The key is using a crystal-clear adhesive and applying it as neatly as possible within* the crack. While you can often stabilize a crack, making it completely disappear visually can be challenging. Proper cleaning and precise application are essential.
Q5: Is it safe to repair a mirror that has a large crack?
A5: For very large cracks or shattered glass, it’s generally not safe or effective to perform a DIY repair. The structural integrity of the glass is compromised, and it poses a significant risk of further breakage and injury. In such cases, professional replacement is advised.
Q6: What safety precautions should I take when repairing a mirror?
A6: Always wear safety glasses to protect your eyes and cut-resistant gloves to protect your hands from sharp edges. If dealing with dust or fumes, a dust mask is also recommended.
Q7: Can I use regular super glue on a mirror?
A7: While some regular super glues might temporarily hold, they are often not designed for glass and can yellow over time, crack, or not provide a strong, lasting bond. It’s best to use a cyanoacrylate specifically formulated for glass bonding.
Conclusion
Tackling mirror repairs doesn’t have to be intimidating. By understanding the right tools—from precise glass cutters and adhesives to essential safety gear—you gain the confidence to handle common issues like hairline cracks and frame damage. Remember that preparation is key: thorough cleaning, careful application, and proper curing are the foundations of a successful repair. For those looking for more in-depth information on glass handling and safety, resources like the Occupational Safety and Health Administration (OSHA) standards for construction, which often include guidelines for working with materials like glass, can offer valuable insights into best practices, especially in ensuring workplace safety.
Empower yourself with the knowledge and tools outlined in this guide. You’ll not only save money but also gain a valuable DIY skill. Keep these essentials handy, and you’ll
