
For tile beginners, choosing the right tile involves understanding material types, assessing your project needs (like durability and water resistance), and matching your style. This guide simplifies tile selection with expert tips to ensure a successful and beautiful finish for any DIY project.
Facing a home renovation project that involves tiling can feel a bit overwhelming, especially when you’re just starting out. You’re probably seeing a dizzying array of options, from ceramic to stone, and wondering how to pick the best one for your floor, wall, or backsplash. It’s easy to get lost in the jargon and fear making a costly mistake. But don’t worry! This guide is designed to break down everything you need to know about tiles in simple terms. We’ll walk you through the common types, what to look for, and how to make an informed decision that you’ll love for years to come. Get ready to feel confident about your tile choices!
Your Beginner’s Guide to Tiles: Expert Tips for a Flawless Finish

Choosing tiles might seem like just a matter of picking a pretty pattern, but there’s a bit more to it! As someone who’s tackled many DIY projects, I know how important it is to start with the right materials. Using the best tile for the job not only makes installation easier but also ensures your finished project looks fantastic and lasts a long time. Let’s dive into the world of tiles and get you ready to make some smart choices.
Understanding Popular Tile Materials
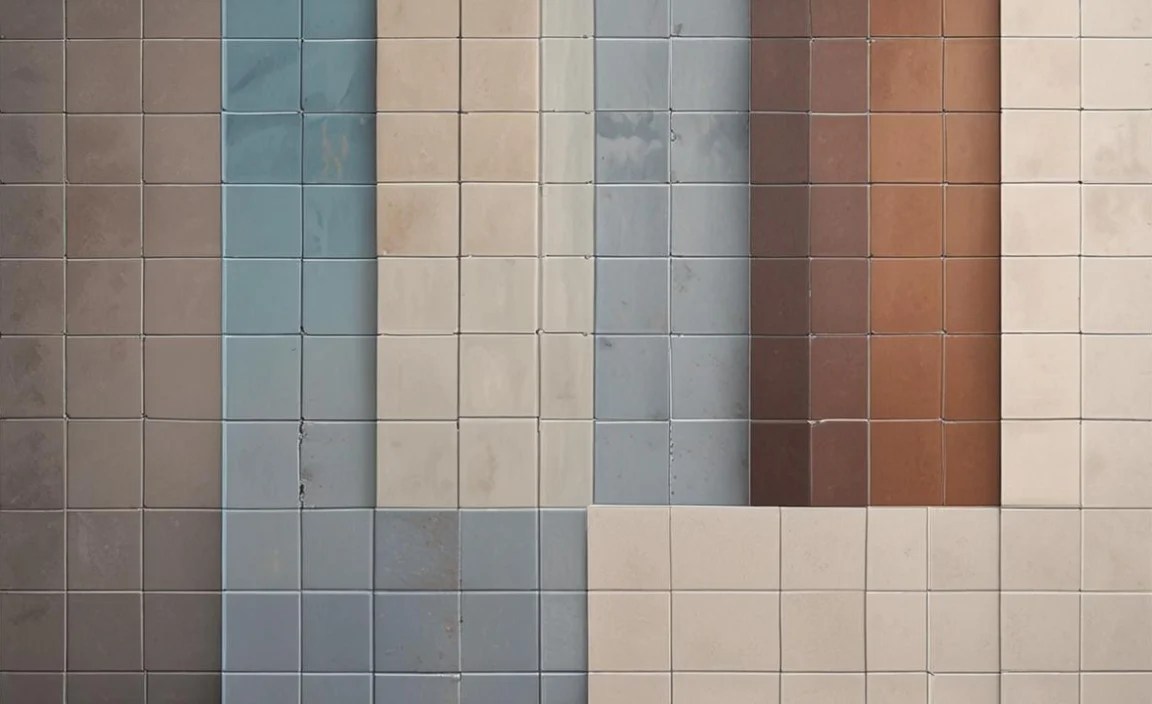
The first step in choosing tiles is getting familiar with the most common materials. Each has its own strengths, weaknesses, and looks. Knowing these differences will help you pick the perfect tile for your specific area.
Ceramic Tiles
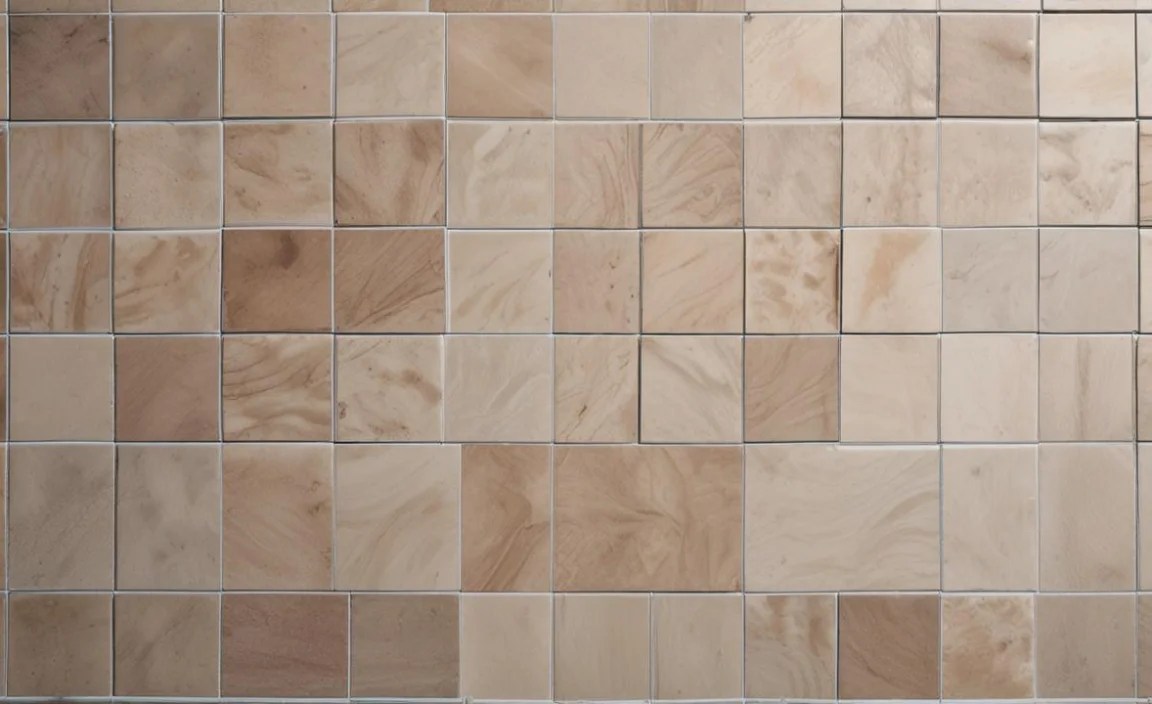
Ceramic tiles are a classic choice and a fantastic starting point for beginners. They are made from clay that has been fired in a kiln and then covered with a glaze. This glaze gives them their color, pattern, and a protective, often waterproof, surface.
- Pros: Very affordable, wide variety of styles and colors, easy to clean, generally water-resistant (especially glazed ones), and simple to cut.
- Cons: Can chip or crack if heavy objects are dropped on them, not as durable as some other options, and some can be slippery if not textured.
- Best For: Kitchen backsplashes, bathroom walls, low-traffic floors, and accent areas.
Porcelain Tiles
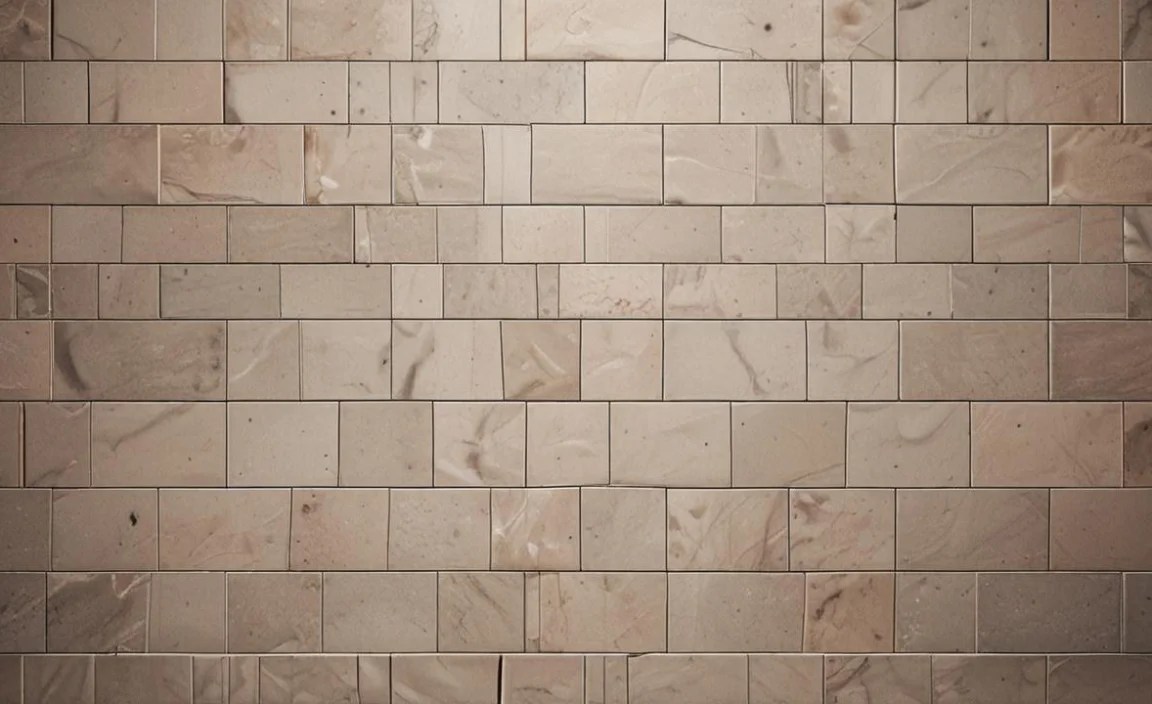
Porcelain is a denser, harder, and less porous type of ceramic tile. It’s made from a finer clay mixture that is fired at higher temperatures. This makes it incredibly durable and water-resistant, even if the surface gets scratched.
- Pros: Extremely durable, highly water-resistant (great for wet areas), stain-resistant, suitable for both indoor and outdoor use, and can mimic the look of natural stone or wood.
- Cons: More expensive than standard ceramic, harder to cut (requiring specific tools), and can be cold underfoot.
- Best For: Kitchen floors, bathroom floors, showers, entryways, patios, and high-traffic areas.
Natural Stone Tiles
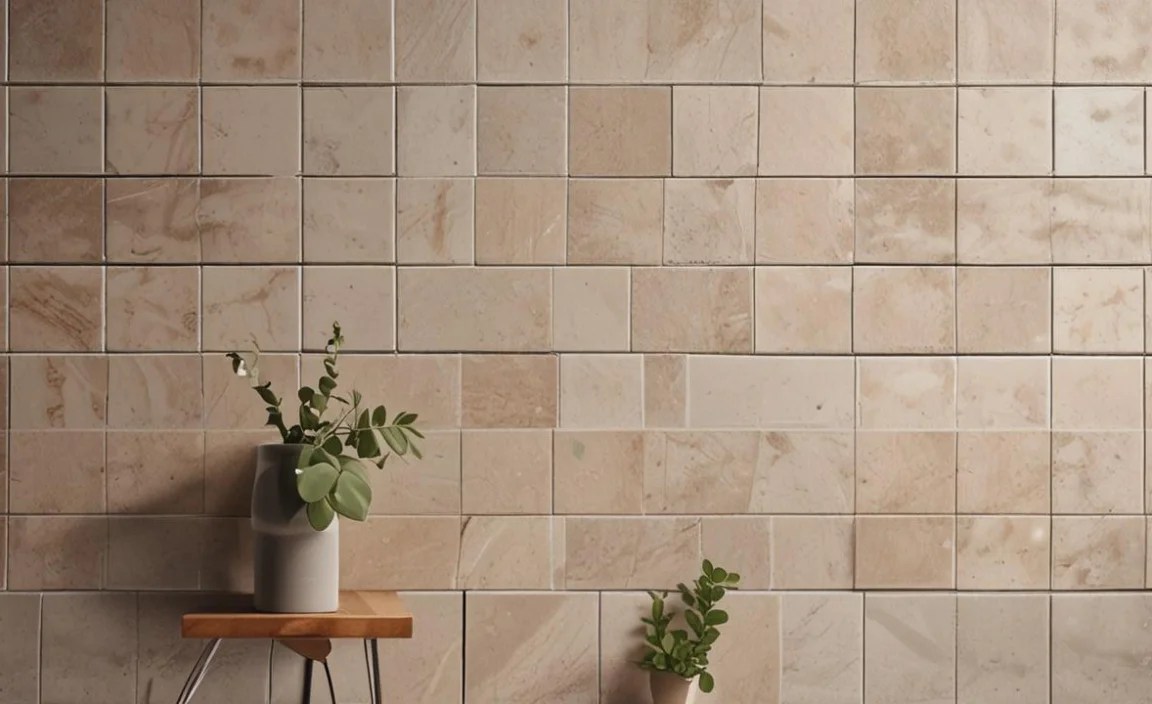
These tiles are made from real stone quarried from the earth. They offer a unique, natural beauty that’s hard to replicate. Popular choices include marble, granite, slate, and travertine.
- Pros: Unique, luxurious appearance, adds significant value to a home, very durable (depending on the stone type).
- Cons: Can be very expensive, porous and requires sealing (especially marble and travertine), can stain, can be sensitive to acids (like lemon juice or vinegar), and heavier to install.
- Best For: Entryways, living areas, accent walls, and kitchens where the homeowner desires a high-end, natural look.
Glass Tiles
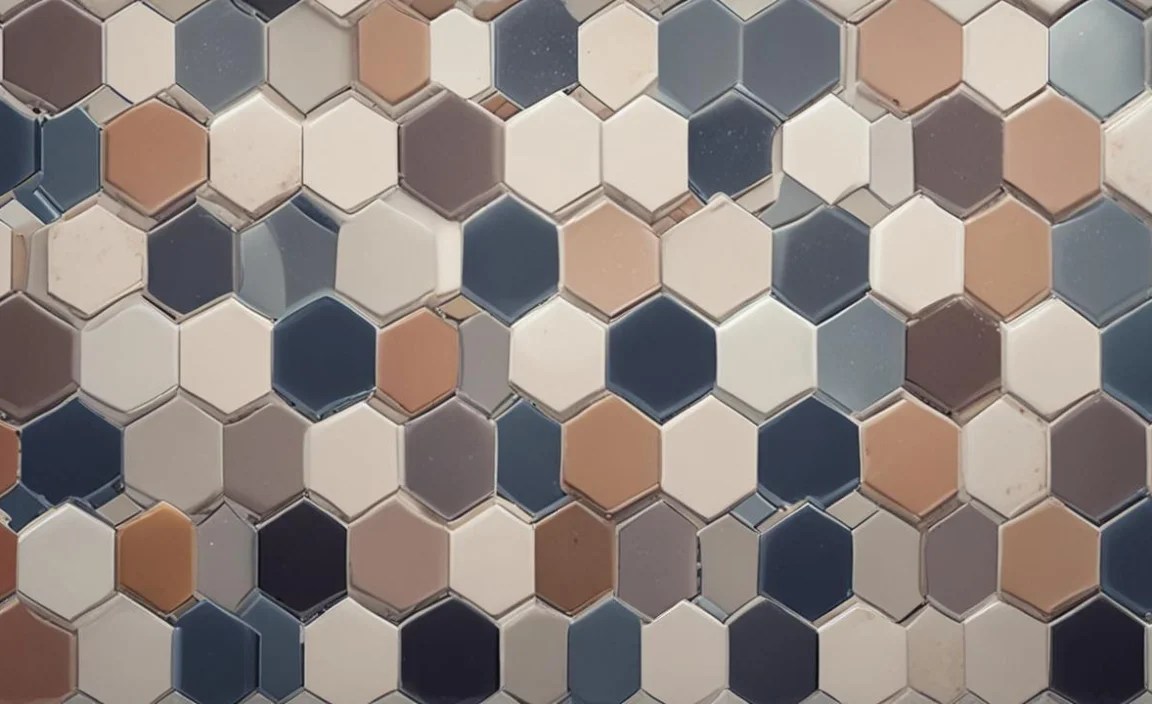
Glass tiles are made from glass and are often used for decorative purposes. They come in a vast range of colors and finishes, reflecting light beautifully.
- Pros: Stunning aesthetic, brightens up a space, very easy to clean, stain-resistant.
- Cons: Can be expensive, fragile and prone to chipping or cracking during installation and use, best suited for walls and backsplashes rather than floors.
- Best For: Kitchen backsplashes, shower walls, accent strips, and mosaic designs.
Vinyl Tiles (LVT/peel-and-stick)

Vinyl tiles, especially Luxury Vinyl Tile (LVT) and peel-and-stick options, are popular for their affordability and ease of installation. LVT can mimic the look of wood or stone very convincingly.
- Pros: Very budget-friendly, waterproof, easy to install (especially peel-and-stick), comfortable underfoot, and easy to clean.
- Cons: Less durable than ceramic or porcelain, can be a “softer” surface that might dent or scratch from heavy furniture, and the aesthetic can sometimes look less premium.
- Best For: Bathrooms, kitchens, basements, laundry rooms, and DIY renovations where budget and ease of installation are key.
Key Factors to Consider When Choosing Tiles
Beyond the material, several other factors play a crucial role in selecting the right tile. Thinking about these will save you headaches down the line.
1. Location, Location, Location! (Where Will the Tile Go?)
This is the most critical question. The environment where the tile will be installed dictates the type of tile you need.
- Wet Areas (Bathrooms, Showers, Kitchens): You need tiles that are highly water-resistant and slip-resistant. Porcelain and glazed ceramic are excellent choices. For shower floors, consider smaller tiles with more grout lines, as this increases traction.
- High-Traffic Floors (Entryways, Hallways, Kitchens): Durability is key. Porcelain tiles are a top pick here due to their hardness and resistance to wear and tear. Natural stone like granite can also perform well but requires proper sealing.
- Walls and Backsplashes: You have more flexibility here. Ceramic, glass, and even some lighter natural stones work well. They don’t need to be as durable as floor tiles because they won’t experience foot traffic or heavy impacts.
- Outdoor Areas: Tiles need to withstand the elements. Look for porcelain tiles specifically rated for outdoor use. They should be frost-resistant and have a good slip rating. Natural stone can also be used but requires careful selection and sealing.
2. Durability and Wear Resistance
How much foot traffic will the area receive? How likely is it that something heavy will be dropped? Tiles are rated on the PEI (Porcelain Enamel Institute) scale for wear resistance, though this is more specific to glazed ceramic and porcelain.
A general guide:
- PEI Class I: Wall tiles only. Very light traffic.
- PEI Class II: Light traffic (residential bathrooms, bedrooms).
- PEI Class III: Medium to moderate traffic (all residential floors except perhaps entryway/utility areas). This is often sufficient for most home uses.
- PEI Class IV: Moderate to heavy traffic (all residential floors, light commercial).
- PEI Class V: Heavy to extra-heavy traffic (heavy commercial, industrial).
For most beginners tackling residential projects, PEI Class III or IV tiles will meet your needs. Unpolished natural stone can also be very durable, but its rating is less standardized.
3. Slip Resistance
Especially important for floors, and crucial for bathrooms, kitchens, and outdoor areas. Tile manufacturers often provide a Coefficient of Friction (COF) rating. A higher COF means less slip potential.
Look for tiles with a COF of 0.60 or higher for level interior floors, and 0.80 or higher for ramps and showers. Textured or matte finishes generally offer better slip resistance than highly polished surfaces.
4. Water Absorption (Porosity)
This refers to how much water a tile can soak up. Lower water absorption means better resistance to stains, frost, and freeze-thaw cycles. Tiles are classified by the ANSI (American National Standards Institute) standard:
- Impervious: Less than 0.5% water absorption (e.g., porcelain). Ideal for wet areas and outdoors.
- Vitreous: 0.5% to 3% water absorption. Very good for most residential floors and walls.
- Semi-Vitreous: 3% to 7% water absorption. Better for walls or low-traffic floor areas.
- Non-Vitreous: More than 7% water absorption. Rarely used for flooring; more for decorative wall applications.
5. Style and Aesthetics
This is where you get to express your personal taste! Consider the overall look of your room.
- Color: Light colors can make a space feel larger and brighter. Dark colors can add drama and sophistication but may show dust more readily.
- Size: Large format tiles can make a small room feel more expansive due to fewer grout lines. Smaller tiles can add detail and texture.
- Finish: Matte finishes are generally safer for floors. Polished finishes offer a sleek look but can be slippery and show smudges. Textured finishes add visual interest and grip.
- Pattern: From simple solid colors to intricate mosaics or wood-look planks, the pattern ties everything together.
6. Ease of Installation
As a beginner, you’ll want to choose tiles that are more forgiving.
Tip: Standard ceramic and porcelain tiles are generally easier for beginners to cut and handle than very hard materials like natural stone or glass. Peel-and-stick vinyl tiles are the easiest of all.
Consider the tile’s thickness too. Thicker tiles can be harder to cut precisely. Also, remember that some tiles come rectified (meaning their edges are perfectly straight), which allows for very narrow grout lines (or even groutless installations), but they require a perfectly flat subfloor. Non-rectified tiles often have slightly rounded edges, making them more forgiving of minor subfloor imperfections.
Tile Types at a Glance: A Comparison Table
To help you quickly compare, here’s a table summarizing some key aspects. Remember that there are always variations within each tile type.
| Tile Type | Typical Price Range (per sq ft) | Water Resistance | Durability | Ease of Installation | Best Use Cases |
|---|---|---|---|---|---|
| Ceramic (Glazed) | $1 – $7 | High | Medium | Easy to Medium | Backsplashes, walls, low-traffic floors |
| Porcelain | $2 – $15+ | Very High (Impervious) | Very High | Medium | All floors, showers, outdoor areas, high-traffic |
| Natural Stone (Marble, Travertine, Slate) | $5 – $25+ | Varies (Requires Sealing) | High | Medium to Difficult | Entryways, living rooms, accent walls |
| Glass | $8 – $30+ | High | Low to Medium | Medium (Fragile) | Backsplashes, accent walls, mosaics |
| Vinyl (LVT/Peel-and-Stick) | $1 – $5 | Very High (Waterproof) | Medium | Very Easy | Bathrooms, kitchens, basements, DIY projects |
Please note: Prices are estimates and can vary widely based on brand, design, and region.
Tools and Supplies You’ll Likely Need (Beyond the Tiles!)

Choosing tiles is just the first step. To actually lay them, you’ll need a few essential tools. Don’t worry, you can often rent specialty tools if you’re only doing one project.
- Tile Saw: For cutting tiles precisely. A wet saw is best for porcelain and natural stone, while a basic manual tile cutter might suffice for softer ceramic or vinyl. Lowes offers a guide on choosing a tile saw.
- Trowels: Notched trowels are used to spread adhesive (mastic or thin-set mortar). The size of the notches depends on the tile size.
- Level: Crucial for ensuring your tiles are laid flat and evenly.
- Measuring Tape & Pencil: For planning your layout and marking cuts.
- Spacers: Small plastic pieces that maintain consistent gaps between tiles for grouting.
- Grout: The material that fills the gaps between tiles. Available in sanded (for wider gaps) and unsanded (for narrow gaps) varieties.
- Grout Float: A rubber-soled tool used to press grout into the spaces between tiles.
- Sponges & Buckets: For cleaning excess grout and water.
- Safety Glasses: Always wear these when cutting tiles to protect your eyes from debris.
- Gloves: To protect your hands from adhesive and grout.
Beginner-Friendly Installation Tips
While a full installation guide is beyond the scope of this article, here are a few tips to keep in mind as a beginner:
- Plan Your Layout: Don’t just start in a corner. Dry-lay some tiles in the center of the room to visualize the pattern and determine where cuts might be needed. Aim to have full tiles in prominent areas if possible, and cuts hidden near walls or cabinets.
- Prepare Your Subfloor: The surface you’re tiling over must be clean, dry, flat, and stable. Uneven or loose subfloors will lead to cracked tiles and grout.
- Use the Right Adhesive: For most ceramic and porcelain tiles, thin-set mortar is recommended. Mastic is easier to use but less durable and not ideal for wet areas or large tiles.
- Don’t Use Too Much Adhesive: You want a consistent, thin layer, not a mountain of glue. This can lead to an uneven surface and weak bond.
- Work in Small Sections: Spread adhesive for only a few tiles at a time, so it doesn’t dry out before you lay the tiles.
- Press Tiles Firmly: Give each tile a slight twist as you lay it to ensure it adheres well to the thin-set.
- Clean As You Go: Wipe away any excess adhesive or grout that gets on the tile faces immediately. It’s much harder to remove once dry.
Frequently Asked Questions (FAQ) About Choosing Tiles
Q1: What’s the easiest type of tile for a beginner to install?

For absolute beginners, large format vinyl tiles (like LVT or peel-and-stick) are often the easiest. They are forgiving, simple to cut, and require less specialized adhesive. Ceramic tiles are also a good starting point for floor and wall tiling.
Q2: Are porcelain tiles suitable for a beginner DIYer?

Yes, porcelain tiles are great for DIYers looking for durability and a high-quality finish. While they are harder to cut than ceramic and require a good wet saw, their robustness means they are more forgiving of minor mistakes and provide a lasting result.
Q3: How many extra tiles should I buy?
It’s standard practice to buy at least 10-15% extra tiles. This accounts for cuts, waste, and potential breakage during installation or future repairs. For intricate patterns or diagonal layouts, you might need even more – up to 20% extra.
Q4: Do I need special tiles for my shower floor?

Yes, for shower floors, opt for tiles with a higher slip resistance (COF rating) and consider smaller tiles. Smaller tiles mean more grout lines, which provide better traction. Porcelain and ceramic tiles with a matte or textured finish are excellent for shower floors.
Q5: How do I know if a tile is good quality?
Look for consistent color and thickness, and check for warpage by laying a few tiles flat edge-to-edge. Reputable brands often have higher quality control. For porcelain and glazed ceramic, check its PEI rating and water absorption rate to ensure it’s suitable for your project’s needs.
Q6: Can I tile over existing tiles?
In some cases, yes! If the existing tile is securely adhered, is a smooth surface (not textured), and is level, you can often tile over it. This requires specific cleaners and primers to ensure the new adhesive bonds properly
