
Quick Summary: Understanding sink types, materials, and proper installation in construction is key for durability and functionality. This guide breaks down essential info for homeowners and DIYers, making sink selection and integration straightforward for a reliable kitchen or bathroom.
Ever stopped to think about the humble sink during a renovation or build? It’s one of those fixtures we use countless times a day without much thought, yet its role in construction is surprisingly detailed! Choosing the right sink material, style, and ensuring it’s installed soundly makes a huge difference in your home’s functionality and longevity. Don’t worry if it seems a bit much; we’re here to simplify everything. This guide will walk you through the essential info of sink construction, making sure you’re equipped with the confidence and knowledge to pick and understand your next sink.
The Essential Info of Sink in Construction: A Beginner’s Blueprint


When you’re building or remodeling, the sink feels like a pivotal point. It’s where daily life happens – from washing hands to prepping meals. But beyond just looking good, how a sink is constructed and installed impacts its lifespan, performance, and even your home’s plumbing. We’ll cover everything you need to know, from the ground up, to make informed decisions about this crucial fixture.
Understanding Sink Types: Beyond the Basin
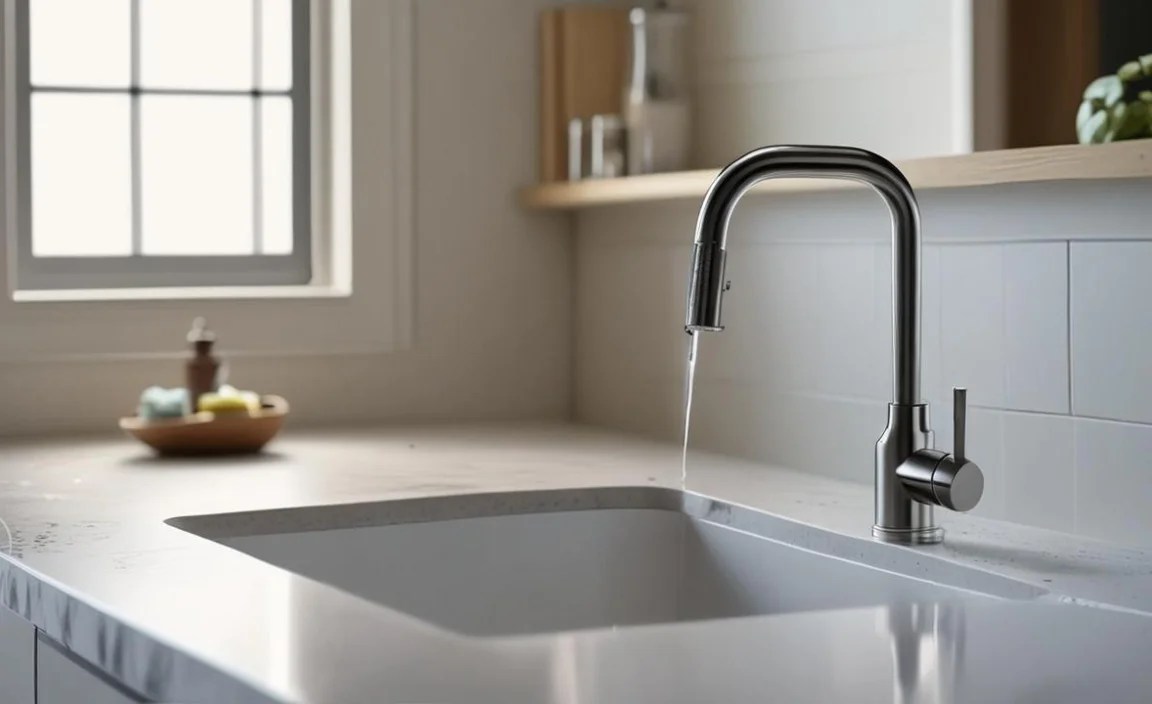
Sinks come in various types, each suited for different installation methods and aesthetics. Knowing these will help you choose what fits your space and build best.
1. Top-Mount (Drop-In) Sinks
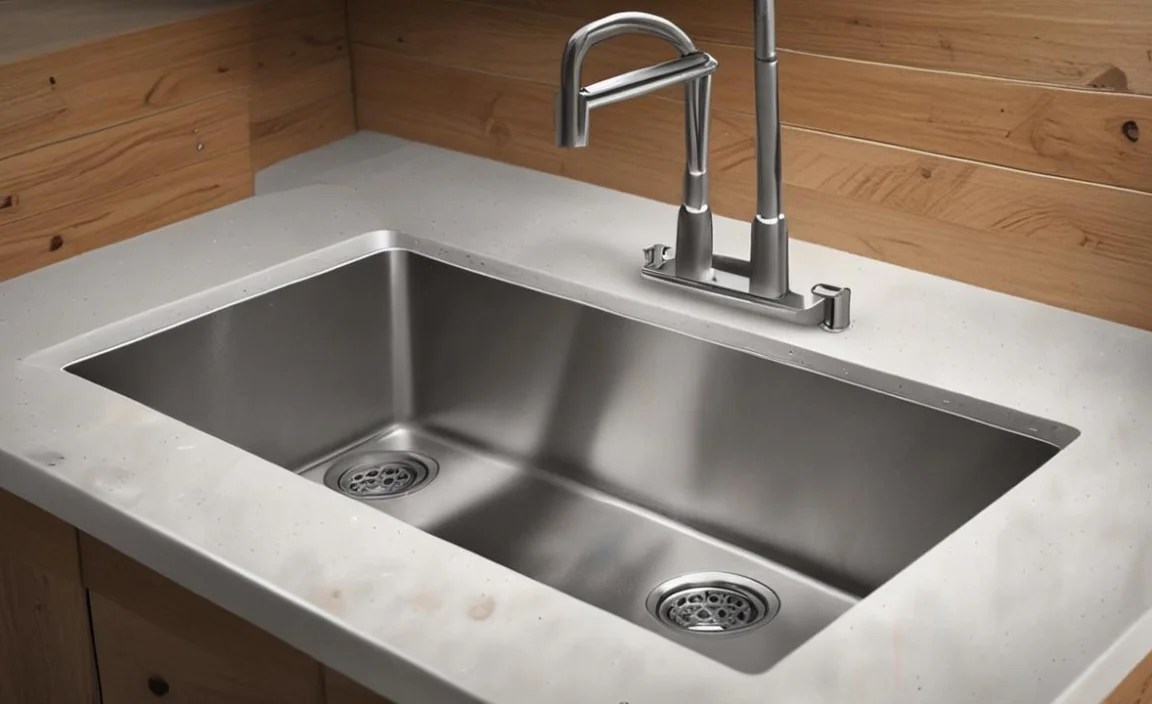
These are the most common and easiest to install. The sink rim rests on top of the countertop, meaning the countertop material is cut out to allow the basin to drop in. They’re forgiving for DIYers and work with almost any countertop material.
- Pros: Easy to install, cost-effective, good for many countertop materials (especially laminate and tile).
- Cons: The rim can trap dirt and grime, making cleaning slightly harder.
2. Undermount Sinks
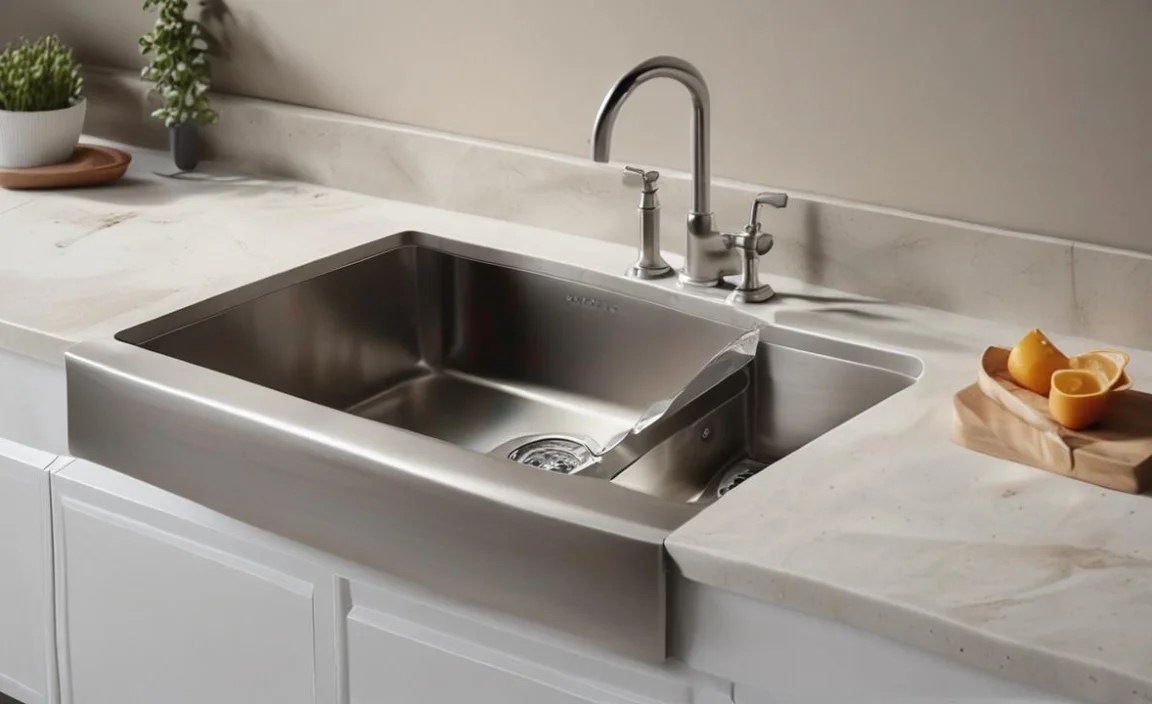
Undermount sinks are installed beneath the countertop. This creates a seamless look with no rim, making it super easy to wipe crumbs and water directly from the counter into the sink. They are typically found in stone countertops like granite or quartz.
- Pros: Sleek, modern look; very easy to clean.
- Cons: More expensive installation, requires a solid countertop material (not suitable for laminate), and can be more complex to install properly.
3. Farmhouse (Apron-Front) Sinks
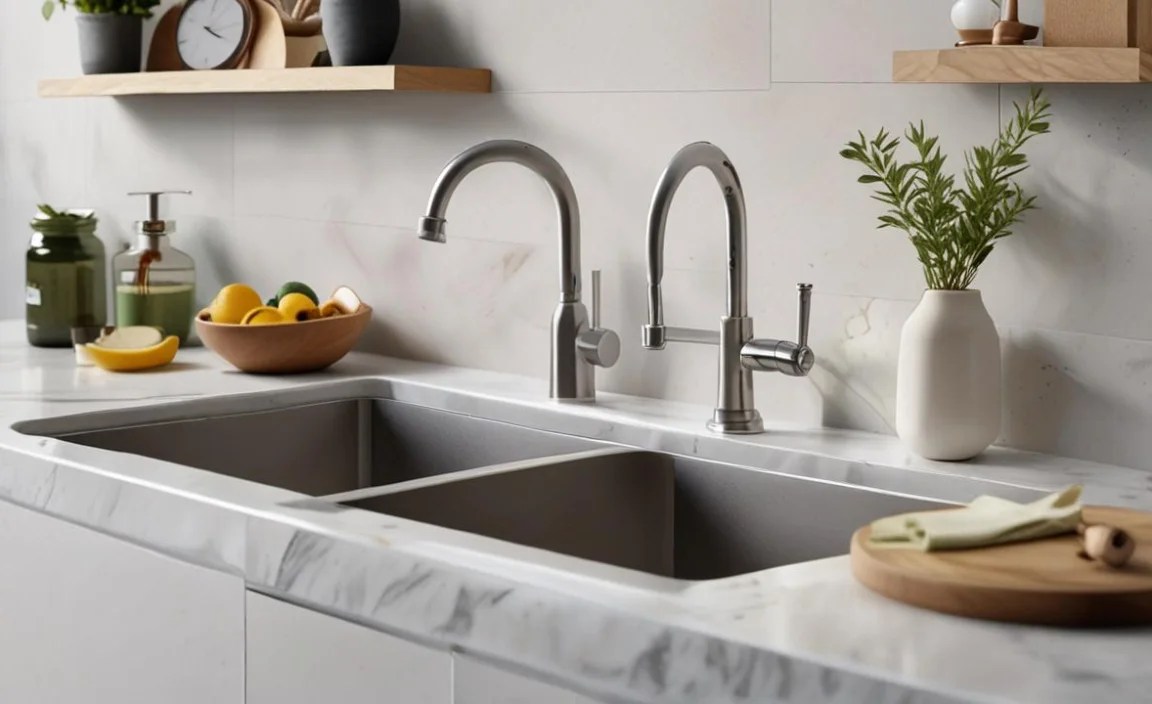
These distinctive sinks feature a large, exposed front that extends over the cabinet below, giving a classic, rustic charm. They require a special cabinet base to support their weight and unique design.
- Pros: High aesthetic appeal, large capacity, comfortable to use (less bending).
- Cons: Can be expensive, installation is more complex, and they are prone to chipping if not made of durable material.
4. Vessel Sinks
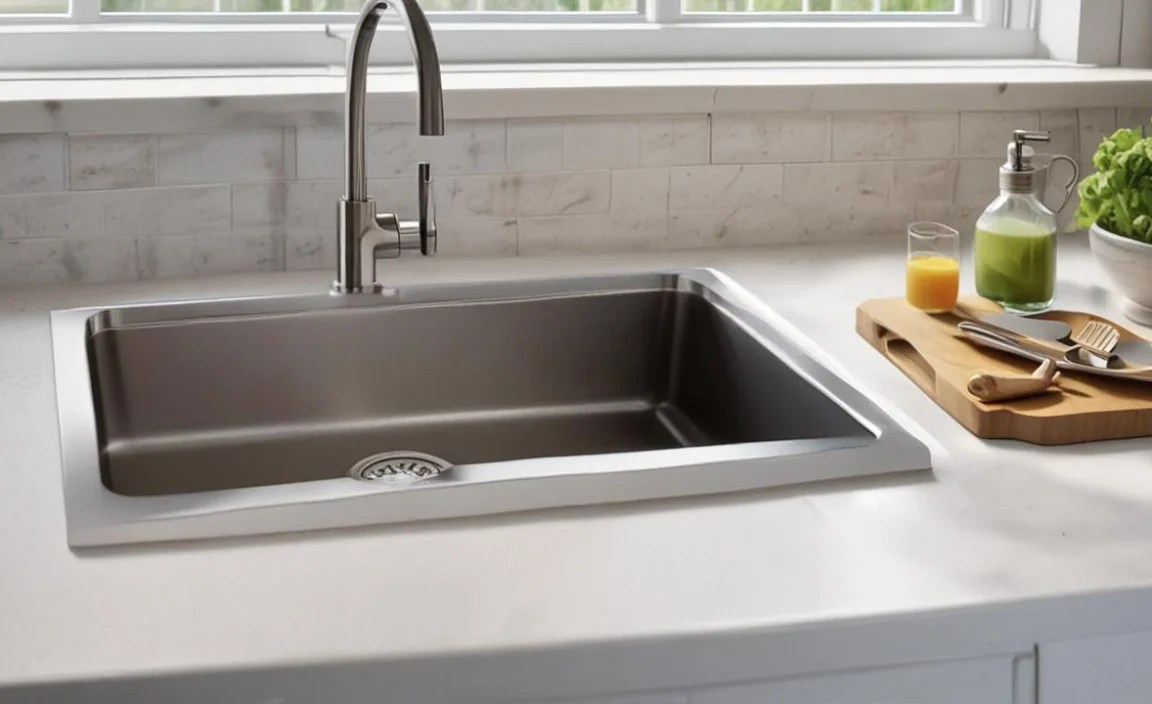
Vessel sinks sit entirely on top of the countertop, resembling a bowl. They are a popular choice for modern and minimalist bathrooms, offering a sculptural element.
- Pros: Unique design statement, often easy to install on existing countertops.
- Cons: Can be prone to splashing if the faucet is too low, requires specific faucet heights, and the bowl can collect dust.
5. Integrated Sinks
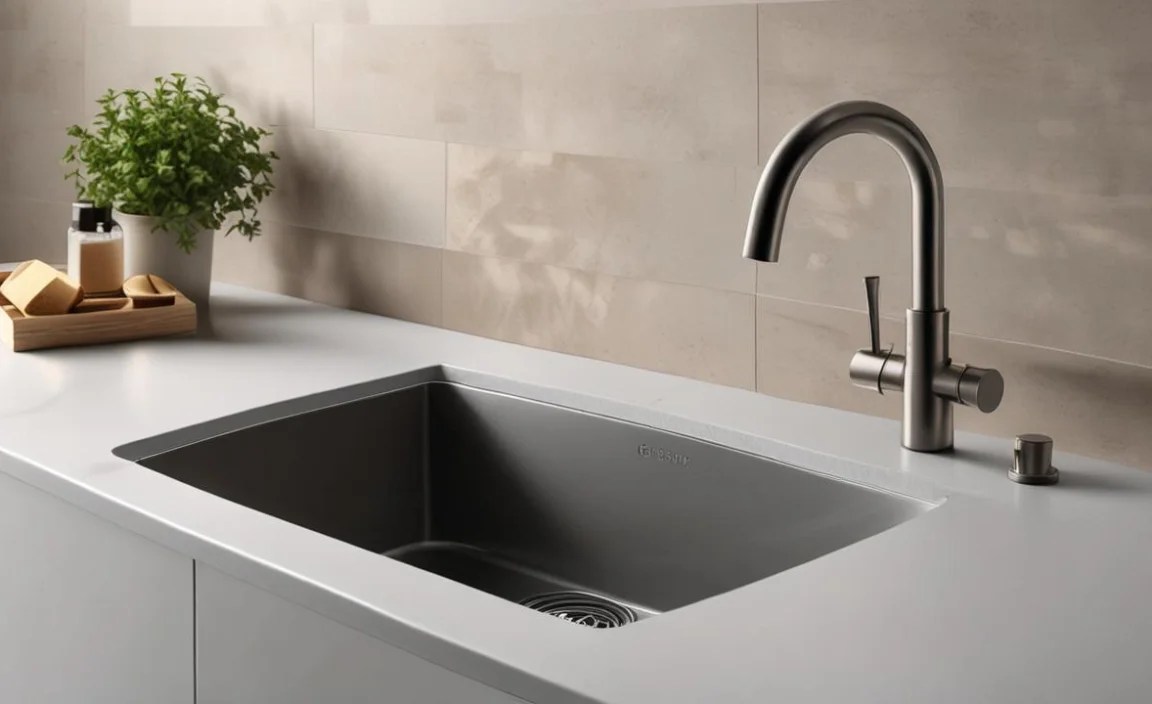
These sinks are made from the same material as the countertop, creating a completely seamless and monolithic look. Common in solid surface materials like Corian.
- Pros: Ultimate seamlessness, very easy to clean, modern aesthetic.
- Cons: Can be susceptible to scratches and heat damage depending on the material, often costly.
Sink Materials: Durability Meets Design
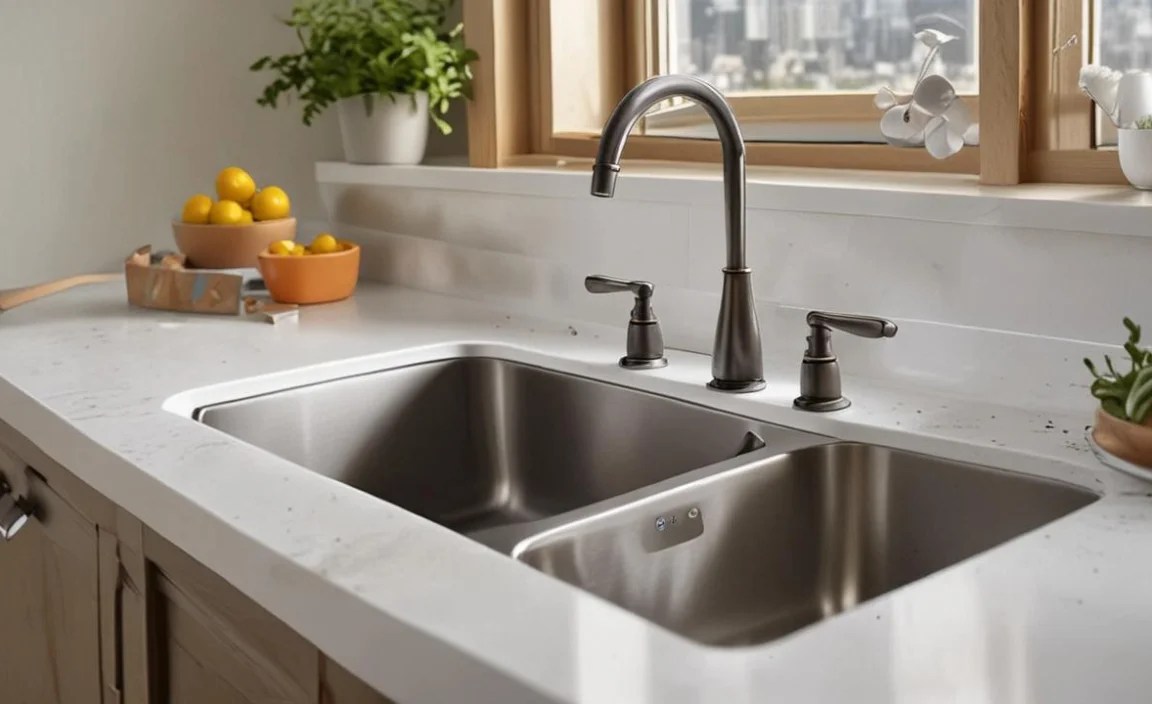
The material of your sink is a critical factor in its appearance, durability, and maintenance. Here’s a breakdown of the most common choices:
| Material | Description | Pros | Cons |
|---|---|---|---|
| Stainless Steel | A popular choice for kitchens, known for its durability and resistance to stains and corrosion. Thickness (gauge) is important; lower gauge is thicker and more durable. | Durable, Stain-resistant, Hygienic, Relatively affordable, Easy to clean. | Can be noisy (water splashing), Prone to scratches and dents (especially thinner gauges), Can show water spots. |
| Porcelain/Enamel Cast Iron | Heavy-duty cast iron coated with a thick layer of porcelain enamel. Offers a classic look and exceptional durability. | Extremely durable, Stain-resistant, Easy to clean, Classic aesthetic. | Very heavy (requires sturdy cabinet support), Can chip or crack if subjected to strong impact, Can be expensive. |
| Granite Composite/Quartz Composite | Made from crushed granite or quartz minerals mixed with resin. These sinks are very hard, durable, and resistant to heat, chips, and scratches. | Highly durable, Heat and scratch resistant, Wide range of colors and finishes, Quiet (absorbs sound). | Can be expensive, Some darker colors can show water spots if not dried, May require specific cleaning agents. |
| Solid Surface (e.g., Corian) | A non-porous acrylic material that can be molded into various shapes, including integrated sinks. Seamless and customizable. | Seamless look, non-porous (stain-resistant), Repairable for deeper scratches. | Can scratch and scorch more easily than stone or composite, May require professional repair for significant damage, Can be costly. |
| Fireclay | Similar to porcelain enamel cast iron but made from clay fired at very high temperatures. Durable, non-porous, and resistant to staining. | Durable, Non-porous, Stain and scratch resistant, Traditional look. | Can chip or crack with heavy impact, Heavy, Can be expensive. |
| Copper | Offers a warm, natural aesthetic that develops a unique patina over time. Naturally antimicrobial. | Unique, beautiful aesthetic, Naturally antimicrobial, Develops a desirable patina. | Can be very expensive, Requires regular maintenance to maintain appearance, Can be dented, Patina can be unpredictable and may not appeal to everyone. |
Installation Basics: Getting it Right
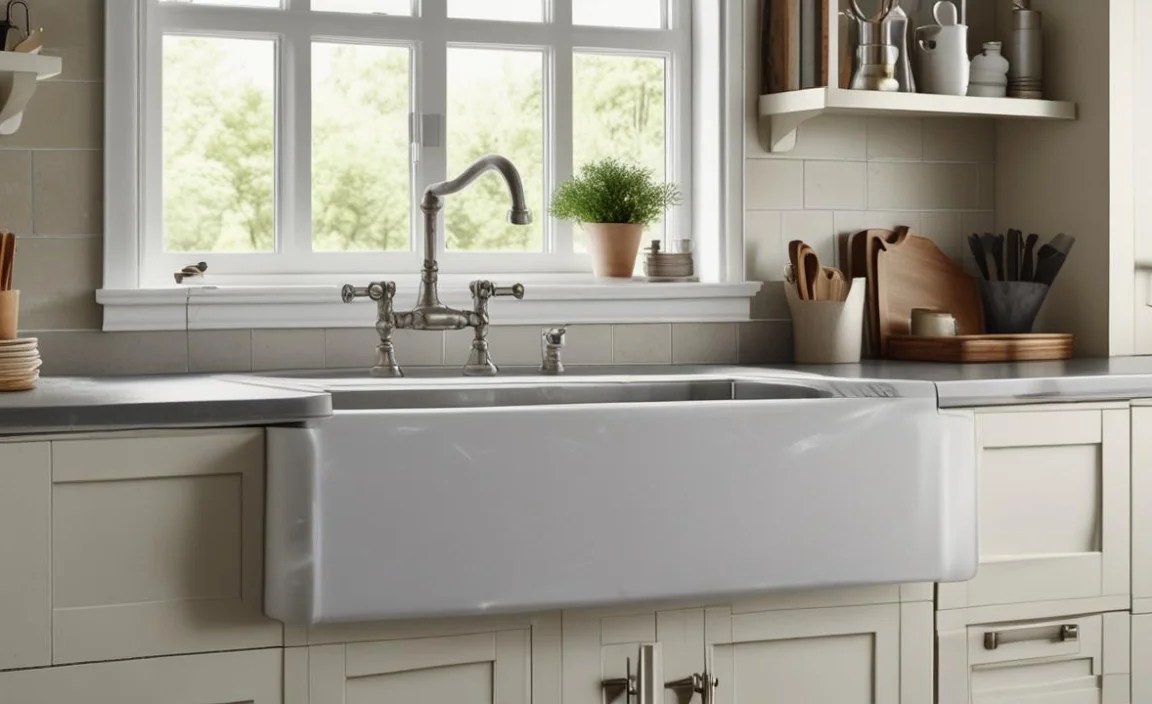
Proper installation is crucial for a sink’s long-term performance and to prevent water damage. While professional installation is often recommended for certain types, understanding the basics is empowering.
Countertop Preparation
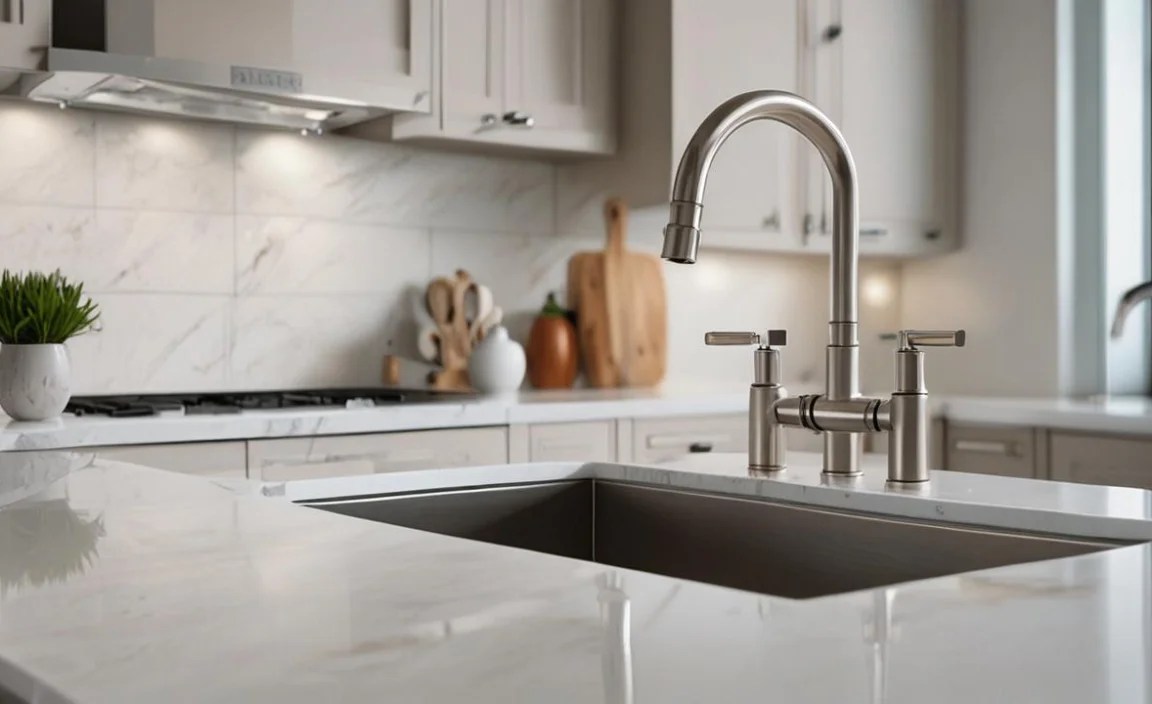
The first step involves accurately cutting the countertop to fit the chosen sink. For top-mount sinks, a cutout is made slightly smaller than the sink rim so the rim has a surface to rest on. For undermount sinks, the cutout is perfectly sized for the sink’s opening, and the sink is attached from below.
If you’re working with a material like laminate or tile, a top-mount sink is generally the way to go. For natural stone or solid surface countertops, undermount sinks offer that seamless elegance. Always follow the manufacturer’s template and precision measurements.
Sealing and Clamping
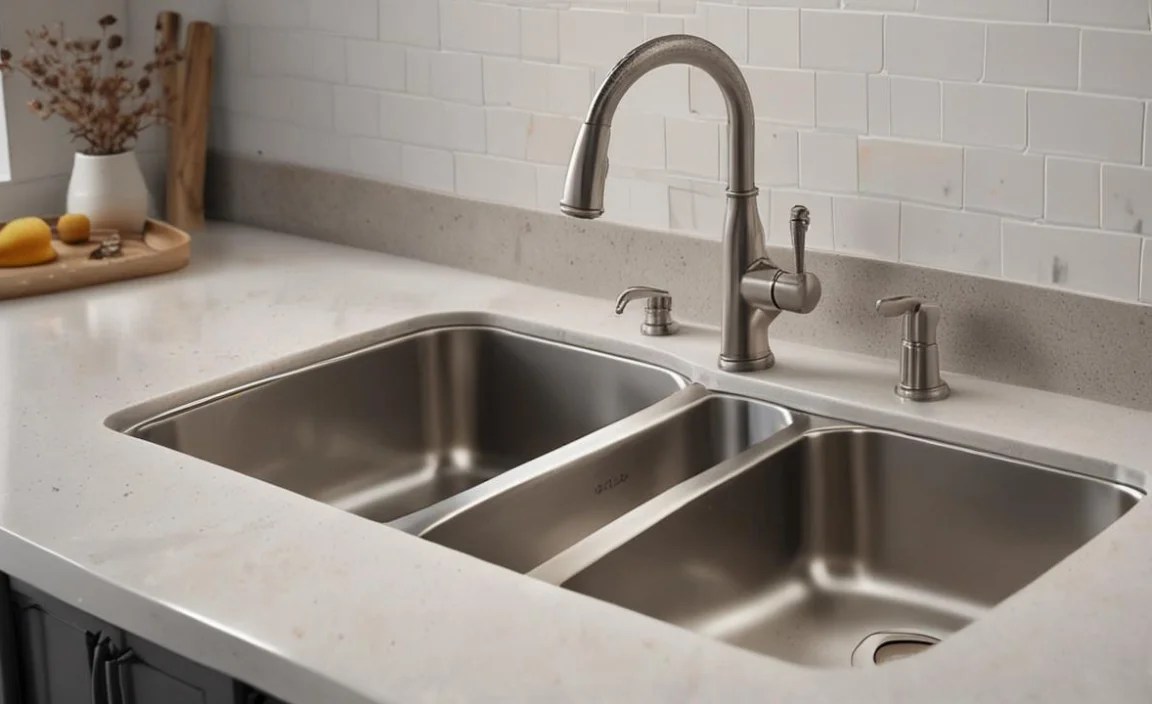
Once the sink is in place, a watertight seal is essential. A bead of high-quality silicone caulk or plumber’s putty is applied around the sink’s lip (for top-mount) or to the underside edge (for undermount) before it’s set into place. This prevents water from seeping under the rim and damaging the countertop or cabinetry, a common cause of problems in construction.
For top-mount sinks, clips are usually attached to the underside of the sink, which then fasten to the underside of the countertop. These clips hold the sink securely in place, ensuring it doesn’t shift. Undermount sinks are typically secured using a strong adhesive, clips, or a combination of both, directly to the countertop’s underside.
Plumbing Connections
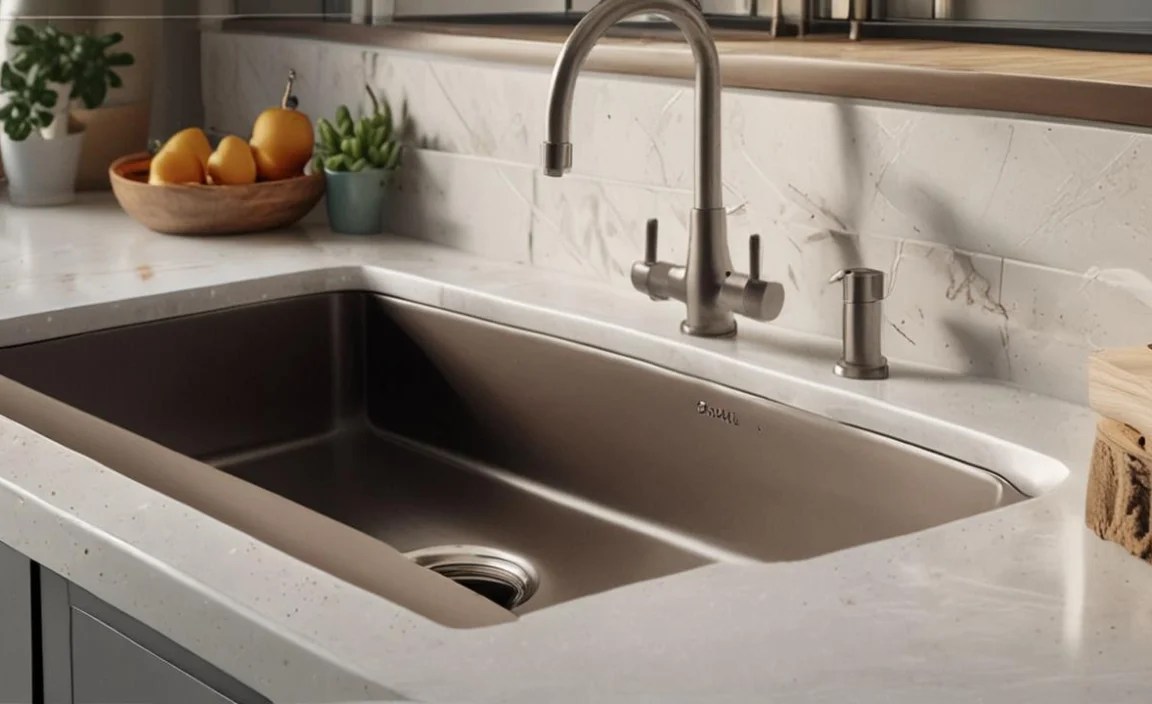
This is where the sink connects to your home’s water supply and drainage system. Faucets are mounted, and water supply lines are connected to the hot and cold water valves. The drain assembly, including the strainer and tailpiece, is installed in the sink’s drain opening and connected to the P-trap. A properly installed P-trap prevents sewer gases from entering your home. Ensuring all these connections are tight and leak-free is paramount for any construction project.
For a deeper dive into plumbing, the U.S. Environmental Protection Agency’s WaterSense program offers insights into water-efficient fixtures, which often relate to proper installation and maintenance.
Drainage Systems: The Unsung Heroes
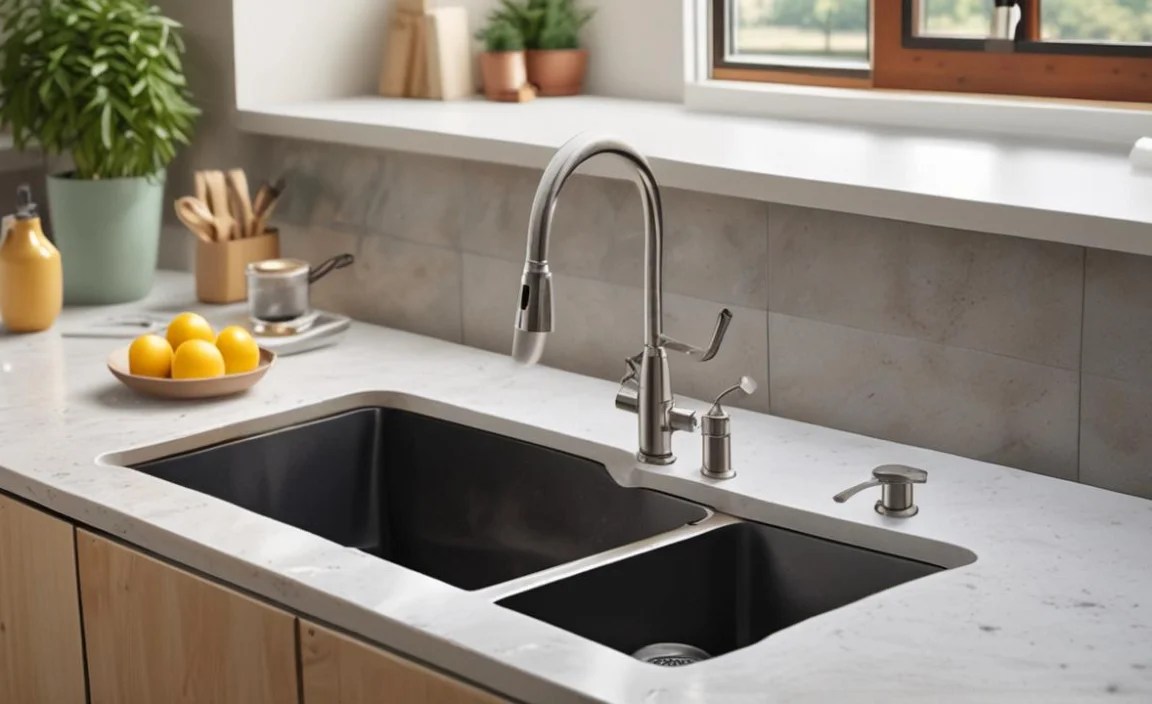
The sink’s drainage system is a critical component of your home’s plumbing, ensuring wastewater is efficiently and safely removed. It’s more than just a hole; it’s an engineered system.
The Strainer and Tailpiece
The sink strainer is the metal basket or plug that sits in the drain opening. It catches food particles and debris, preventing them from entering and clogging your pipes. The tailpiece is the straight pipe that connects the strainer assembly to the rest of the drain system.
The P-Trap: More Than Just a Curve
The distinctive U-shaped bend in the drainpipe is called a P-trap. Its primary function is to retain a small amount of water after each use. This standing water acts as a seal, blocking unpleasant sewer gases and vermin from rising up through the drain and into your home. It’s a simple yet brilliant piece of plumbing design that’s essential in all sink installations.
Connecting to the Main Drain Line
The P-trap is then connected to the building’s main drain line, which carries wastewater away to your sewer or septic system. Properly connecting and venting this system is crucial for preventing clogs and ensuring wastewater flows freely. A properly vented drain system allows air into the pipes, which helps water flow smoothly and prevents it from being siphoned out of traps.
Essential Tools for Sink Installation
While a full plumbing job might require specialized tools, many basic sink installations can be handled with a few common items. Having the right tools makes the task smoother and safer.
Here are some essential tools you might need:
- Adjustable Wrench: For tightening and loosening nuts on supply lines and drain assemblies.
- Basin Wrench: A specialized tool with a long reach and swiveling jaw, perfect for reaching those awkward nuts behind the sink bowl that secure the faucet.
- Pipe Wrench: Useful for gripping and turning larger pipes, especially when disconnecting old drain parts, though a standard adjustable wrench often suffices for new installations.
- Screwdriver Set: For various screws that might come with faucet mounts or drain assemblies. A Phillips head and a flathead are usually sufficient.
- Caulking Gun: To neatly apply silicone caulk or plumber’s putty around the sink rim for a watertight seal.
- Pliers: Various types, like slip-joint or needle-nose, can be handy for gripping small parts or bending soft metal.
- Measuring Tape: Essential for verifying cutout dimensions and ensuring proper fit.
- Utility Knife/Box Cutter: For opening packaging, scoring caulk, or trimming excess materials.
- Bucket: To catch any residual water when disconnecting old plumbing or testing new connections.
- Safety Glasses: Always protect your eyes, especially when working under sinks or with tools.
- Work Gloves: To protect your hands from sharp edges and grime.
- Plumber’s Putty or Silicone Sealant: Crucial for creating watertight seals.
Care and Maintenance: Keeping Your Sink Sparkling

Once your sink is installed, a little regular care goes a long way in keeping it looking great and functioning perfectly. This is an often-overlooked part of the construction process but vital for the homeowner.
Daily Care
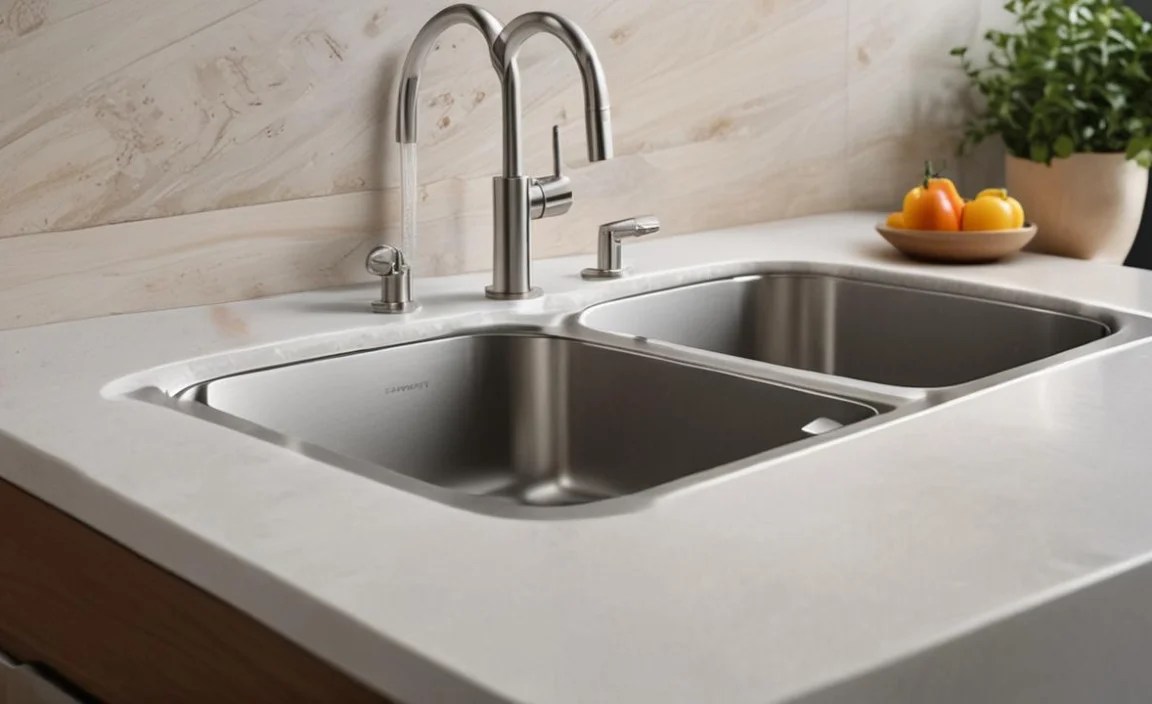
- Wipe down your sink daily with a soft cloth and mild soap. This prevents water spots and the buildup of soap scum or food particles.
- Rinse thoroughly after each use, especially if you’ve used harsh cleaners or chemicals.
Material-Specific Cleaning
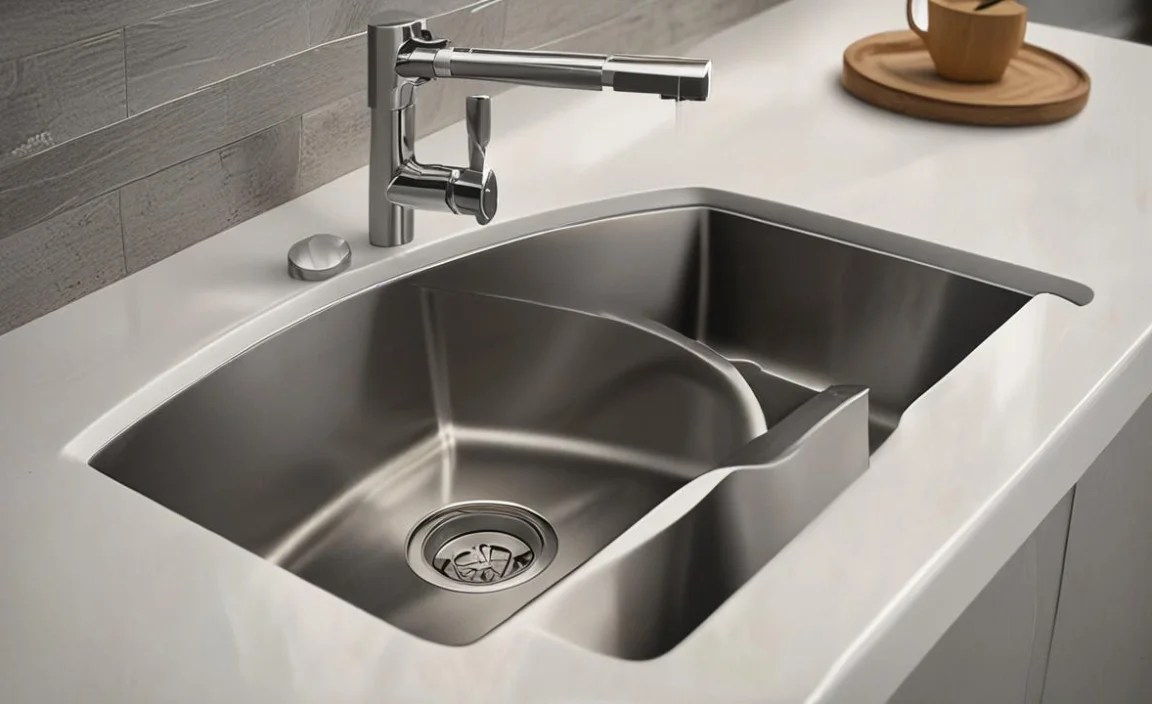
Different materials require different approaches:
- Stainless Steel: Use a stainless steel cleaner or a paste of baking soda and water to remove tough stains. Always rub in the direction of the grain to prevent scratches. Avoid abrasive pads.
- Porcelain/Enamel Cast Iron/Fireclay: Mild dish soap and water are usually sufficient. For stubborn stains, a non-abrasive cleaner like baking soda paste can be used. Avoid bleach or harsh chemicals that can dull the finish.
- Granite/Quartz Composite: These are quite resilient. Mild dish soap and water are best. For hard water stains, use vinegar diluted with water and rinse well.
- Solid Surface: A soft cloth with mild soap and water is ideal. For tougher stains, a mild abrasive cleaner specifically for solid surfaces can be used, followed by a thorough rinse.
Preventing Damage
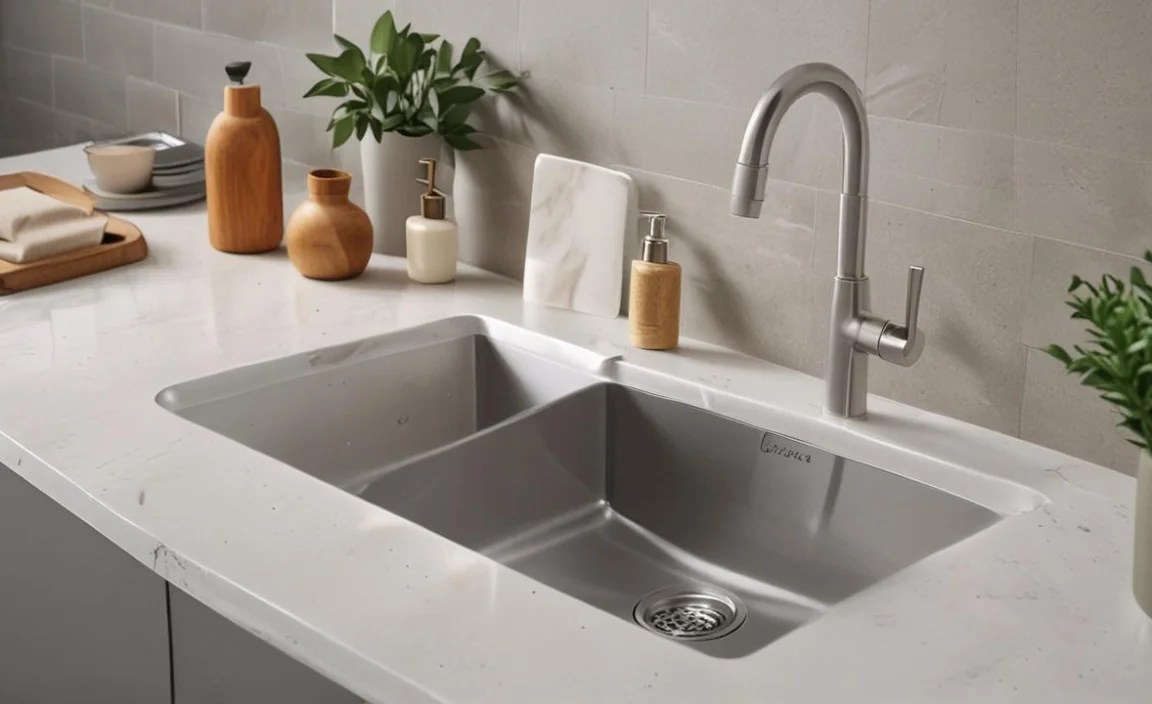
- Avoid dropping heavy or sharp objects directly into the sink, as this can cause chips or dents, especially with softer materials or porcelain finishes.
- Don’t pour harsh chemicals, grease, or boiling liquids directly down the drain without running cold water.
- For sinks with strainers, make sure to empty and clean them regularly.
Regular maintenance ensures your sink remains a functional and beautiful part of your home for years to come. For more on home plumbing maintenance, resources like This Old House’s plumbing section offer excellent practical advice.
Troubleshooting Common Sink Issues
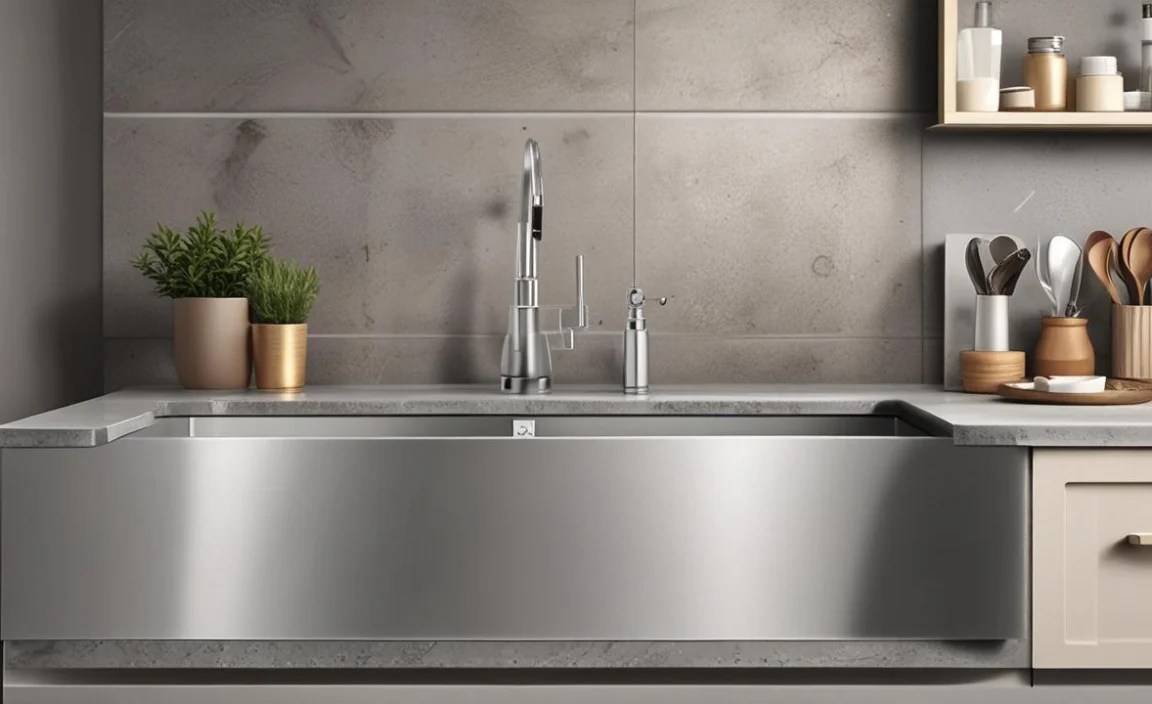
Even with careful planning and installation, occasional issues can arise. Knowing how to tackle them can save you time and money.
1. Leaky Faucets
Symptom: Dripping from the spout even when turned off, or leaks around the handle base.
Cause: Usually worn-out washers, O-rings, or cartridges inside the faucet. This is a common wear-and-tear item.
Fix: Turn off the water supply to the faucet. Disassemble the faucet handle and replace the faulty part. Many manufacturers provide diagrams and replacement parts.
2. Slow Draining or Clogged Sink
Symptom: Water drains very slowly or not at all.
Cause: Accumulation of food particles, grease, hair, or other debris in the drainpipe or P-trap.
Fix:
- First, try using a plunger. Ensure a good seal and plunge vigorously.
- If that fails, remove and clean the P-trap. Place a bucket underneath to catch water and debris, then unscrew the trap’s coupling nuts. Clean out any obstruction.
- For persistent clogs, a plumber’s snake or drain auger can be used. Avoid chemical drain cleaners as they can damage pipes and are harmful to the environment.
3. Unpleasant Odors
Symptom: Foul smells emanating from the drain.
Cause: Decomposing food particles or slime buildup in the drain or P-trap. Also, a dried-out P-trap (if the sink isn’t used often) can allow sewer gases to enter.
Fix: Pour boiling water down the drain followed by a mixture of baking soda and vinegar, let it fizz, then rinse with hot water. Ensure the P-trap always has water in it by running water for a few seconds every few weeks if the sink is rarely used.
4. Leaks Under the Sink
Symptom: Water pooling on the cabinet floor under the sink.
Cause: Loose connections at the faucet base, drain assembly, or P-trap. A crack in the sink basin itself is also possible, though less common.
Fix: Inspect all visible plumbing connections. Tighten any loose nuts or fittings. If a connection is still leaky, you may need to disassemble it, clean out old plumber’s putty or sealant, reapply fresh material, and reassemble. For persistent leaks, it’s best to call a plumber.
Choosing the Right Faucet for Your Sink

The faucet is the command center of your sink, and its compatibility with your chosen sink style and installation is crucial. When selecting a faucet, consider:
Number of Holes
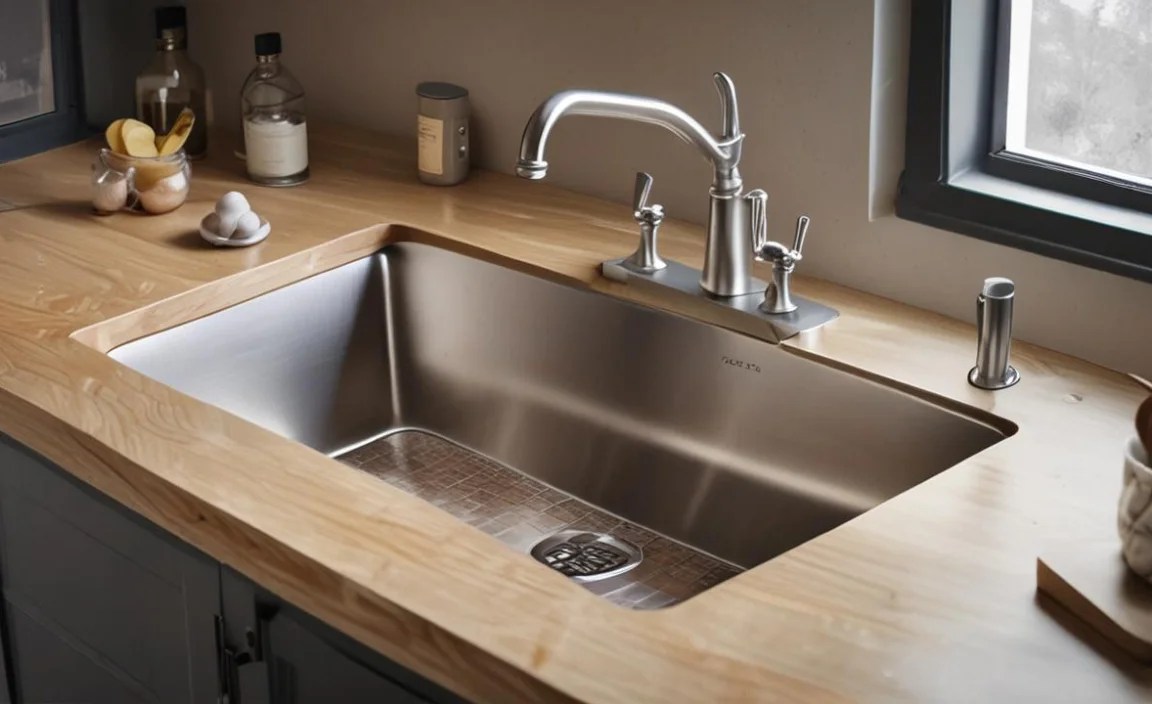
Your sink or countertop will have pre-drilled holes for faucet installation. These determine the type of faucet you can use:
- Single-hole faucets: Typically have the spout and handle(s) integrated into one unit.
